
I just started yoga at a local studio and of course in the middle of meditation practice I had an idea — I needed a way to transport my “yoga quilts” to class. They make great bolsters, by the way. I didn’t want to make a bag because taking the quilts in and out of the bag would just add stress to yoga. I needed a sling.
I searched Pinterest and the web for ideas and only found yoga bags or straps to carry a yoga mat. I needed something different. I’m sharing this tutorial in case you want to make a yoga quilt sling to carry your quilts and/or your yoga mat. It would also make a great sling for beach towels.
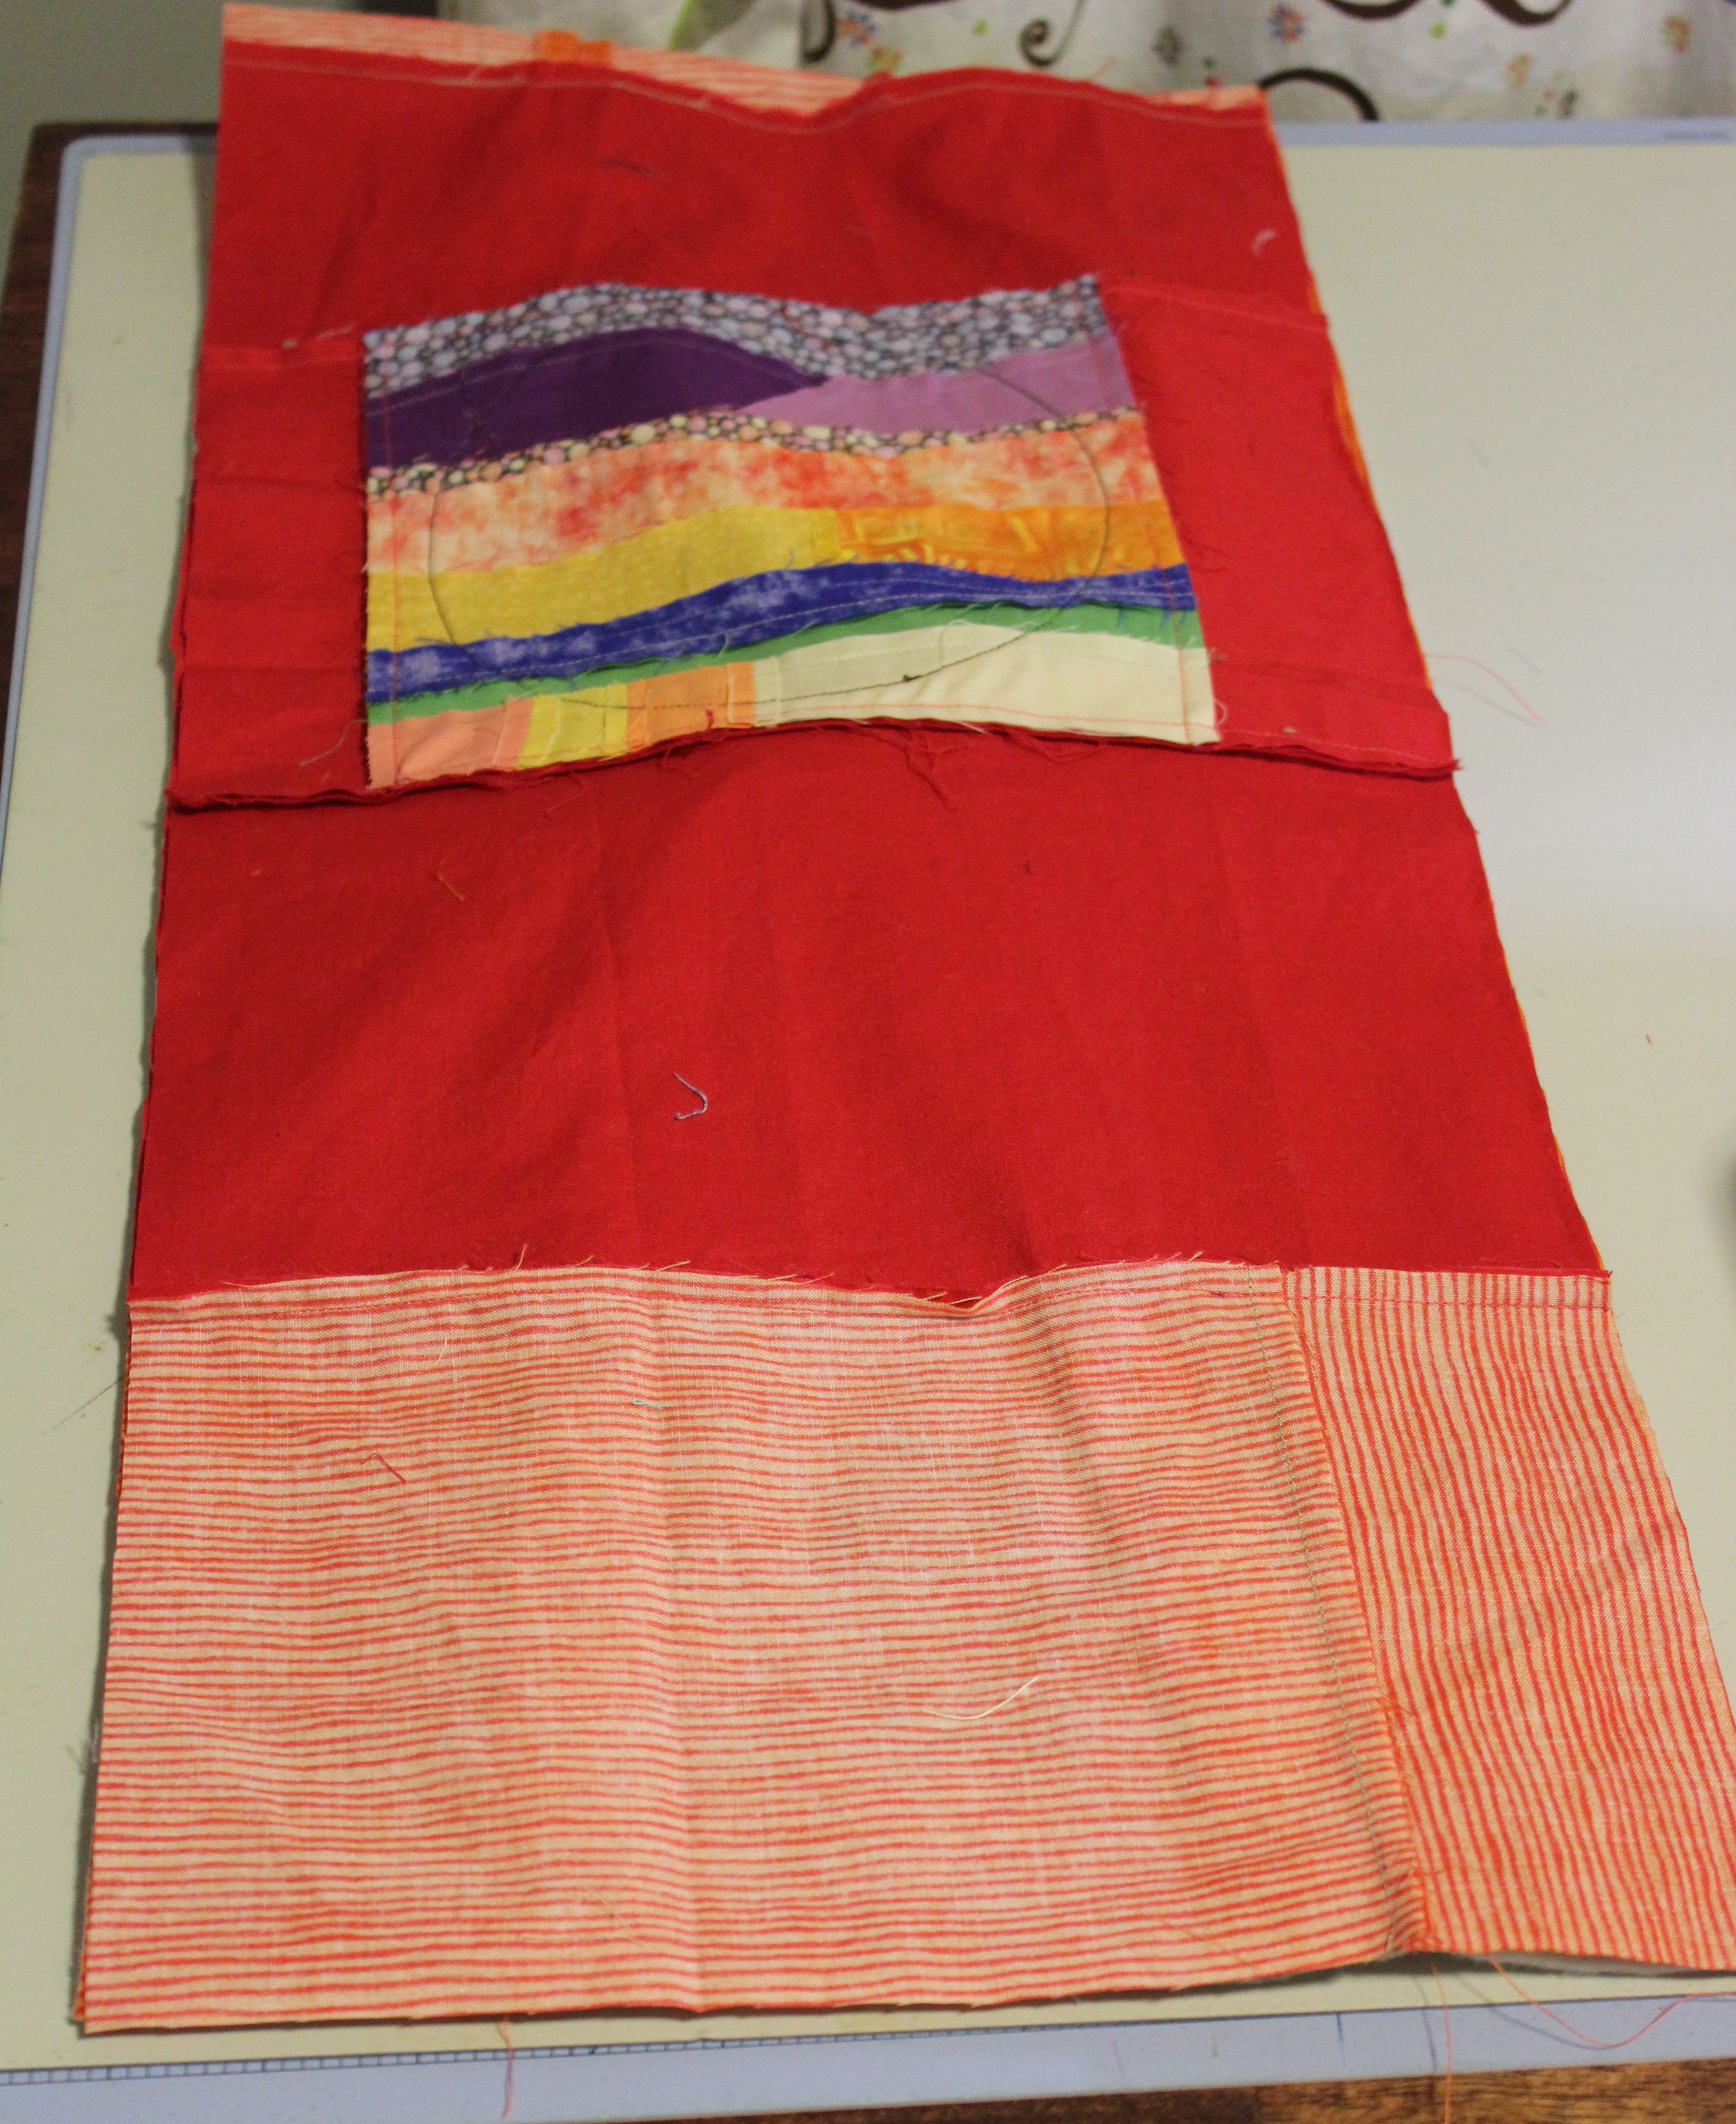
I had these wonderful pieces I had made in my Liberated Quilting Group. The wavy piece (shown above) was made by the group leader, Betty P., during a class on “portholes” from the book, Improv Quilts, by Lucie Summers. Betty thought my red fabric looked good with her piece. I like how organic and happy it is. The perfect piece for a yoga quilt sling.
Let’s get started.
I. CUT THE FABRIC RECTANGLES
- Cut two (2) rectangles, 11 1/2 inches by 25 inches, from your improv pieces or a piece of fabric.
- Cut one (1) piece of batting, 11 1/2 inches by 25 inches (it’s the same size as the fabric. I used Dream Green batting)

II. MAKE THE HANDLES
- Cut two (2) strips of fabric: 2.0 inches by 25.0 inches
- Cut two (2) strips of fabric: 1 7/8 inches by 25.0 inches
- Cut two (2) strips of batting: 1.0 inch by 25.0 inches
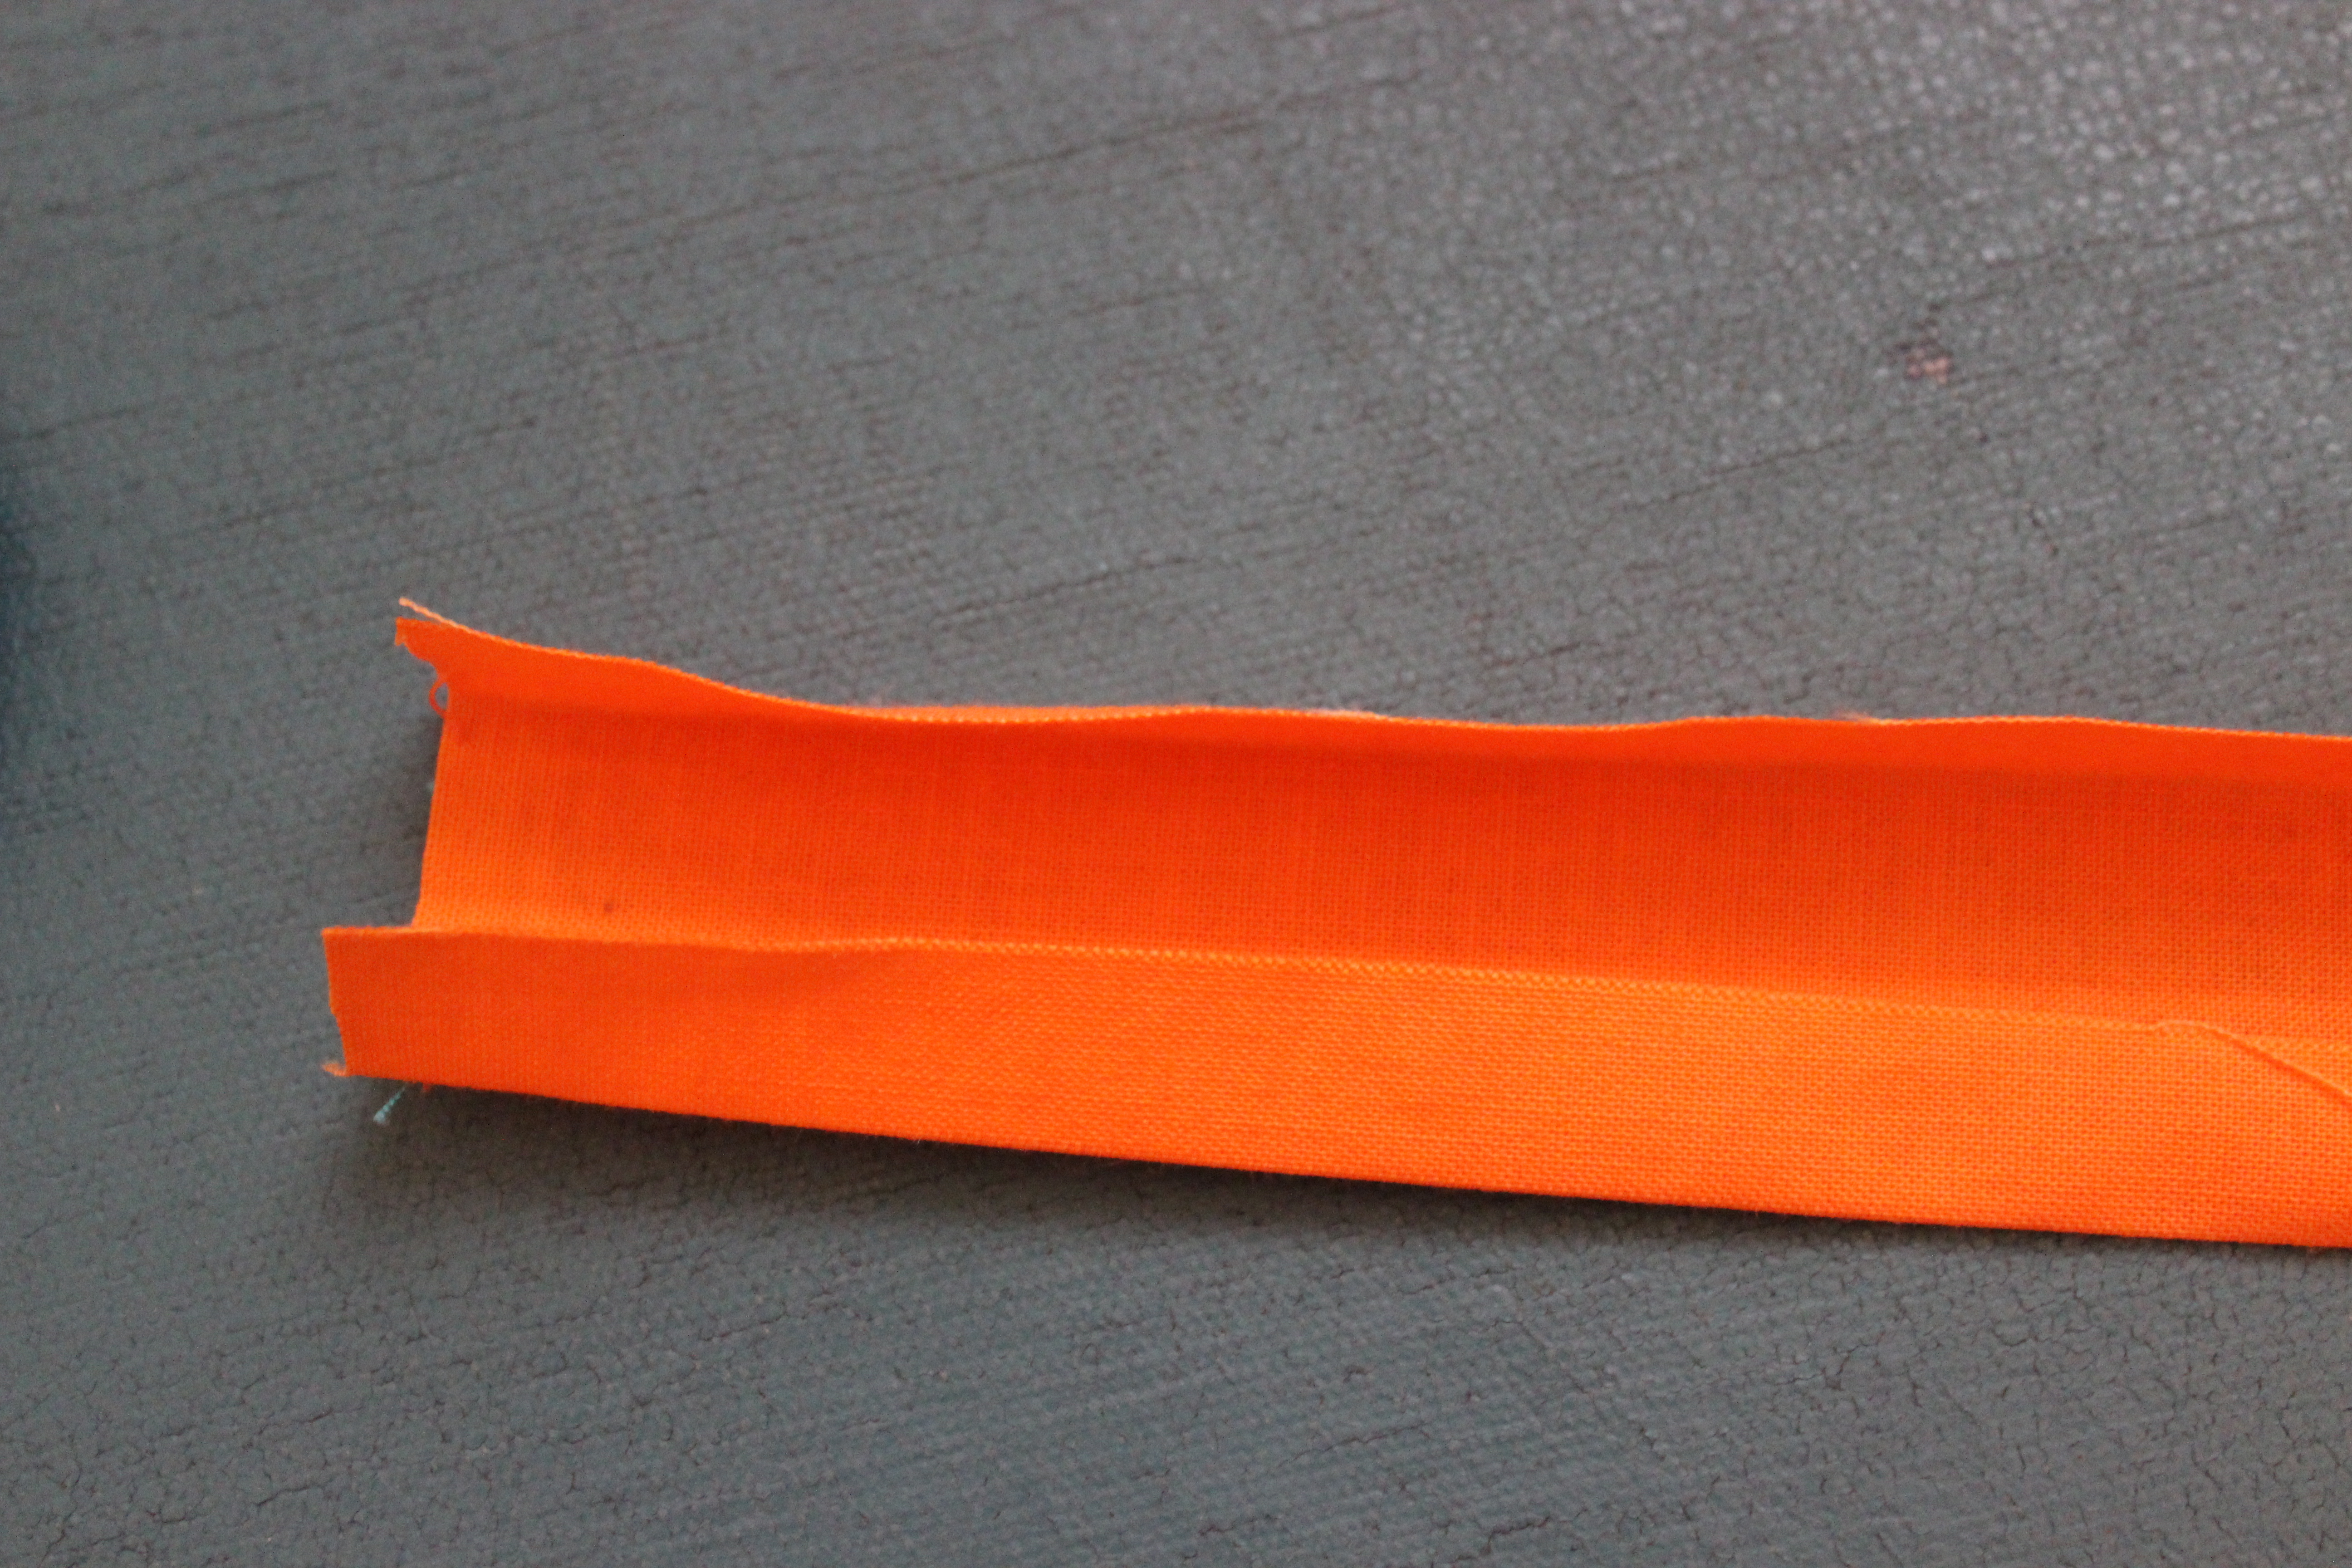
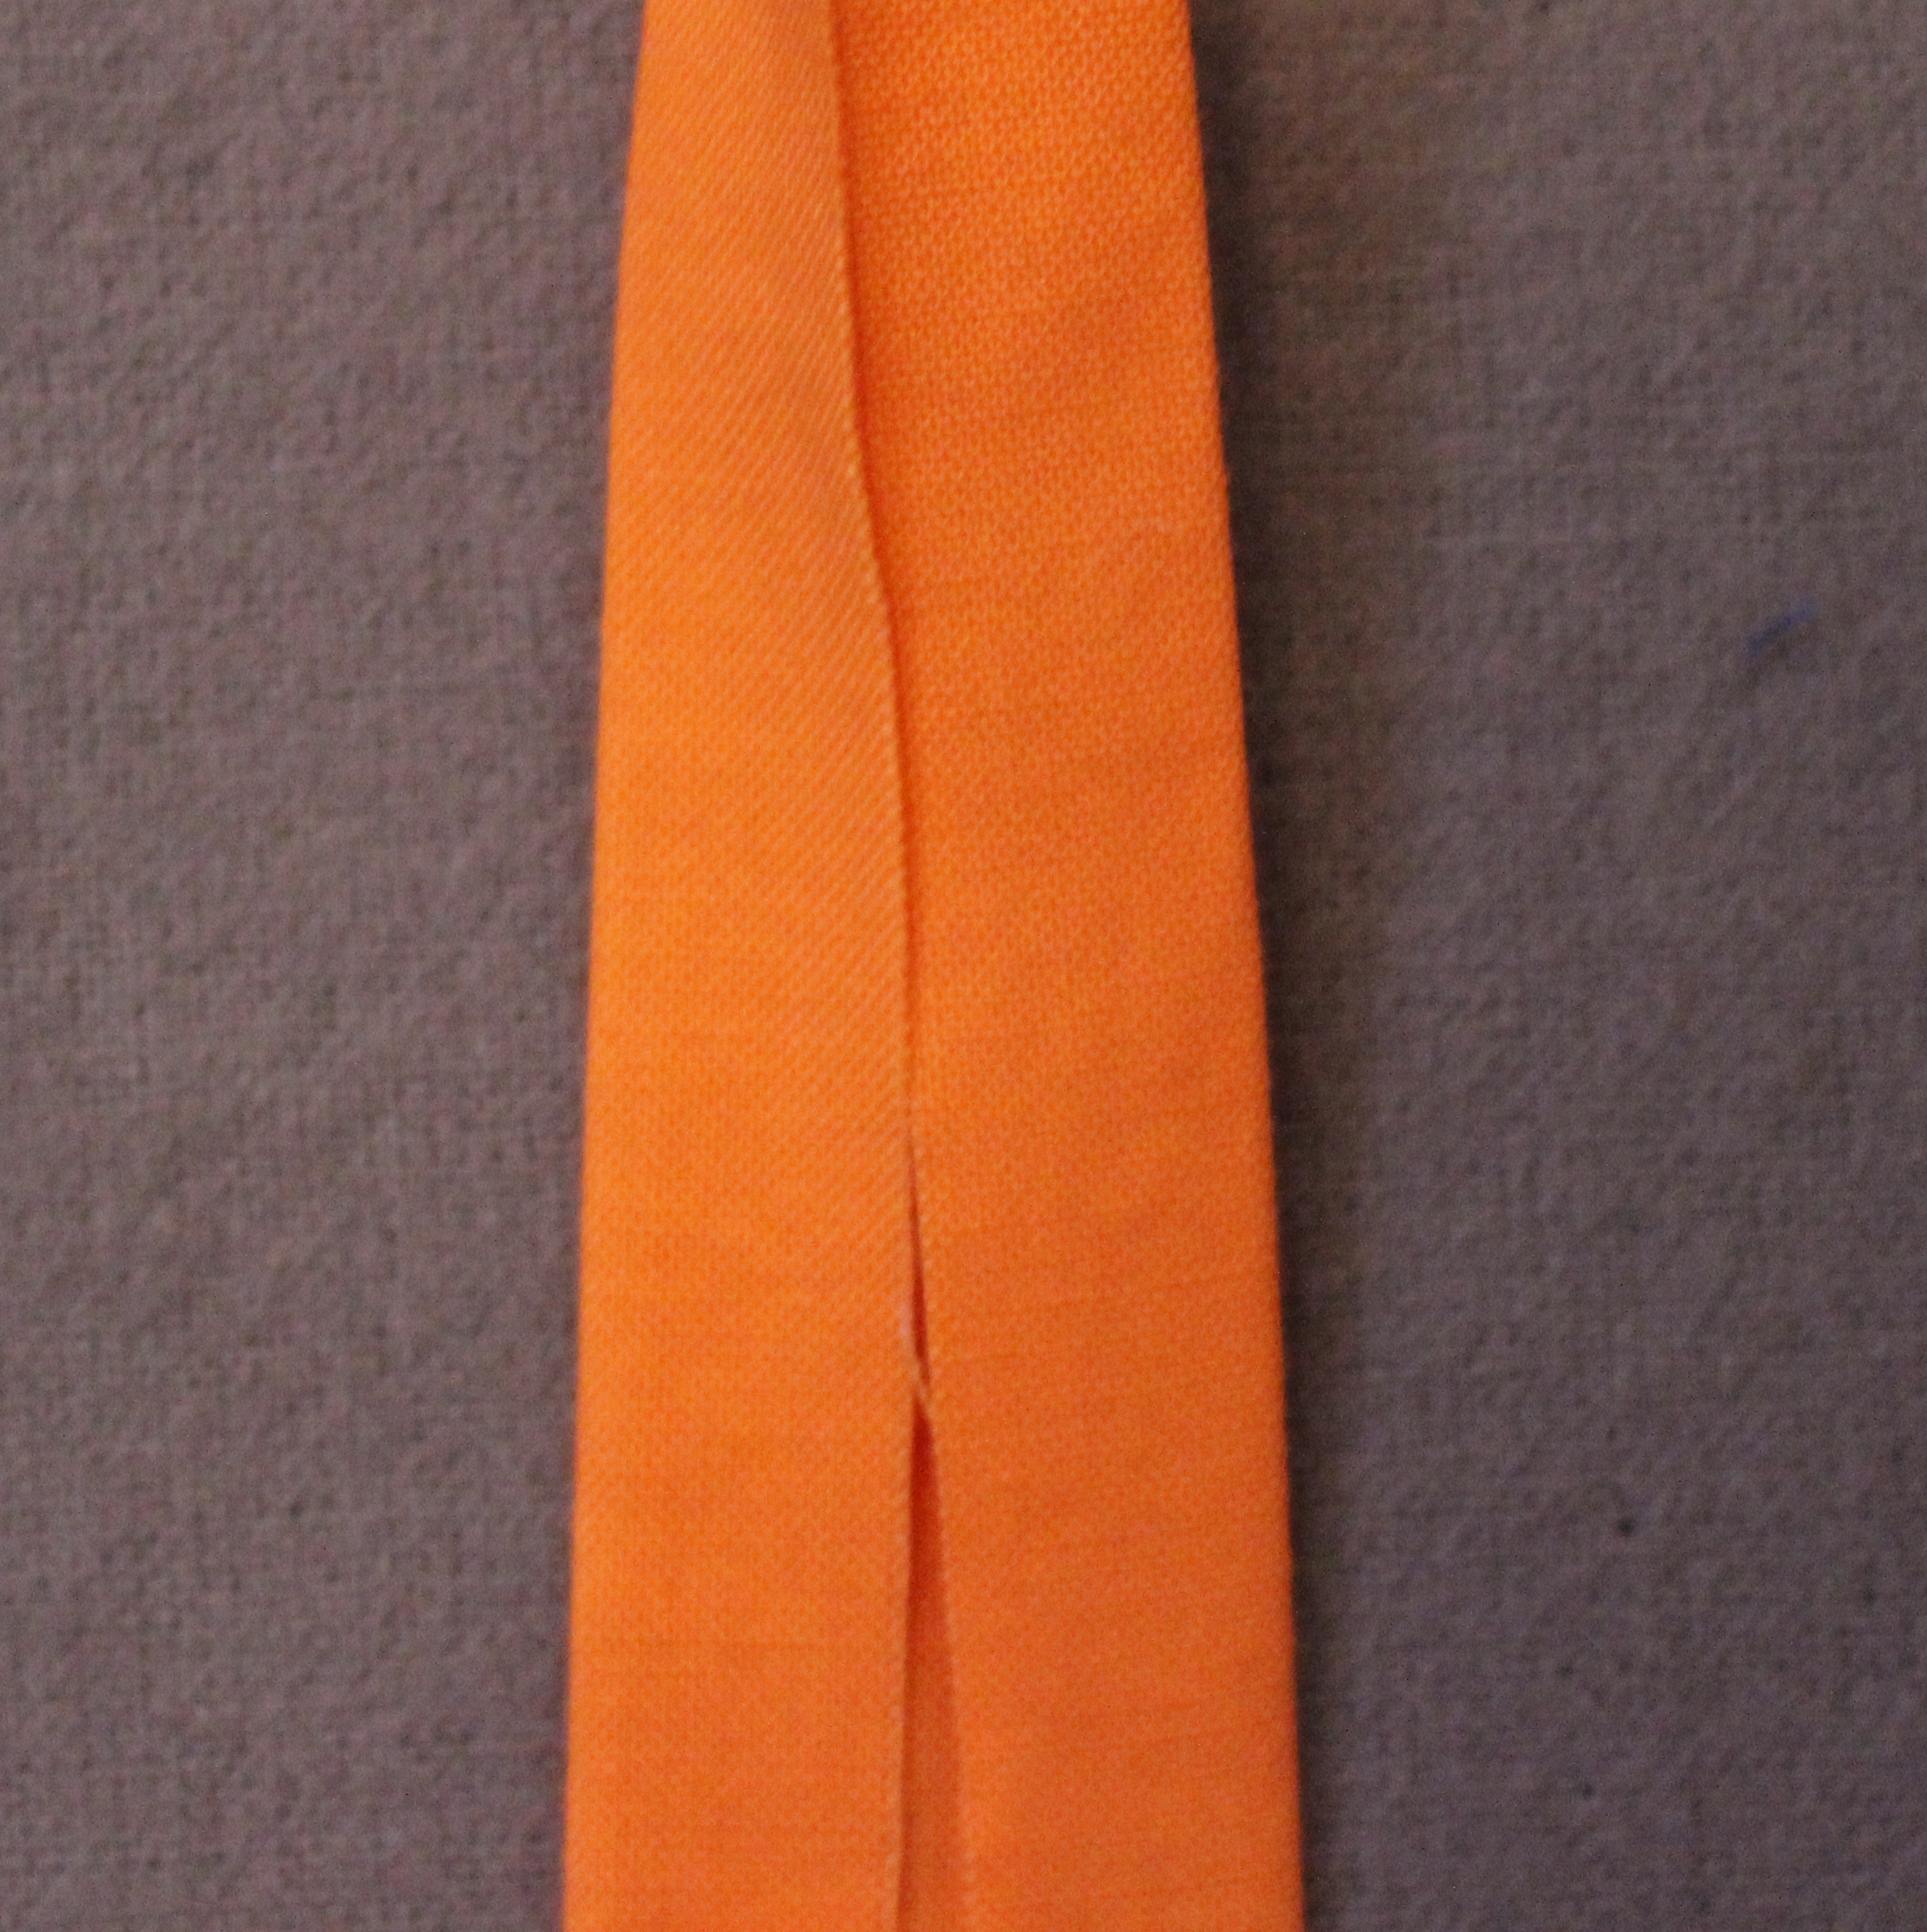
- Press each fabric strip in the middle. This makes a line to use as a guide for the next step.
- Unfold the piece, then Press each strip into the middle.
- Add batting strip to the larger width strip of fabric:
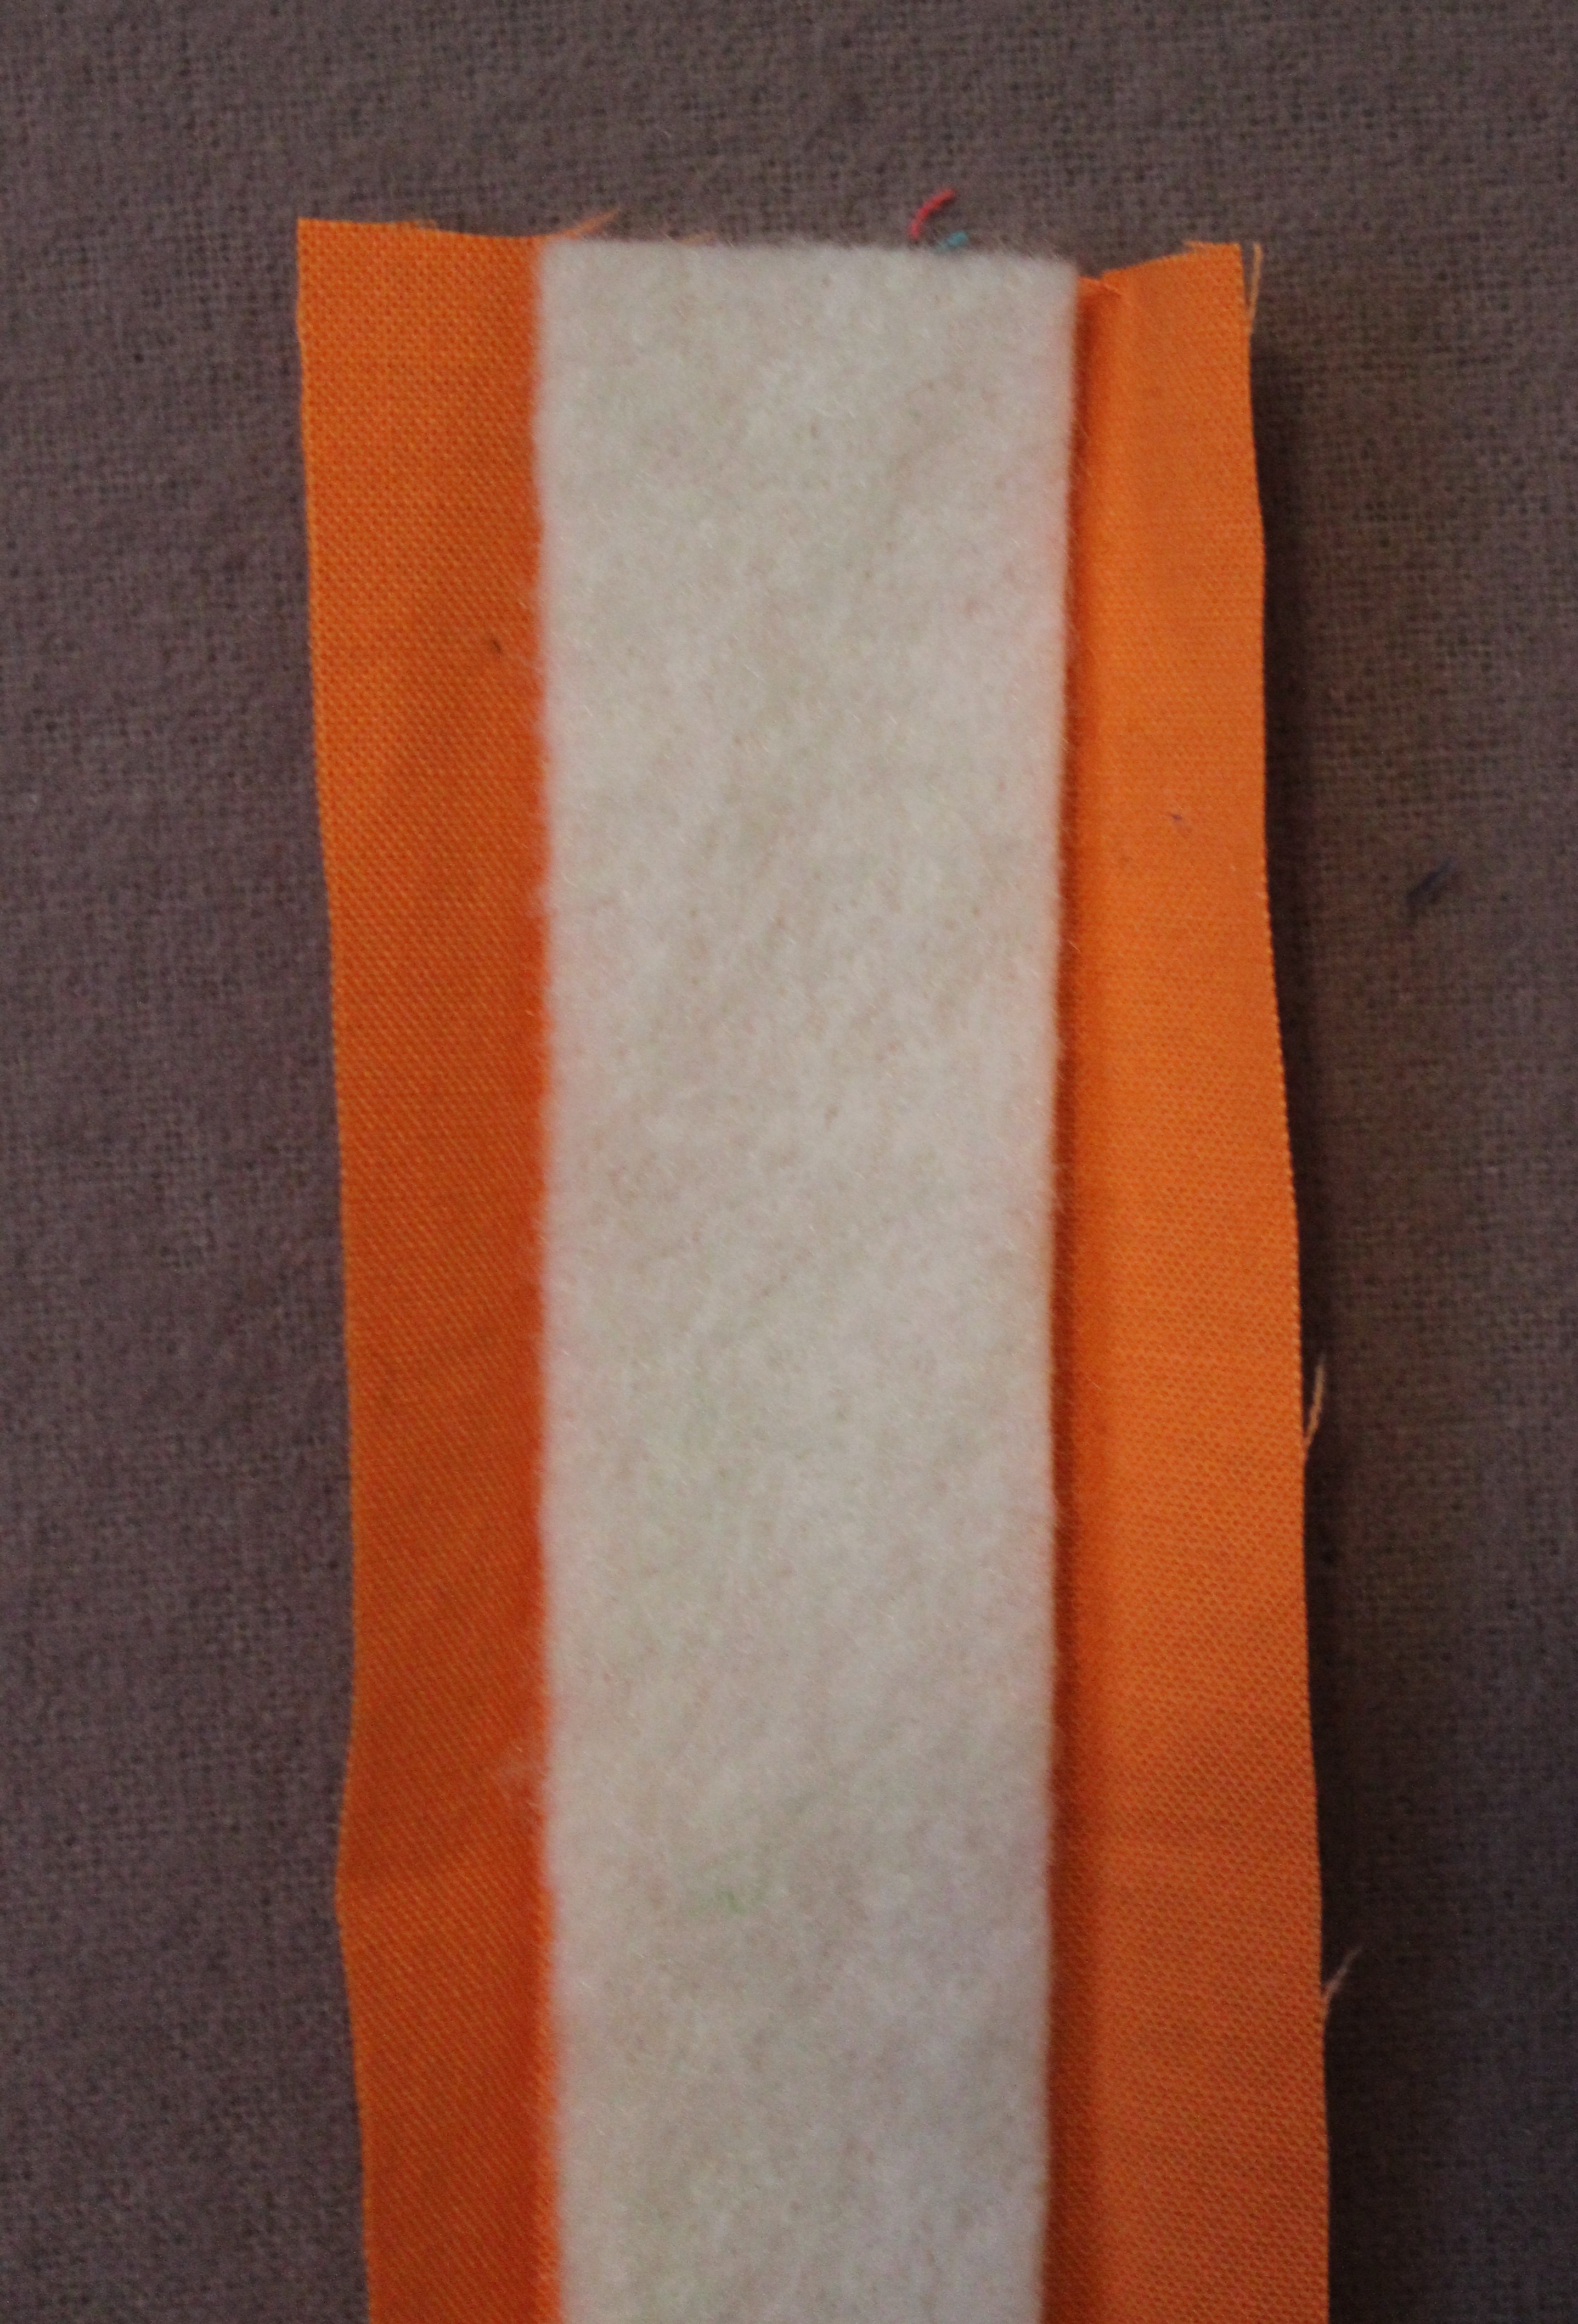
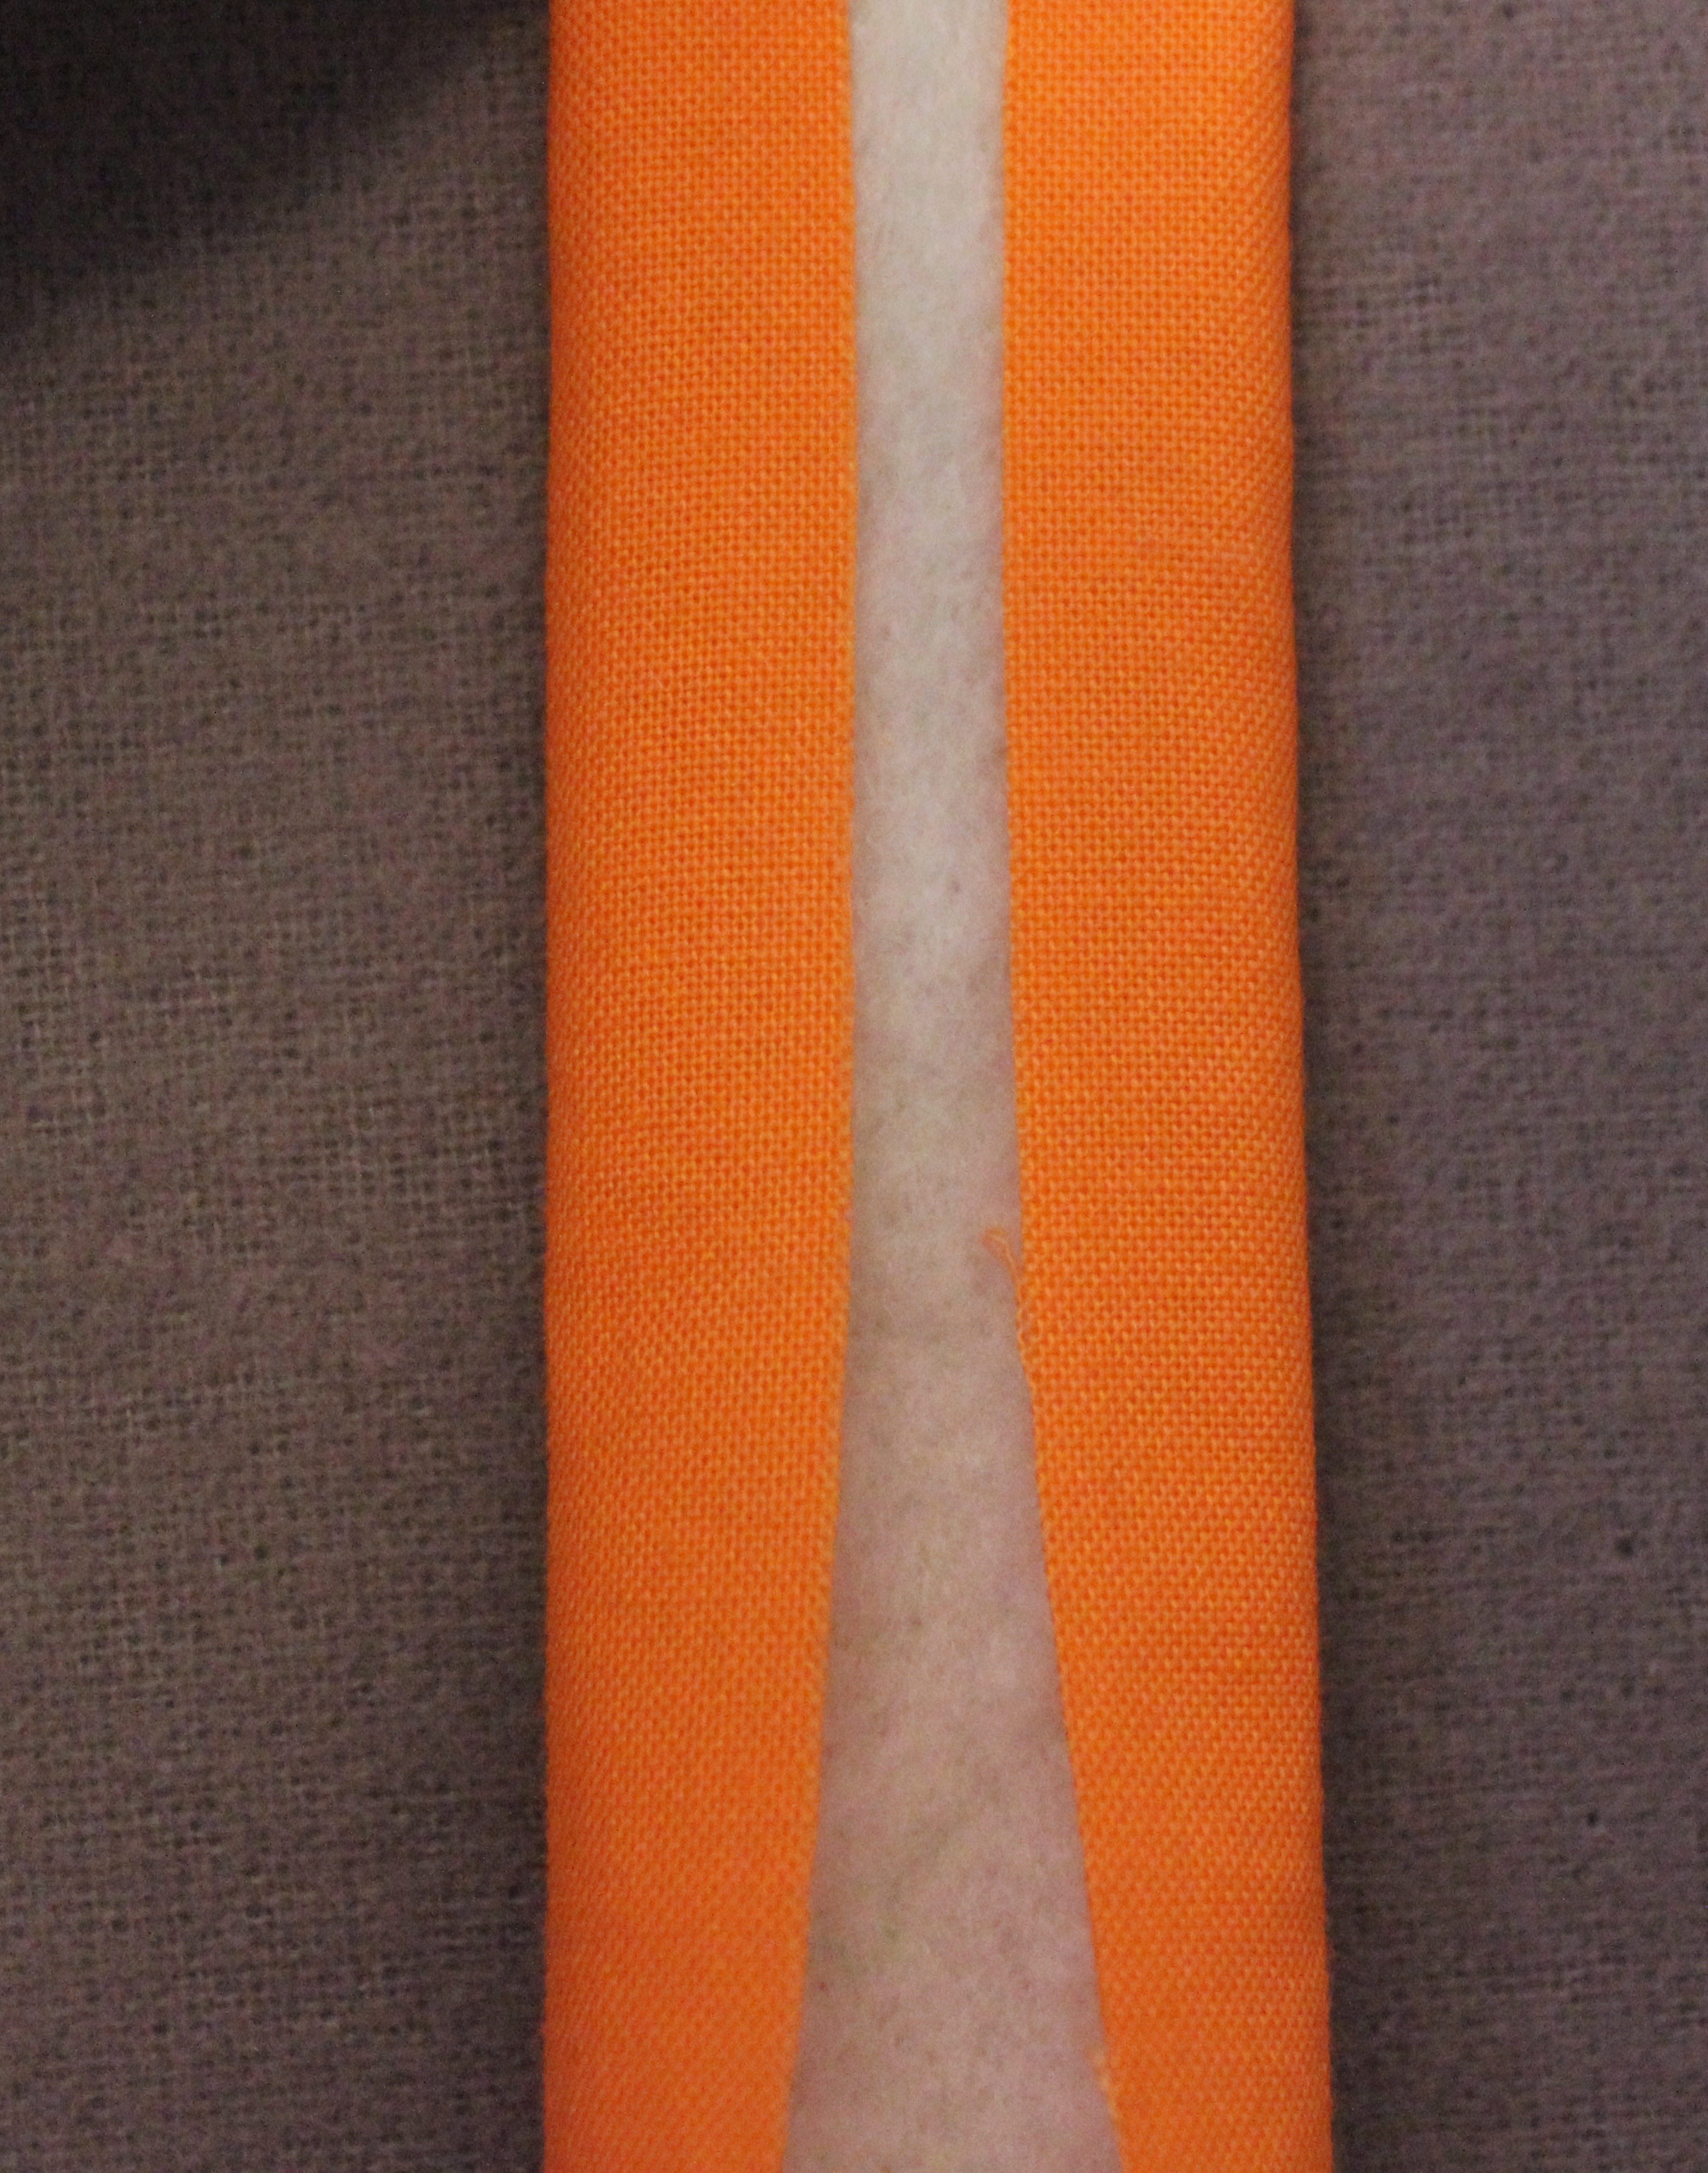
- Then place one of the smaller strips on top of the larger strip. The smaller strip makes room for the top stitching:
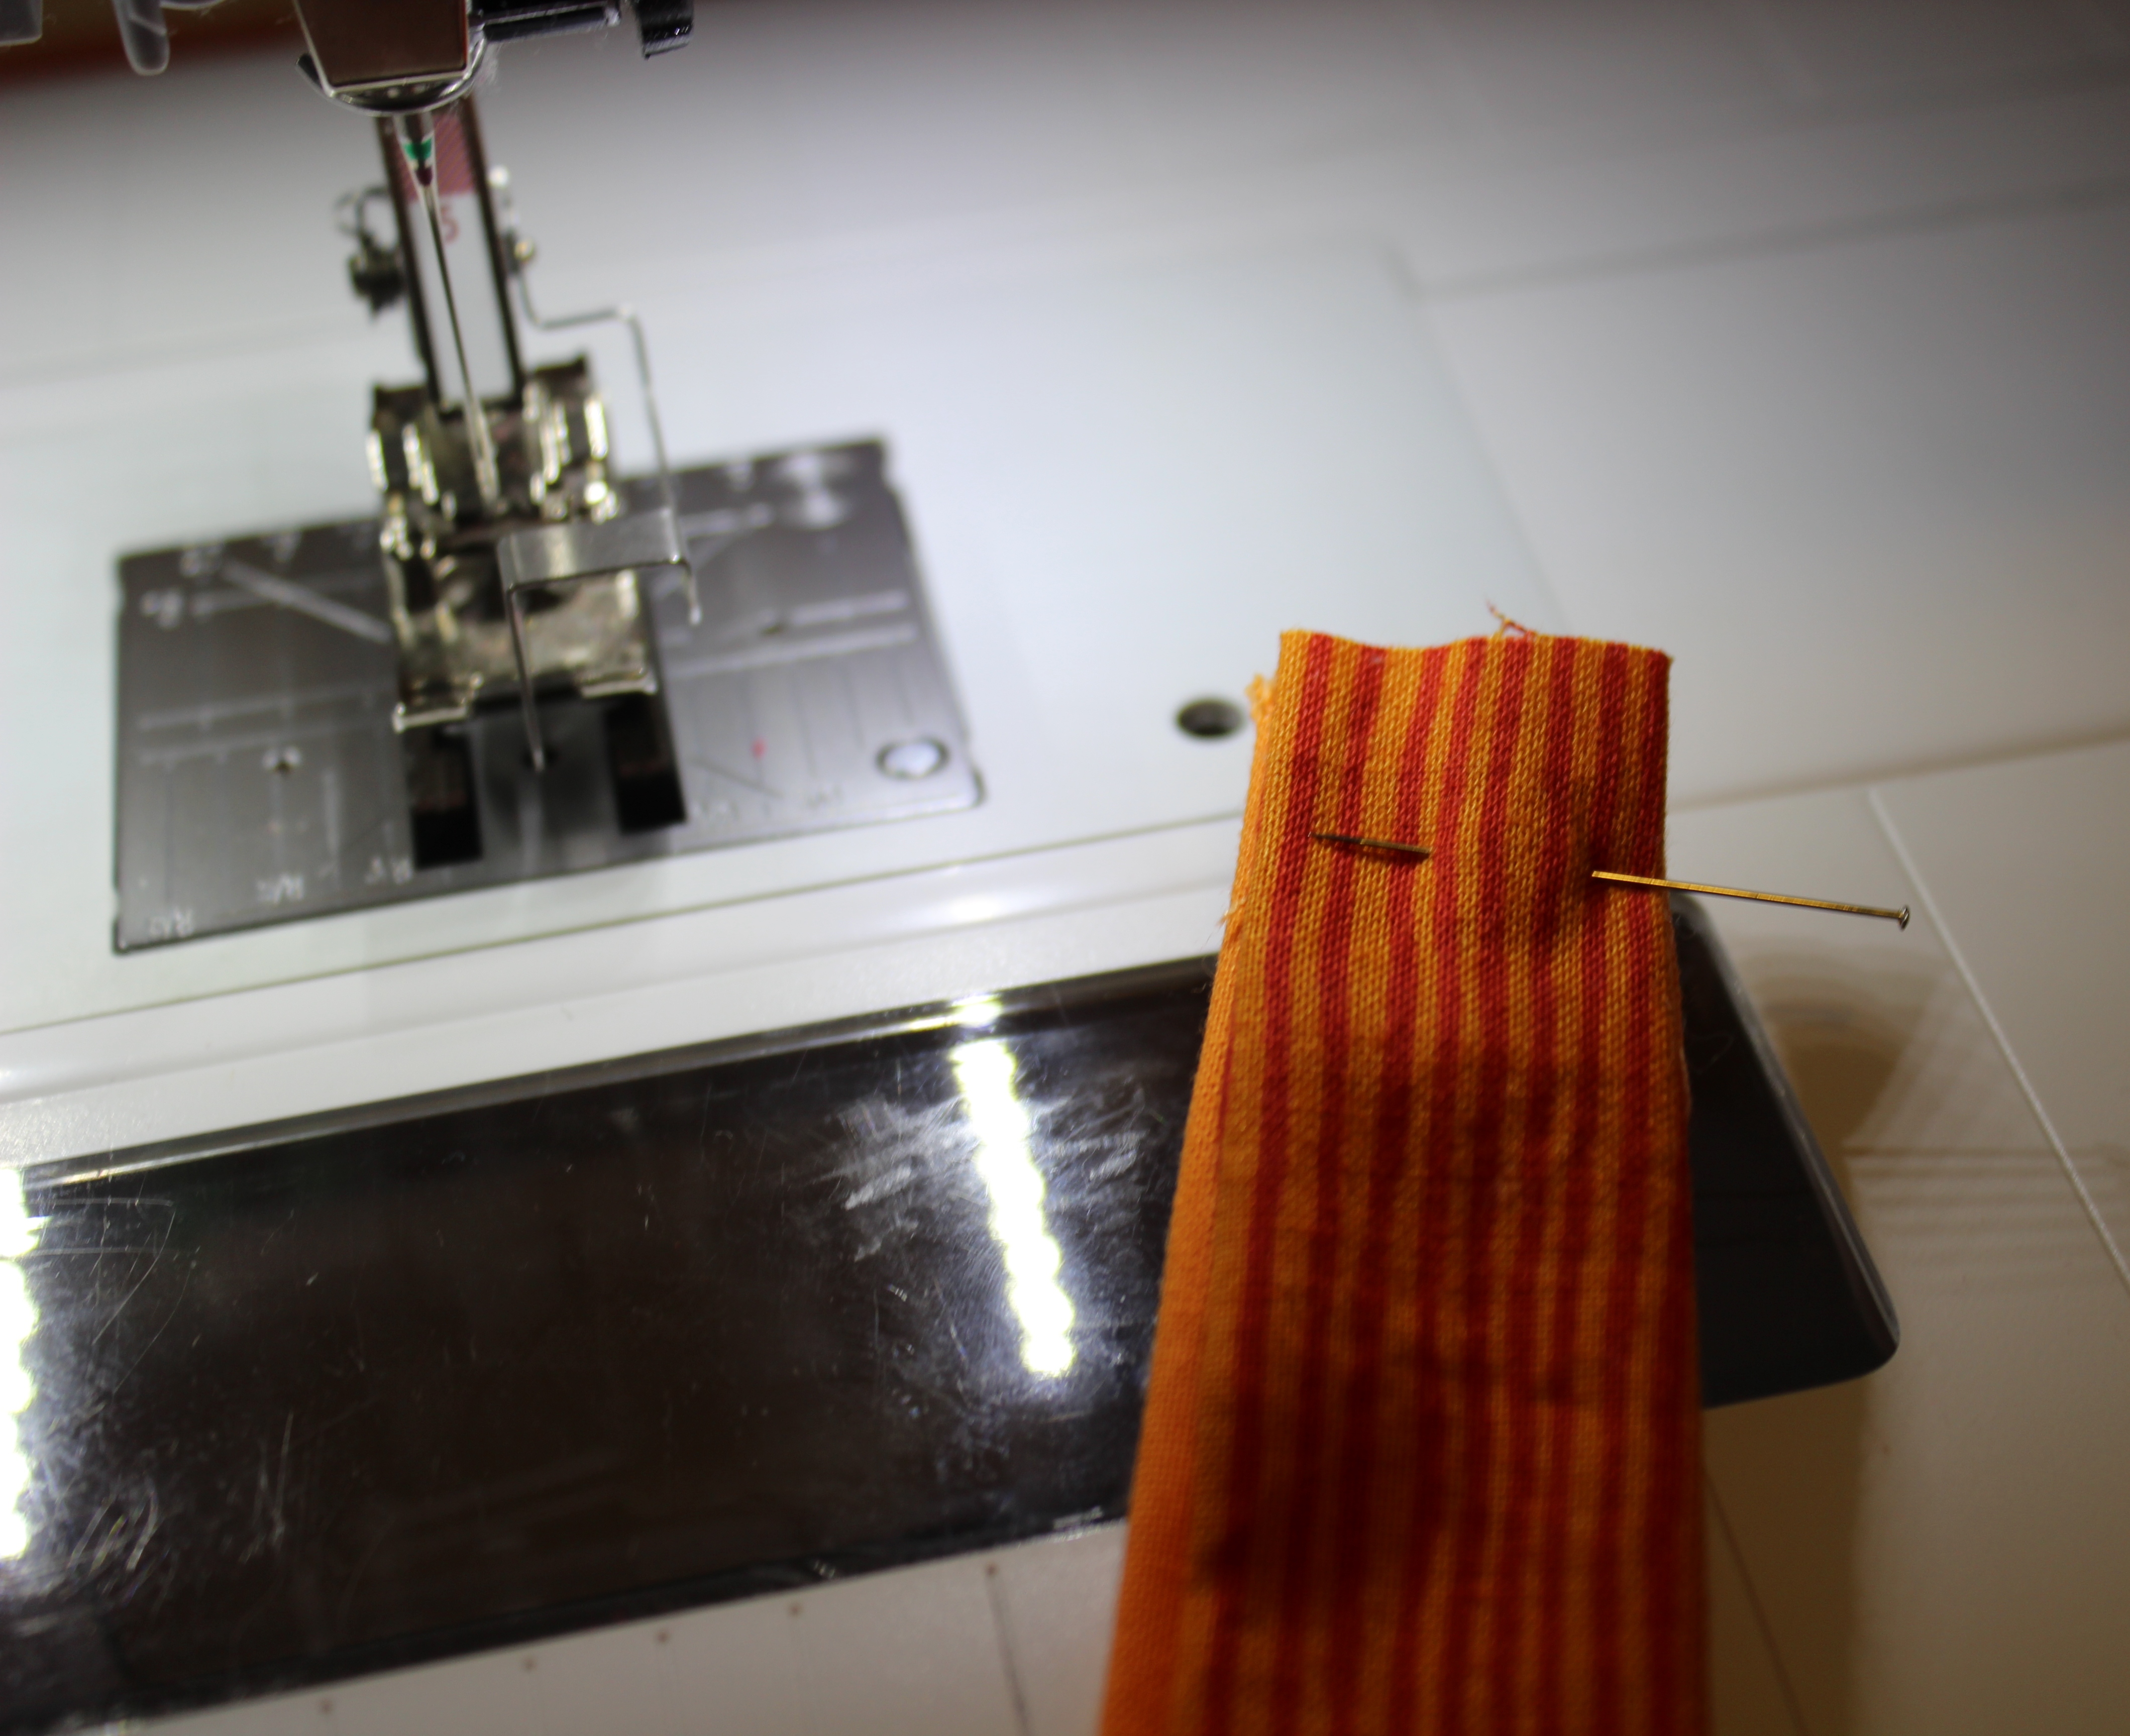
- Stitch down one side. The top stitching foot (Bernina Foot #5) makes it easier to stitch, but it’s not required.
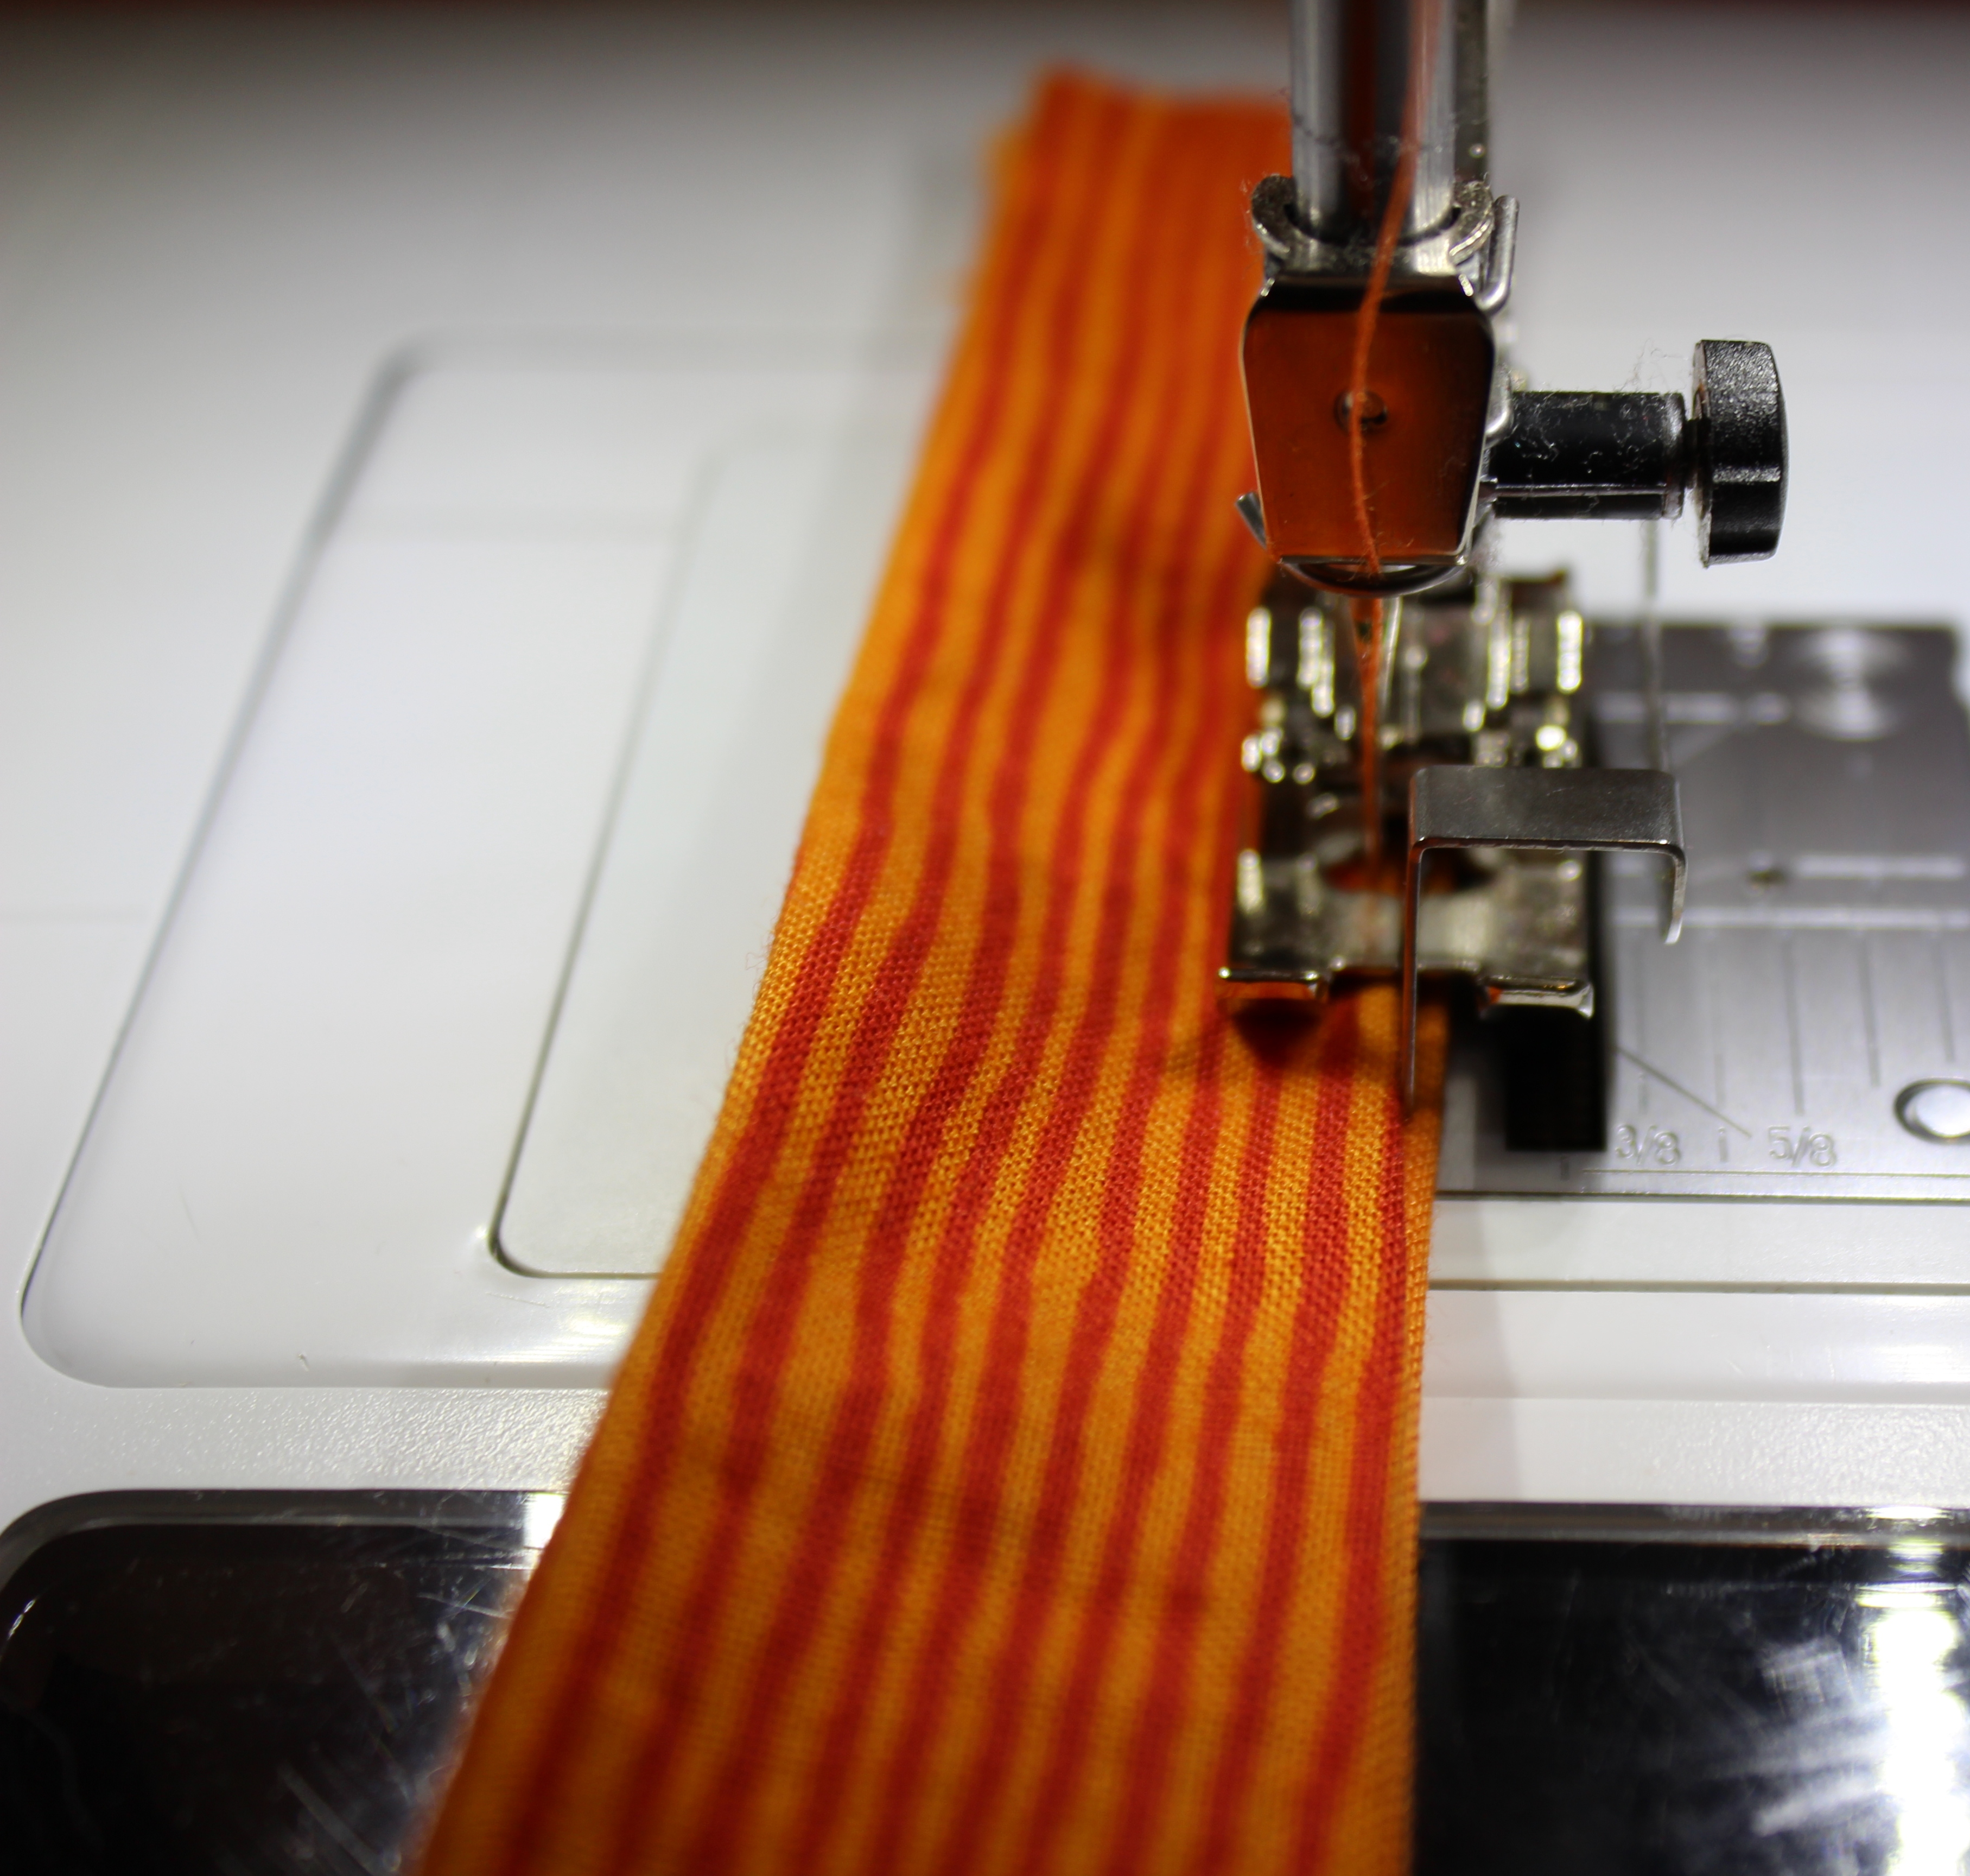
- Stitch down the other side.
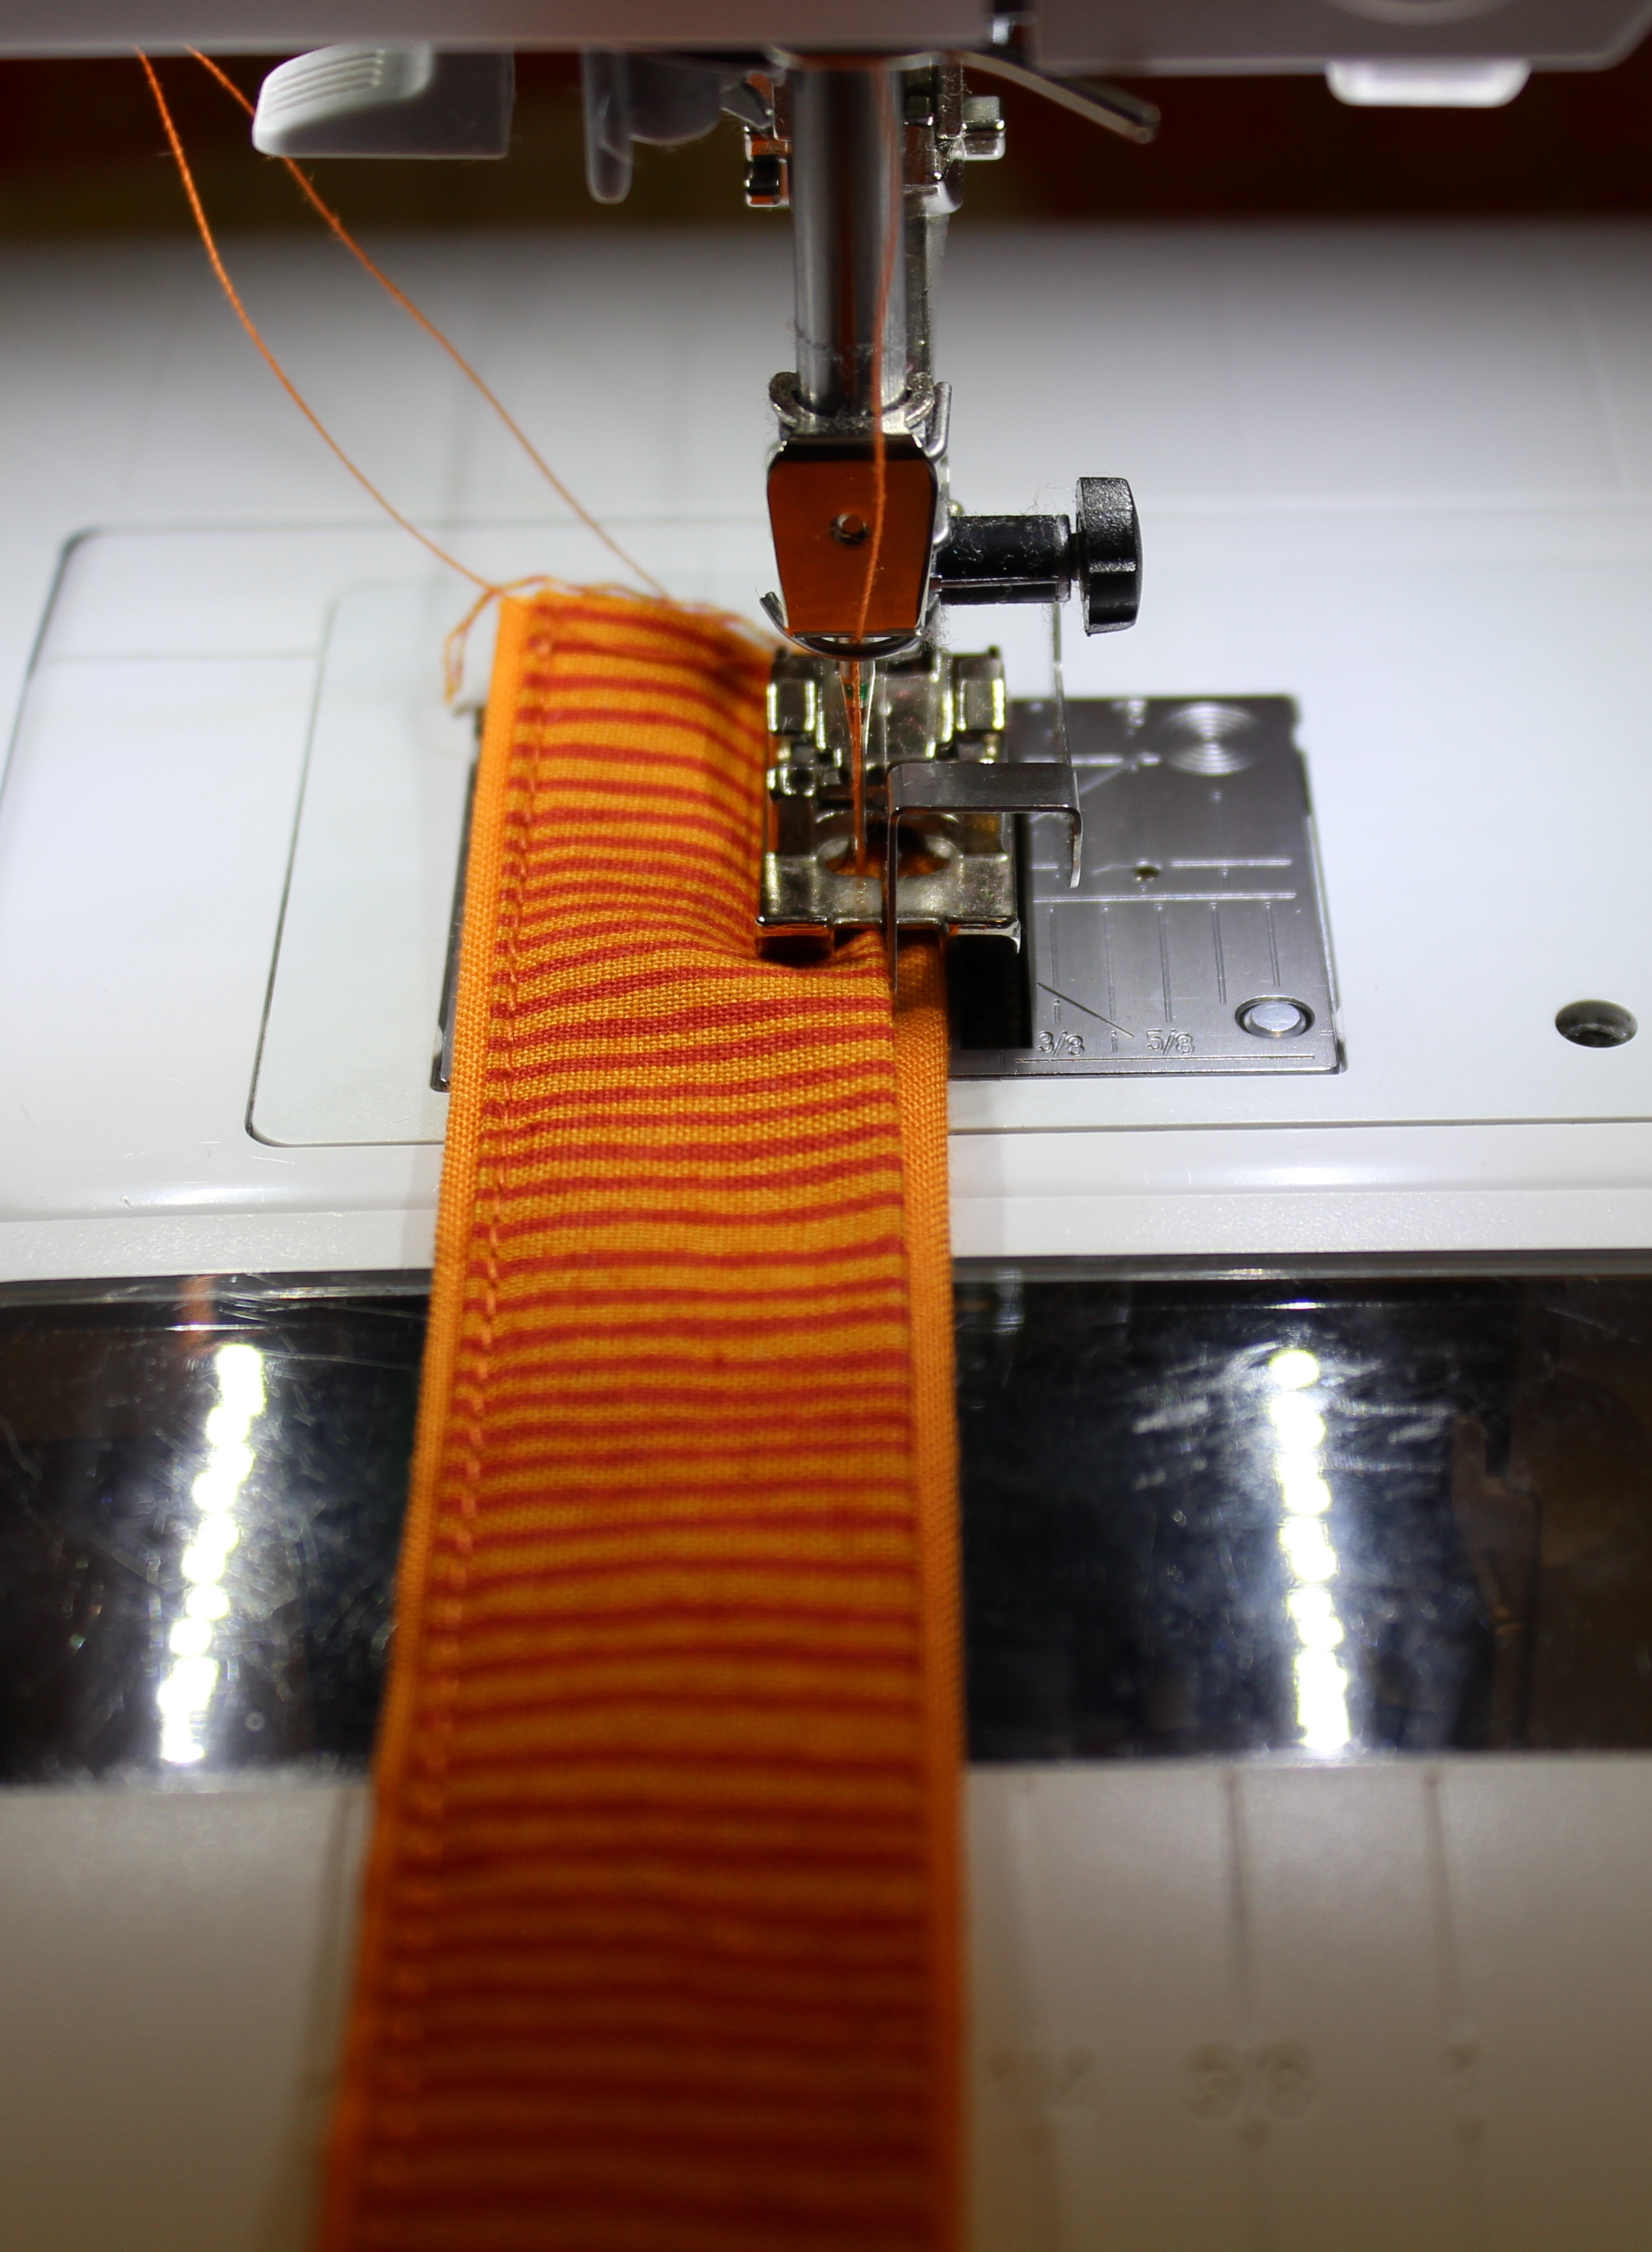
- Repeat to make the other handle. You should now have two (2) handles, each measuring 1.0 inch by 25.0 inches.
III. ADD HANDLES
Now it’s time to add the handles to the sling.
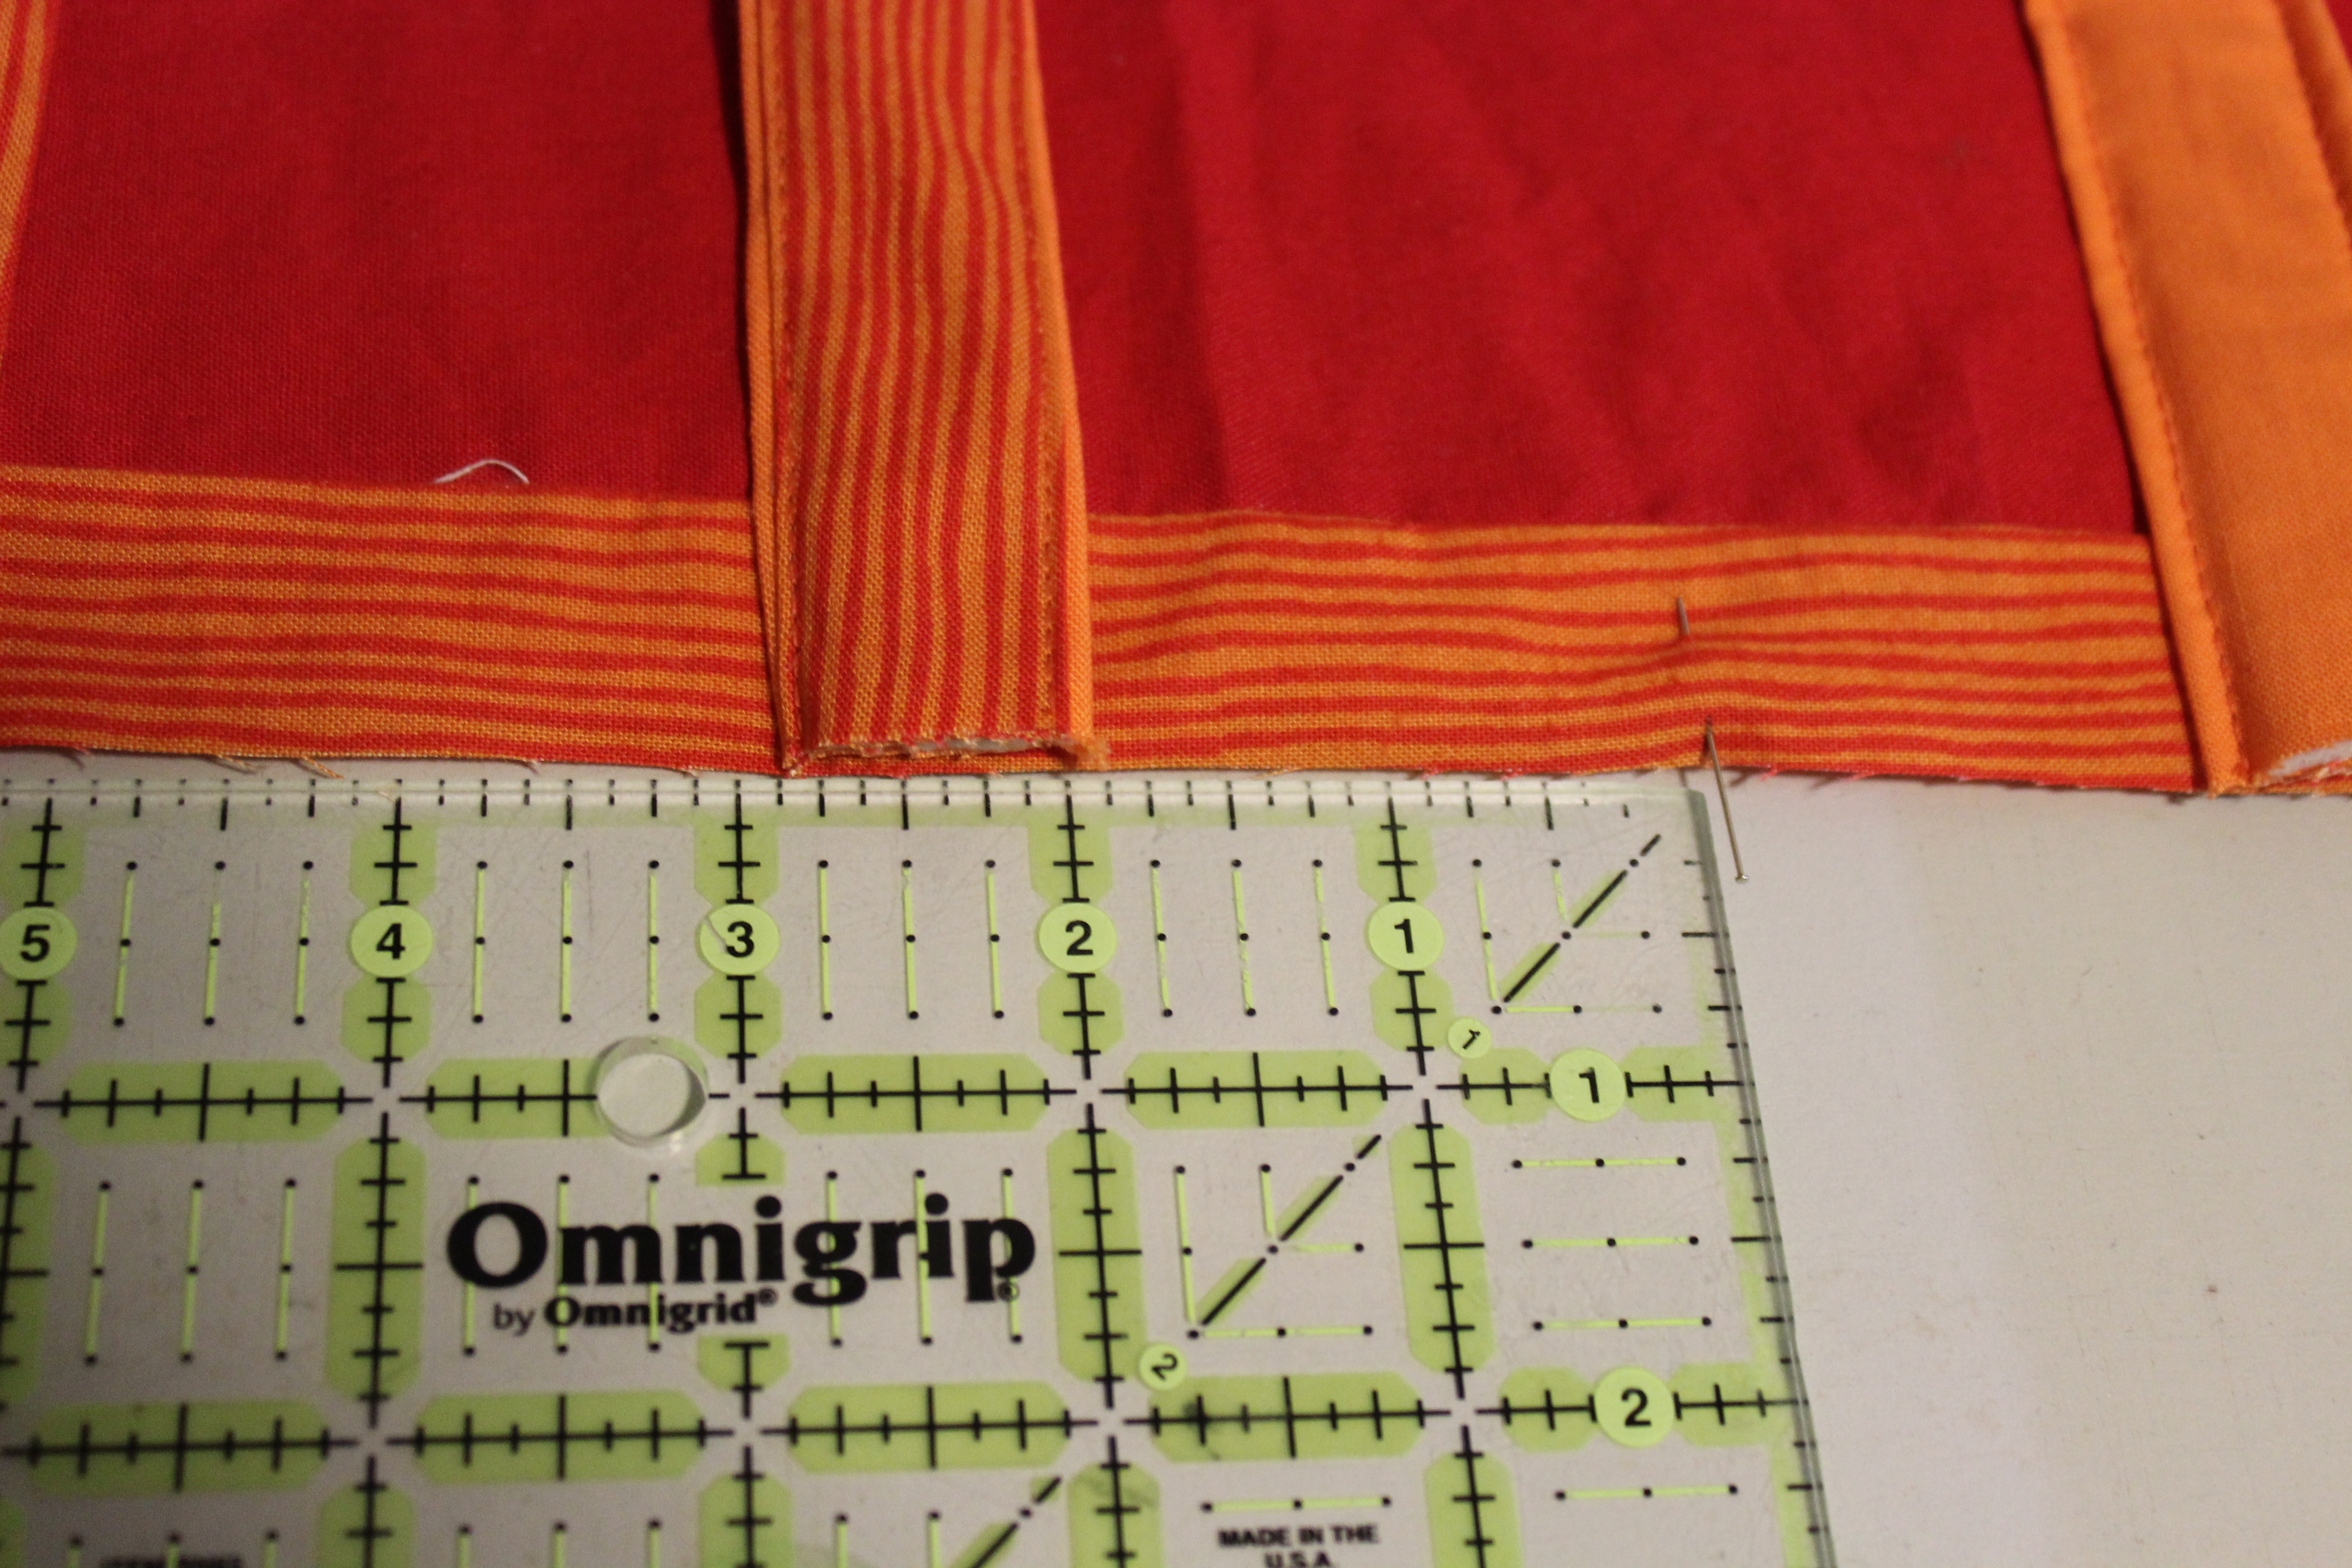
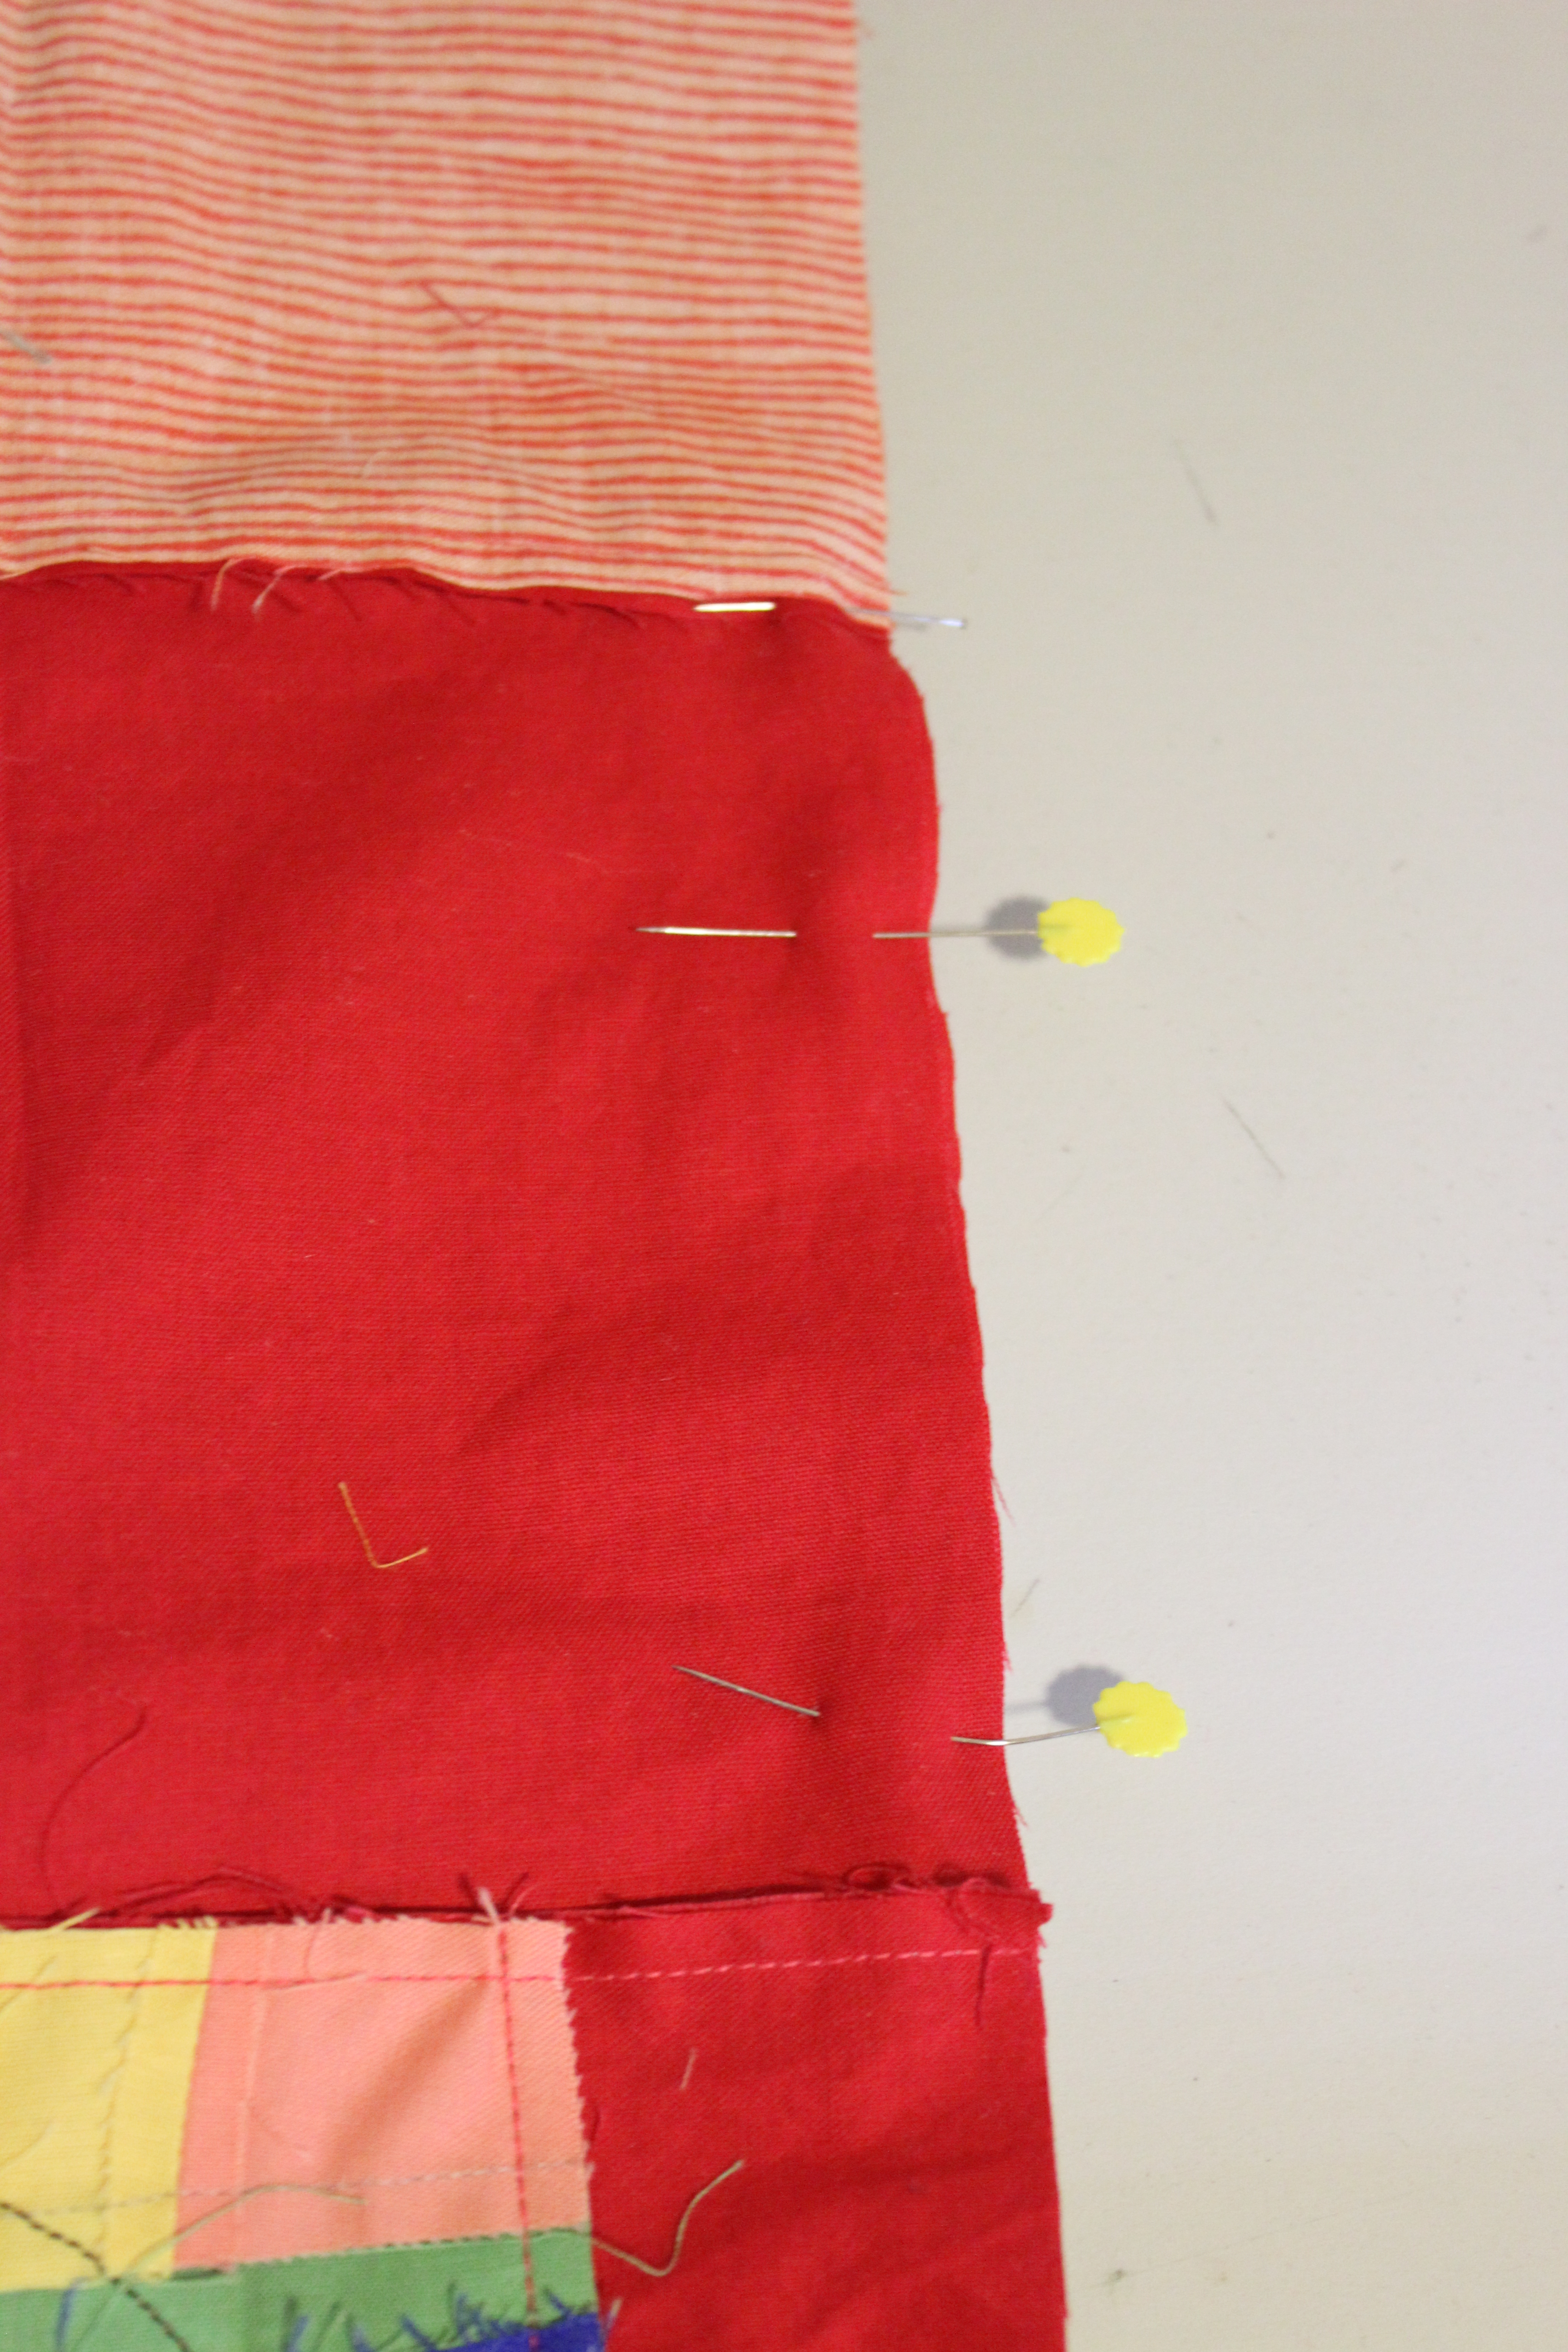
- Pin in place to the short side of the rectangle. Measure where the middle is. The middle should be 5 3/4 inches.

- Then measure 2.0 inches from the middle to the left and 2.0 inches from the middle to the right.
- Place the edge of the handle at the 2.0 inch mark.
- Pin in place, making sure you don’t twist the handle. (in this photo the handle is twisted, but I noticed that before I stitched in place)
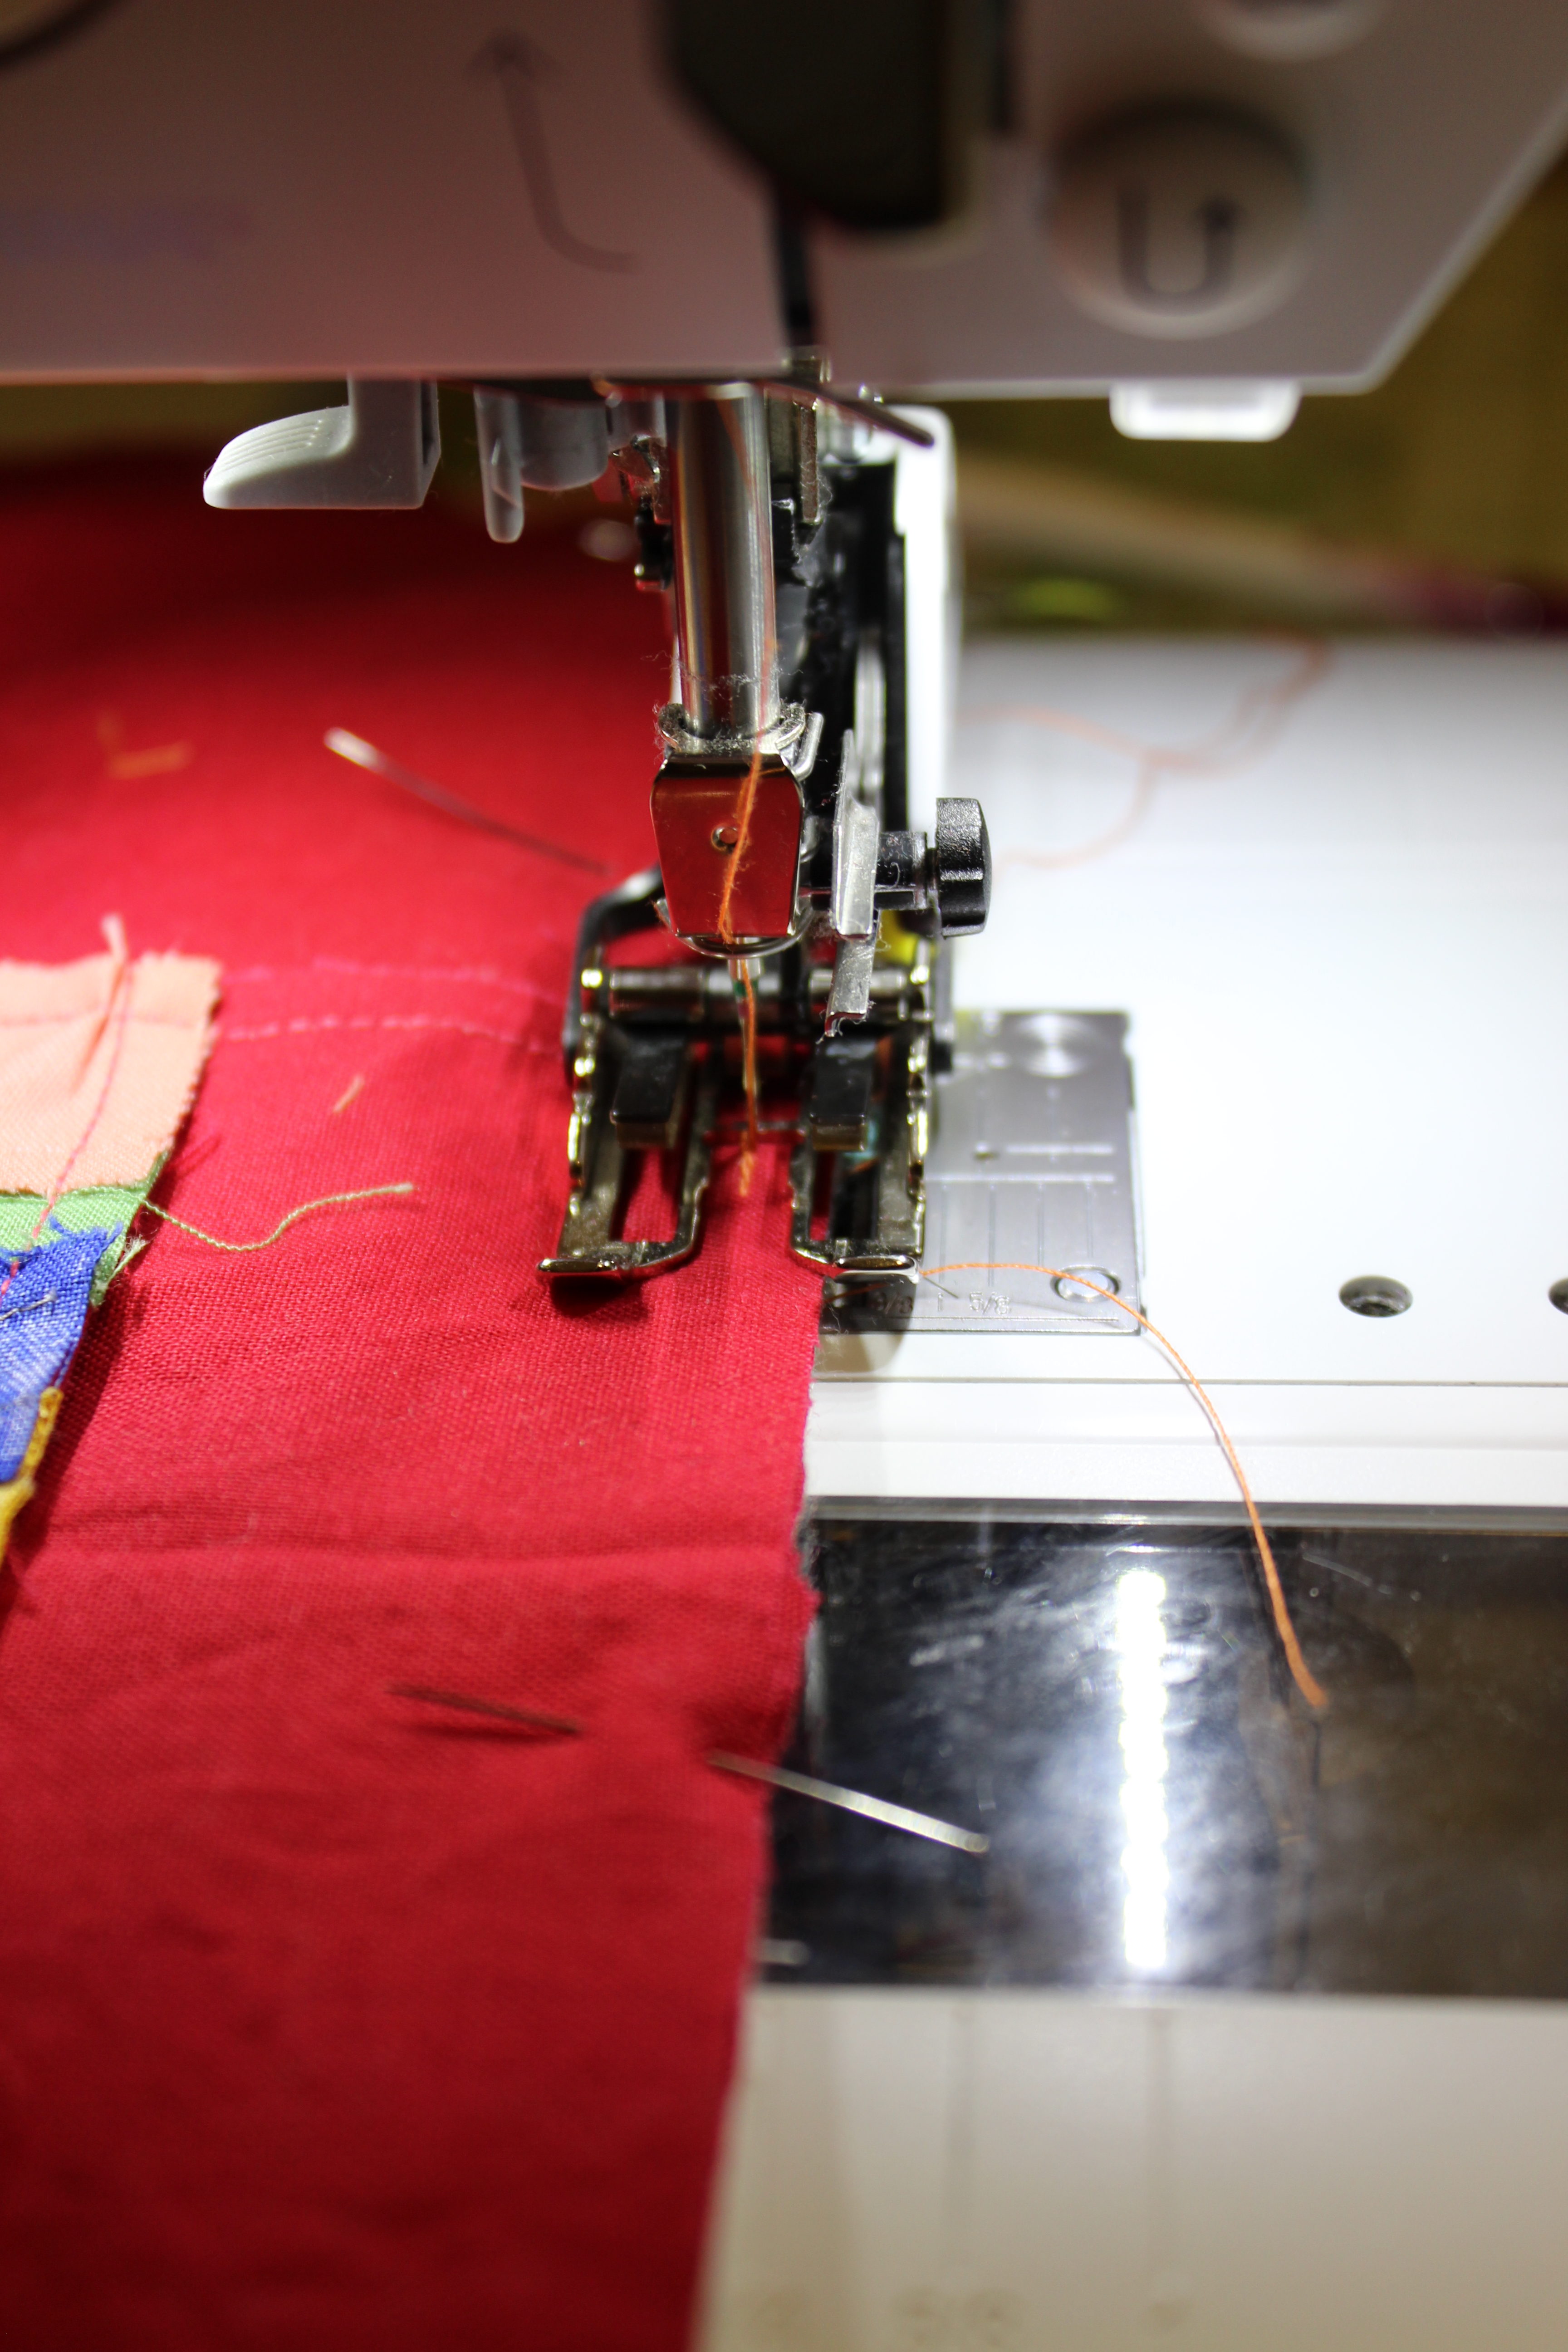
- Stich in place about one-eighth inch from the edge of each end. You have four ends to stitch.

IV. MAKE THE REST
Now it’s time to place all the pieces together to make the sling.
- Place one piece on top of the batting. Pretty side down. Then place the other piece on top of the batting on the other side. Pretty side toward the other pretty side and the batting. The batting is now sandwiched in between the two pieces:
- Stuff the handles inside. They should be laying against the pretty side. The photo shows a faint outline of the handles.
- Pin in place around all four edges.
- Mark a section where you won’t stitch. That’s the place where you’ll turn it inside out:
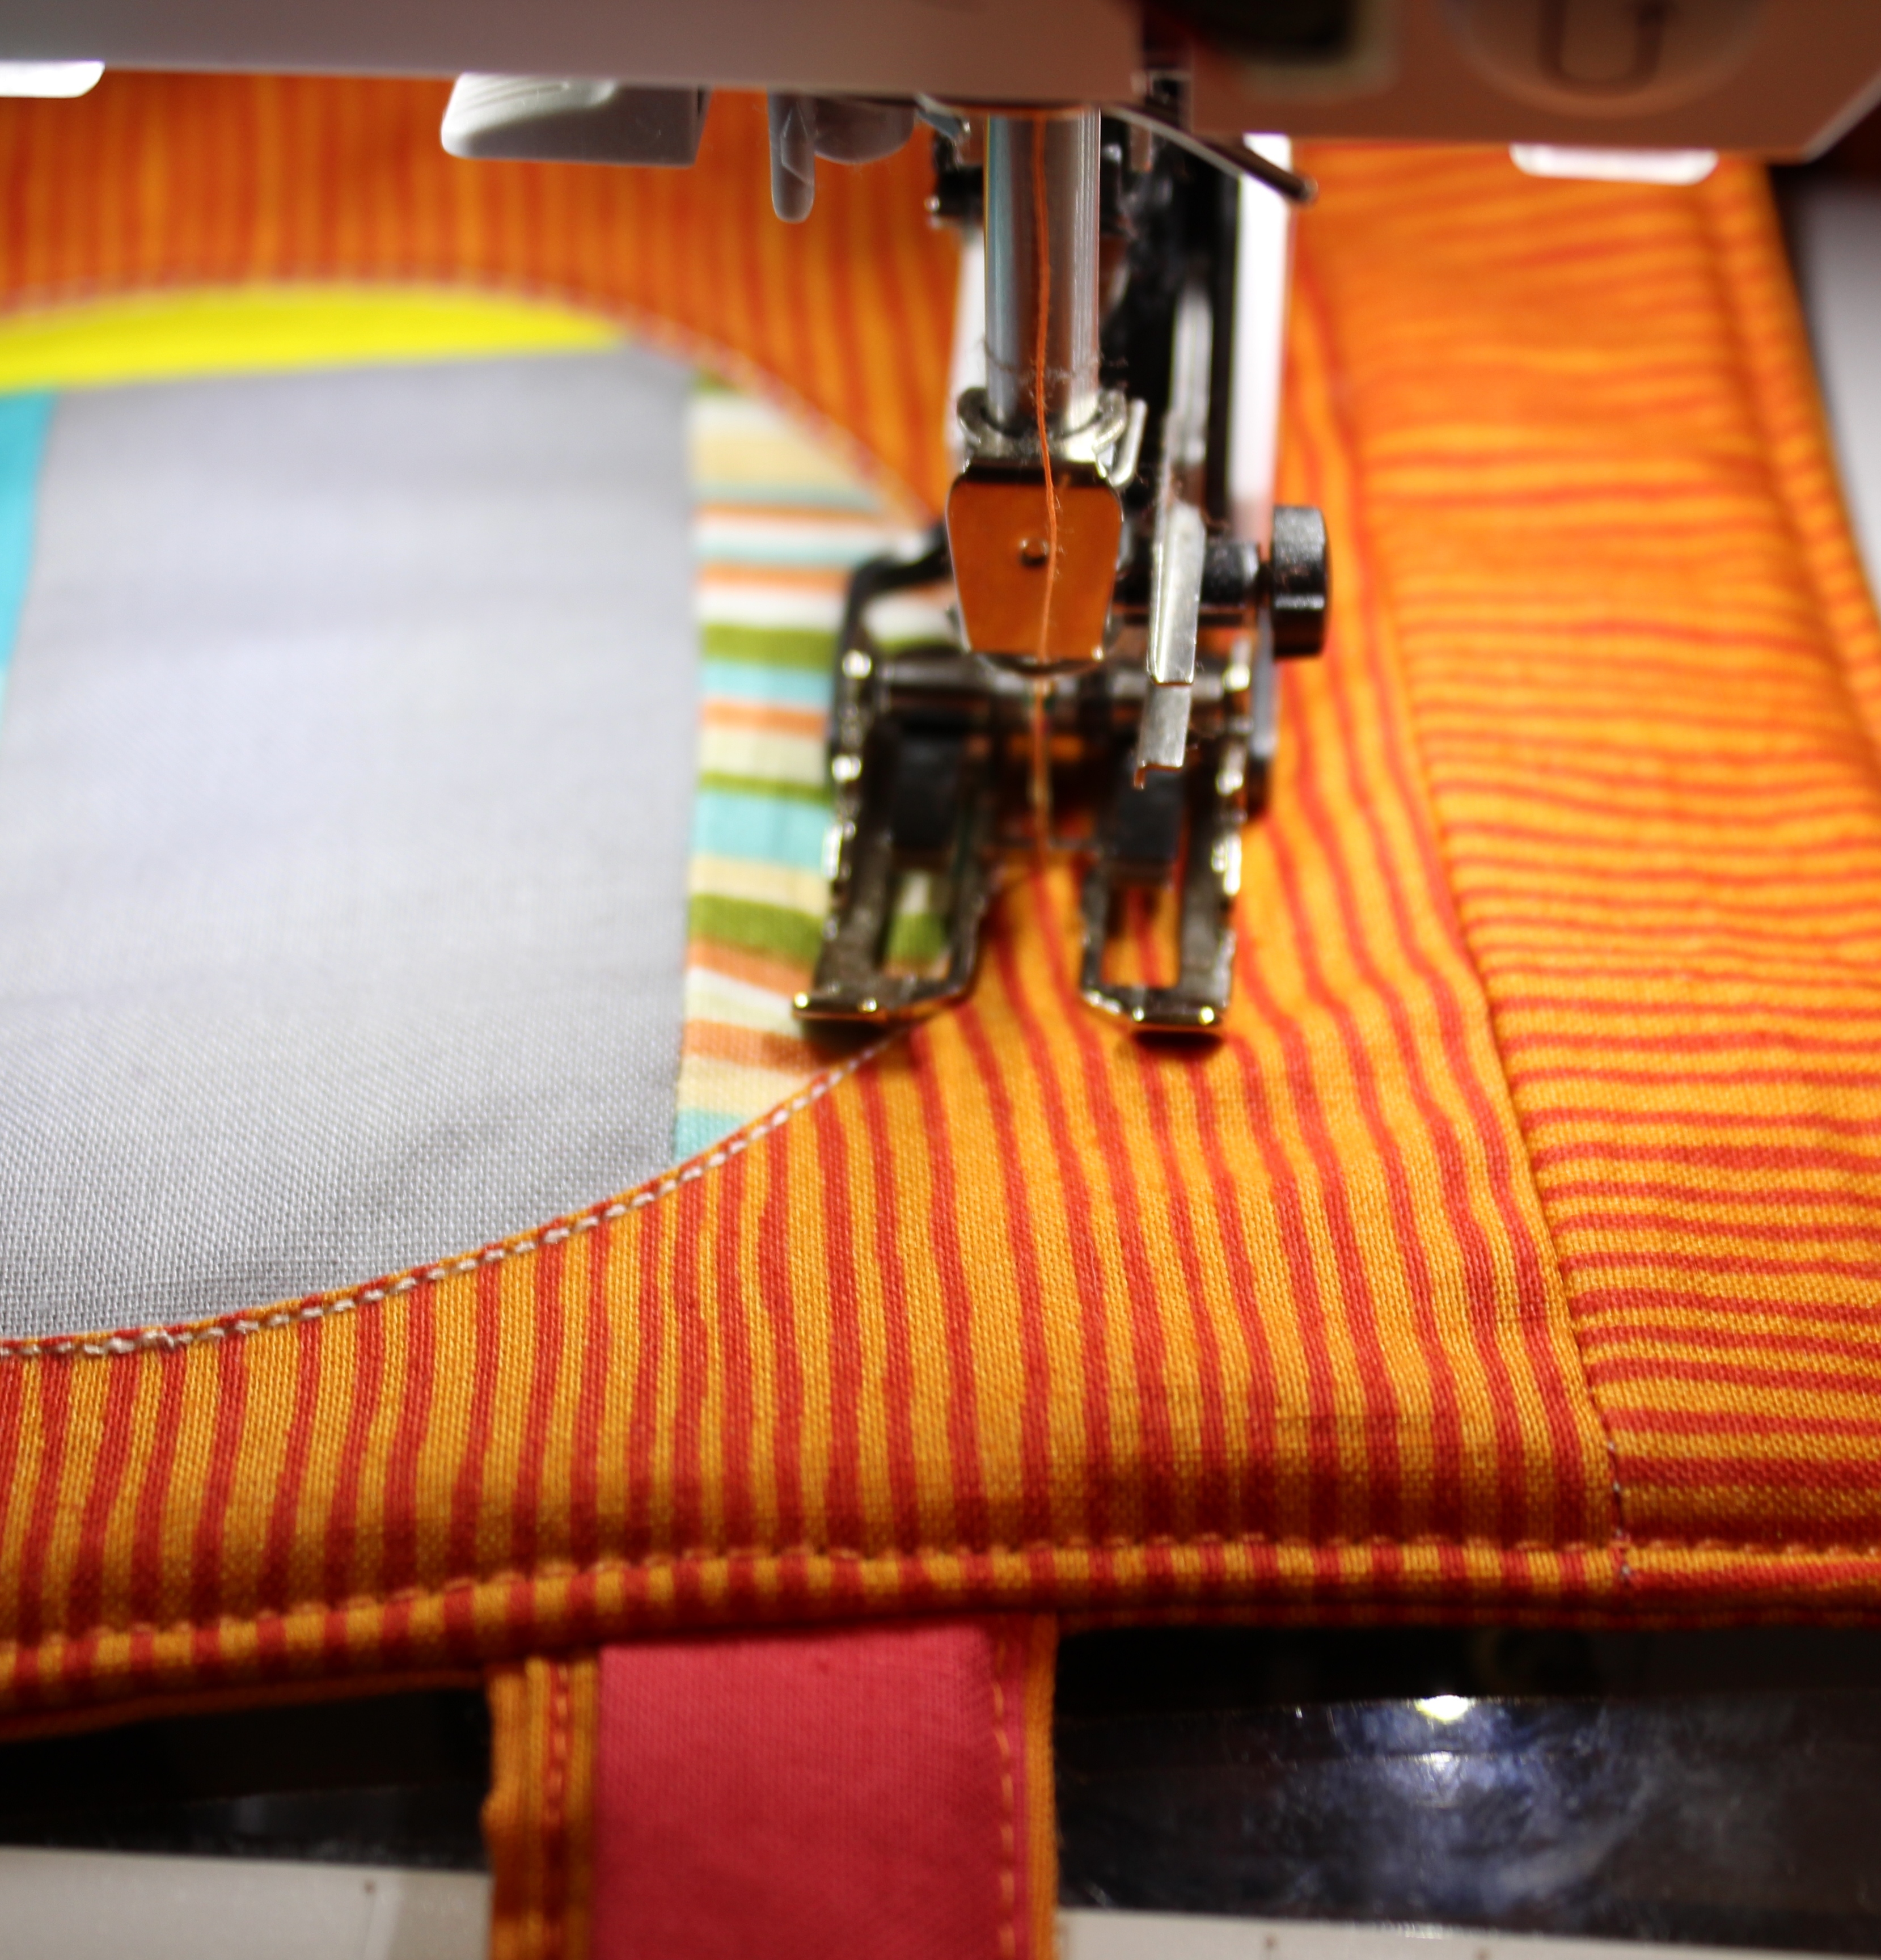
I used a walking foot to stitch one-quarter inch from the edge around all four sides of the quilt sandwich:
- Turn the quilt inside out, pulling the handles out first.
- Take some time to make the corners as sharp as possible.
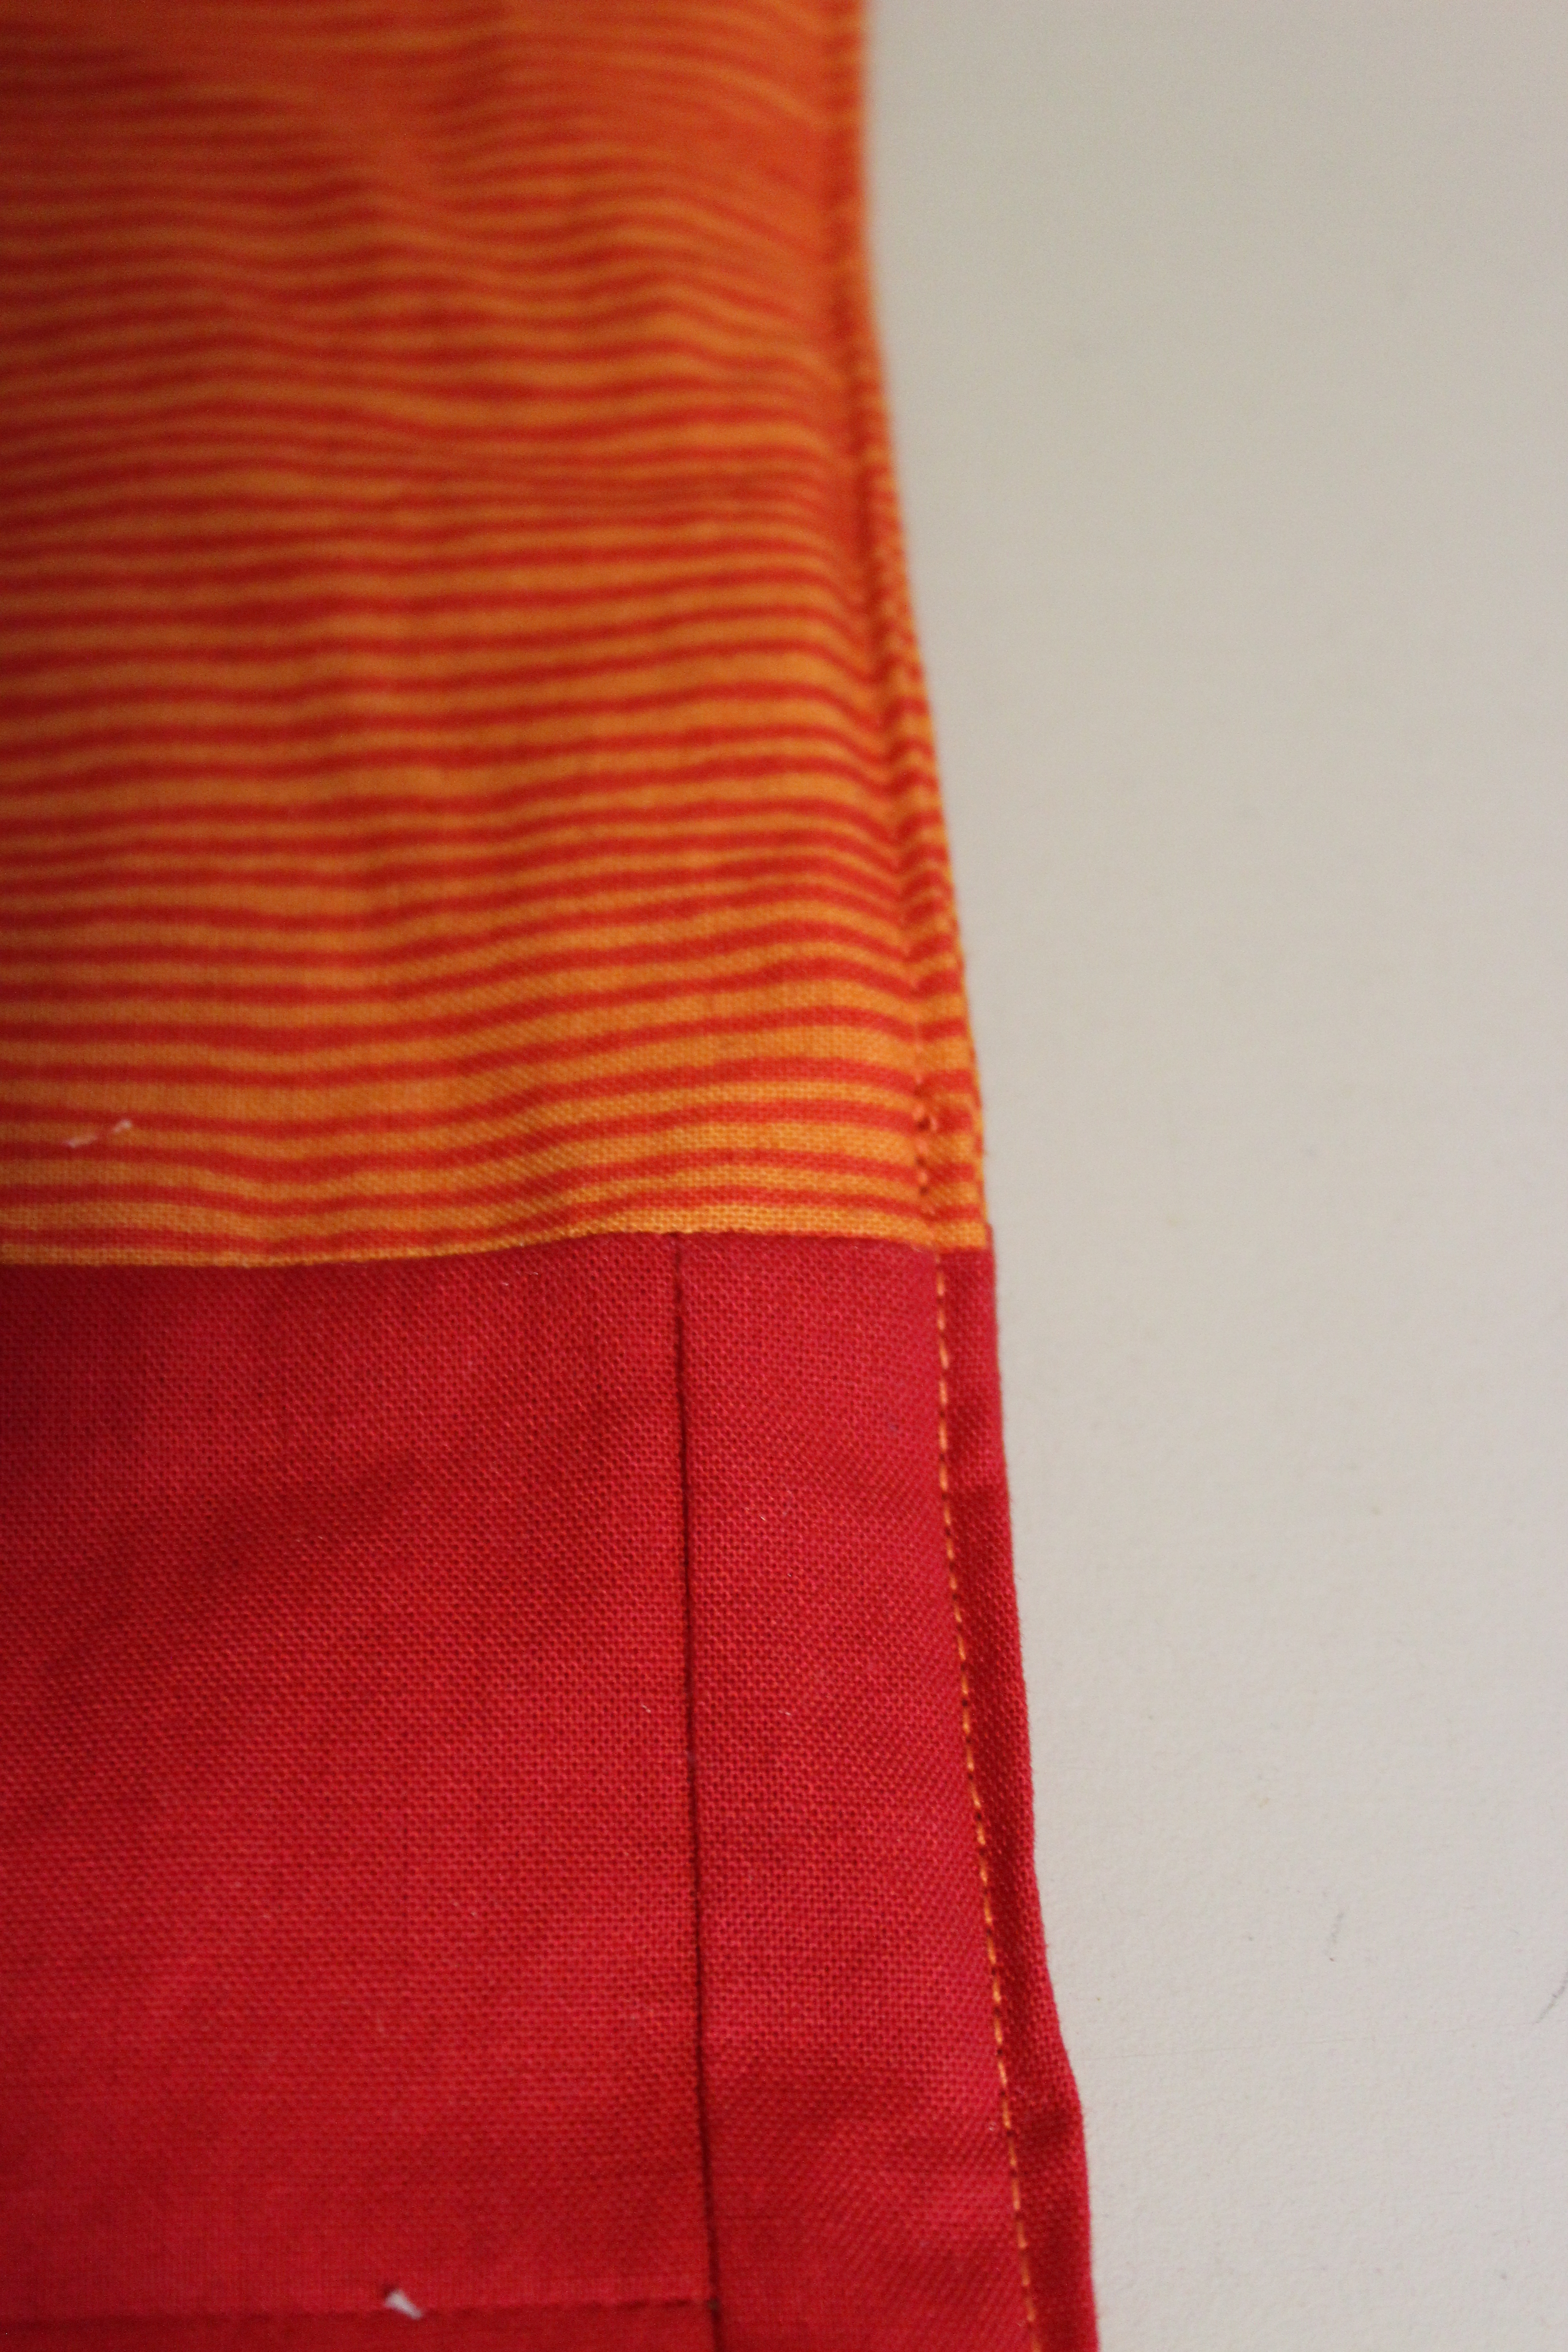
- Stitch down the opening.
V. QUILT IT
I waited until the sling was finished to add some quilting. I stitched across a few times and around one of the circles.
VI. BREATH
The yoga sling works as designed. I enjoy taking my quilts to yoga.
I celebrate my finished projects, and I don’t fret over the unfinished ones. I appreciate the moment.
Taking a breath,
Wanda
I’m linking up with Late Night Quilter’s Tips and Tutorials Tuesdays.
Discover more from Wanda's Life Sampler
Subscribe to get the latest posts sent to your email.

Nice! And we need a pic of you carrying it to see how it works 😉
LikeLike
I’ll have to enlist my husband for that.
LikeLike
Hi Wanda. This is absolutely gorgeous! My mother does yoga…. so your mat-carrier is a good idea for a gift. Thank you for sharing.
LikeLike
This would make a great gift. I want to figure out how I can create a pattern, free of course, that I could offer on my blog.
LikeLike
Hello Wanda as your Liberated Group Leader I am so pride of your accomplishments with our group. Thanks for using a part of me in your Yoga Sling.
LikeLike
Betty, you have been such a wonderful leader and friend to me. I’m honored to have a part of you in my Yoga Sling.
LikeLike