Recycled Storage

Getting organized this month? I like using things I already have in new ways, particularly in my sewing space:

I. Glassware

I have zippers in a vase and in a glass jar:

VaseJars

I use bowls for yarn:

Yarn

II. Ladders

I use a not-so-old wooden ladder as shelving for my scrap-made fabric bins:

LadderBoxes

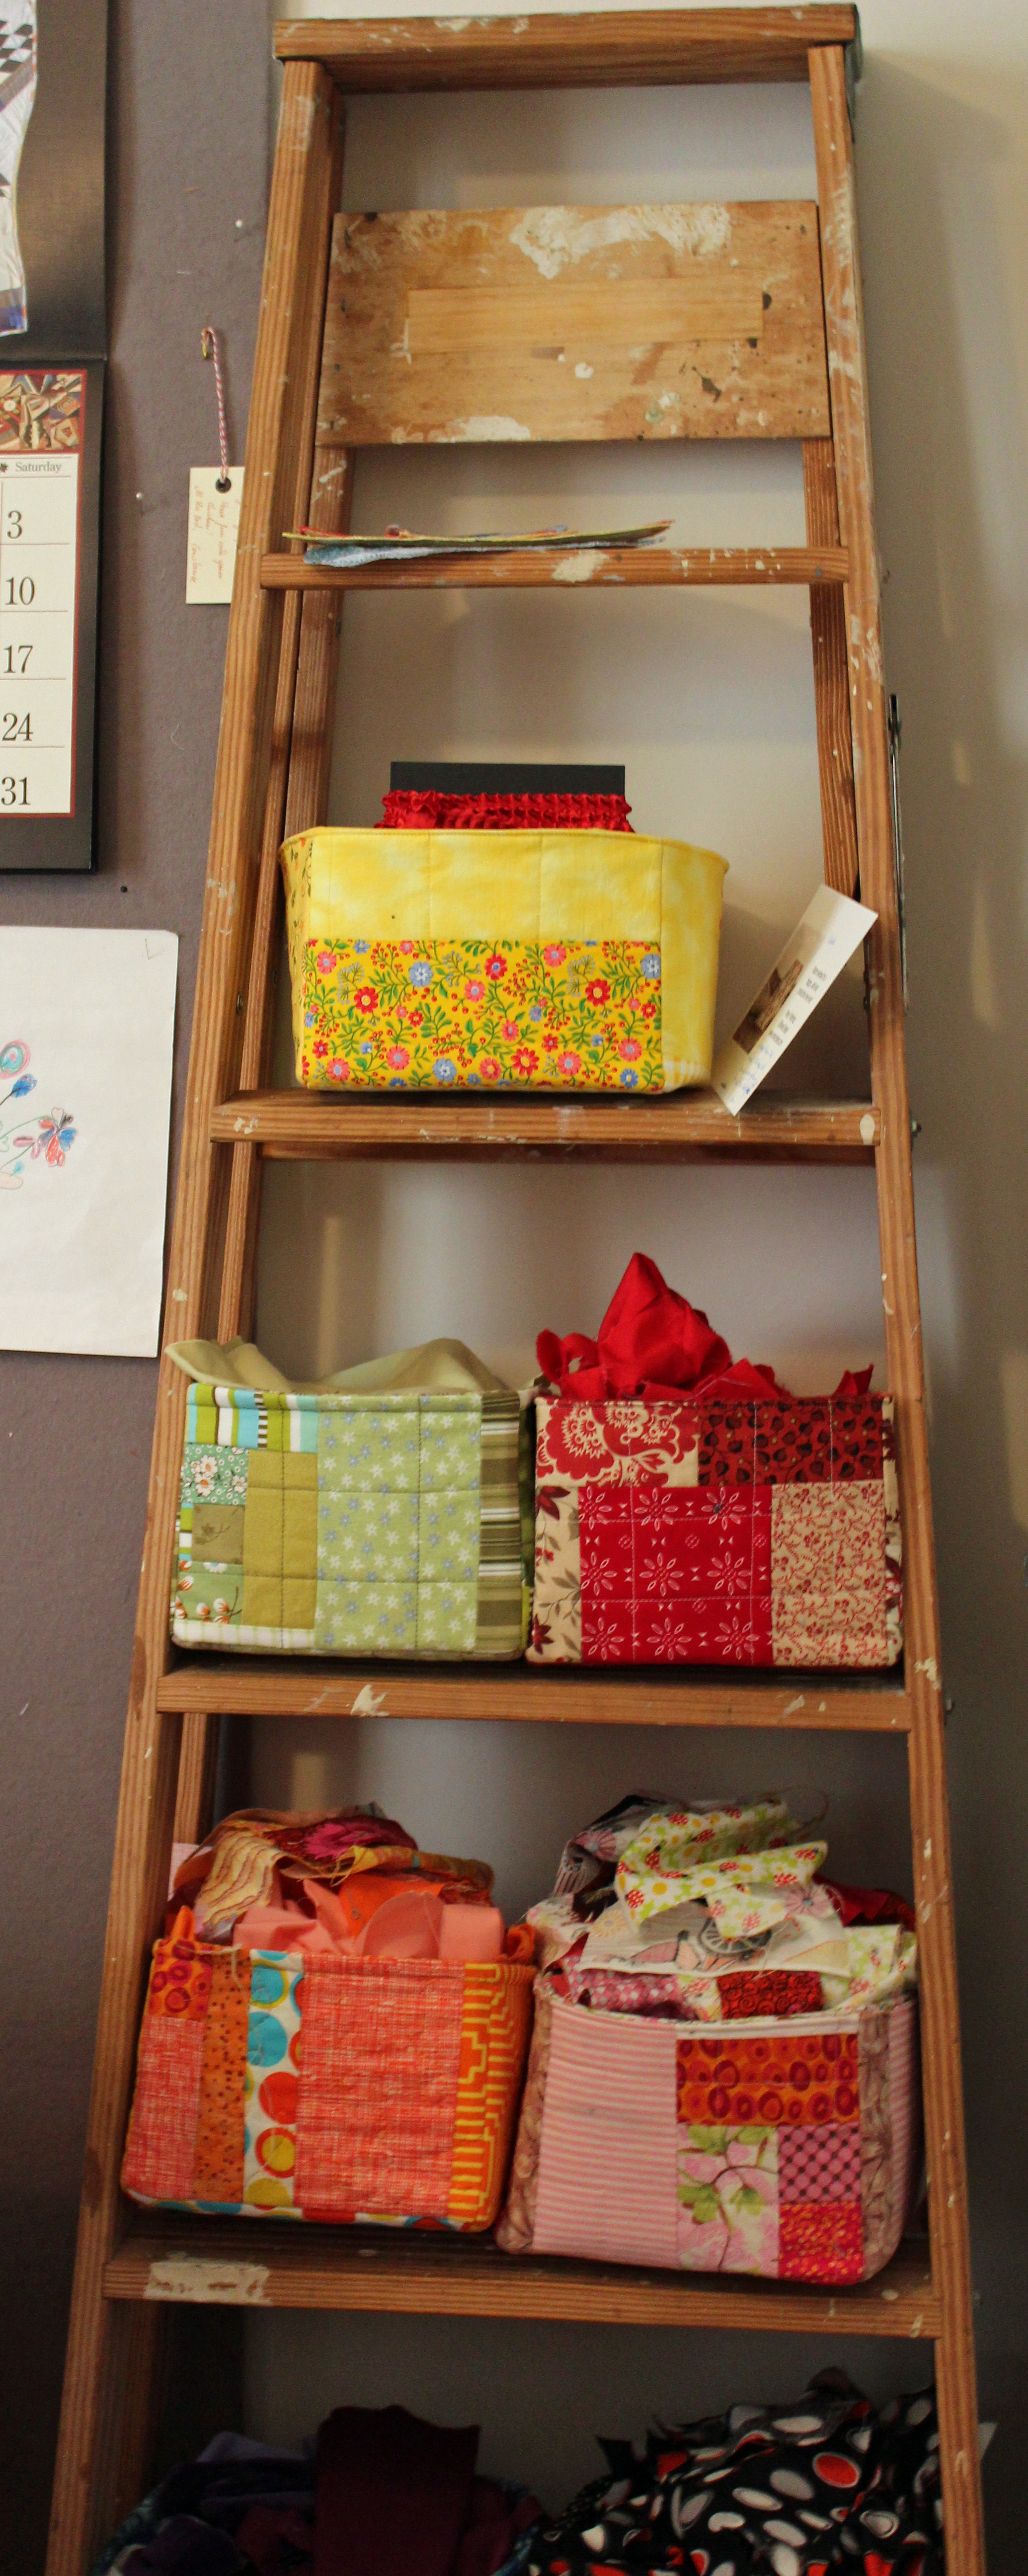
I got the directions for the bins from the book, Sunday Morning Quilts. I made them all with scraps and used cardboard from cereal boxes for the sides and bottoms. If I made them again, I’d use heavier cardboard to give them more stability.

III. Crates

I have an old Coca-Cola crate for holding fat-eighths and fat quarters:

CocaCola

At one time in my life, these crates were used to return glass Coca-Cola bottles to the store for a new set of bottles. No one does this anymore.
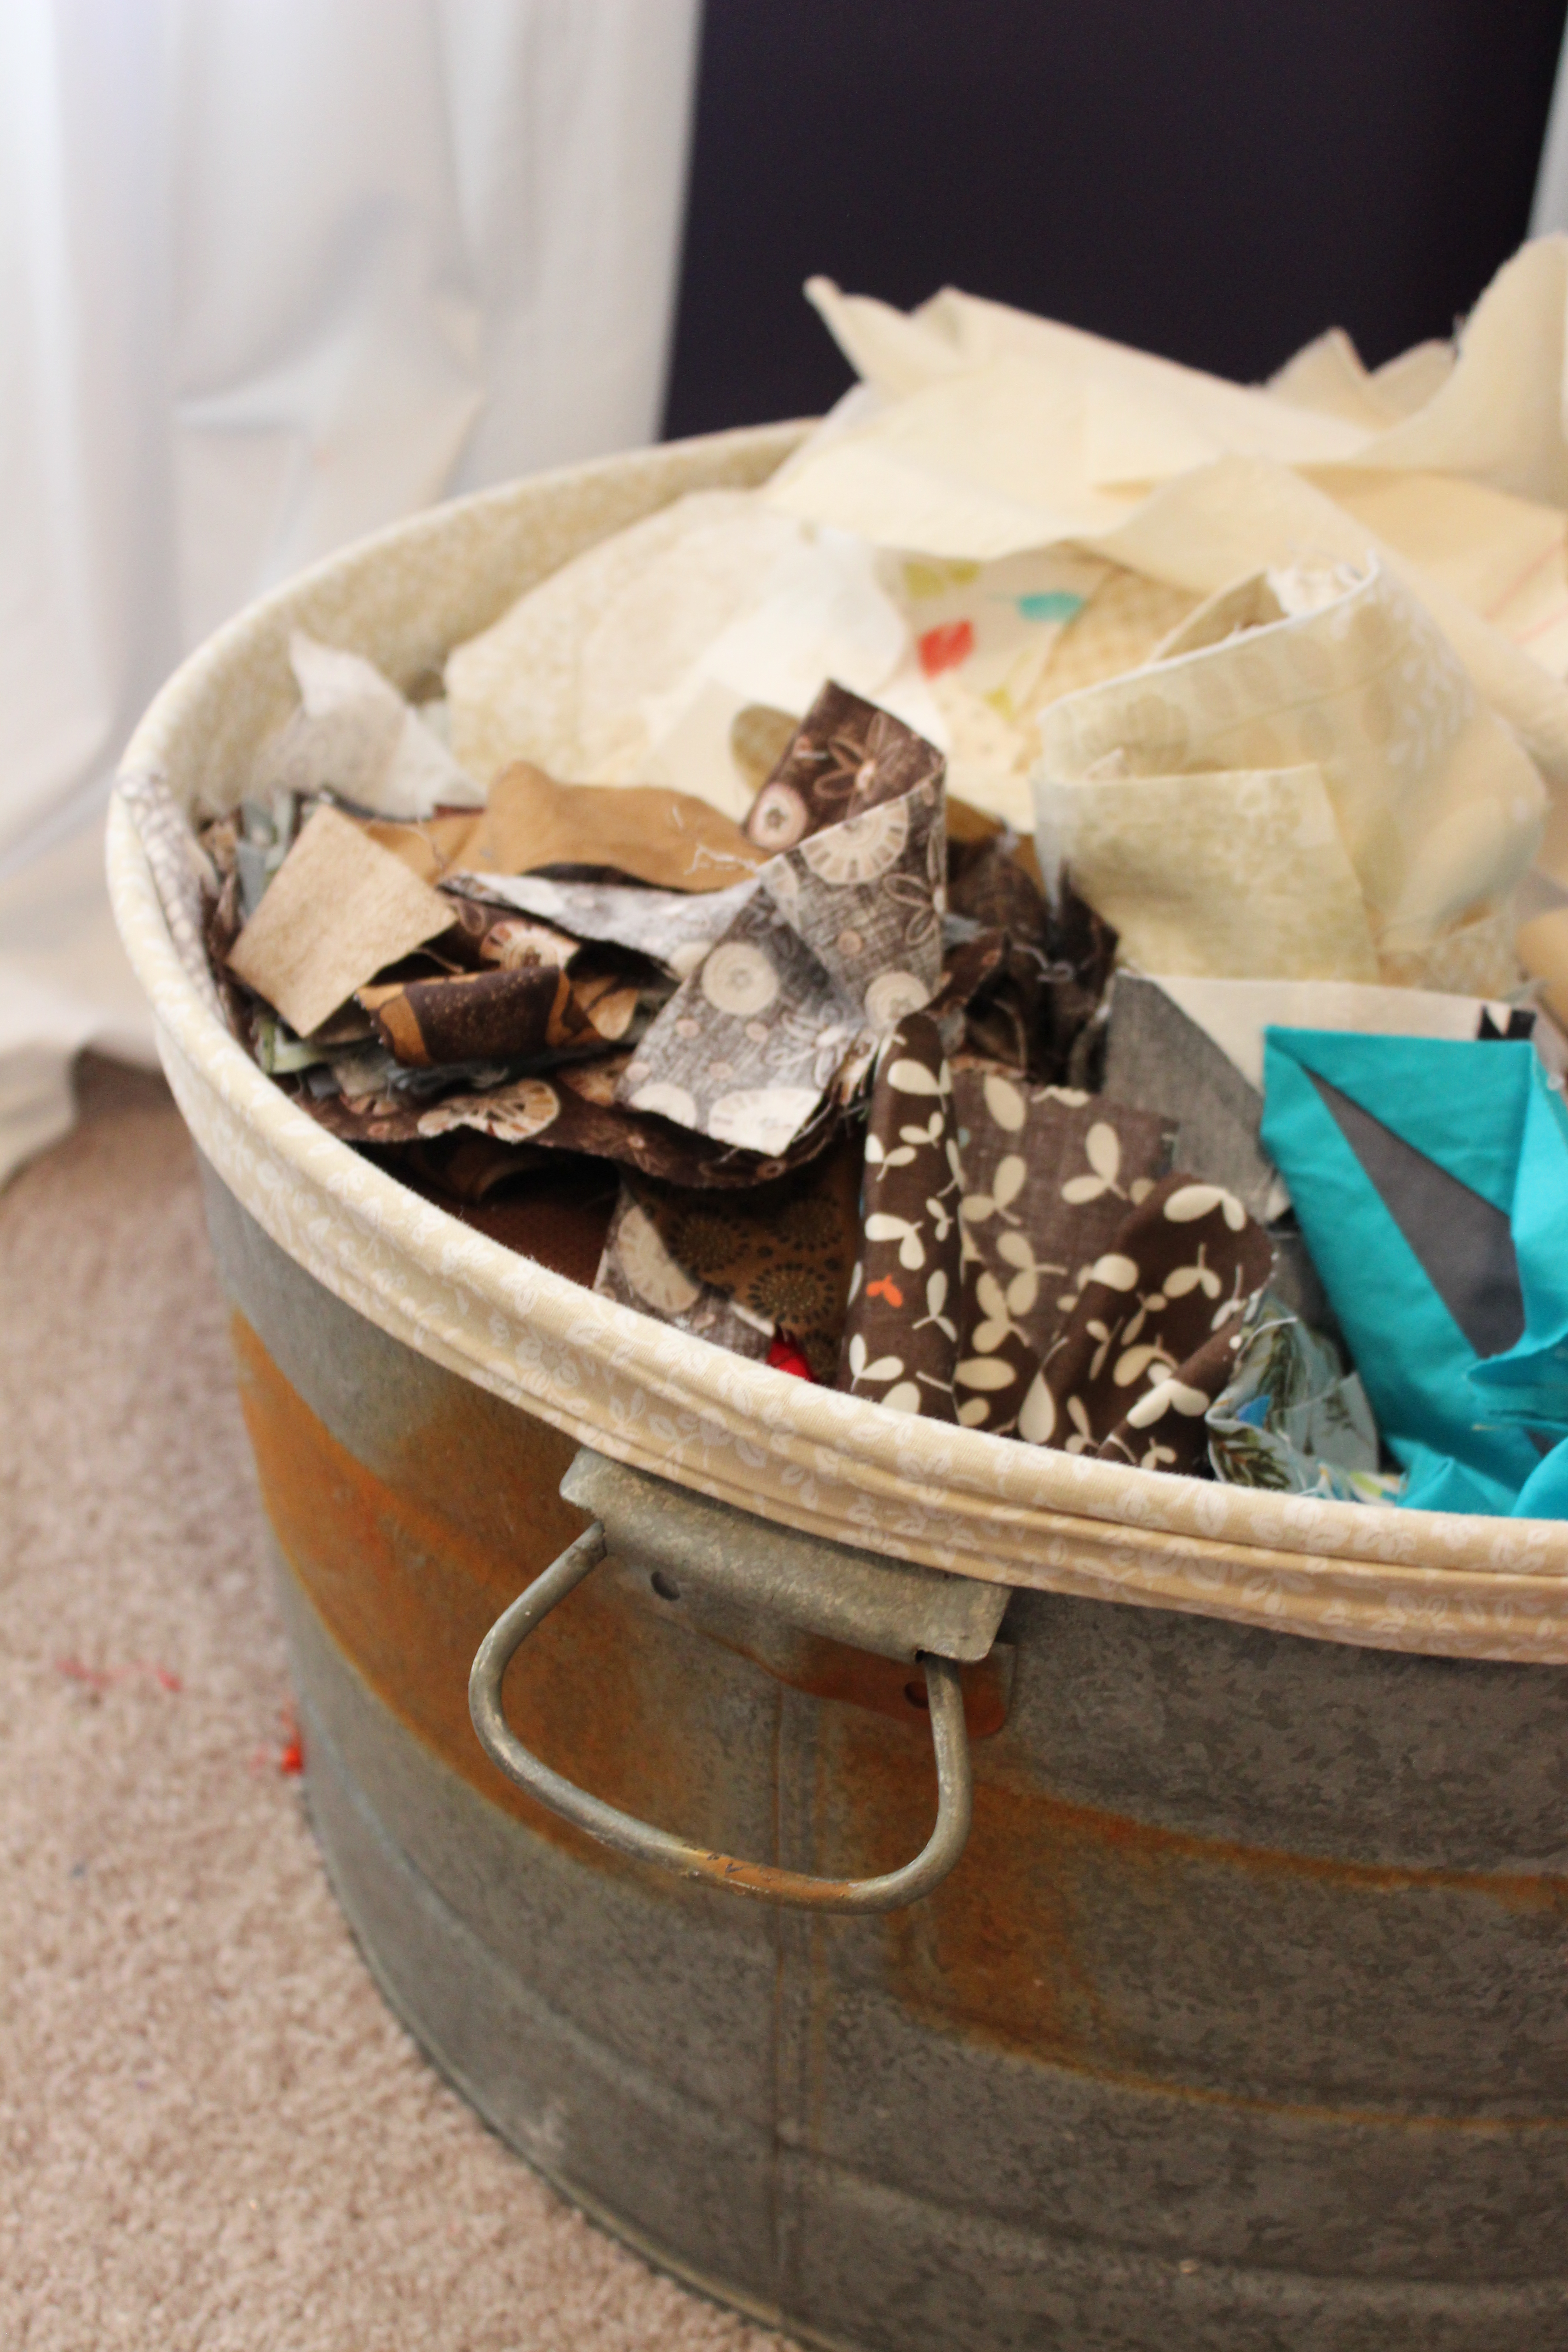
IV. Wash tubs

For overflow scraps, I have this wash tub. It’s great for parties, too — just add ice and beverages.

IMG_6085

You may want to visit this site for creative craft room storage ideas.

Happy sorting and storing,

Wanda

Low-fat quilting.

I finished my Aerial quilt top, pattern by Carolyn Friedlander.

IMG_2883

I endeavor to quilt this on my machine, rather than hand quilting it. I purchased the book, Machine Quilting in Sections. Don’t Finish Another Quilt Until You Read This Book, to learn how to reduce the bulk of the quilt.

IMG_2884

I’m trying “Low-Fat Quilting” first.

I didn’t have a large floor to assemble the quilt sandwich. I took over the local high school’s weight room on a Sunday afternoon. (thanks to my sweet husband who is the head football coach)

The back of the quilt, attached to the floor with duct tape.

The back of the quilt, attached to the floor with duct tape.

Then the batting.

Then the batting.

The top.

The top.

I pinned just the middle third of the quilt.

I pinned just the middle third of the quilt.

I pulled the top and back away from the batting and cut the batting in a wavy line.

I pulled the top and back away from the batting and cut the batting in a wavy line with scissors — about 2 inches from the safety pins.

I marked the right top and left top so I can put it back the right way.

I marked the right top and left top so I can put it back the right way.

IMG_2970

I rolled it up. It's ready for quilting.

I rolled it up. It’s ready for quilting.

Folding Fat Eighths.


Quilting Adventures, my local quilt shop, recently had a “Stuff Your Sewing Basket” sale which they have once a year. If you are on their email list, they send you an email with that day’s goodies for sale. They ship the items or you pick them up at the store.

Anyway, I purchased two sets of 6 Fat Eighths in orange and gray:

IMG_2828

They were too cute to use, but I was curious how they were folded:

Fold the fabric into thirds:

IMG_2867 IMG_2866

This is the tricky part, from the left pull the fabric up to the right until there is about a half inch above the top of the fabric on the right corner of the triangle.

IMG_2864

Fold the flap over the back and finger press it against the back. You should have a sharp edge on the left and the top of the fabric.

IMG_2868

Now lift the creased top part and lay it inside and on top of the long strip. You can now start to make the triangles, back and forth until you get to the end.

IMG_2870

At the end, tuck the end triangle tail into the back of the triangle stack.

IMG_2871

That’s how it was folded.

IMG_2872

The selection of fabrics made me very happy.

IMG_2830 IMG_2874

Okay, so I’ll have to use them now.