Hand Quilting: that joyful process surges in popularity

SOME FOLKS believe modern quilters don’t hand sew. This is not surprising since “modern” usually means what’s popular at the moment such as the latest technology. In the case of quilters, that means long arm machines. But, hand sewing is modern because it is gaining popularity among quilters at this moment.

I JUST READ an article from the National Quilting Association titled, “Handwork makes a Comeback.” The article includes a quilt by Chawne Kimber: Wedowee. I’m a huge fan. The main point of the article was that modern handwork is innovative with “big stitching” and combining hand stitching with machine stitching.

I love hand quilting.  I use some BASIC TOOLS:  hand sewing essentials

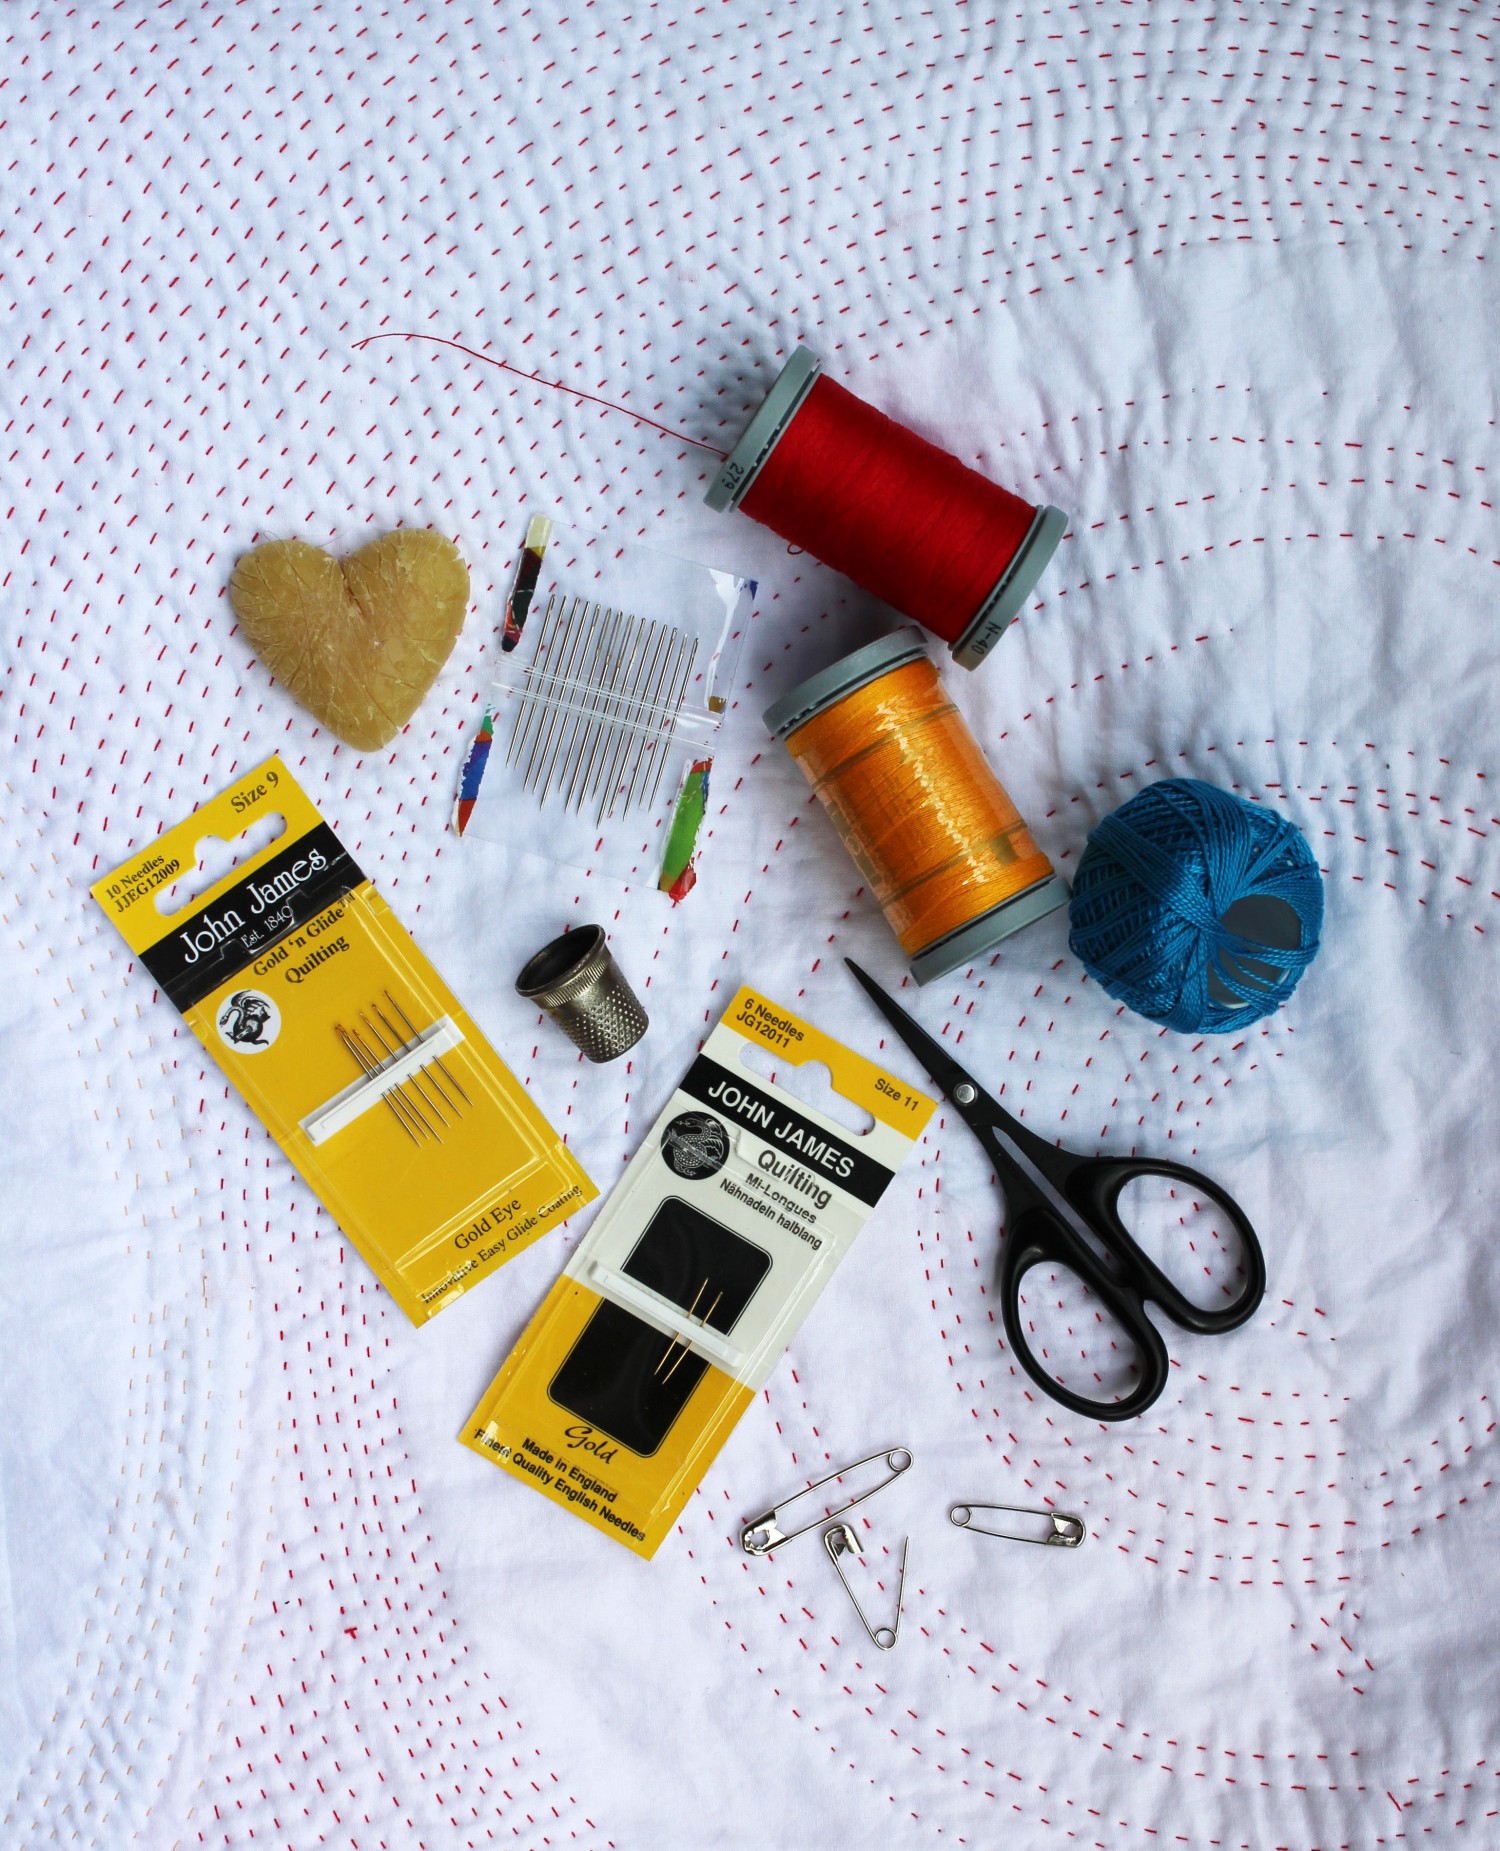
  • Thread: 40 weight Prescencia for small stitching and 8 weight perle cotton from the same brand for big stitching.
  • Needles: Size 9 and 11 made by John James for small stitching and a variety of needles from the Big Stitch Quilting Needle Pack made by Colonial Needle Company for big stitching.
  • Notions: Small snips for clipping; sometimes bees wax, and safety pins for basting.

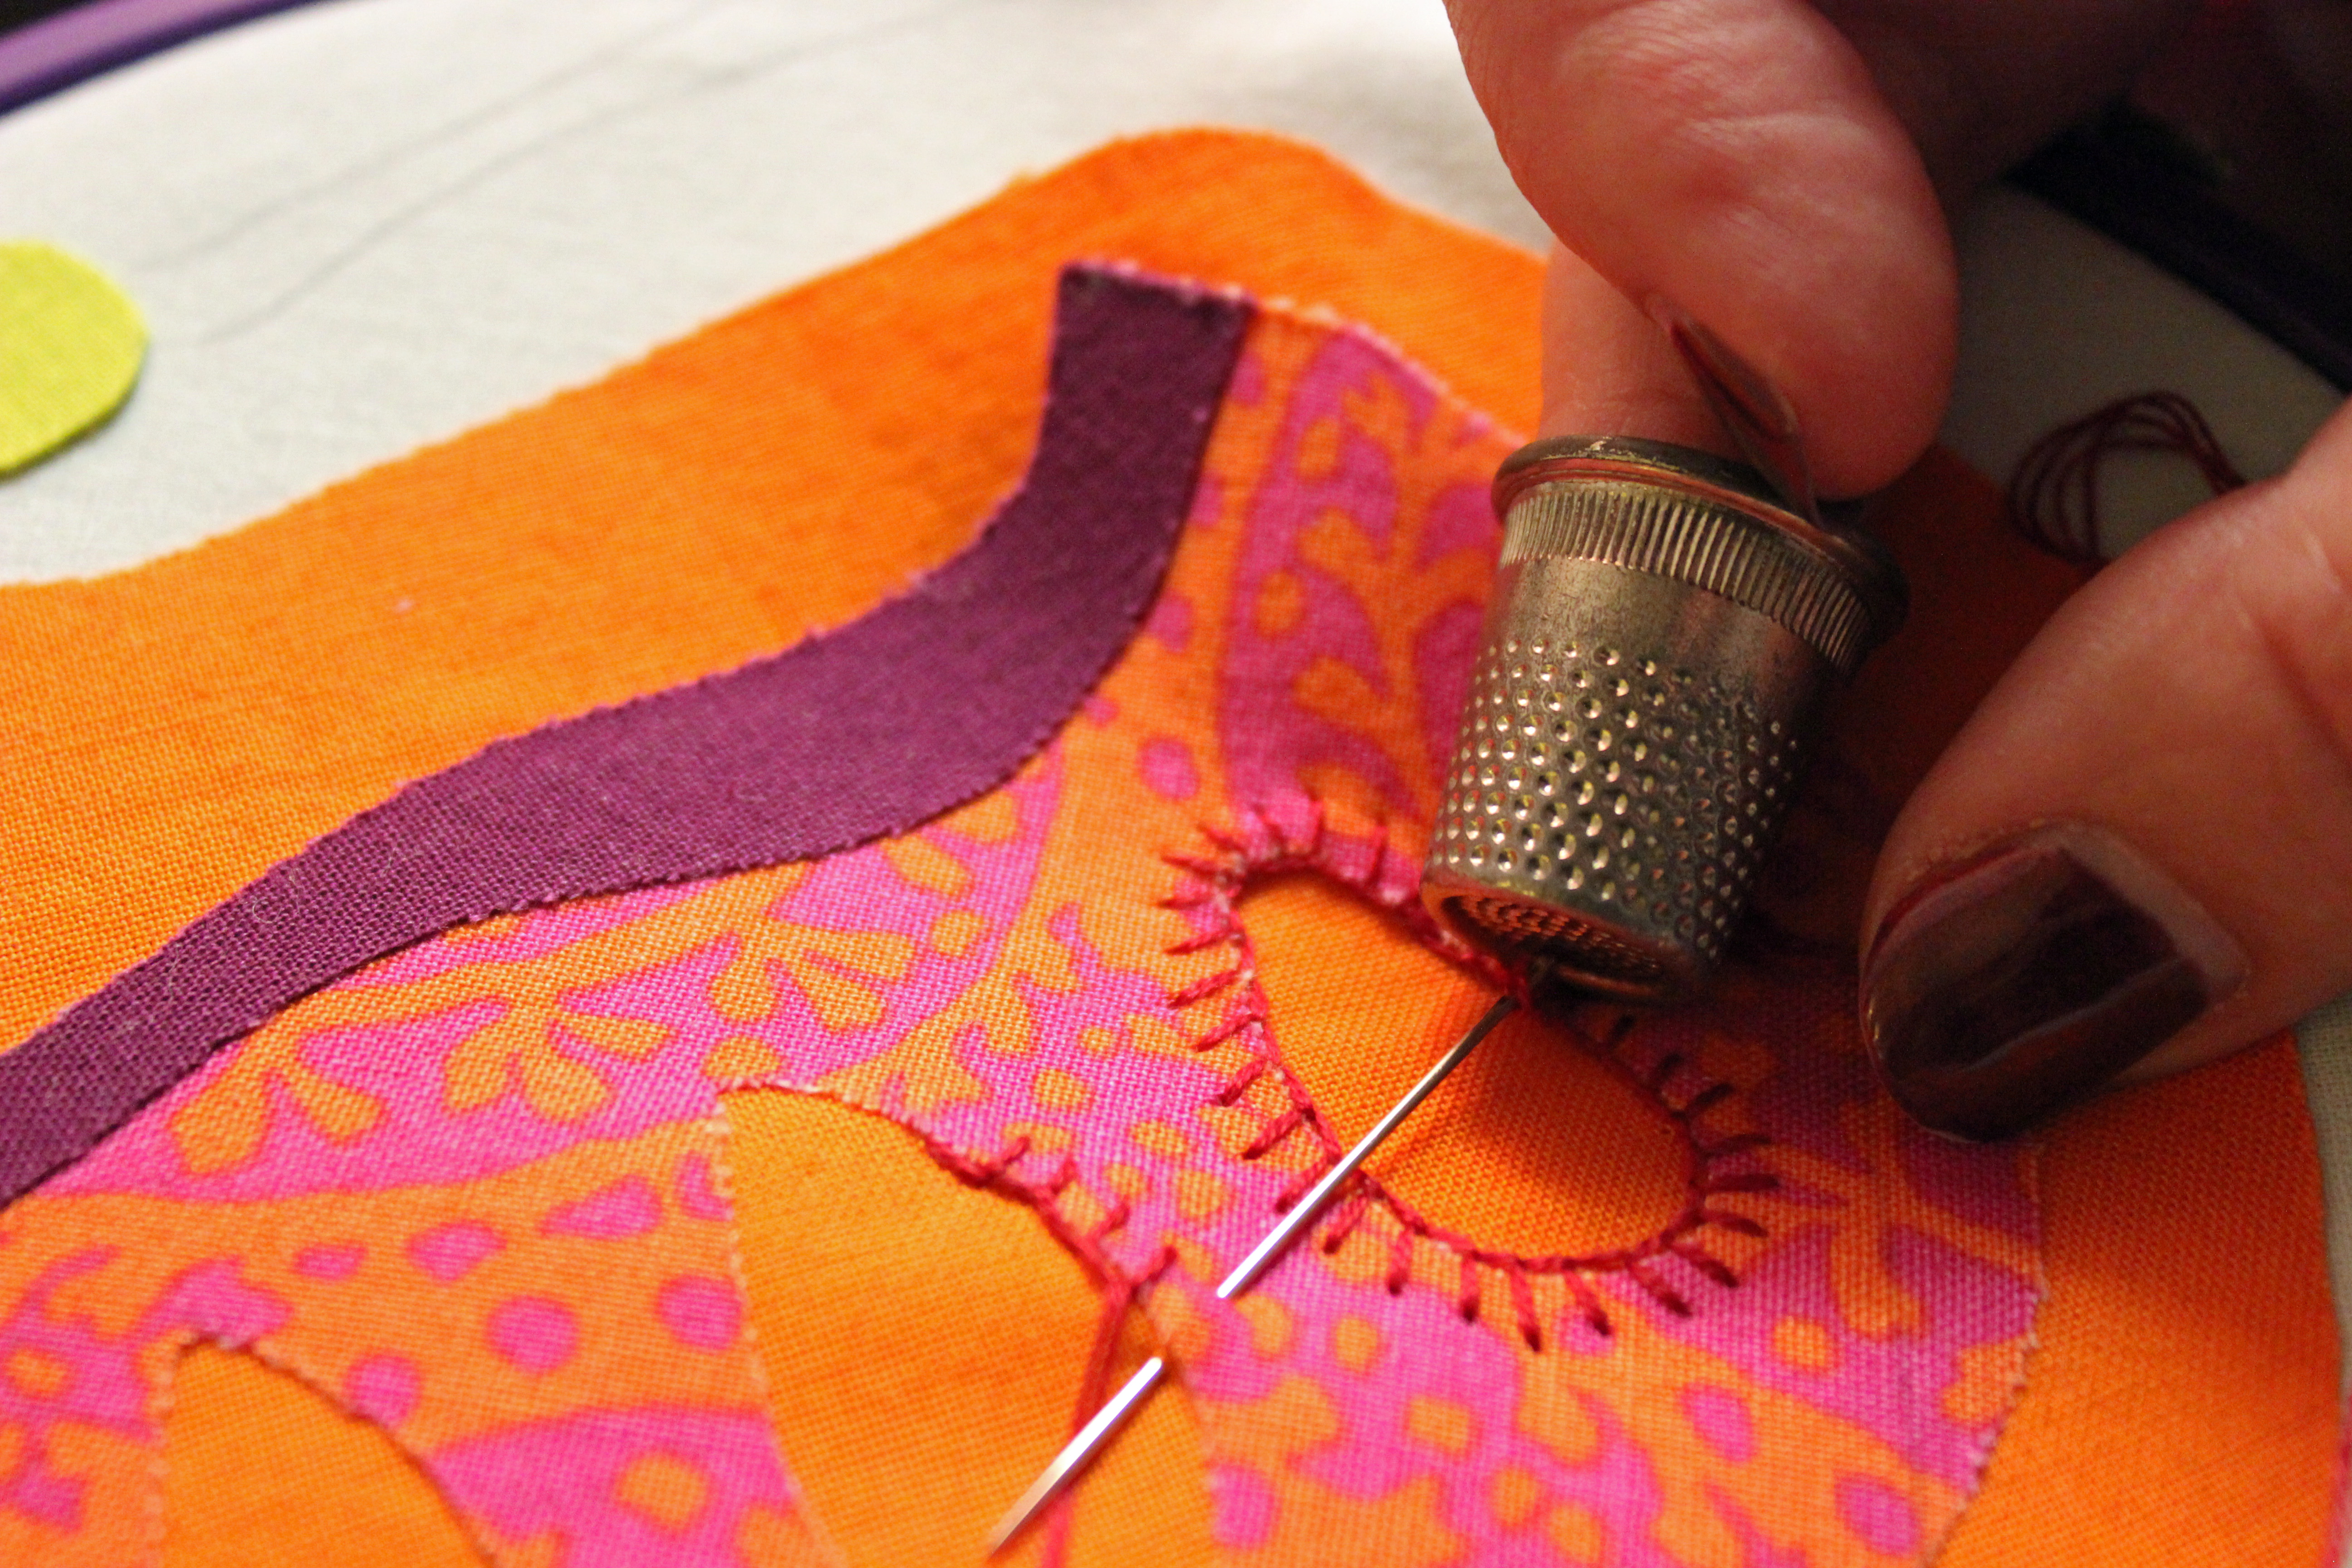
I use a thimble as well. I have used it for longer than I can remember. It’s essential to me.

butterfly appliqueI buy thread and notions from Hand Quilting Supplies, an online shop.

Tim Latimer is also a resource. He is an amazing hand quilter and has video tutorials. (here and here)

Quilting Adventures has a Back to Basics series, and there’s one on:

Be modern and try some hand sewing,

Wanda

I’m linking up with Late Night Quilter’s Tips and Tutorials Tuesdays, where incidentally she has a video on making thread knots.

Hexagon Applique Tutorial

In my Random Perfection quilt I used hexagon applique. To avoid the problems I encountered where the fabric came out,  you will need to make sure some of the folded fabric comes underneath each stitch line. Also, I didn’t use Aleene’s Fabric Fusion glue which is a permanent glue. That may explain why the folds came out as well.

First I’m going to show you how to make a perfect hexagon applique. Then I’ll show you the “more fabric” way which will result in all the edges staying inside the hexagon applique even without permanent glue.

There is more than one way to make a perfect hexagon for applique and English paper piecing, but I like this method.

A PERFECT HEXAGON APPLIQUE (7/8 inch)

Cut a strip 2 5/8

Cut a strip 2 5/8″

Cut across the strip 2 1/2

Cut across the strip 2 1/2″. The piece is now 2 1/2″ by 2 5/8″.

Add a dap of glue to your paper hexagon (this is 7/8

Add a dab of glue to your paper hexagon (this is a 7/8″ hexagon)

Trim around the edges. There should be at least 3/8

Trim around the edges. There should be at least 3/8″ from the edge of the paper to the edge of the fabric.

Spray regular starch into lid of starch and apply a small amount around the edges.

Spray regular starch into lid of starch and apply a small amount around the edges of the hexagon with a brush.

Press the hexagon with an iron.

Press the hexagon with an iron.

This is a perfect hexagon applique. You can remove the paper and there’s no basting strings to remove.

A BETTER APPROACH FOR THE MODERN HANDCRAFT TECHNIQUE

Use more fabric and don’t trim the fabric into a hexagon. Instead, do this:

Dab a little glue on paper and attach to the fabric. Do not trim into a hexagon shape. Press.

Dab a little glue on the paper and attach to the fabric. Do not trim into a hexagon shape. Press.

hexagons more fabric

LET’S EXPERIMENT

  • Make a few hexagons with the “more fabric” method and apply them using glue. I used Appli-Glue (it washes out).
  • Draw lines 7/8″ apart.
  • Space the hexies 1/4″ apart (1/8″ inch from the hexie edge to the drawn line)

hexagons experiment measuring

  • Make a quilt sandwich:

hexagon quilt sandwich

  • Stitch straight across the points. It takes three passes to get all the points.

hexagon stitch hexagons quilted

  • Square up and bind.
  • Wash it.

What happened?

hexagon experiment closeup

hexagon experiment

Success! None of the ends came out.

Taking a break from experimenting,

Wanda

I’m linking up with The Late Night Quilters’ Tips and Tutorials Tuesdays.

Yoga Sling Tutorial

I just started yoga at a local studio and of course in the middle of meditation practice I had an idea — I needed a way to transport my “yoga quilts” to class. They make great bolsters, by the way. I didn’t want to make a bag because taking the quilts in and out of the bag would just add stress to yoga. I needed a sling.

I searched Pinterest and the web for ideas and only found yoga bags or straps to carry a yoga mat. I needed something different. I’m sharing this tutorial in case you want to make a yoga quilt sling to carry your quilts and/or your yoga mat. It would also make a great sling for beach towels.

I had these wonderful pieces I had made in my Liberated Quilting Group. The wavy piece (shown above) was made by the group leader, Betty P., during a class on “portholes” from the book, Improv Quilts, by Lucie Summers. Betty thought my red fabric looked good with her piece. I like how organic and happy it is. The perfect piece for a yoga quilt sling.

Let’s get started. Continue reading