QuiltCon: Learning

QuiltCon is a great quilt show, but it is also offers the most amazing courses and lectures. When I was looking at the options, I didn’t want to do any sewing. I just wanted to go to lectures and immerse myself in all the quilts.

Two classes caught my eye– Advanced Quilt Photography with Michelle Bartholomew and Kitty Wilkin and Adobe Quilt Design with Daisy Aschehouge. And, well, they didn’t involve sewing.

Adobe Quilt Design

I had never used Adobe Illustrator. I had a meager understanding of Photoshop, which my daughter had on her computer, and I used Adobe InDesign during a one-month trial (I didn’t renew).

We promptly began at 2 p.m. Pacific Time, thus 5 p.m. Eastern Time, and I felt like it was late in the day. Perhaps that explains my unraveling during this class. The pace was very fast and thankfully my fellow classmates at my table pulled me through it. When you say, “I think I’m going to cry,” quilters dive in to rescue you.

Daisy had nice instructions on each of the things we were doing such as Making Quarter Circle Squares and she had a lot to cover in three hours. But I like to take written notes as I’m going and I couldn’t listen to the next thing and take notes at the same time. By the end of the class we were learning how to estimate yardage for strange/irregular shapes. I patiently listened, hoping it would all make sense in the morning.

A week later, at home, I opened Adobe Illustrator. My chicken scratch made sense enough that I could open and create something new. With Daisy’s written directions, I made a Quarter Circle Square. I played with it until I had a quarter circle with rings in it. My guild is having a design challenge this year and I picked Modern Traditionalism from the bag. I want to use quarter circles in a new way and I want to explore color. I want to use shades of the same color. I gravitate to pink but this time I wanted to use red.

Once I’d made my quarter circle with rings, I copied it three times and tried hard to make all the circle/squares line up, but the gridline background kept showing through. So I added a blue background and misaligned the circle ring blocks.

My lack of precision led to this. I just love it.

Wider Circles

Thank you to my classmates and to Daisy.  You were patient beyond what you needed to be.

Advanced Quilt Photography

This class appealed to me because I only use the auto setting on my digital camera, most of the time. I had learned to set the custom white balance when I used a tripod for photographing quilts on the barn in my backyard. I didn’t change any of the  settings when I was taking quilts. It’s a miracle they were as successfull as they were. I used a manual camera for years. I bought this digital one in 2013. I wanted to improve my digital skills.

The class was sufficiently slow for me. I learned so much and they had wonderful outlines to follow. It will take sometime for me to adjust all the settings each time I take a photo. I am very excited to photograph all my work. I’m waiting for an overcast day

QuiltCon: the ice bucket challenge

WALKING and standing at QuiltCon should be an Olympic sport. I walked so much I got blisters on the heels of my feet. I can’t remember the last time I had a foot blister.

My hotel was a one-mile walk to the Pasadena Convention Center, much longer than I was expecting. I wore supportive and comfortable shoes. But it wasn’t enough.

At the end of Thursday, the first official day, my feet needed attention. I filled my hotel ice bucket with ice and poured the ice in the bathtub. Then ran cold water.

Such relief. I cannot describe it. Now I know why athletes sit in ice baths.

img_1090

In honor of the QuiltCon Ice Bucket Challenge, I’m donating to the ALS Association. If your feet hurt from QuiltCon, consider making a donation.


I’m back at my sedentary job, and my feet are resting until next time.

Happy Feet,

Wanda

My new sewing/office space

Advertising works on me. I saw an ad for Havenly.com on Instagram and was intrigued. They’re an online design service. For $199, you get two design concepts, an initial design and a final layout for the room plus a shopping list. You pay them and they handle the rest. You can buy all or nothing. Check out their designers here.

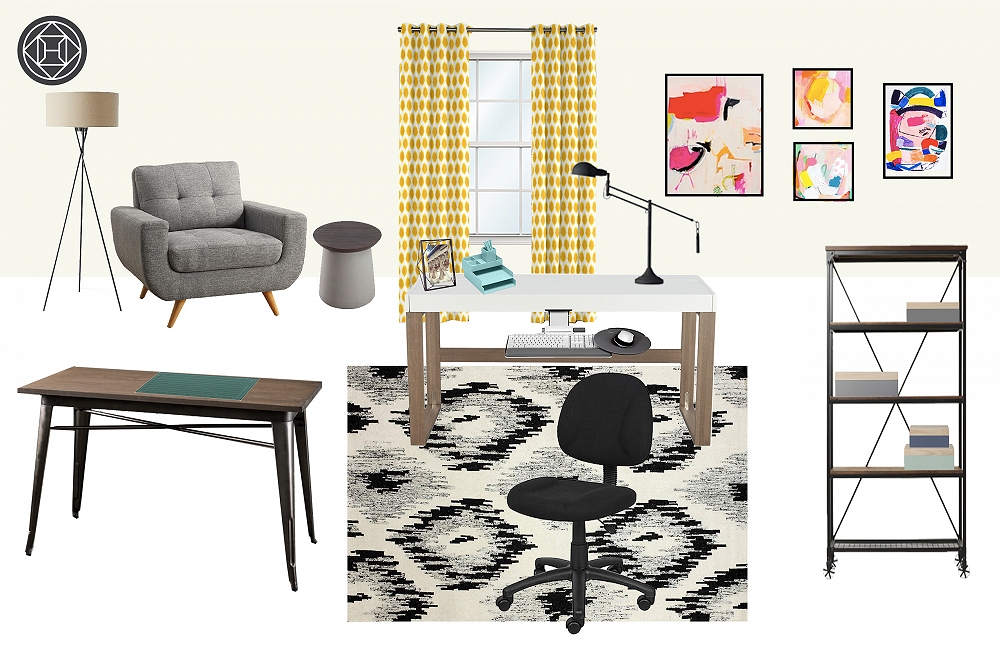
Using photos I uploaded and my Pinterest page, my designer, Heather H., of Austin, Texas offered two concepts:

Concept

Concept One

Wanda_MoodBoard3.jpg

Concept Two


I made comments about what I liked and what I didn’t. I told Heather that Concept One was “sew sweet” and Concept Two was “sew cool” and I wanted to be COOL. That resulted in this concept:

Concept

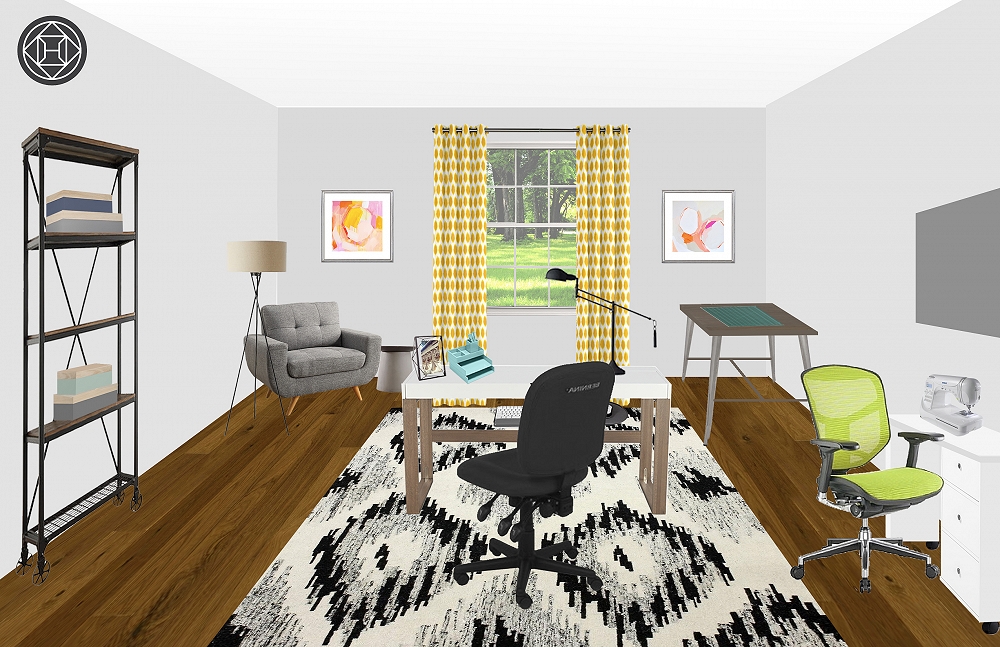
I commented again and this was the final presentation:

Initial Design

I purchased the desk and the cutting table as well as a computer keyboard system from HumanScale.

The curtains were listed at $530 for the two panels and I knew I could make them myself. I contacted my friend Ana who works at U-Fab and is a fellow Central Virginia Modern Quilt Guild member. She found me a great option, $12.99 a yard, and they made the curtains for $89 each, which is a great price, for a total of $300 for the two panels.

I painted the walls a light gray, Reflection, from Sherwin Williams.

I decided to wait to buy the rug since I had a rug I could use for now. After everything arrived I placed the furniture in different locations. The cutting table was bigger than I anticipated but I love the counter height and the extra space. I’m undecided about getting the chair — which I think is heavenly.

Now for the GRAND REVEAL. I don’t know how those magazines and design bloggers get such great wide views. You’ll see it got dark while I tried to get the perfect shot.

office-swing-room-wide-view

View from the Entrance of the Room

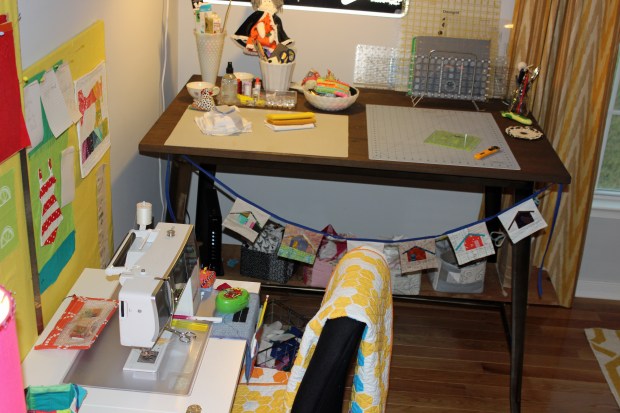
office-sewing-room-cutting-table-view

View of the Sewing Machine Table and Cutting Table.

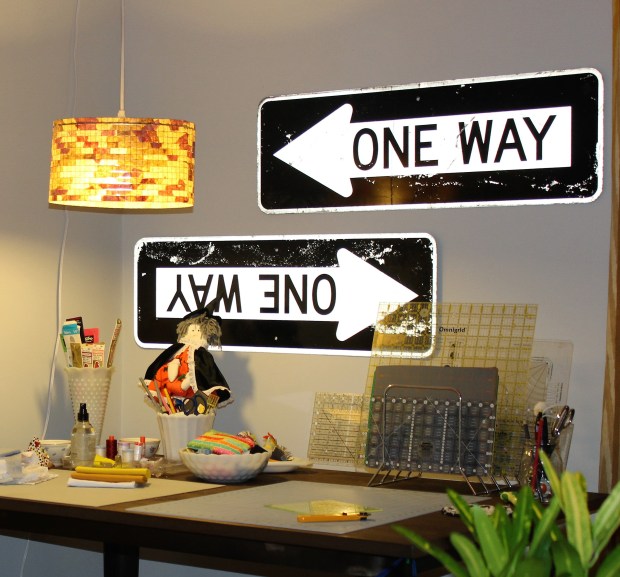
office-sewing-room-one-way

Cutting Table — love these street signs I got at a salvage yard. The lamp is handmade from an Etsy shop called Lampada.

office-sewing-room-machine-table

View from my desk.

office-sewing-room-under-table

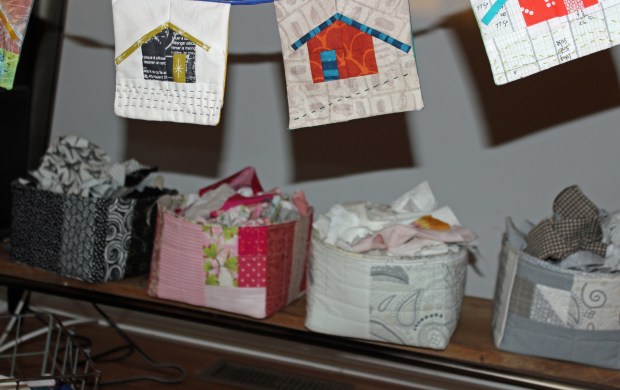
Scrap bins find a home under the cutting table.

office-sewing-room-basket-ladder

More scrap bins on an old ladder we purchased in 1990. The print, Peachy Keen, was bought through Havenly.

office-desk-view

My new desk. I use Big Book of Quilting to raise my laptop. I use two monitors so it looks cluttered. Those design bloggers probably would have styled it by removing them, but this is real life.

The design wall came with me from the apartment, and I’ve blogged about it previously.

That’s it — somewhere between Sew Sweet and Sew Cool.

Wanda