In my Random Perfection quilt I used hexagon applique. To avoid the problems I encountered where the fabric came out, you will need to make sure some of the folded fabric comes underneath each stitch line. Also, I didn’t use Aleene’s Fabric Fusion glue which is a permanent glue. That may explain why the folds came out as well.
First I’m going to show you how to make a perfect hexagon applique. Then I’ll show you the “more fabric” way which will result in all the edges staying inside the hexagon applique even without permanent glue.
There is more than one way to make a perfect hexagon for applique and English paper piecing, but I like this method.
A PERFECT HEXAGON APPLIQUE (7/8 inch)

Cut a strip 2 5/8″

Cut across the strip 2 1/2″. The piece is now 2 1/2″ by 2 5/8″.

Add a dab of glue to your paper hexagon (this is a 7/8″ hexagon)
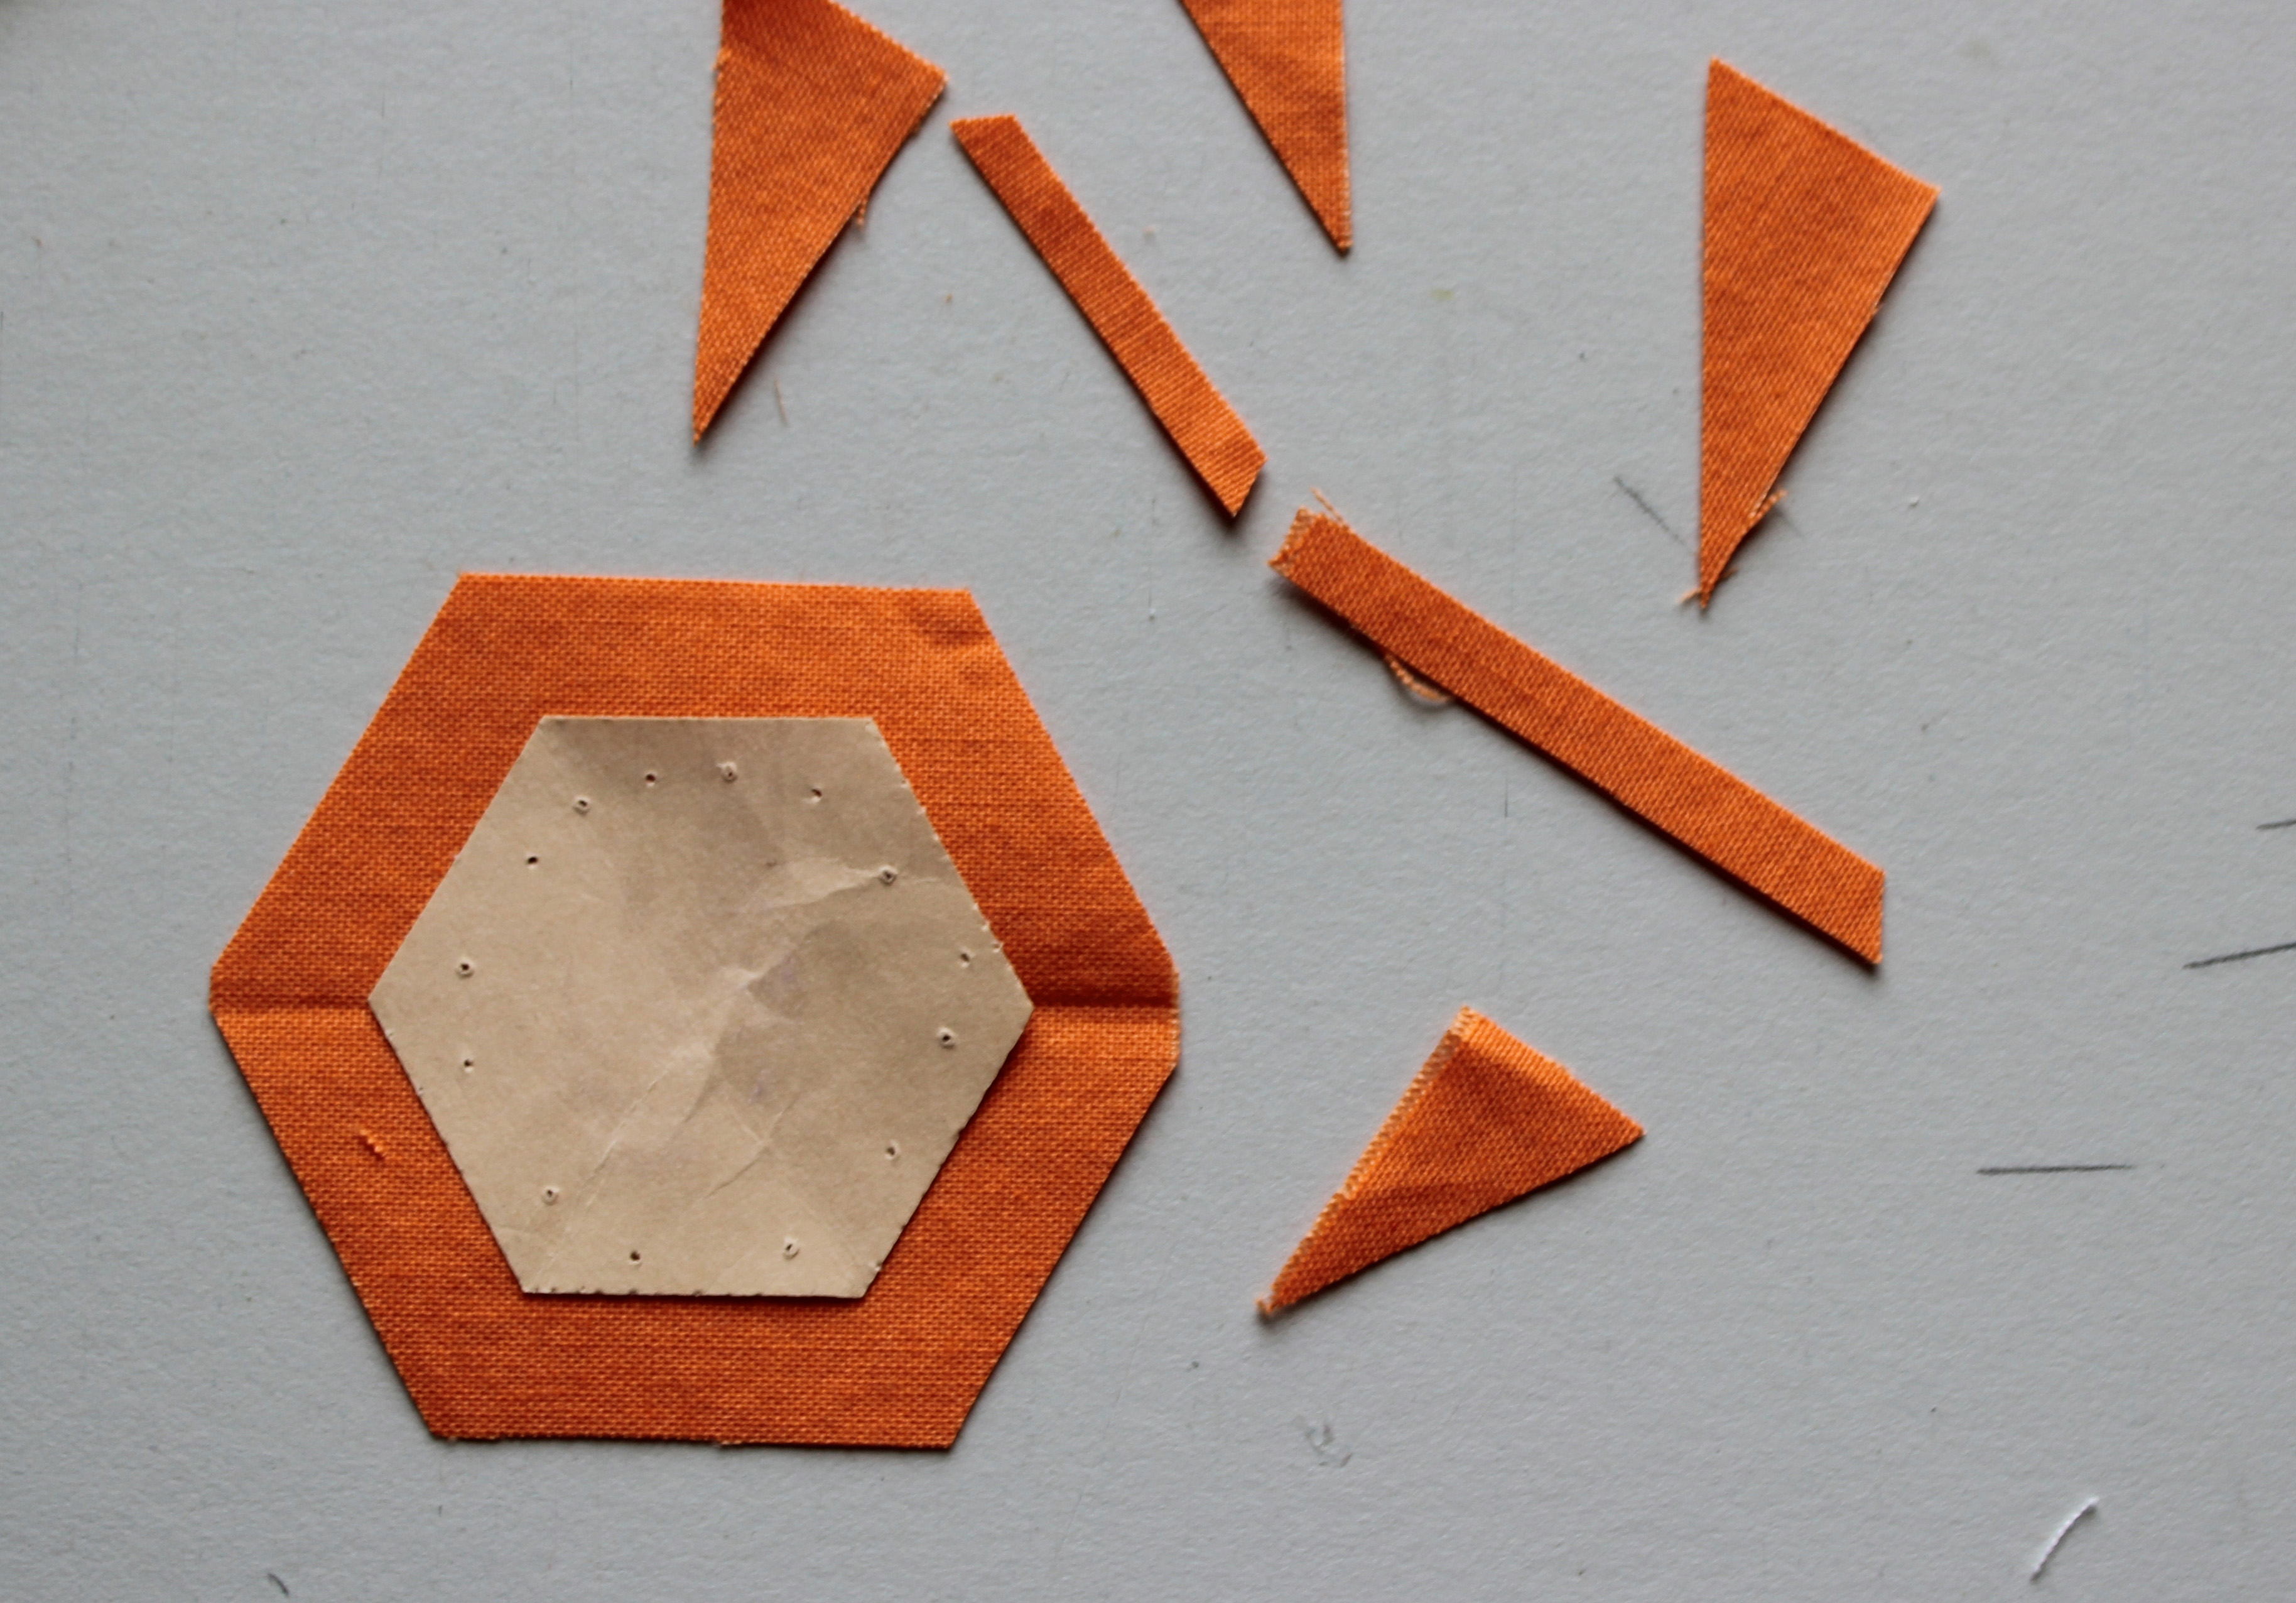
Trim around the edges. There should be at least 3/8″ from the edge of the paper to the edge of the fabric.

Spray regular starch into lid of starch and apply a small amount around the edges of the hexagon with a brush.
Press the hexagon with an iron.
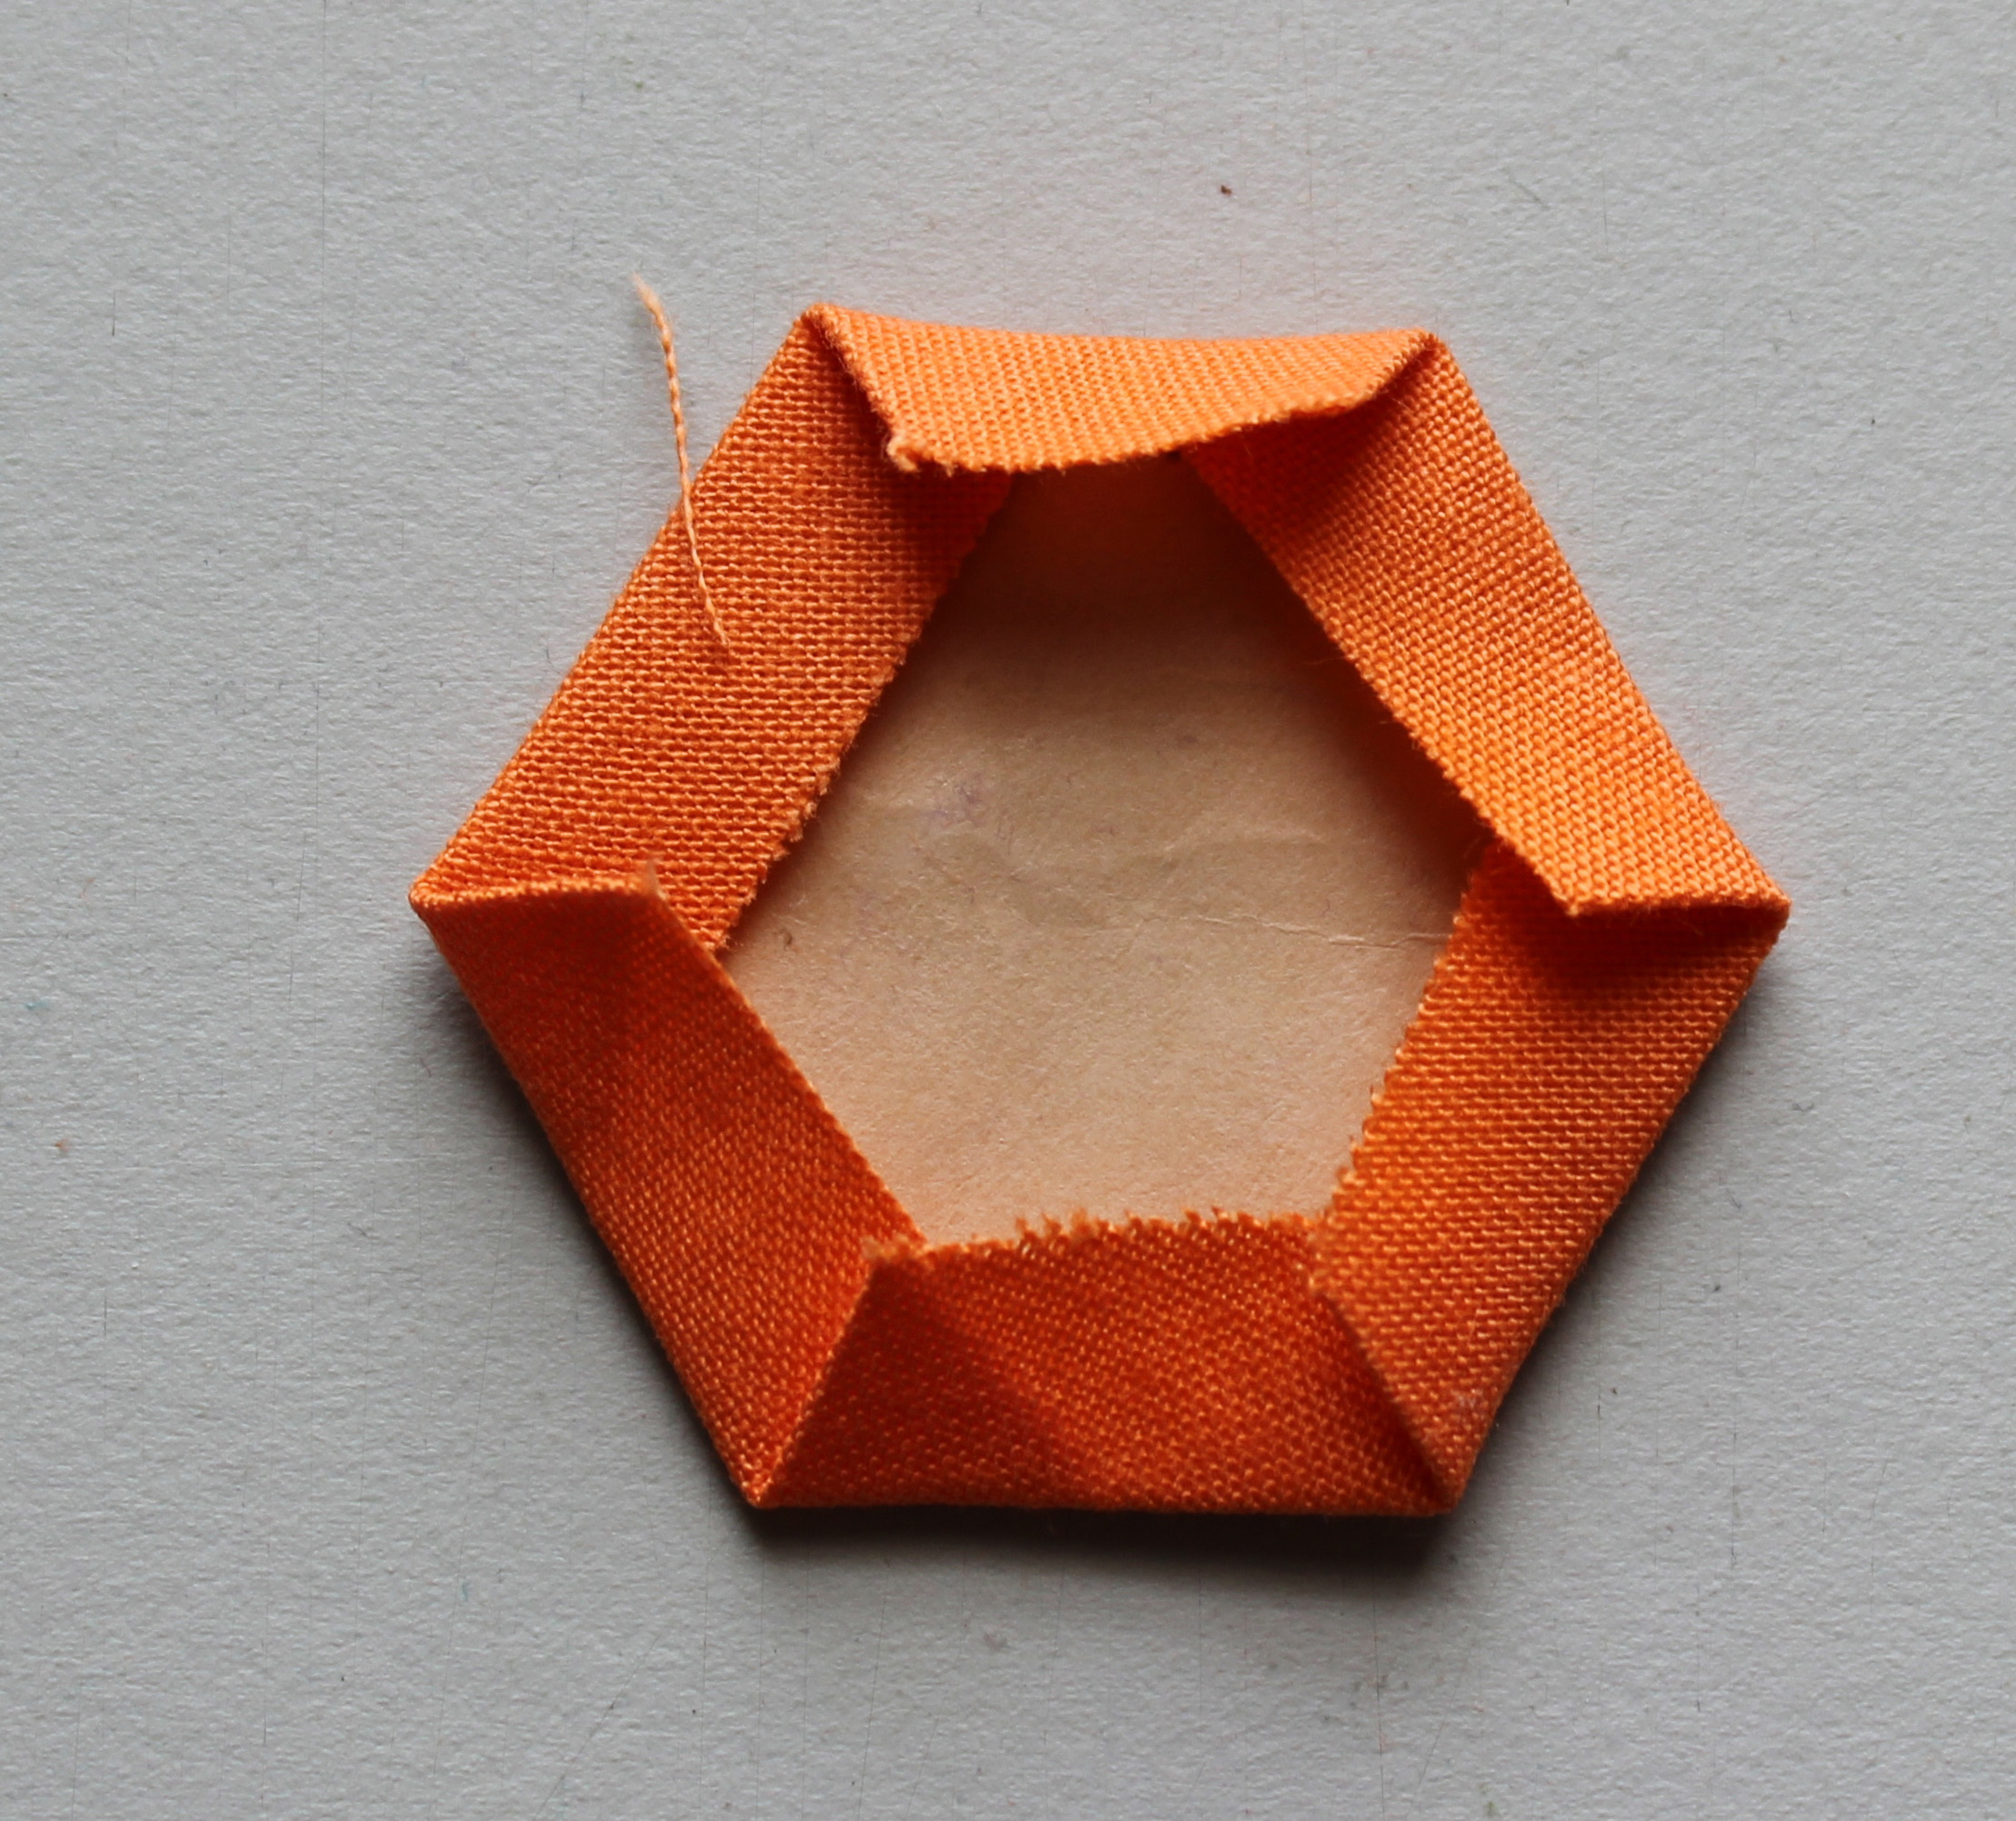
This is a perfect hexagon applique. You can remove the paper and there’s no basting strings to remove.
A BETTER APPROACH FOR THE MODERN HANDCRAFT TECHNIQUE
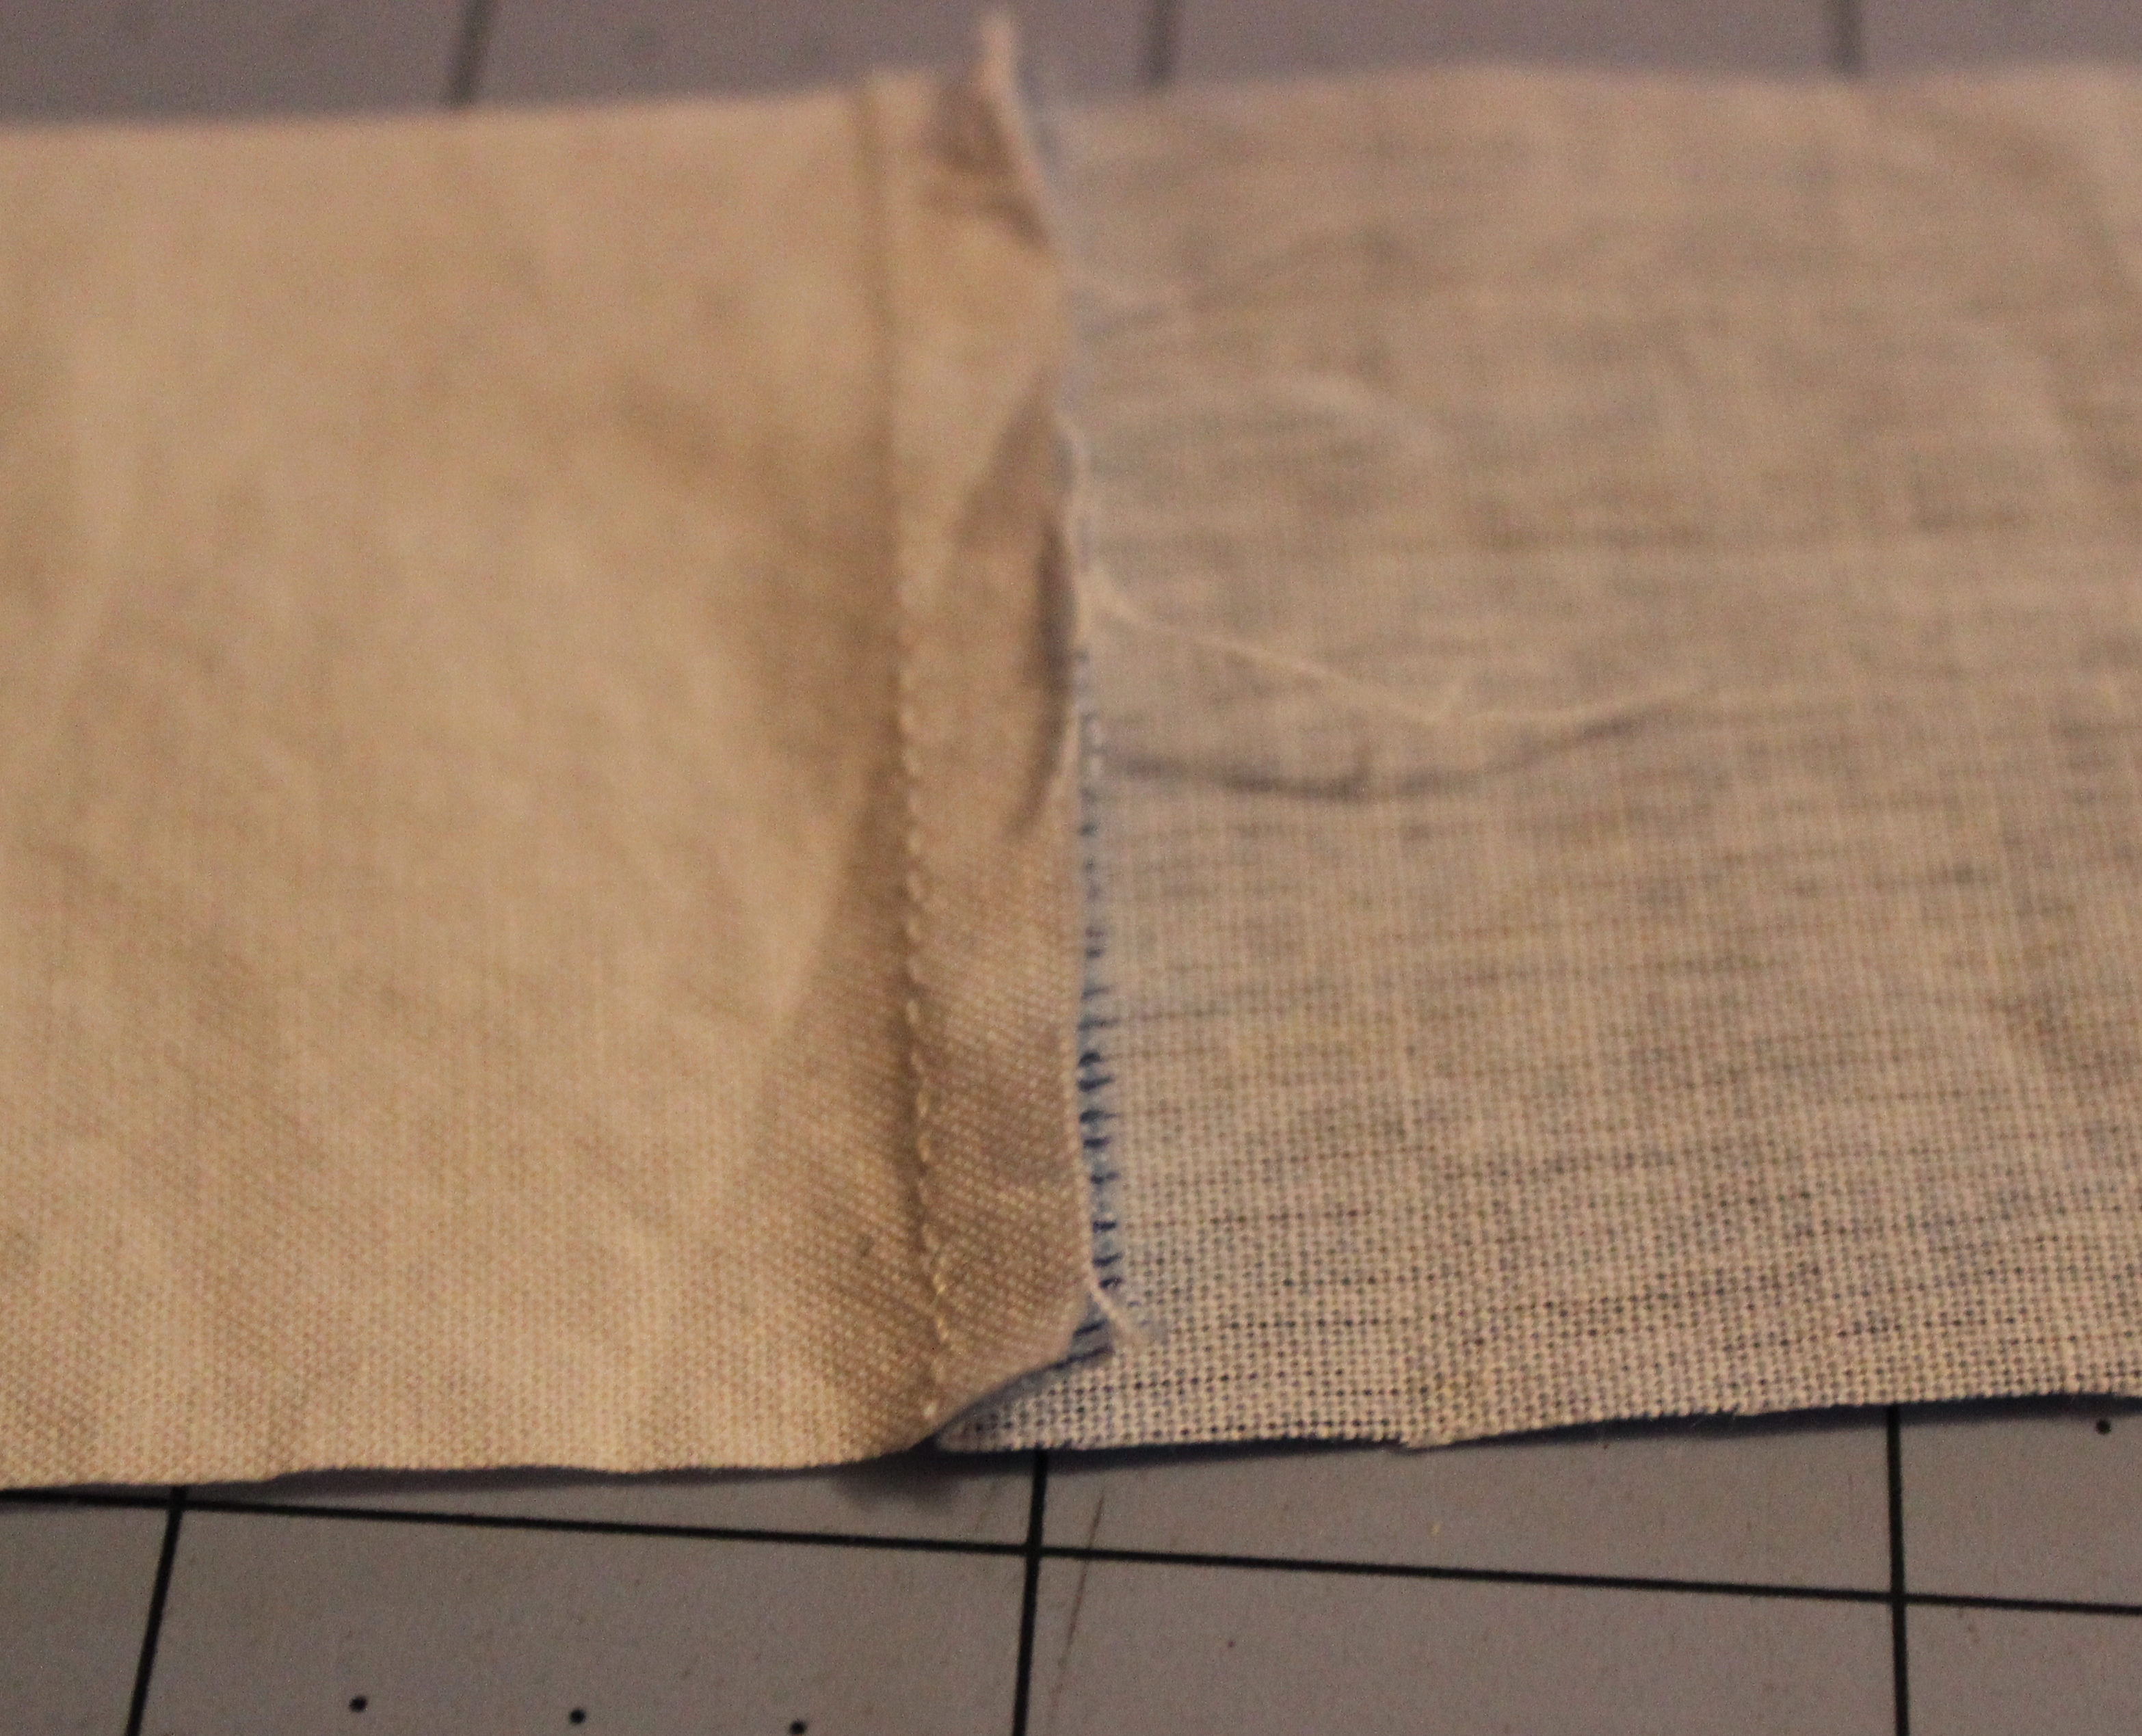
Use more fabric and don’t trim the fabric into a hexagon. Instead, do this:
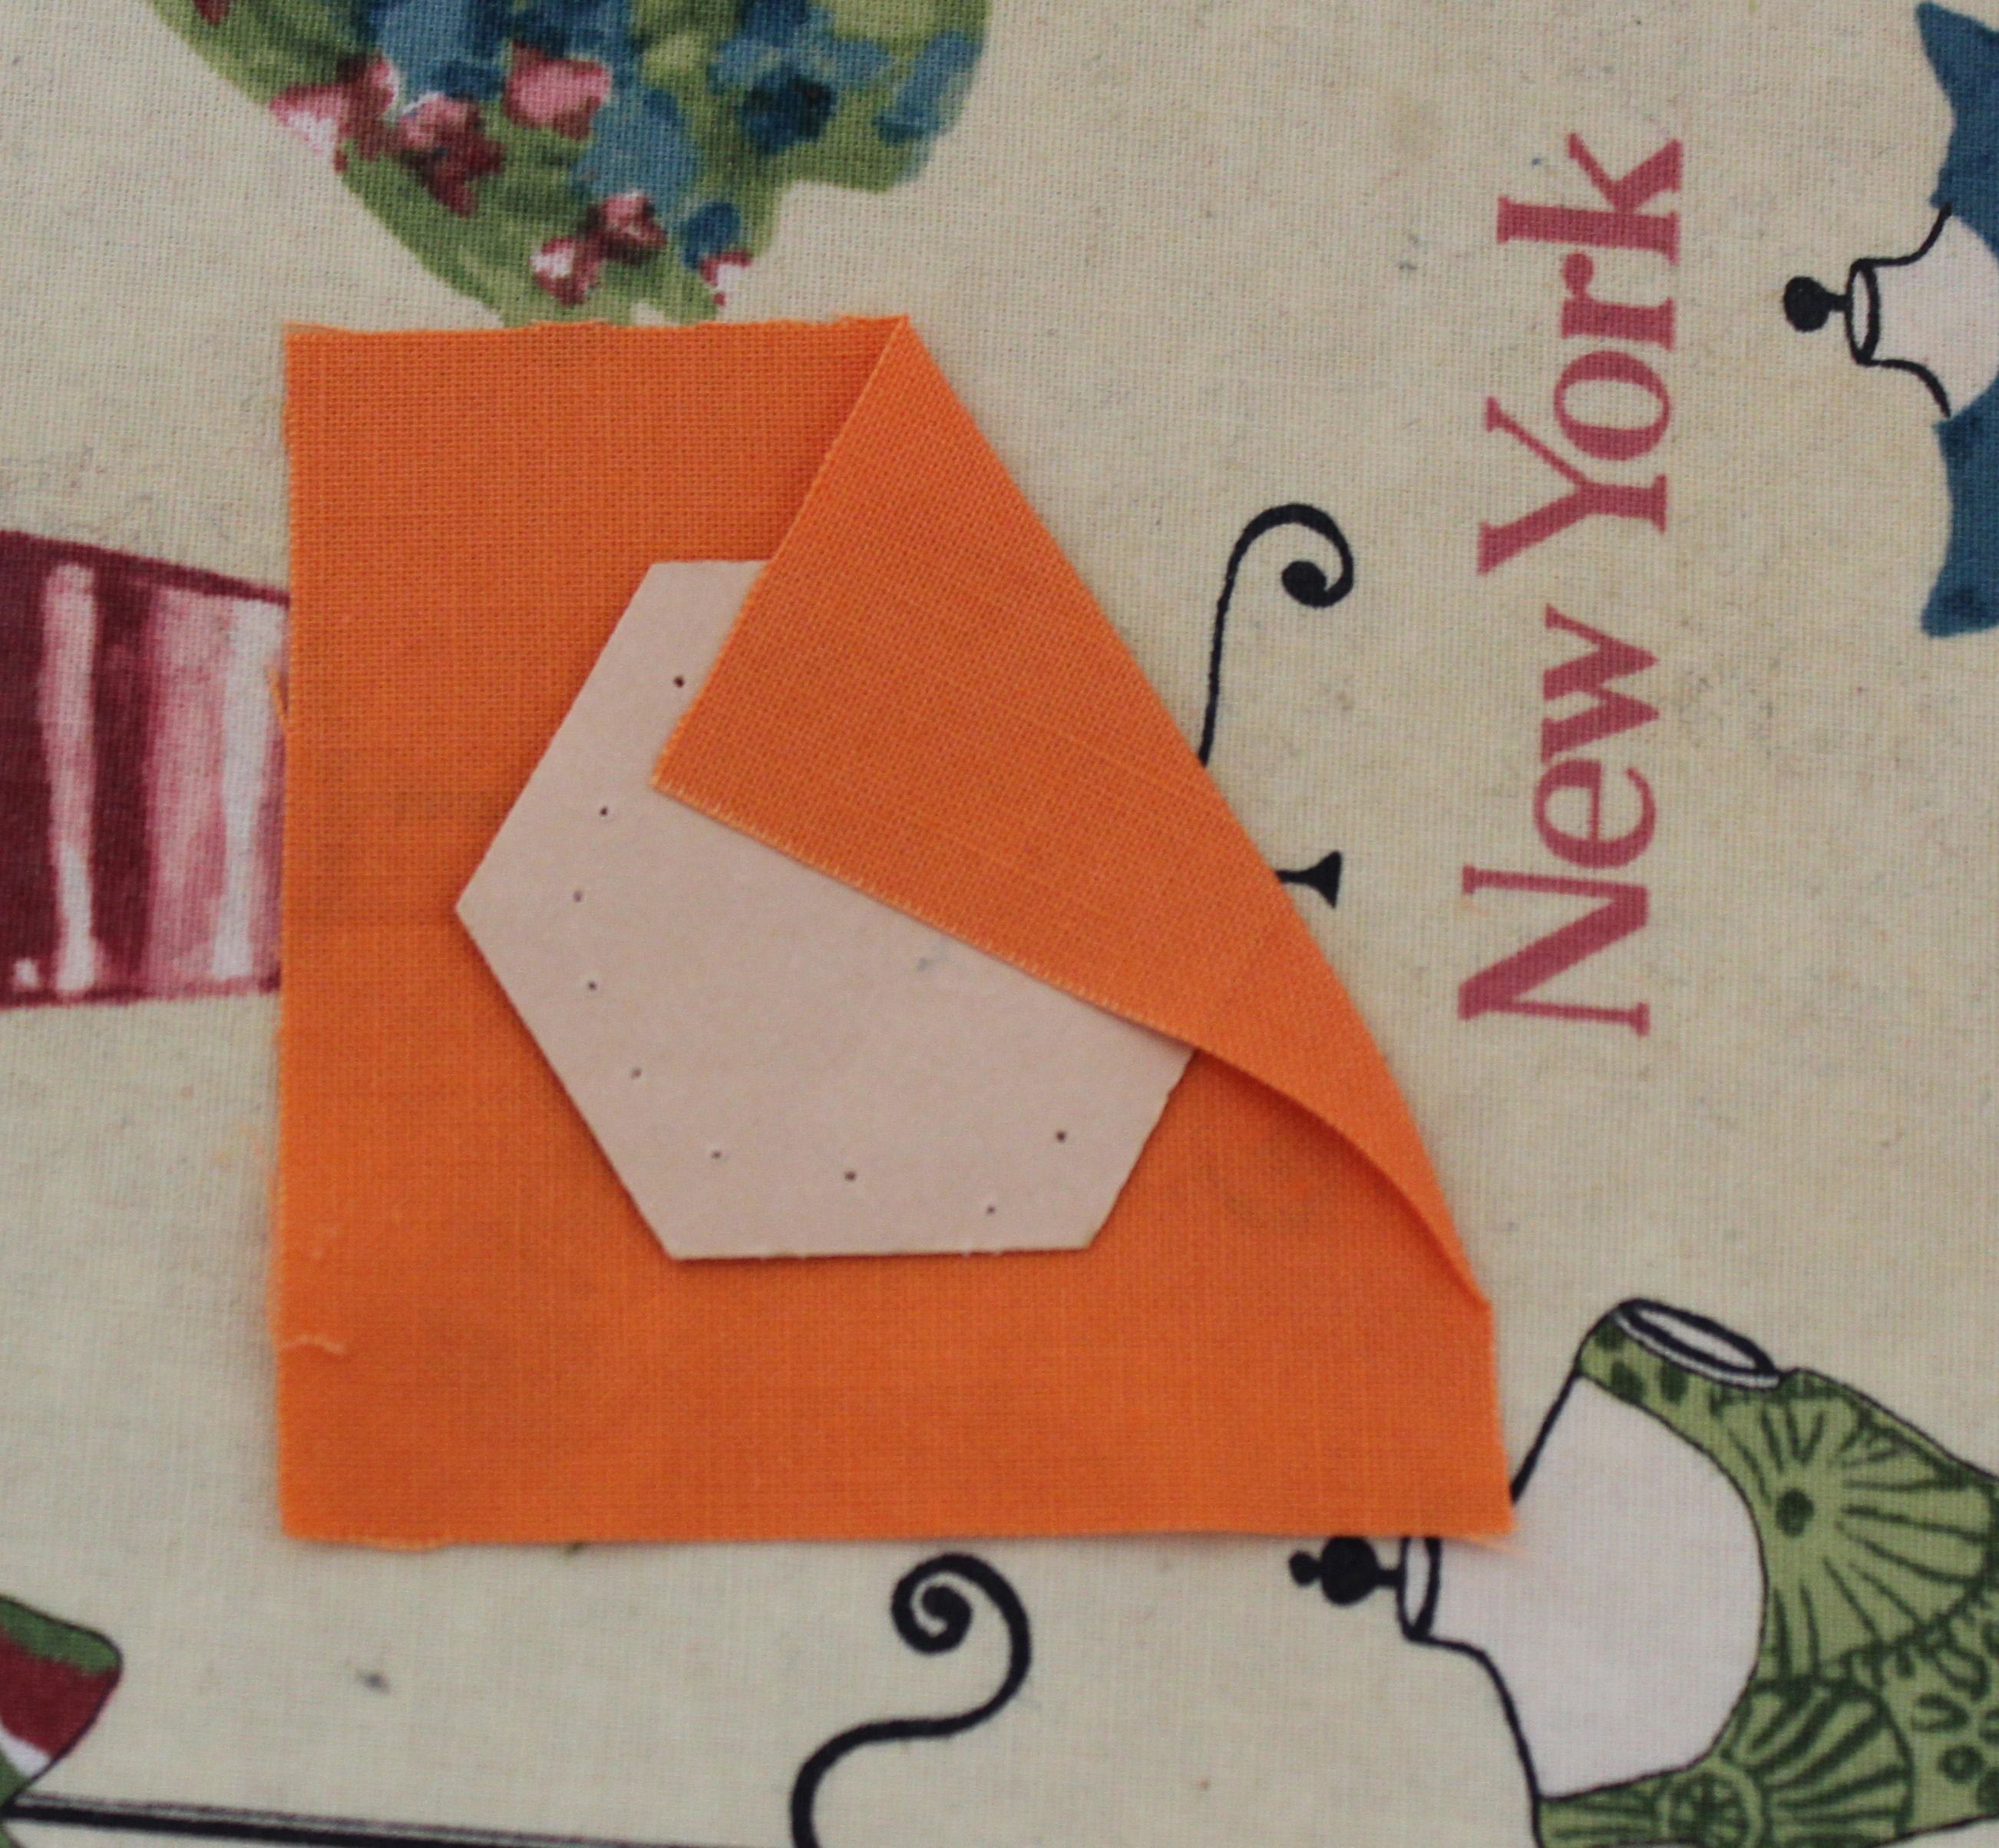
Dab a little glue on the paper and attach to the fabric. Do not trim into a hexagon shape. Press.

LET’S EXPERIMENT
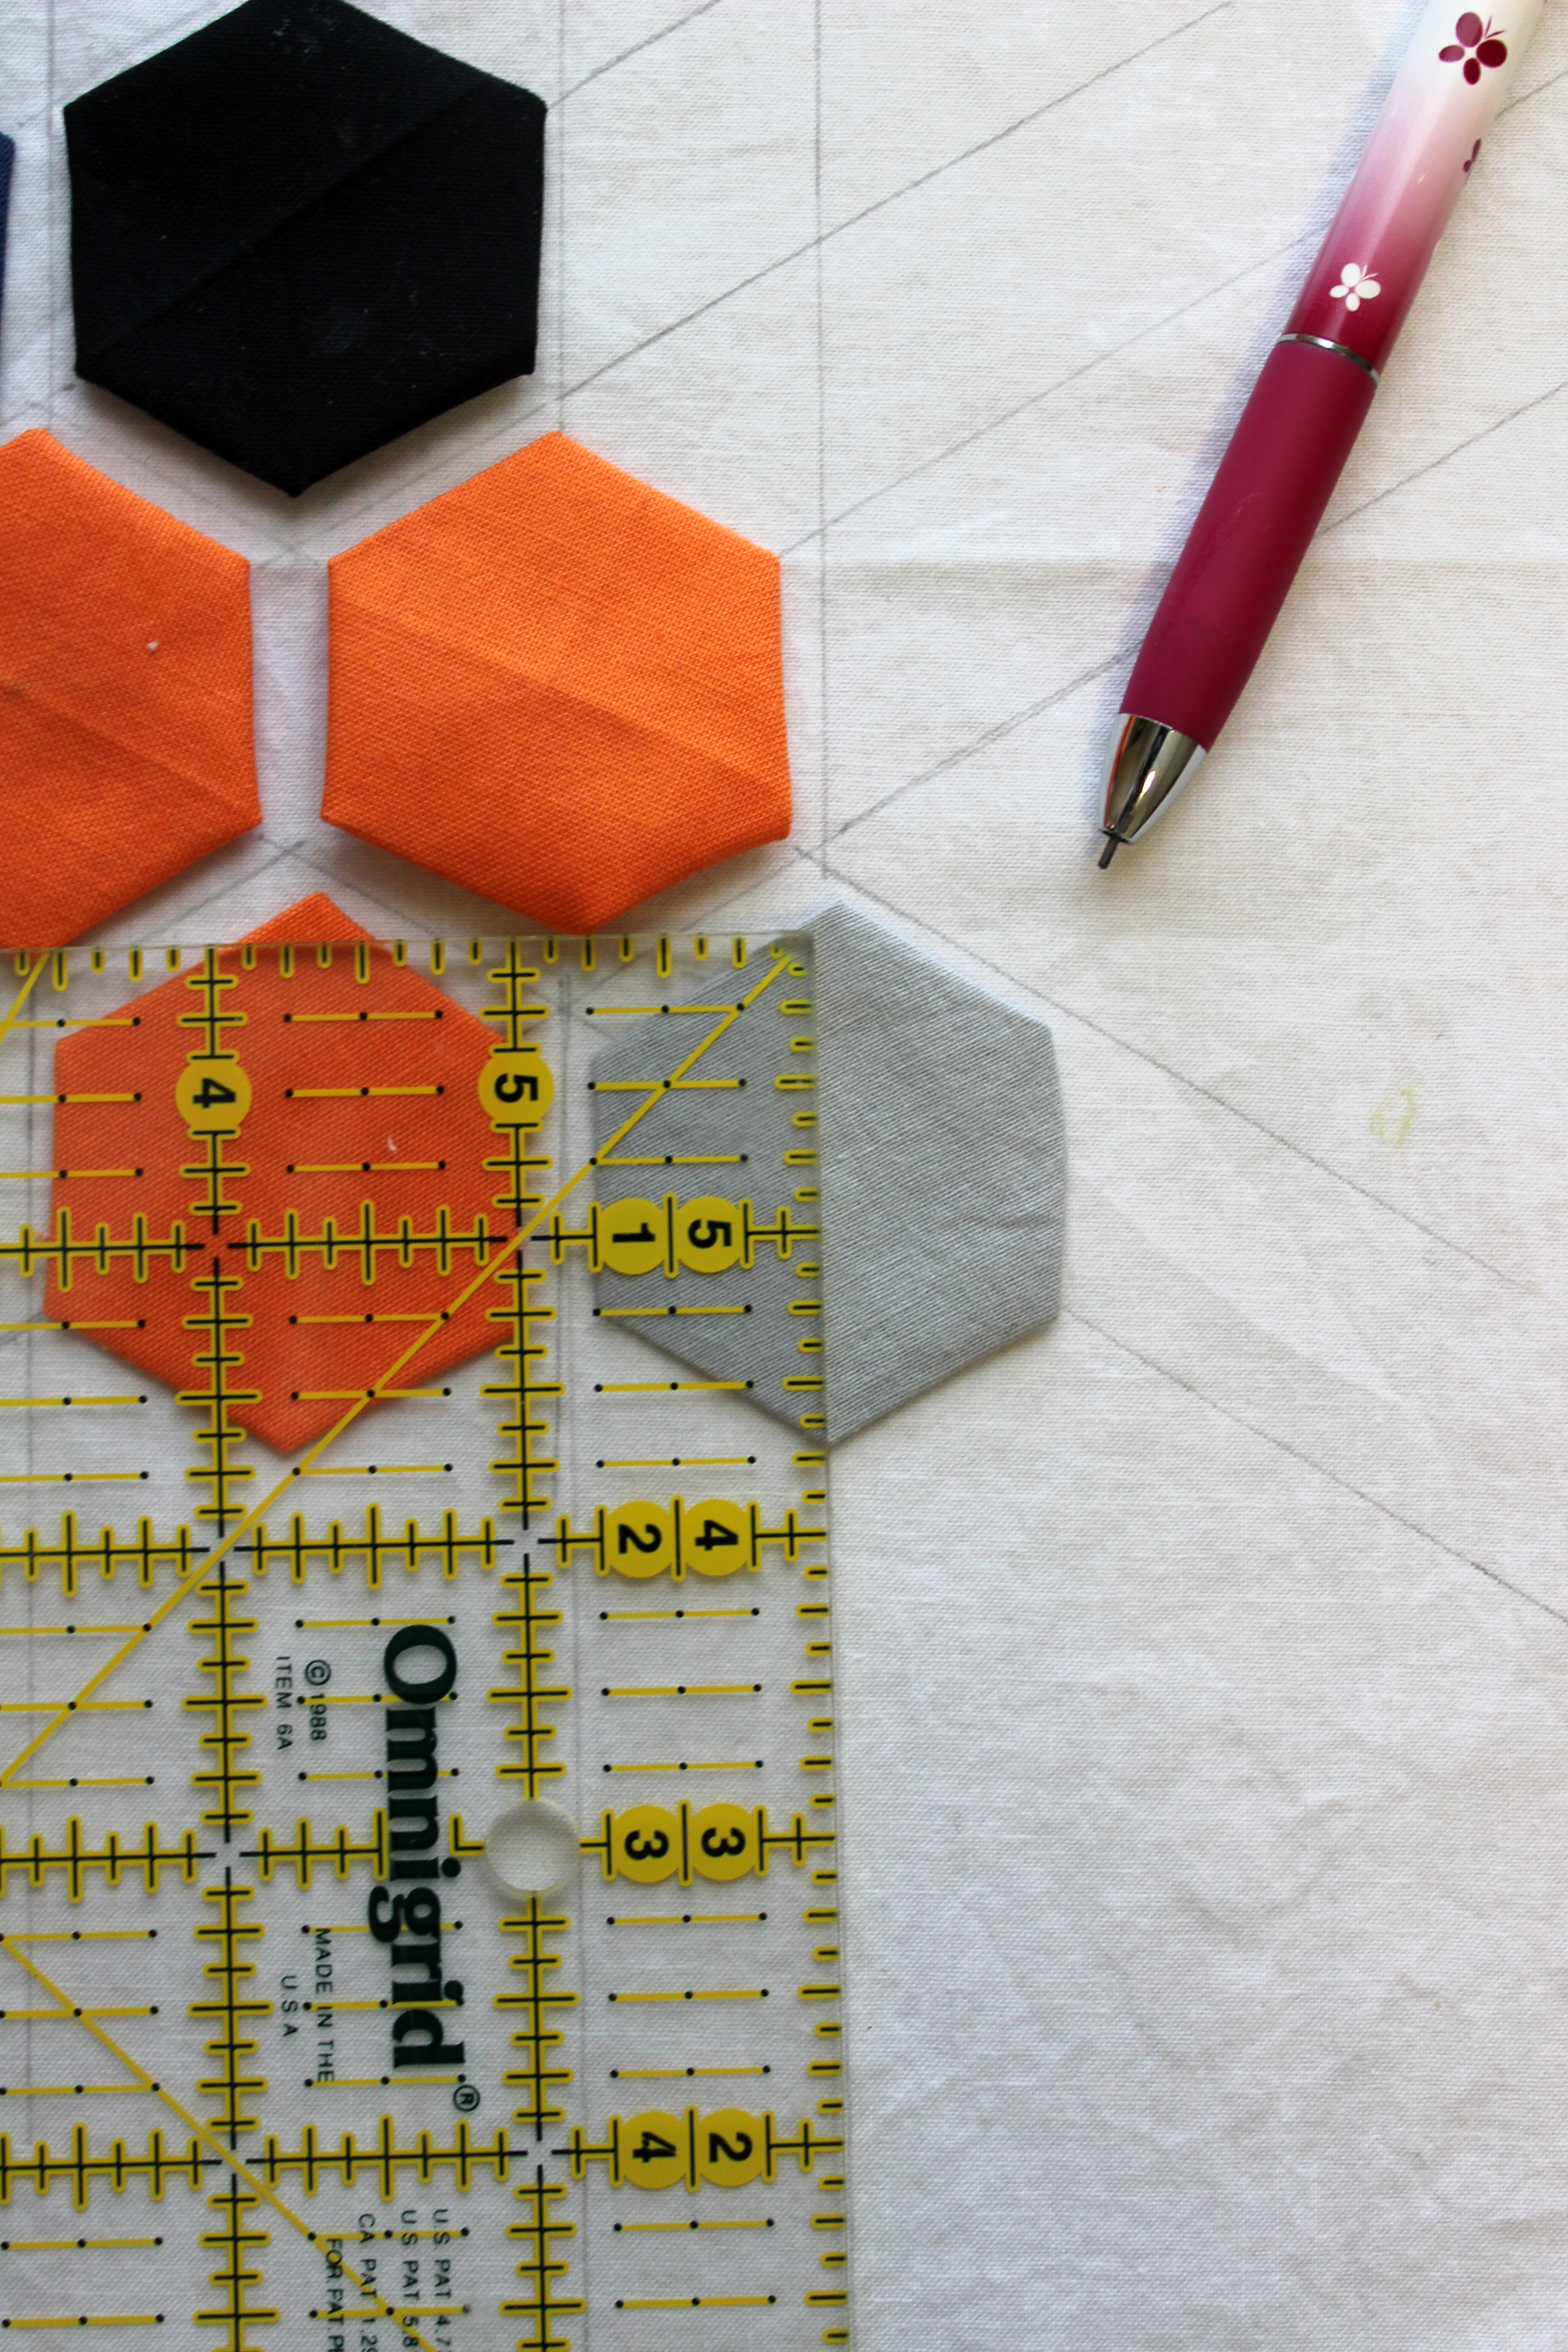
- Make a few hexagons with the “more fabric” method and apply them using glue. I used Appli-Glue (it washes out).
- Draw lines 7/8″ apart.
- Space the hexies 1/4″ apart (1/8″ inch from the hexie edge to the drawn line)
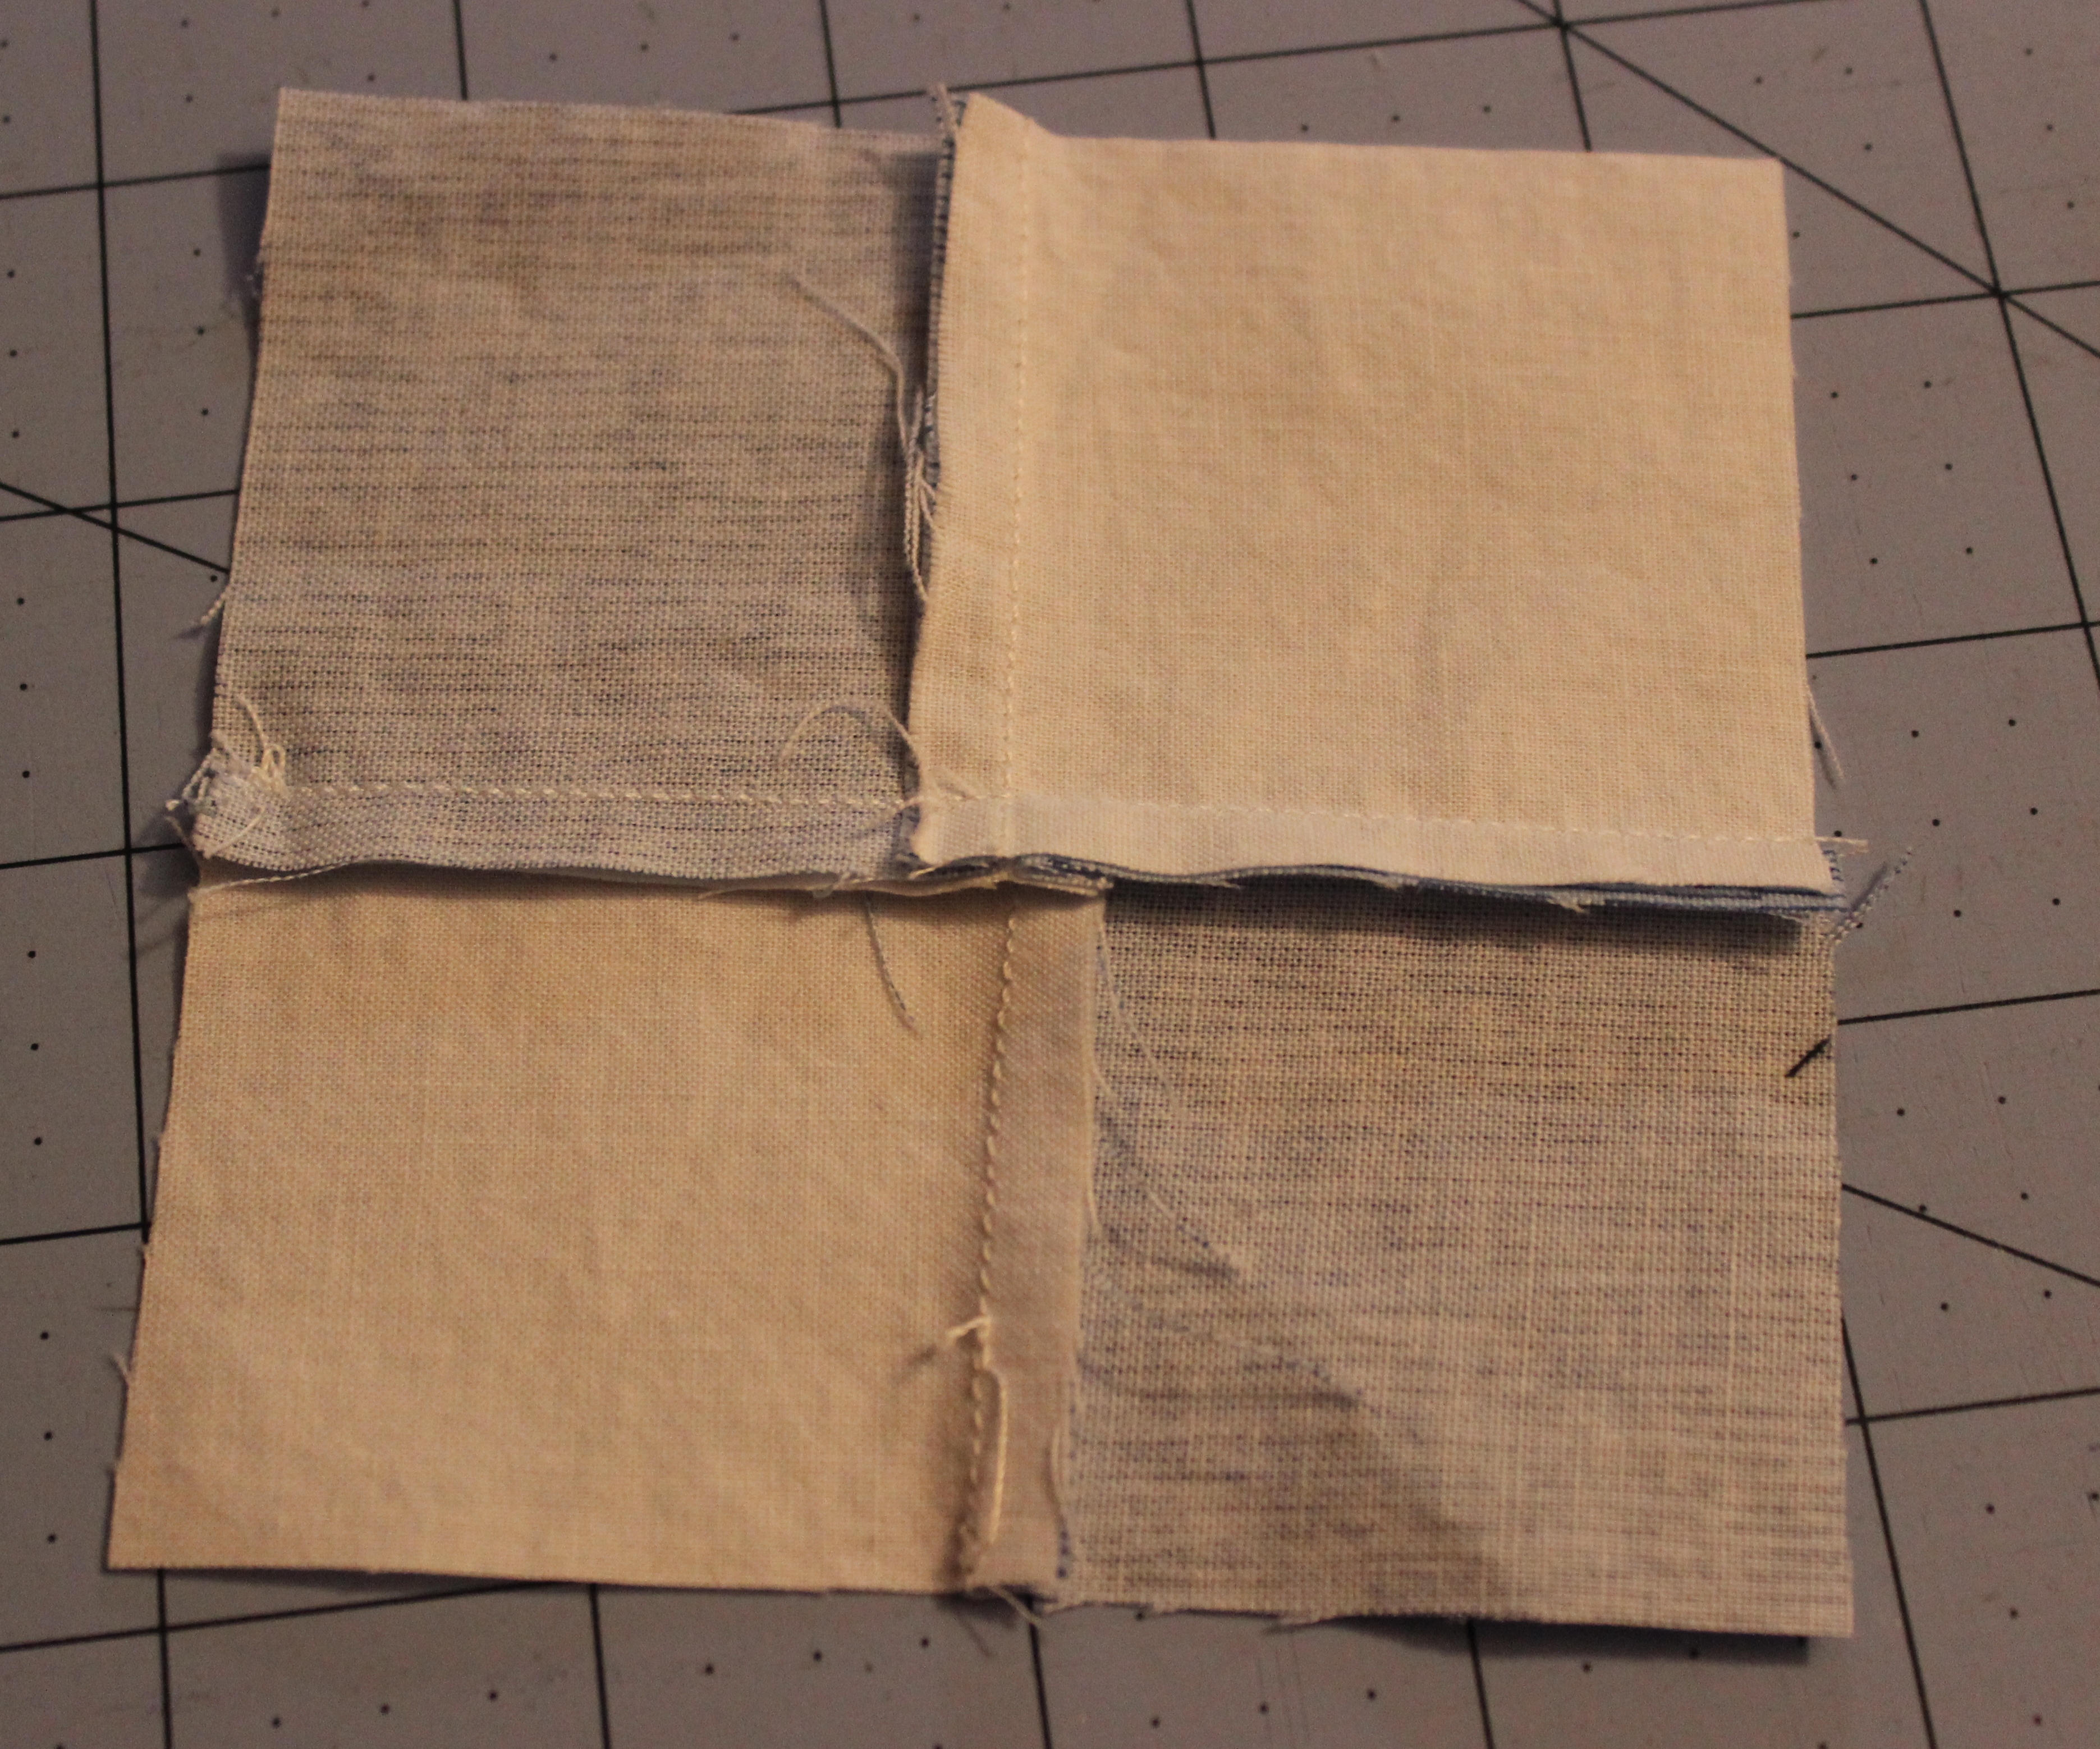
- Make a quilt sandwich:
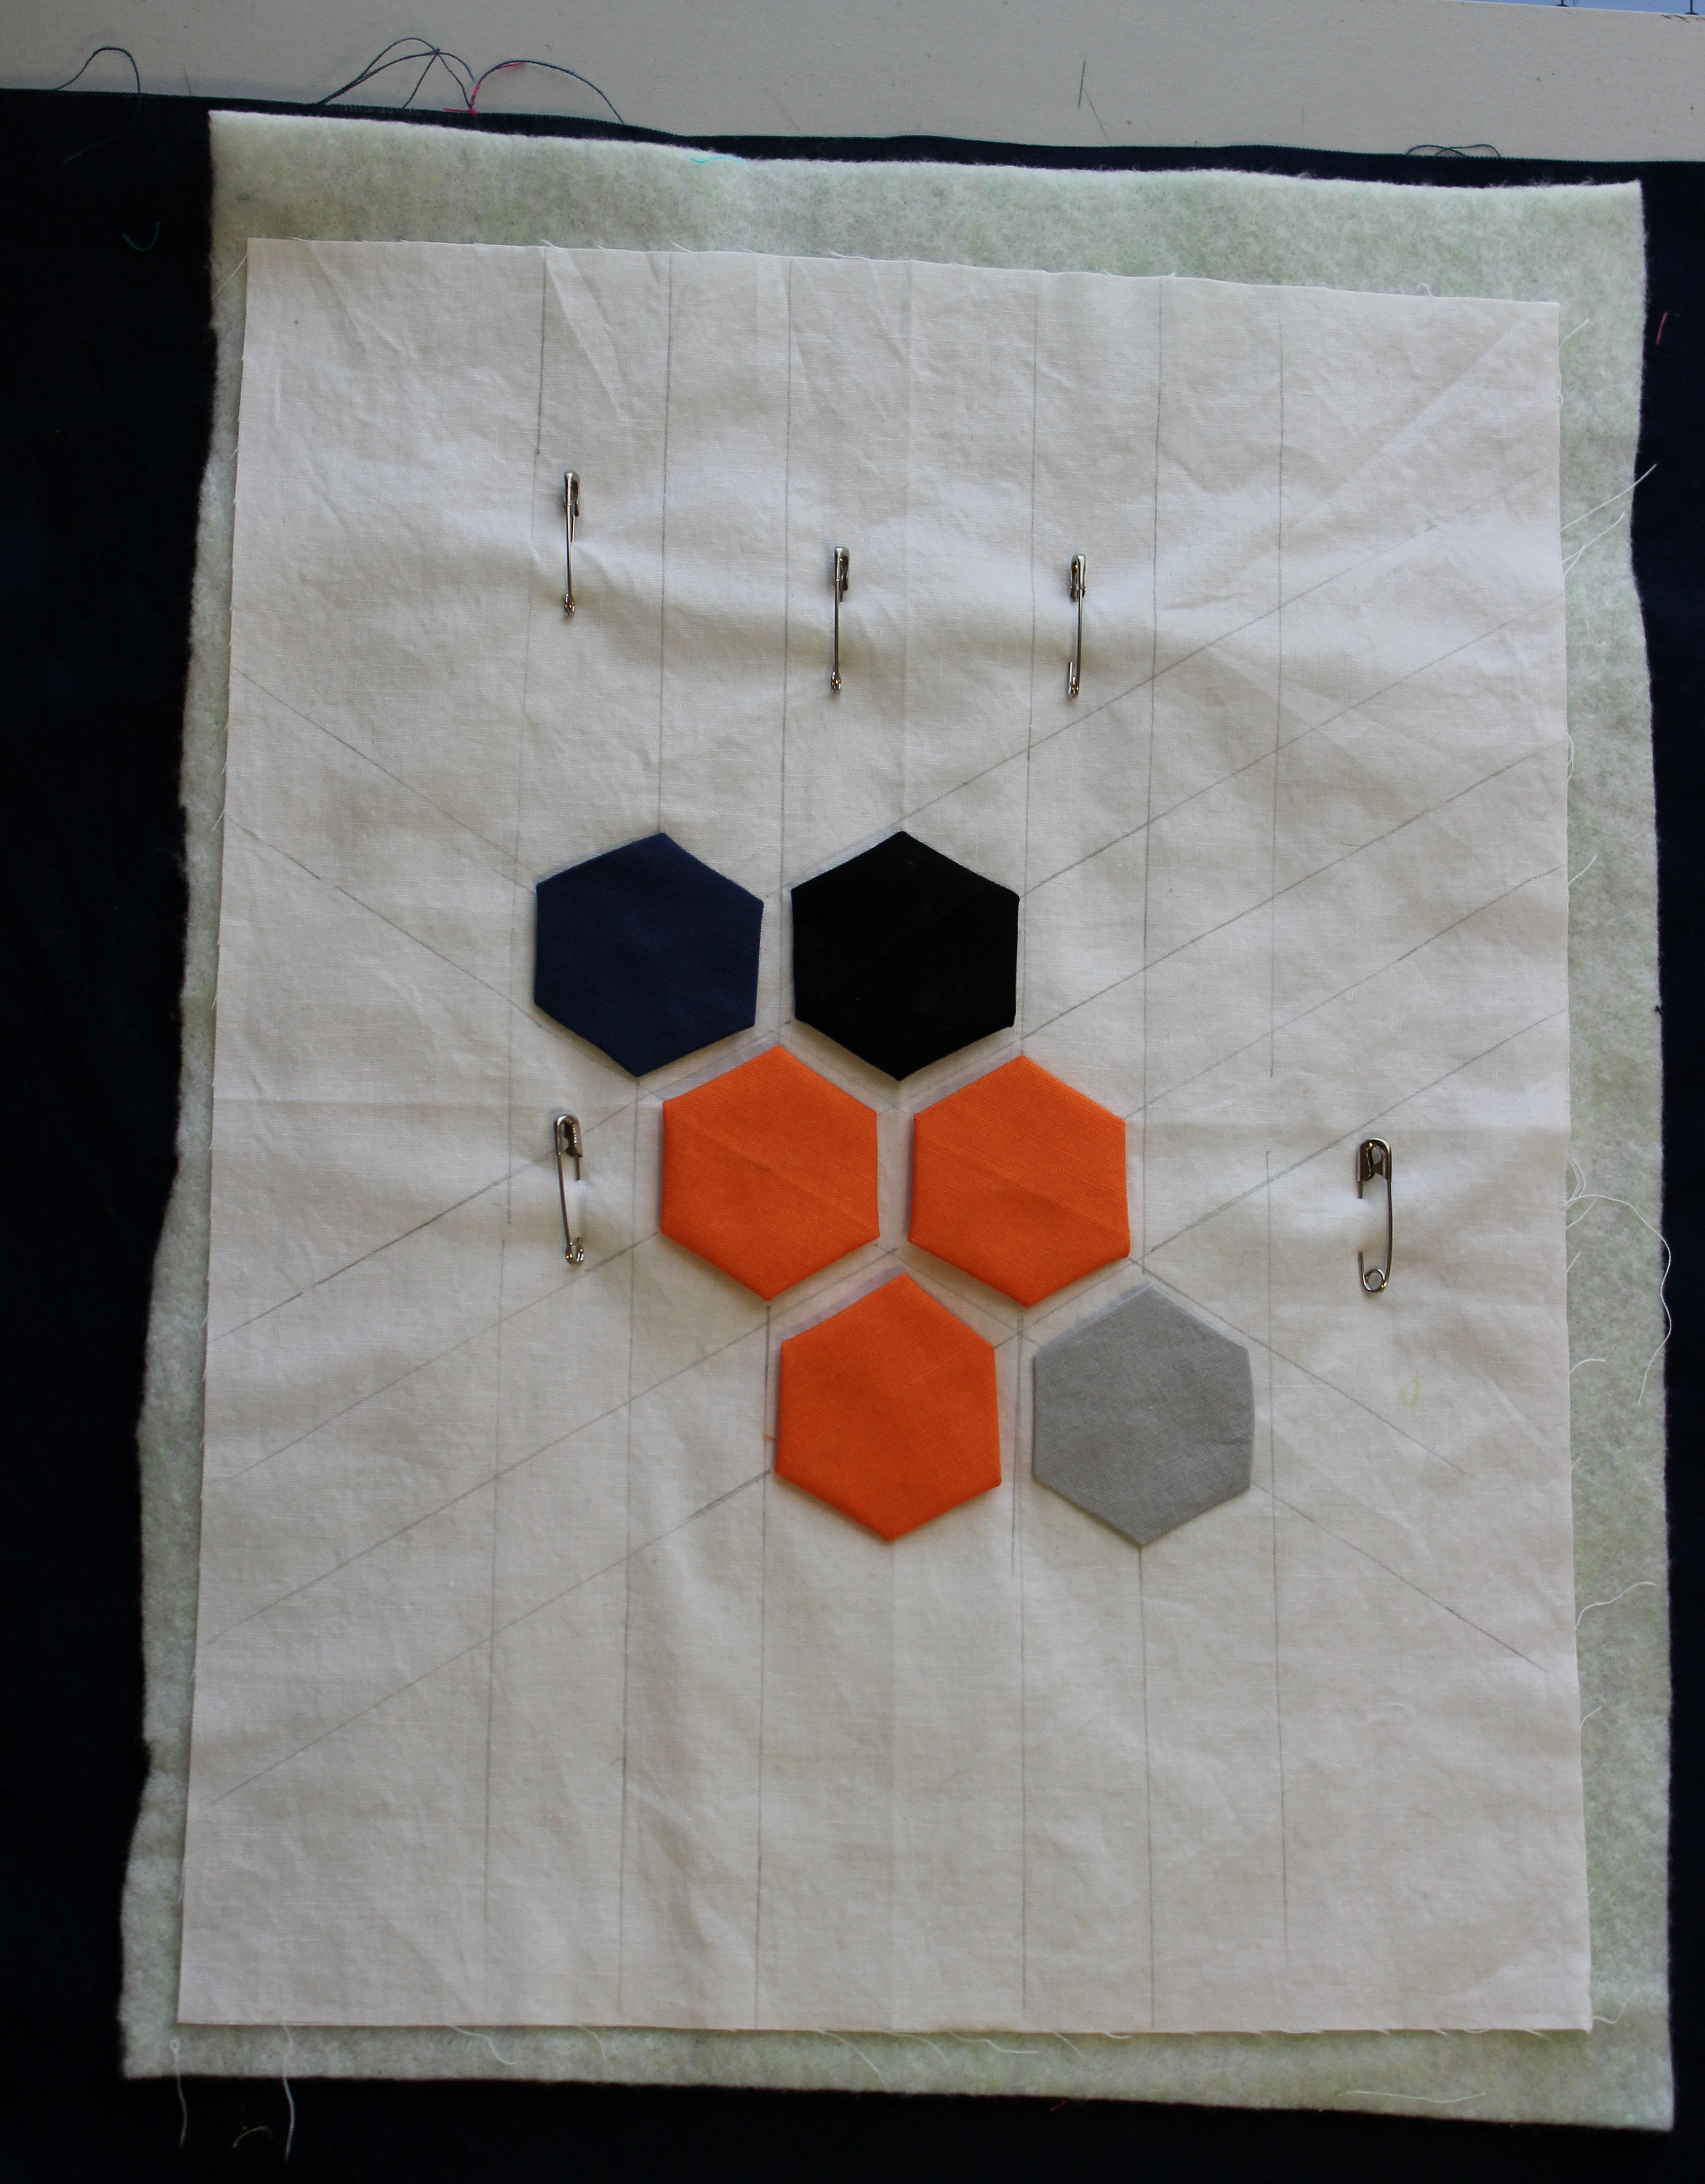
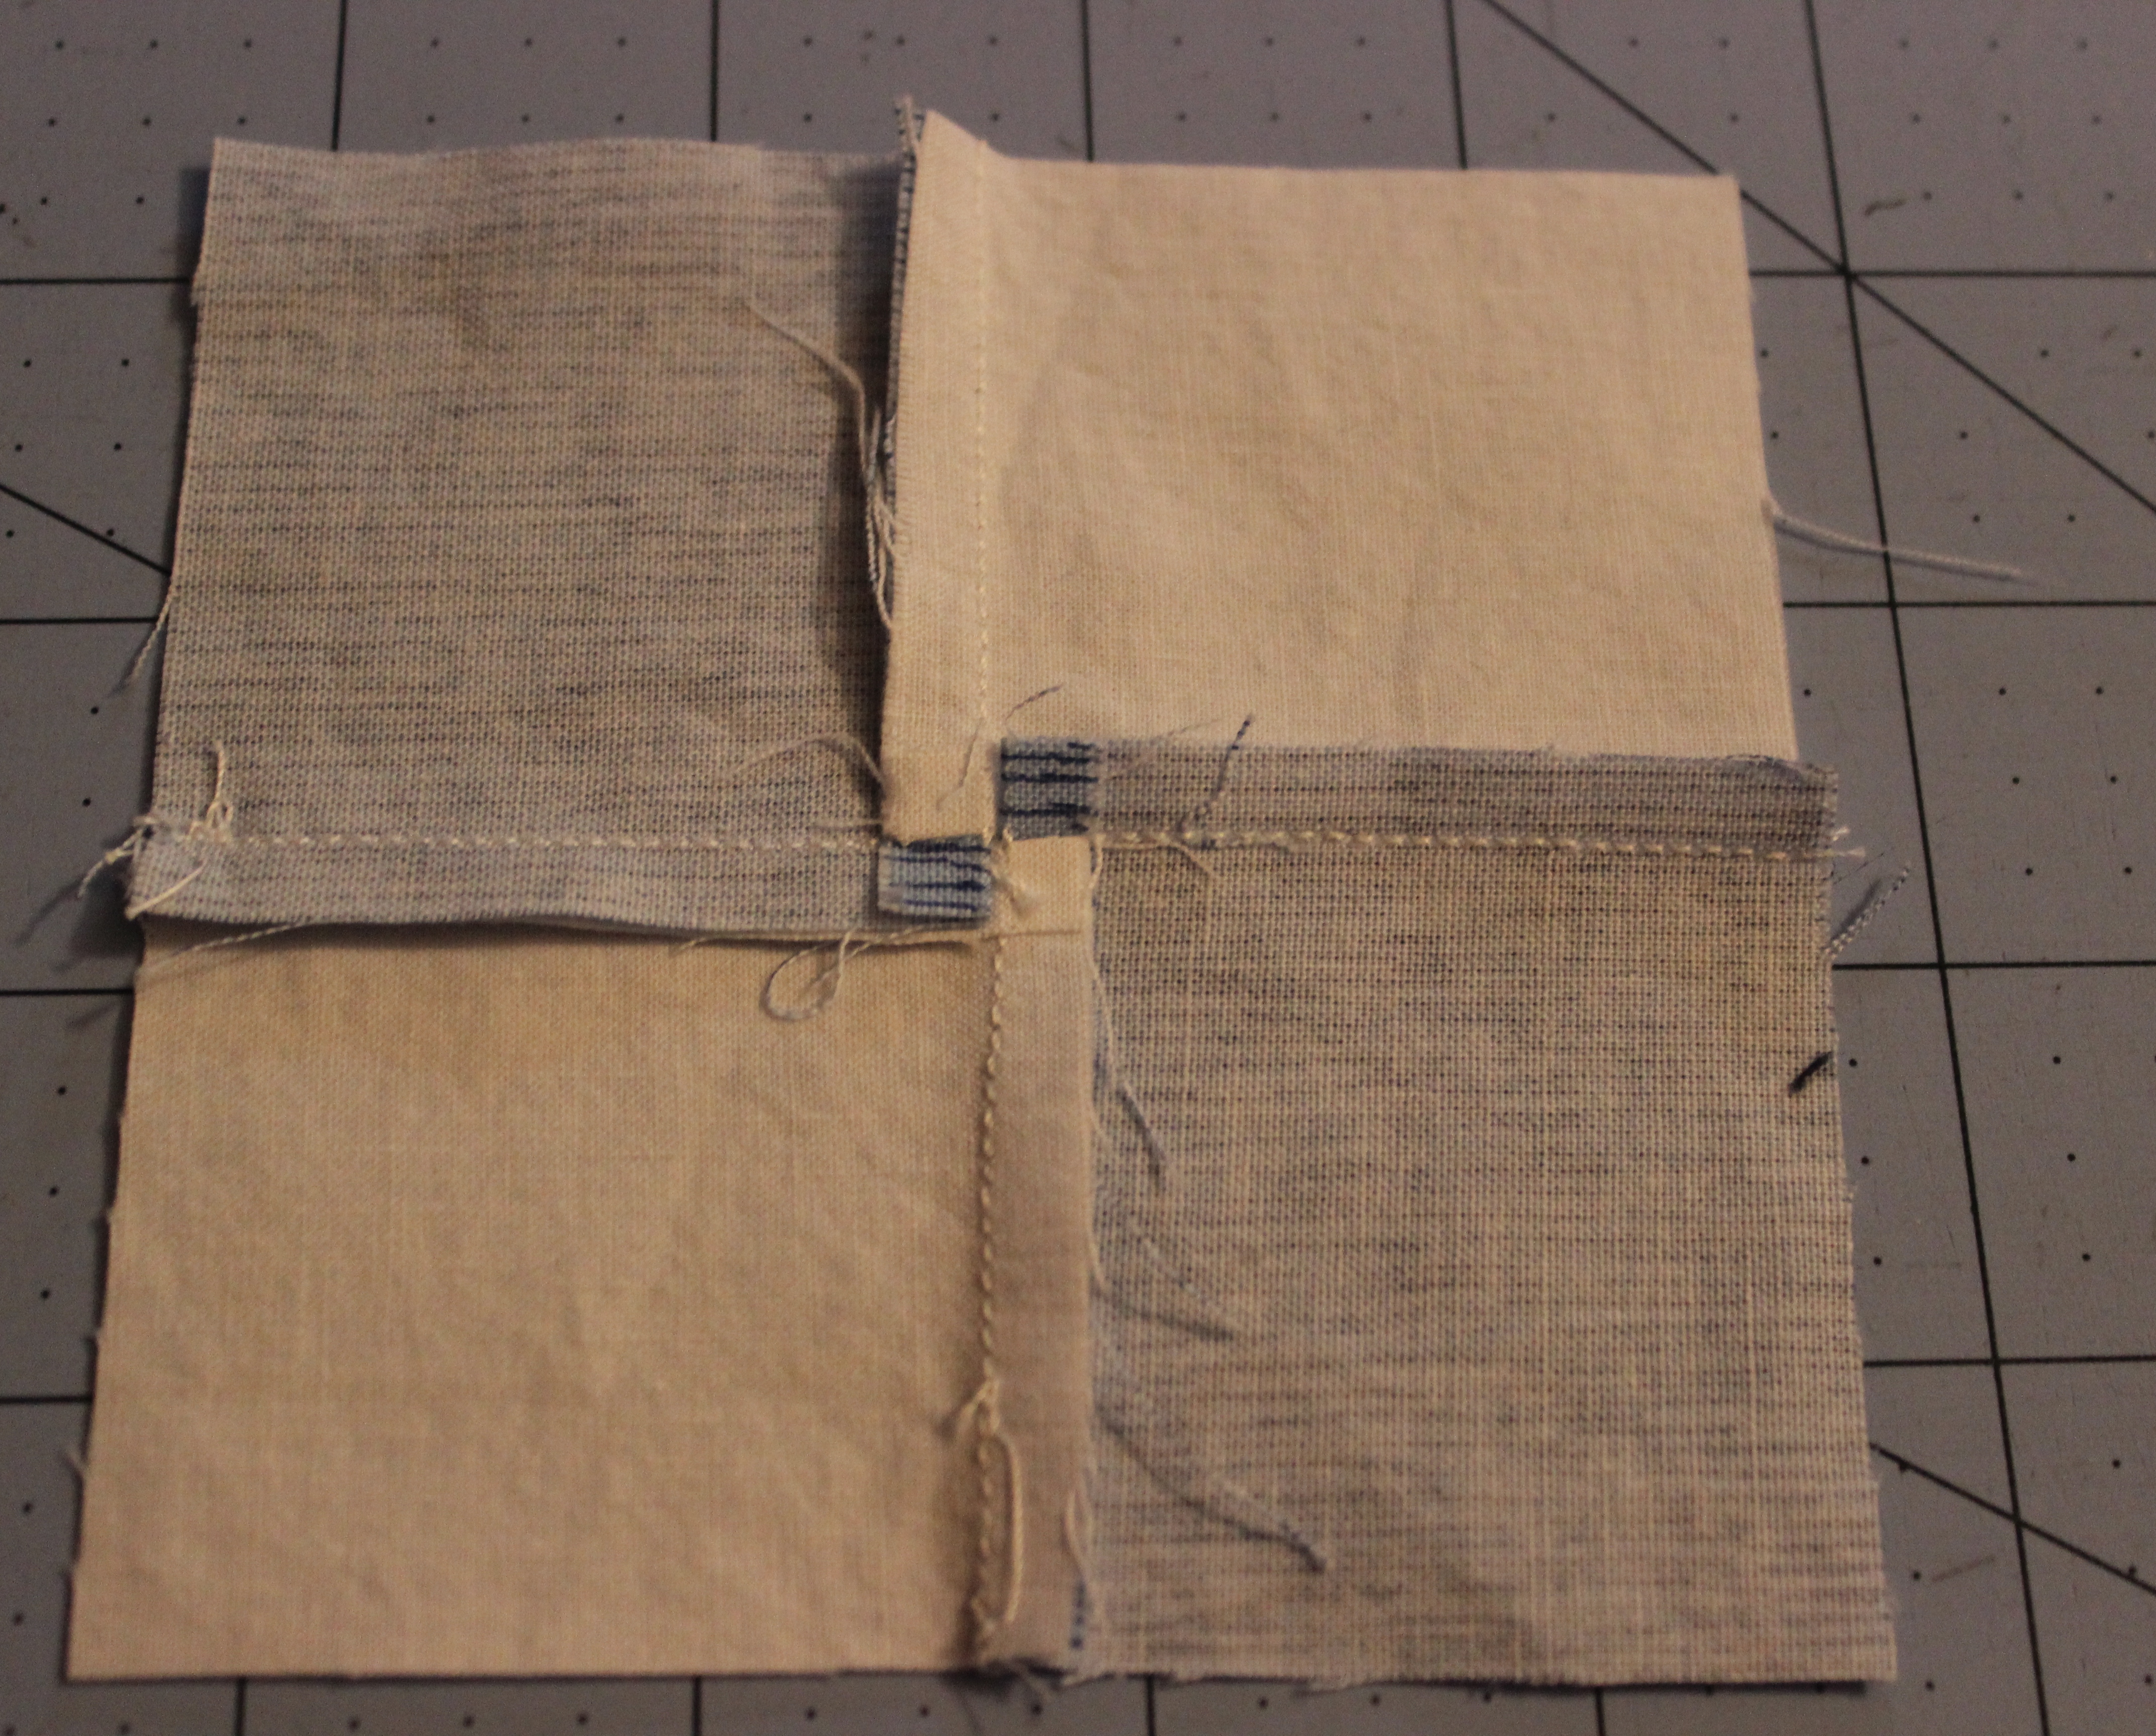
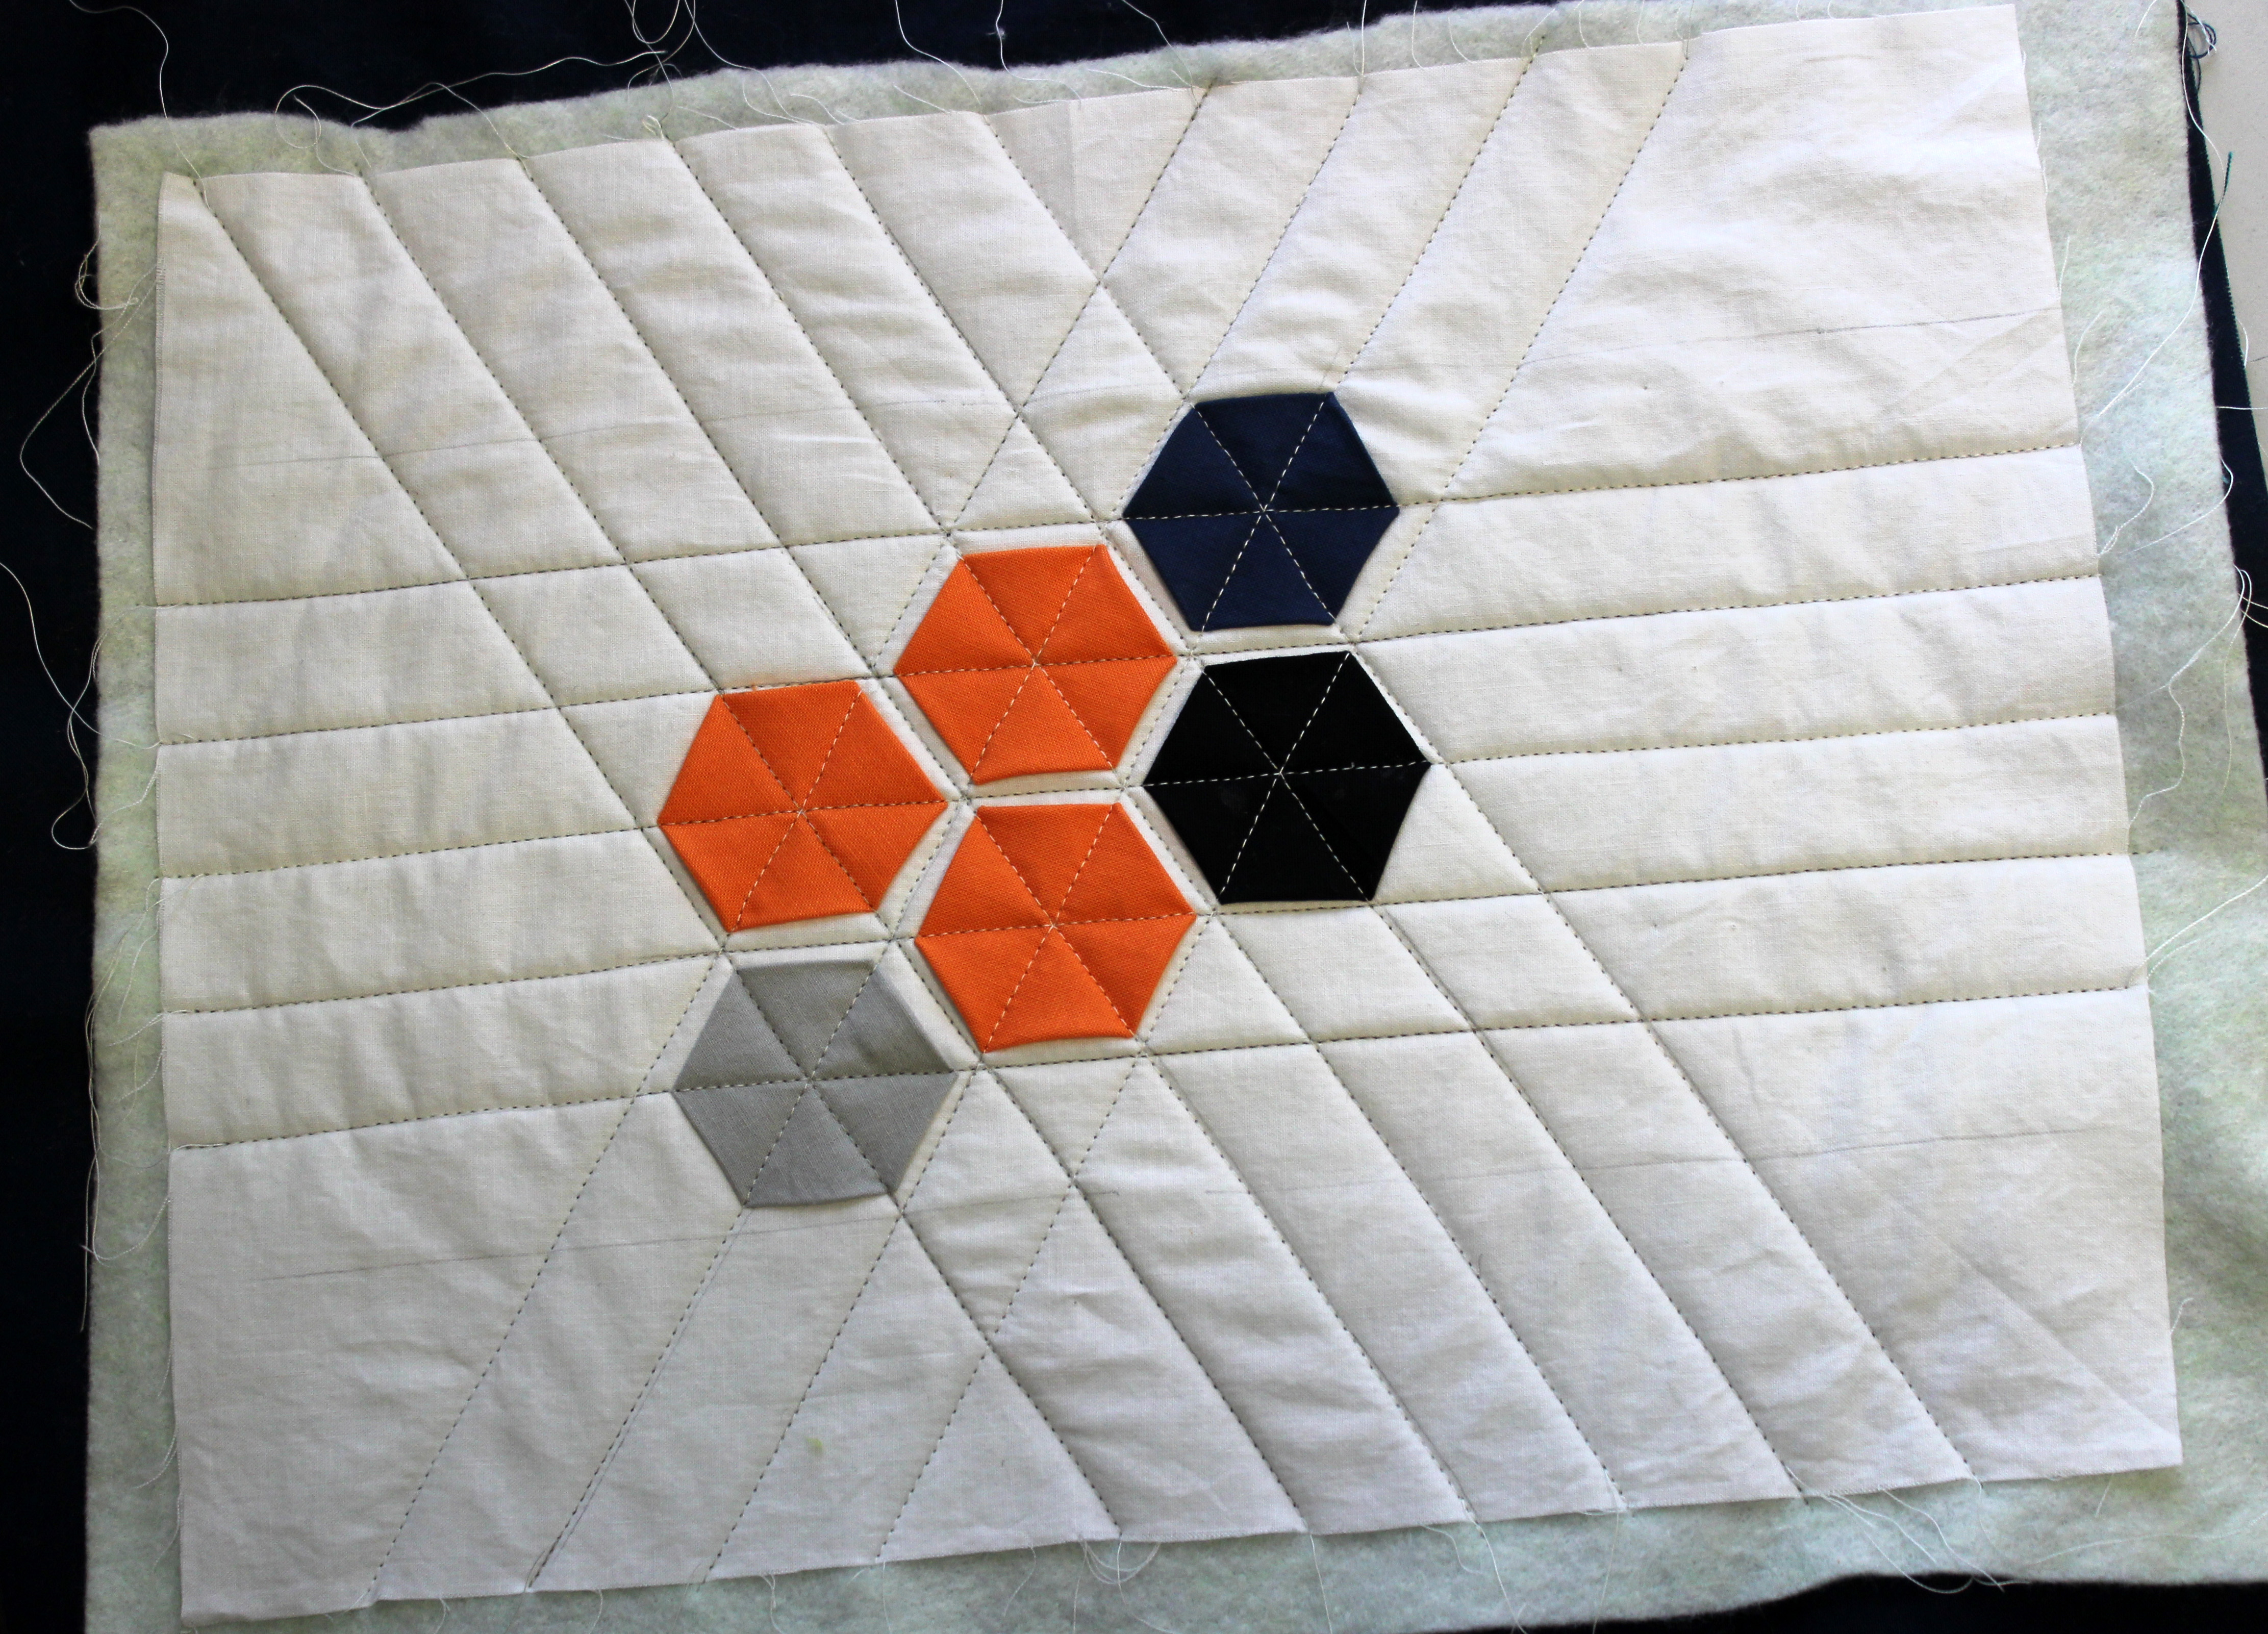
- Stitch straight across the points. It takes three passes to get all the points.

- Square up and bind.
- Wash it.
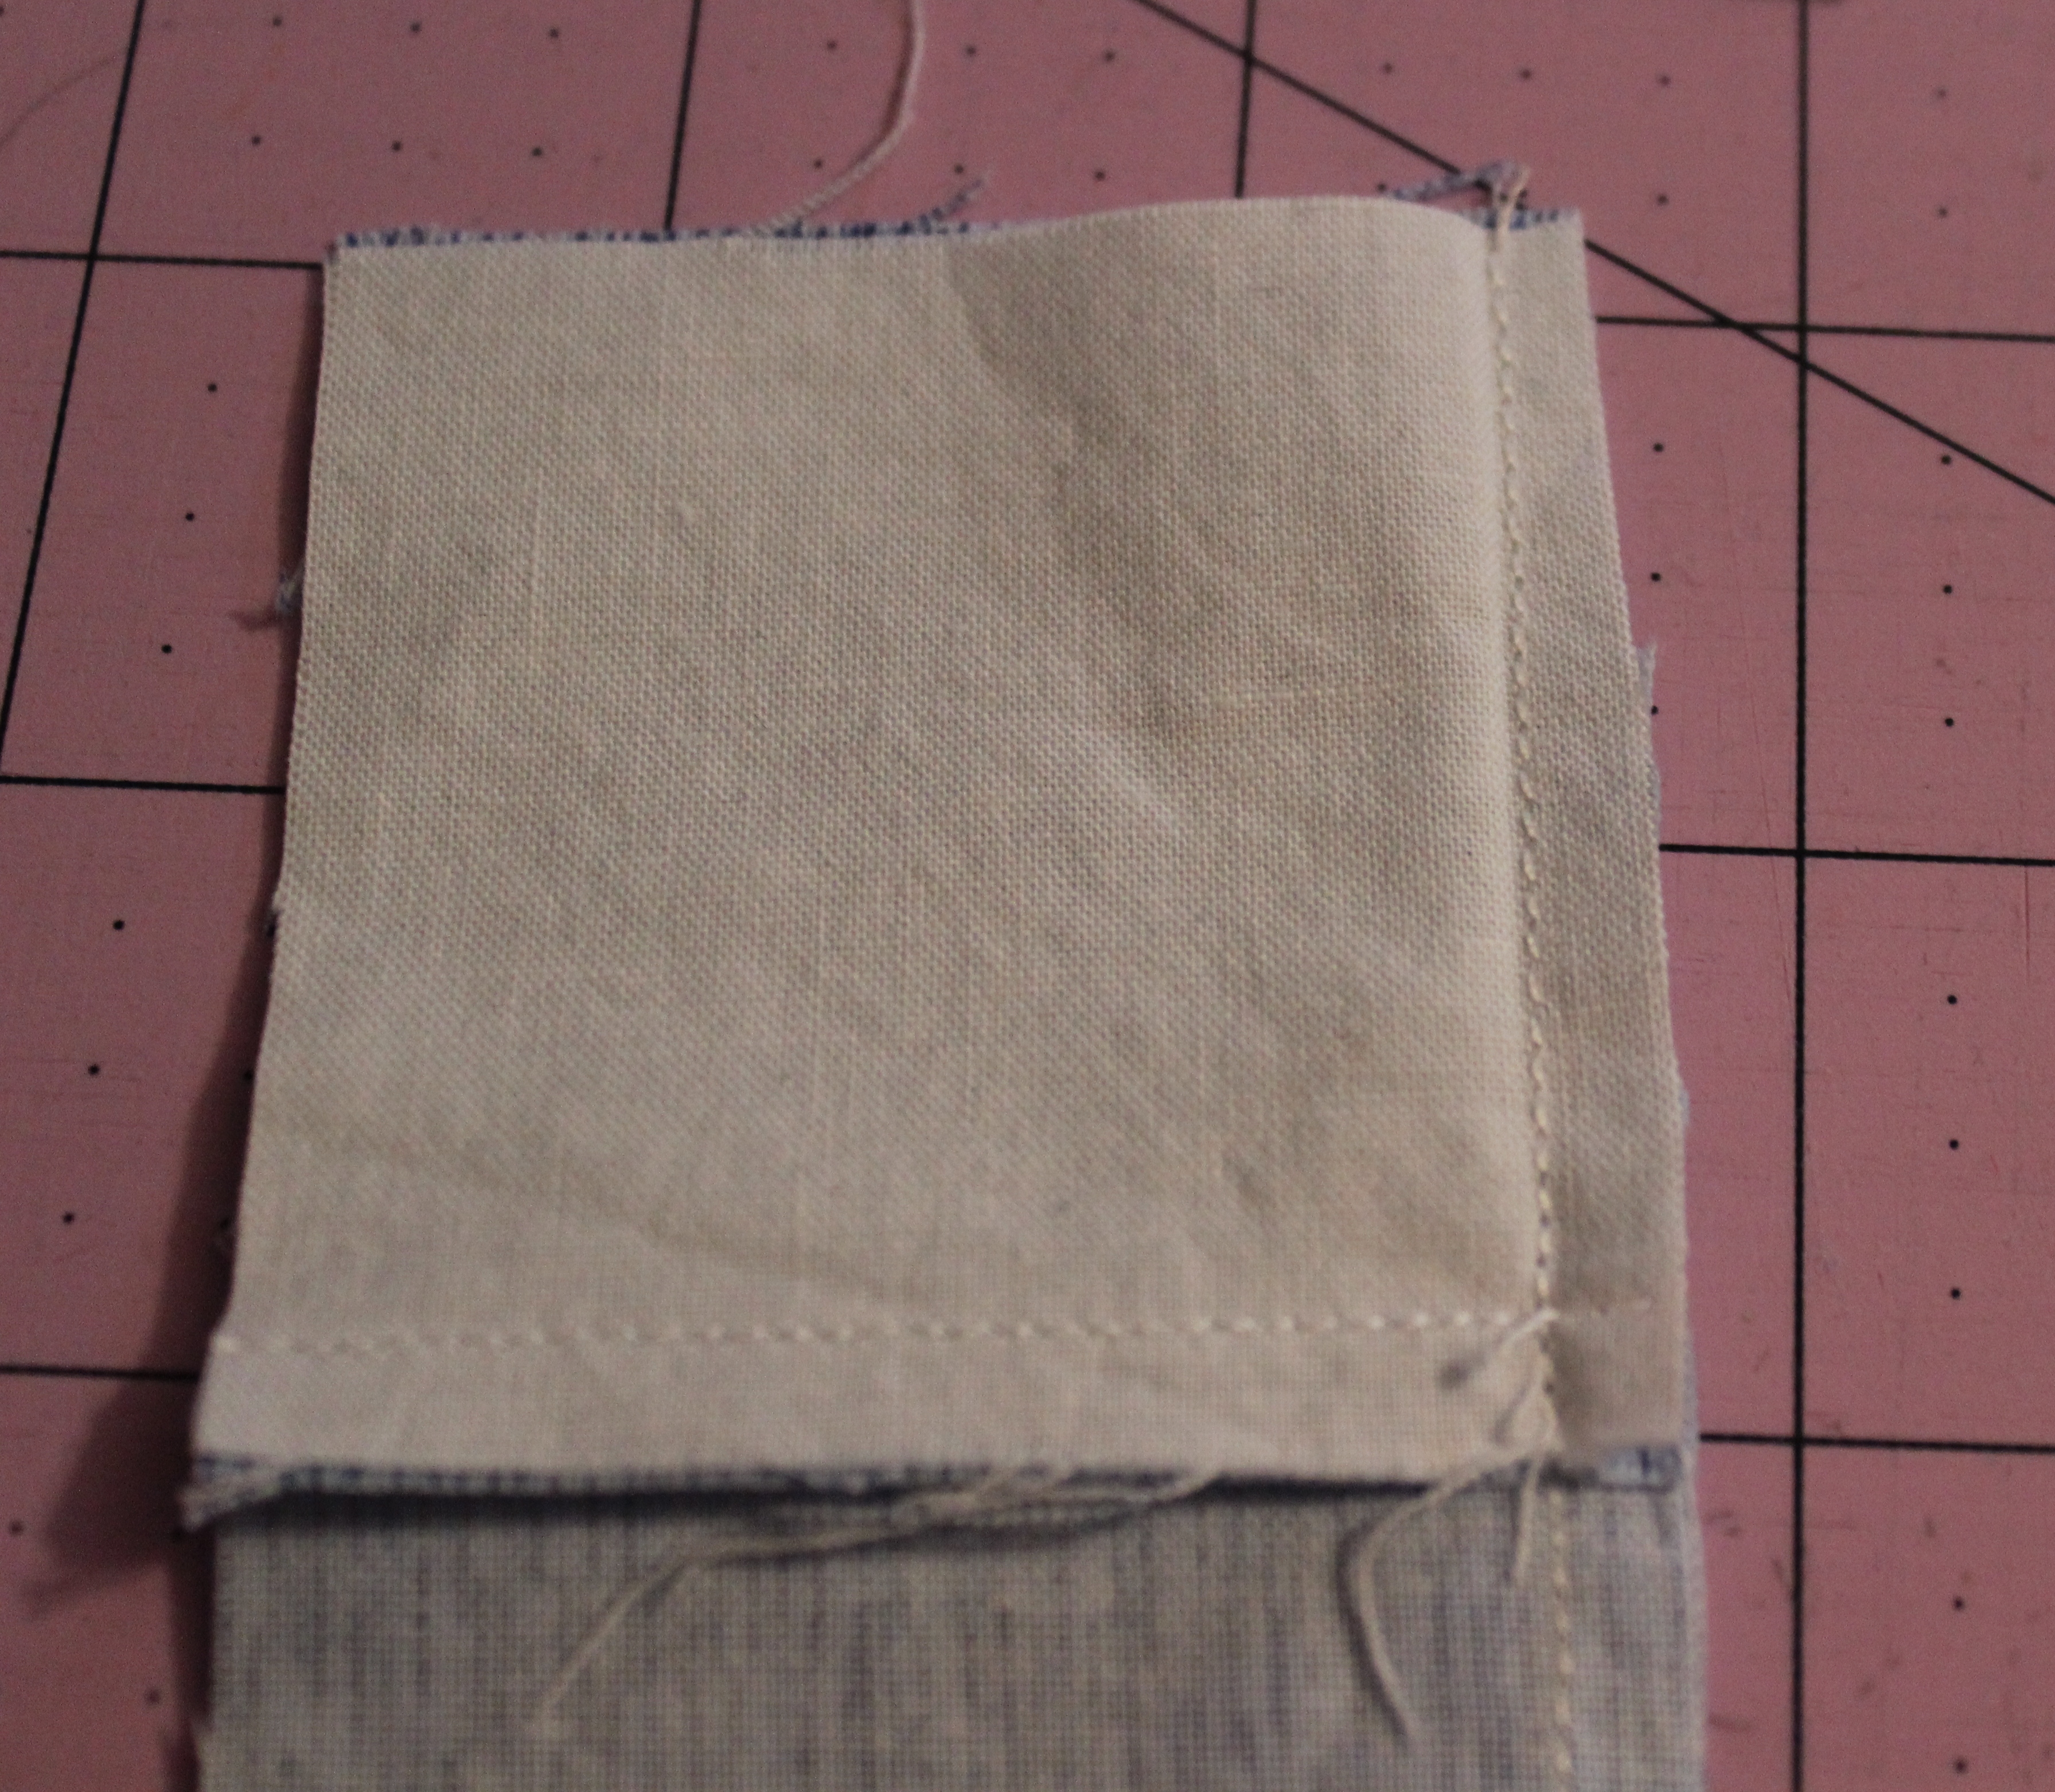
What happened?

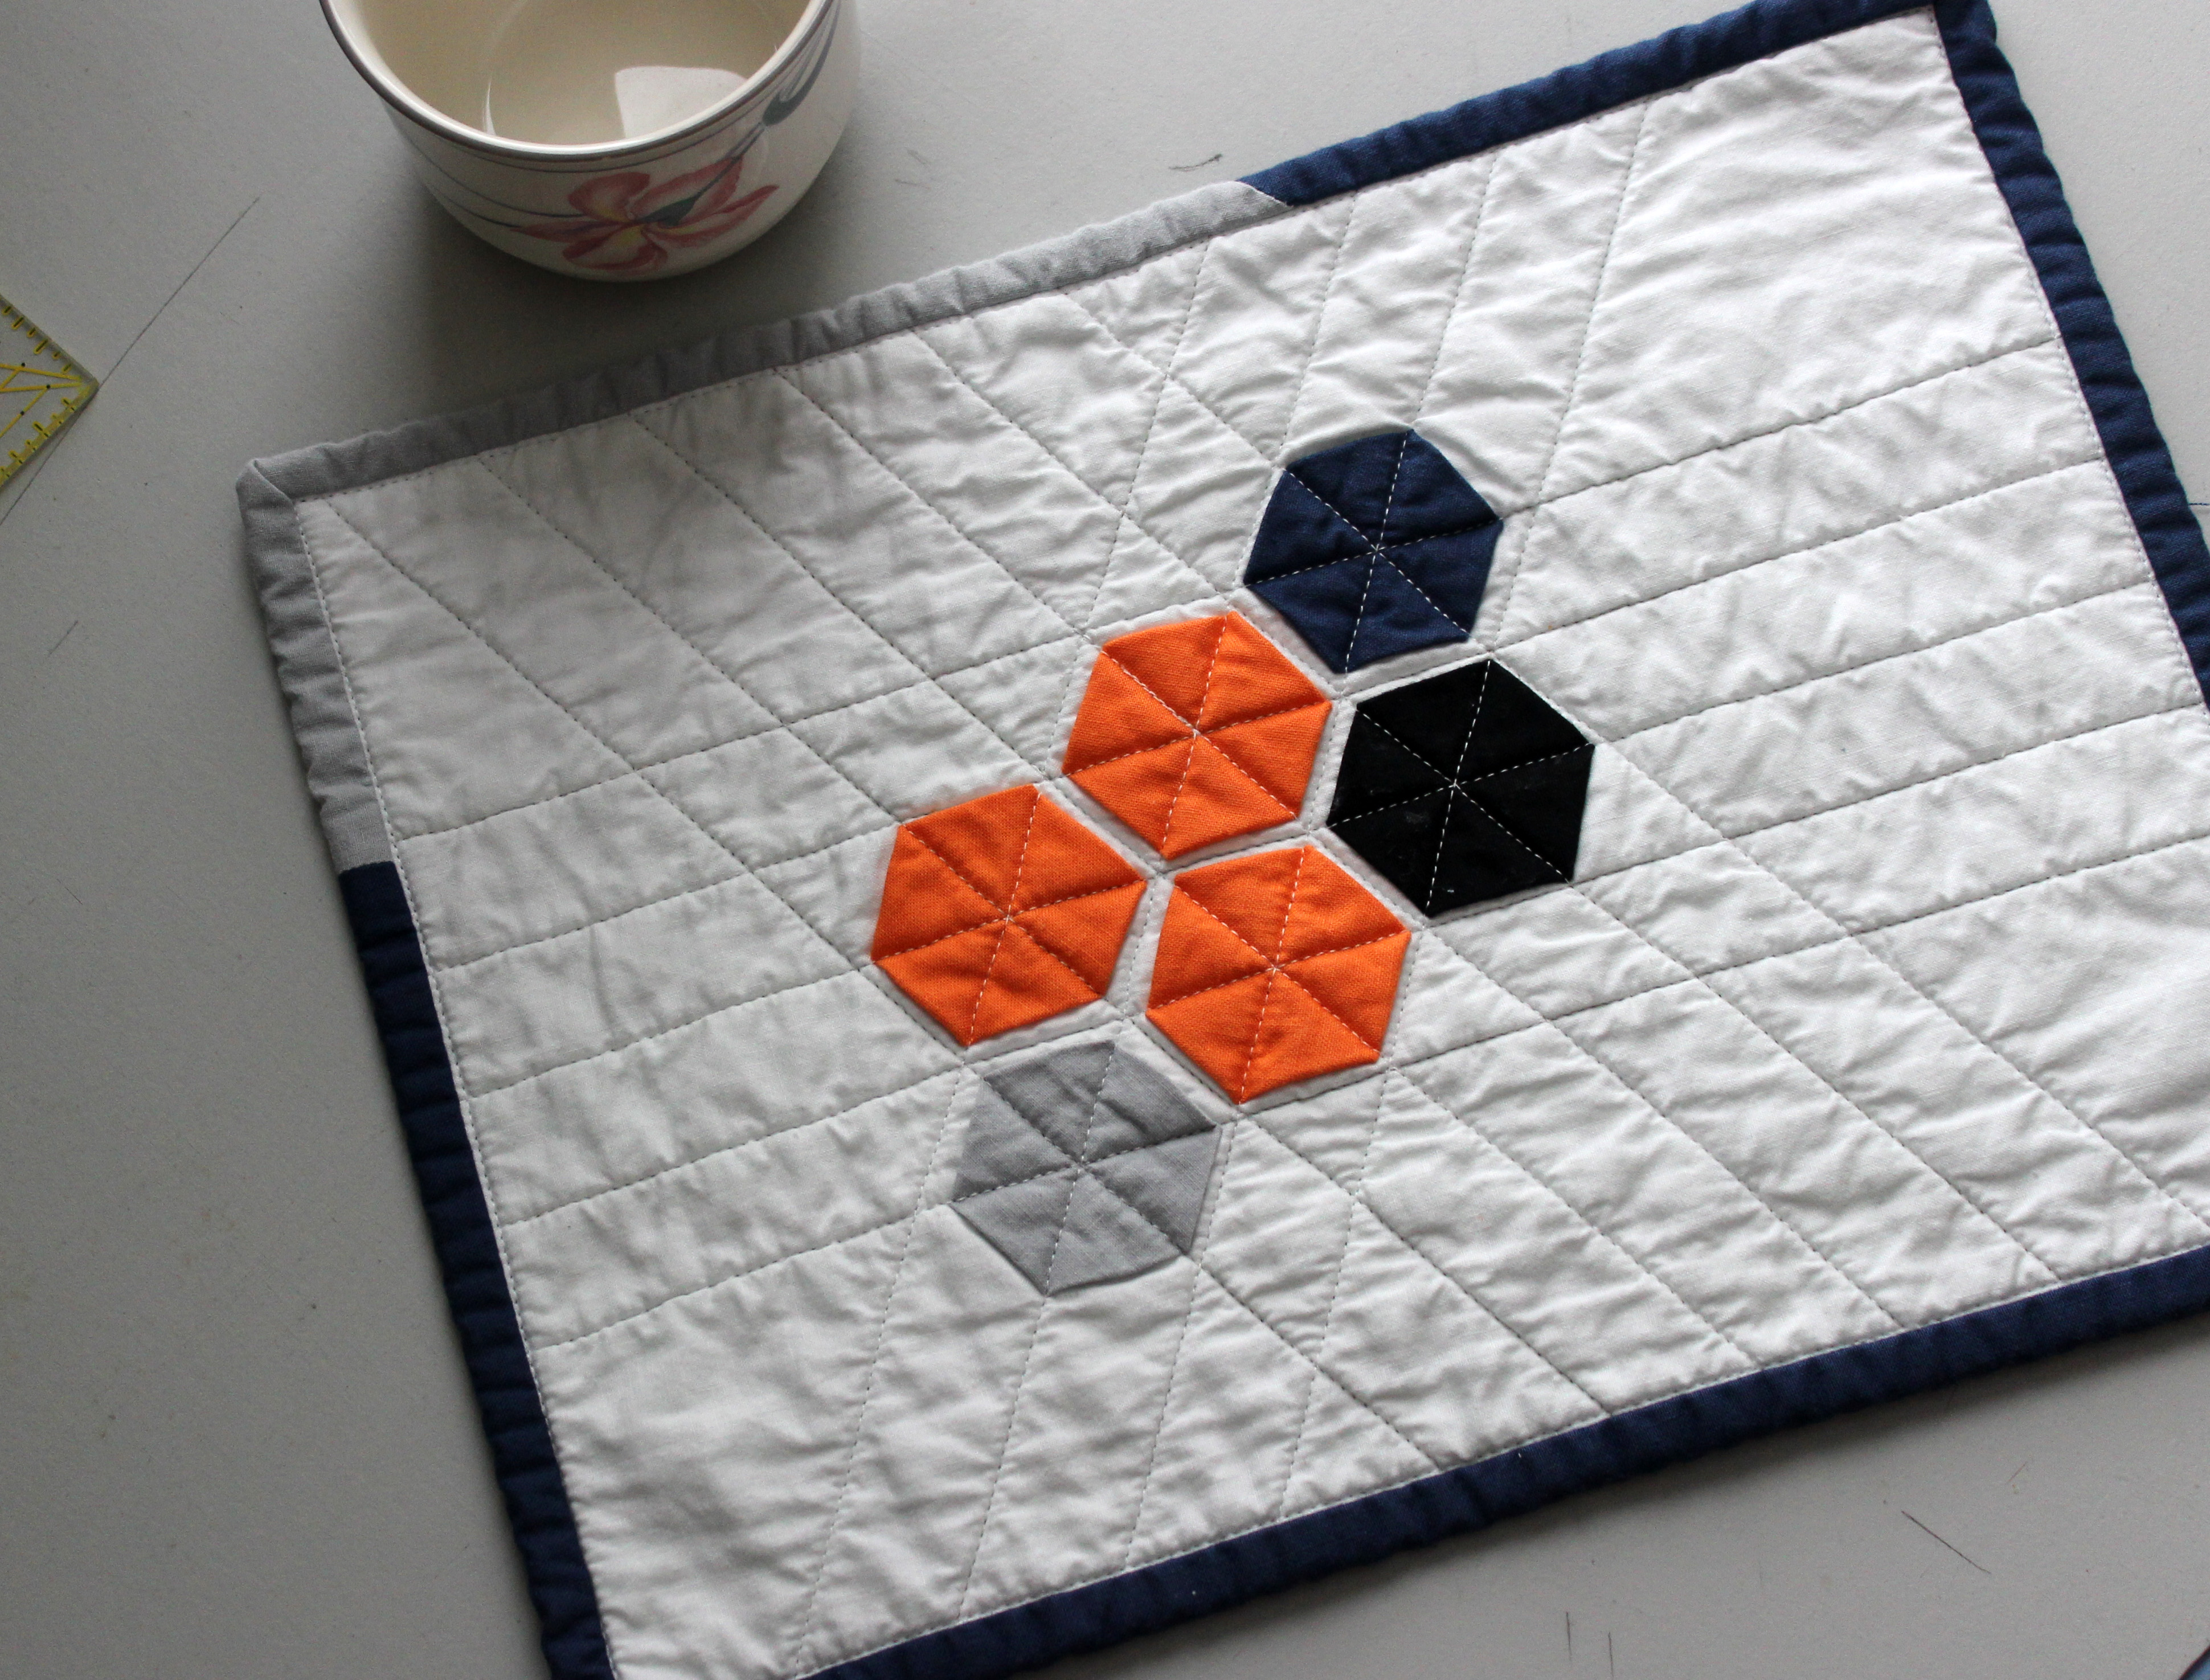
Success! None of the ends came out.
Taking a break from experimenting,
Wanda
I’m linking up with The Late Night Quilters’ Tips and Tutorials Tuesdays.