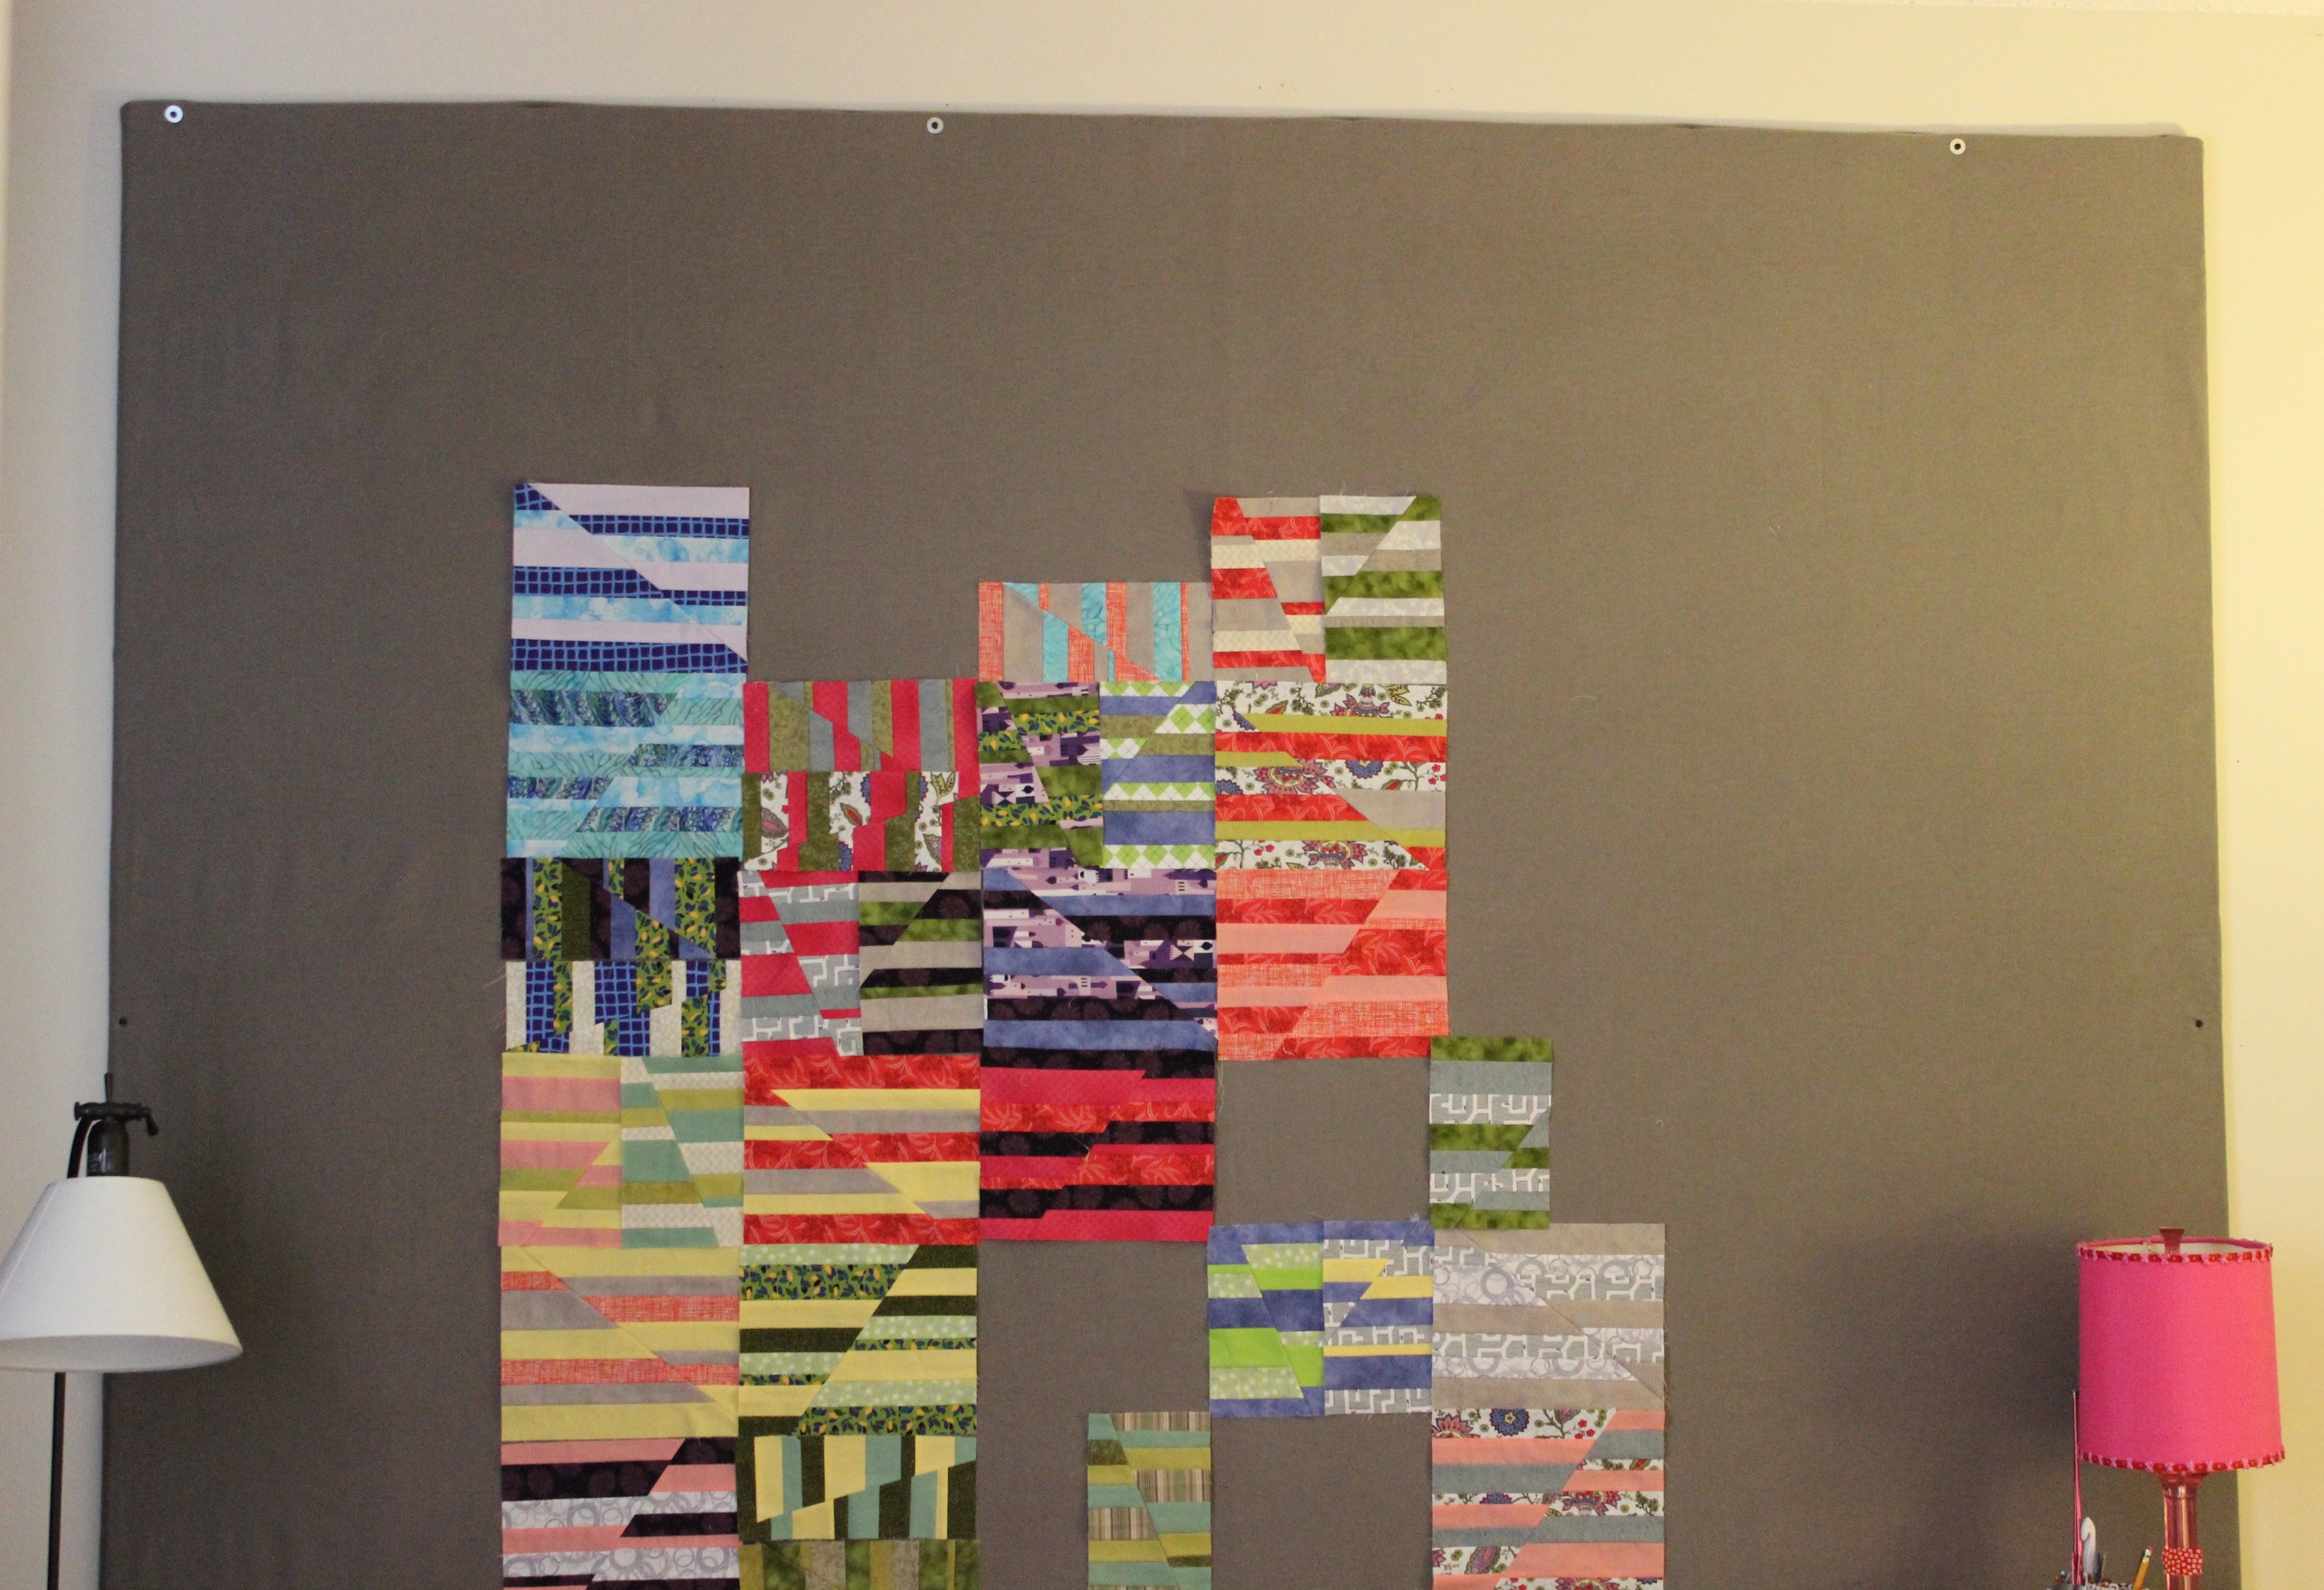
The Design Wall is now up!

I first taped the two insulation boards together. I used duct tape:

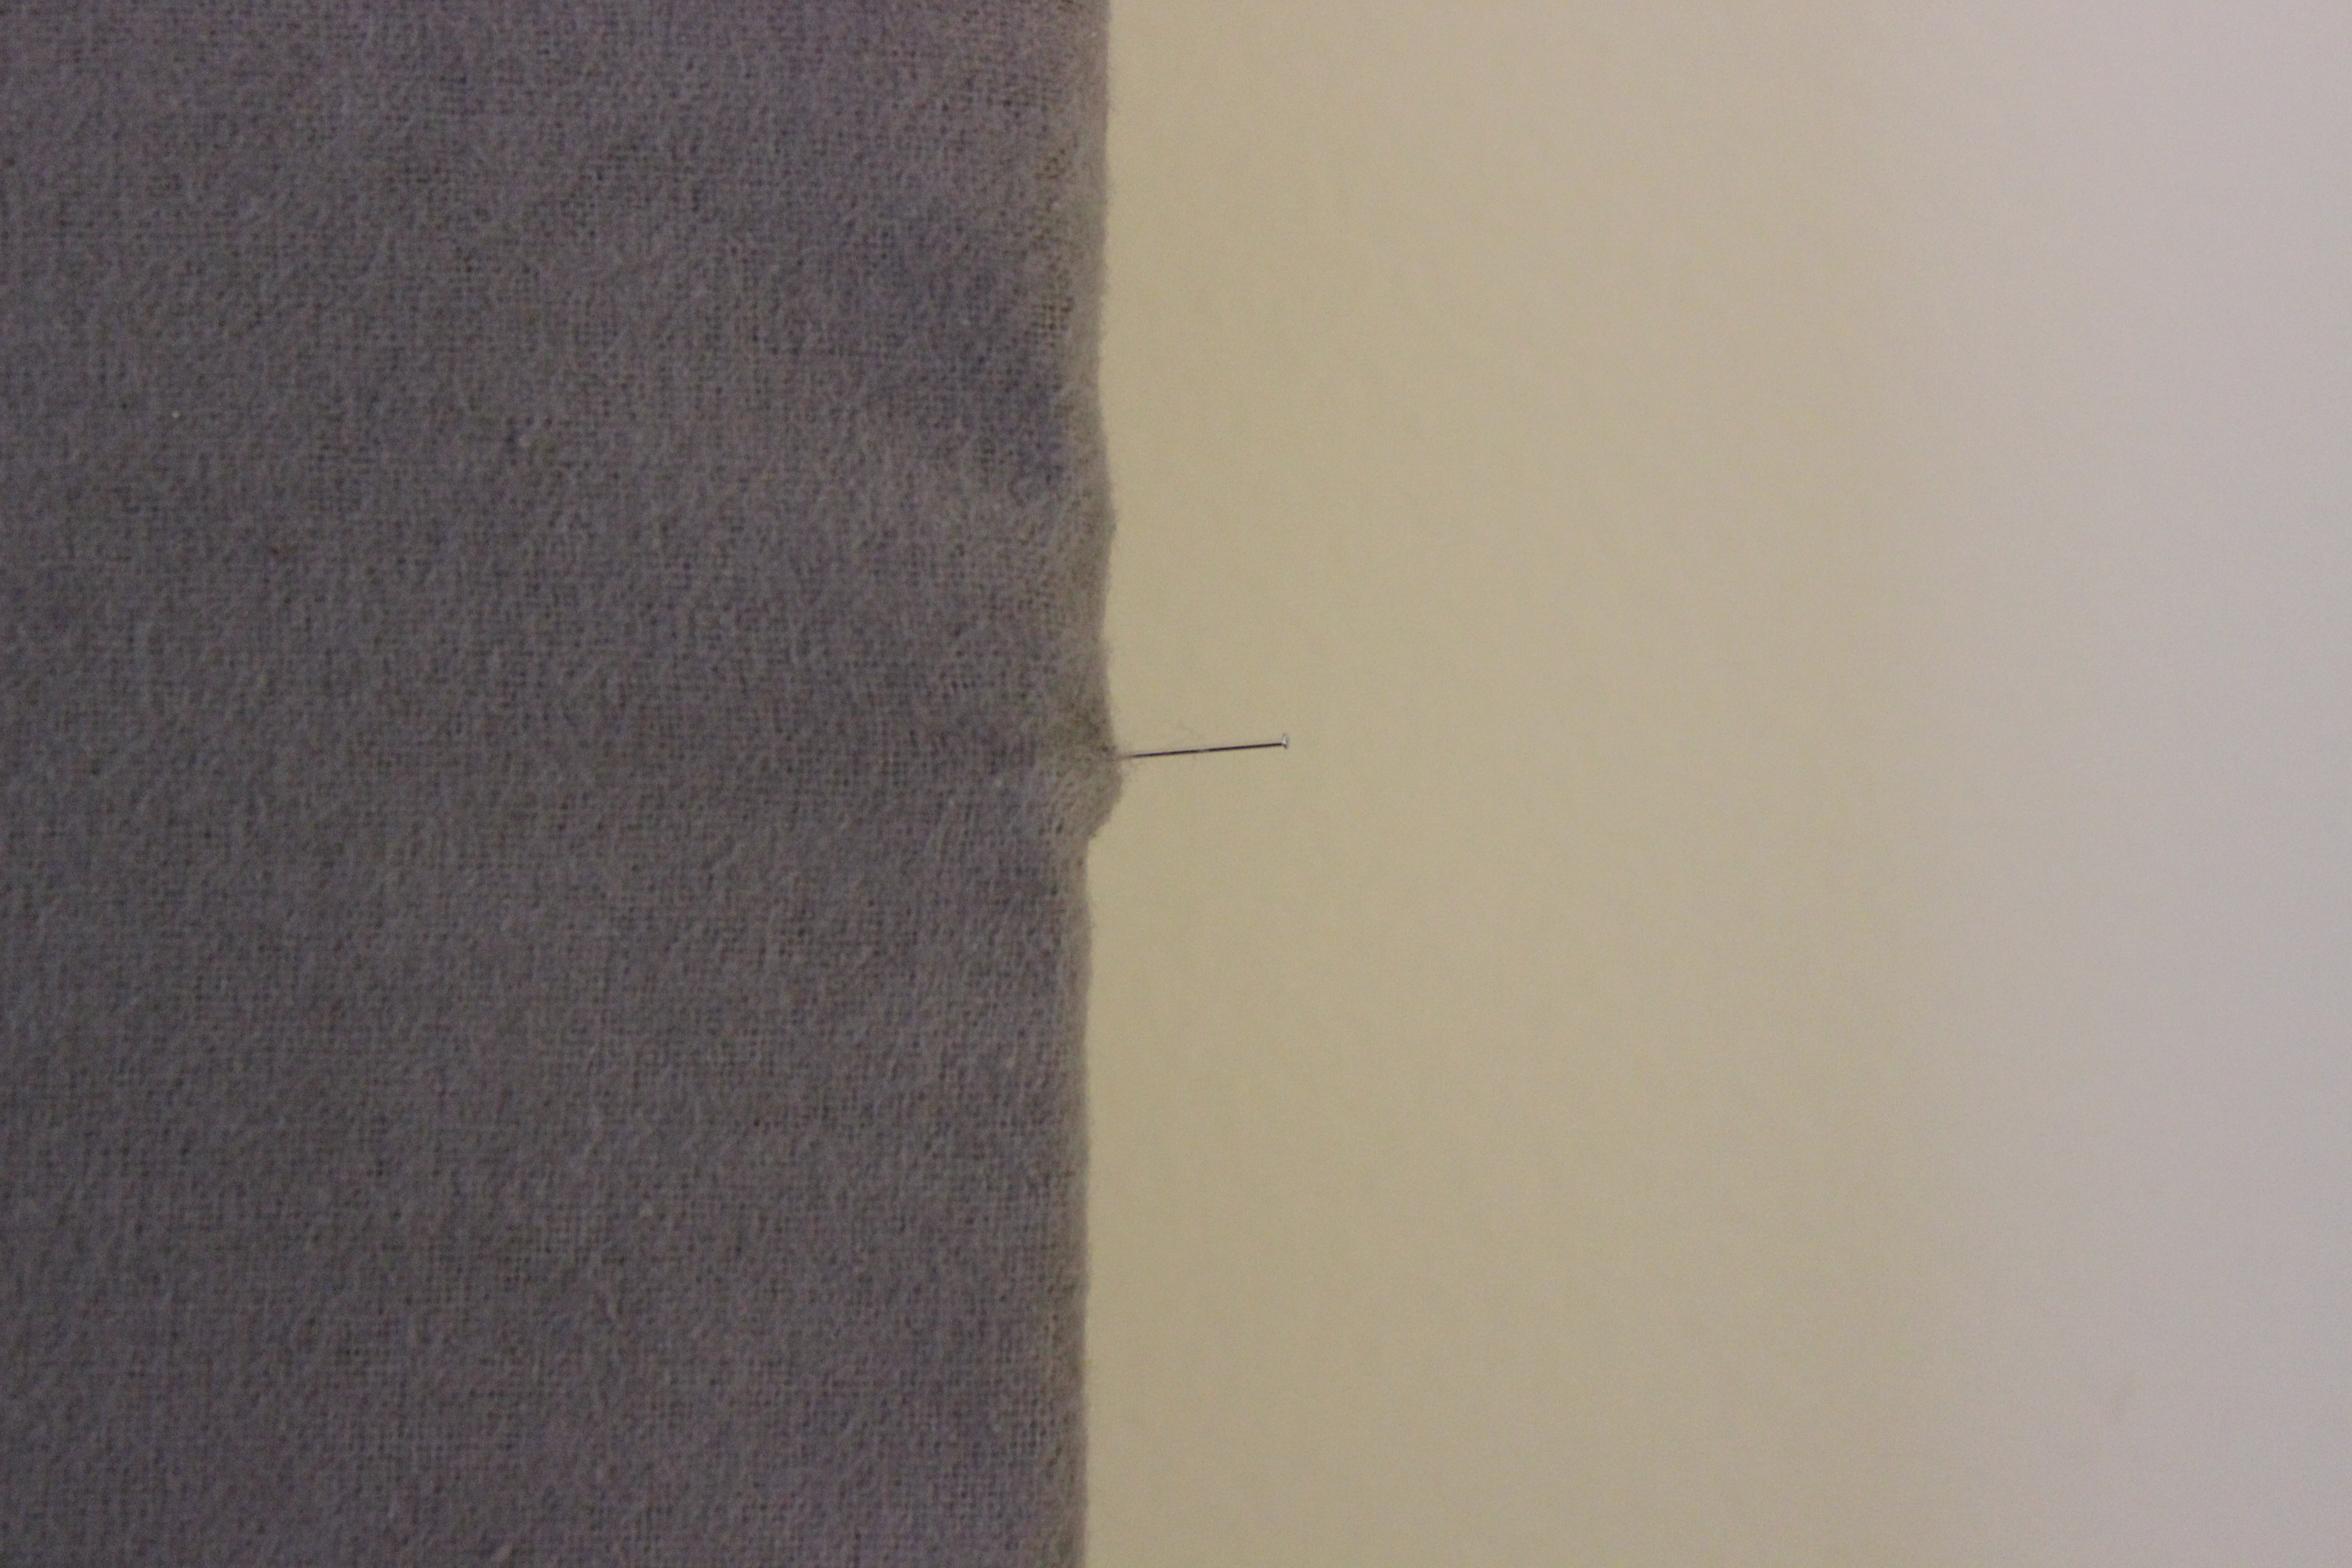
I ironed and pressed the flannel (no photo of that). I then pinned the flannel to the insulation boards using silk pins:
I also used duct tape to hold the corners on the back (no photo).
We — a two-person job here — installed the design board to the wall, using screws. We made sure to install the screws where the studs were located. We are not home improvement experts by any means. We had some trouble at first because the screw caught the fabric, twisting it as it went into the insulation board. We made it work in the end.

Another shot of the finished project:
Again, thanks to Sew Katie Did for the inspiration.
Discover more from Wanda's Life Sampler
Subscribe to get the latest posts sent to your email.

It’s lovely, I’m suffering from design wall envy now.
LikeLike
That’s how this all started: I got design wall envy.
LikeLike
Wanda I’m excited to see how far you’ve come with your Aerial quilt! It’s looking awesome. And I’m glad you made a design wall, too. Sometimes it really does make all the difference. I can’t wait to see the Aerial quilt once it’s done!
LikeLike
Love your design wall. This is one project I definitely see in my near future! I already know where it will go, there’s just stuff that needs to be moved first into places where there’s currently other stuff …
LikeLike
I had to move my sewing space around as well. It’s been so worth it. I’ve noticed the gray background is less distracting than the white tablecloth.
LikeLike