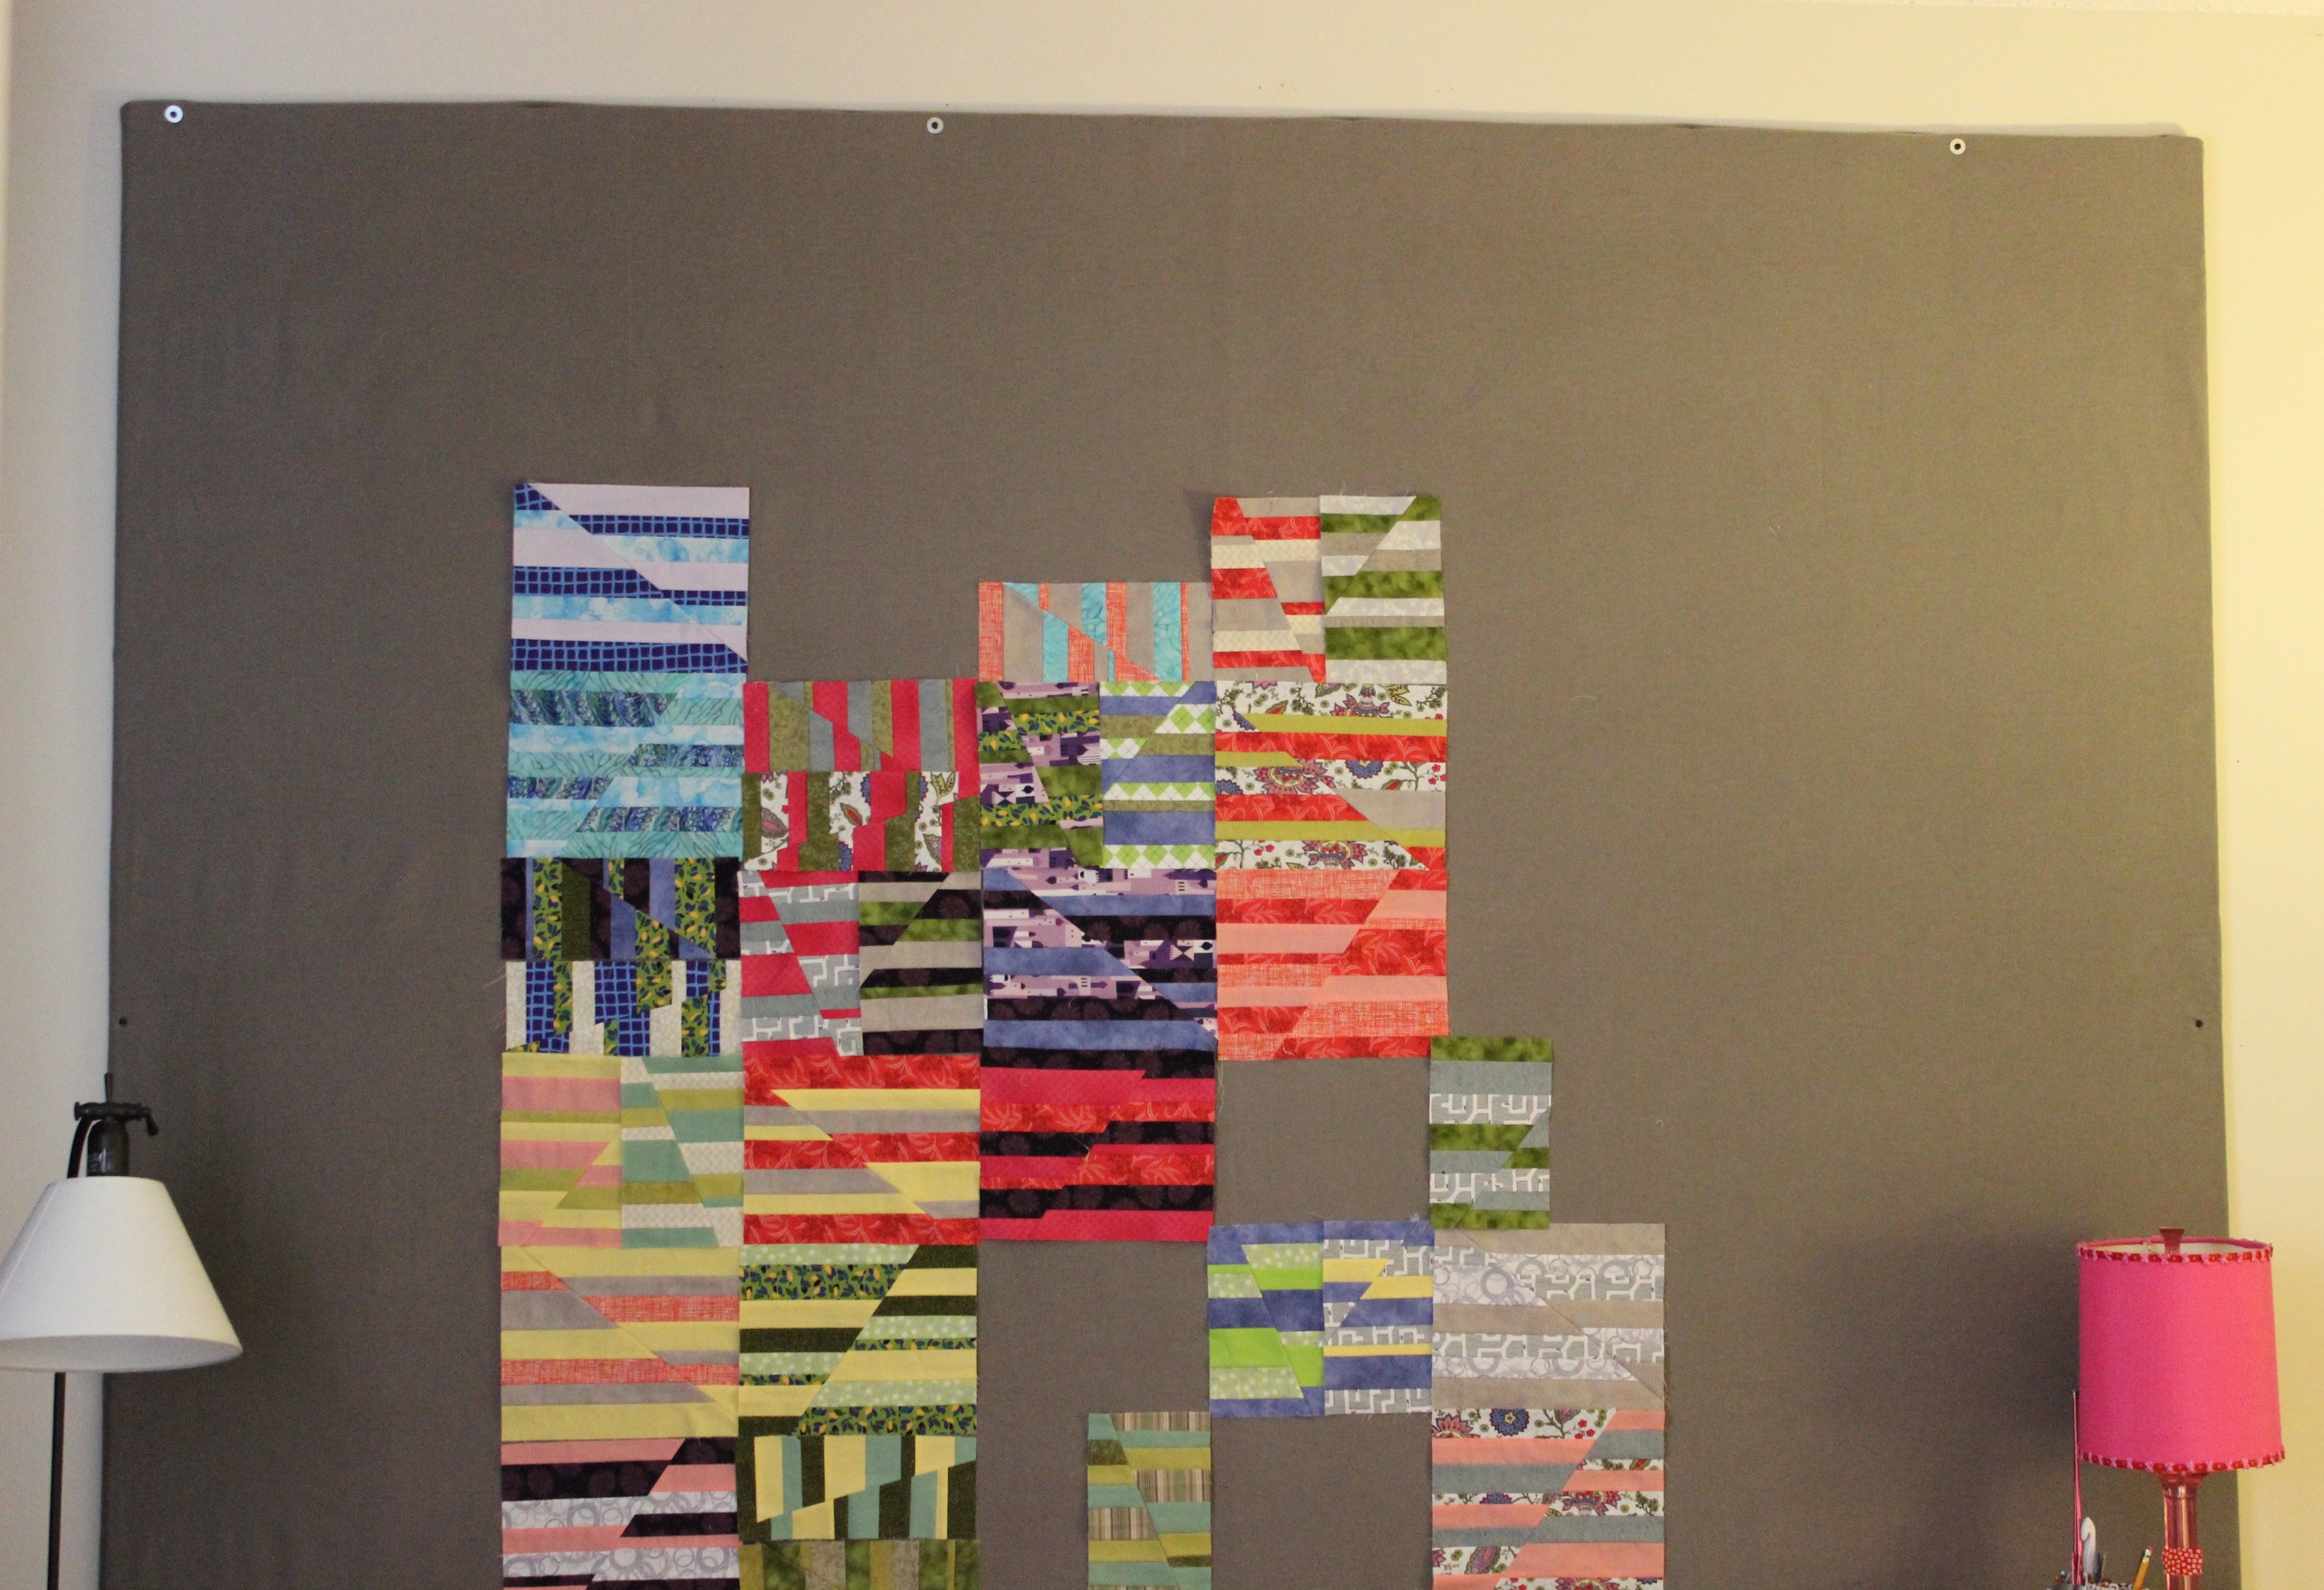
Since my daughter was home for the fall, I moved my sewing space into our bedroom. That meant creating a new design wall. Rather than attaching it to the wall like I did in her room, I made a portable one.

With the previous one I used duct tape to attach the insulation boards together and created one large design wall. I also used duct tape to attach the flannel to the back of the insulation boards.
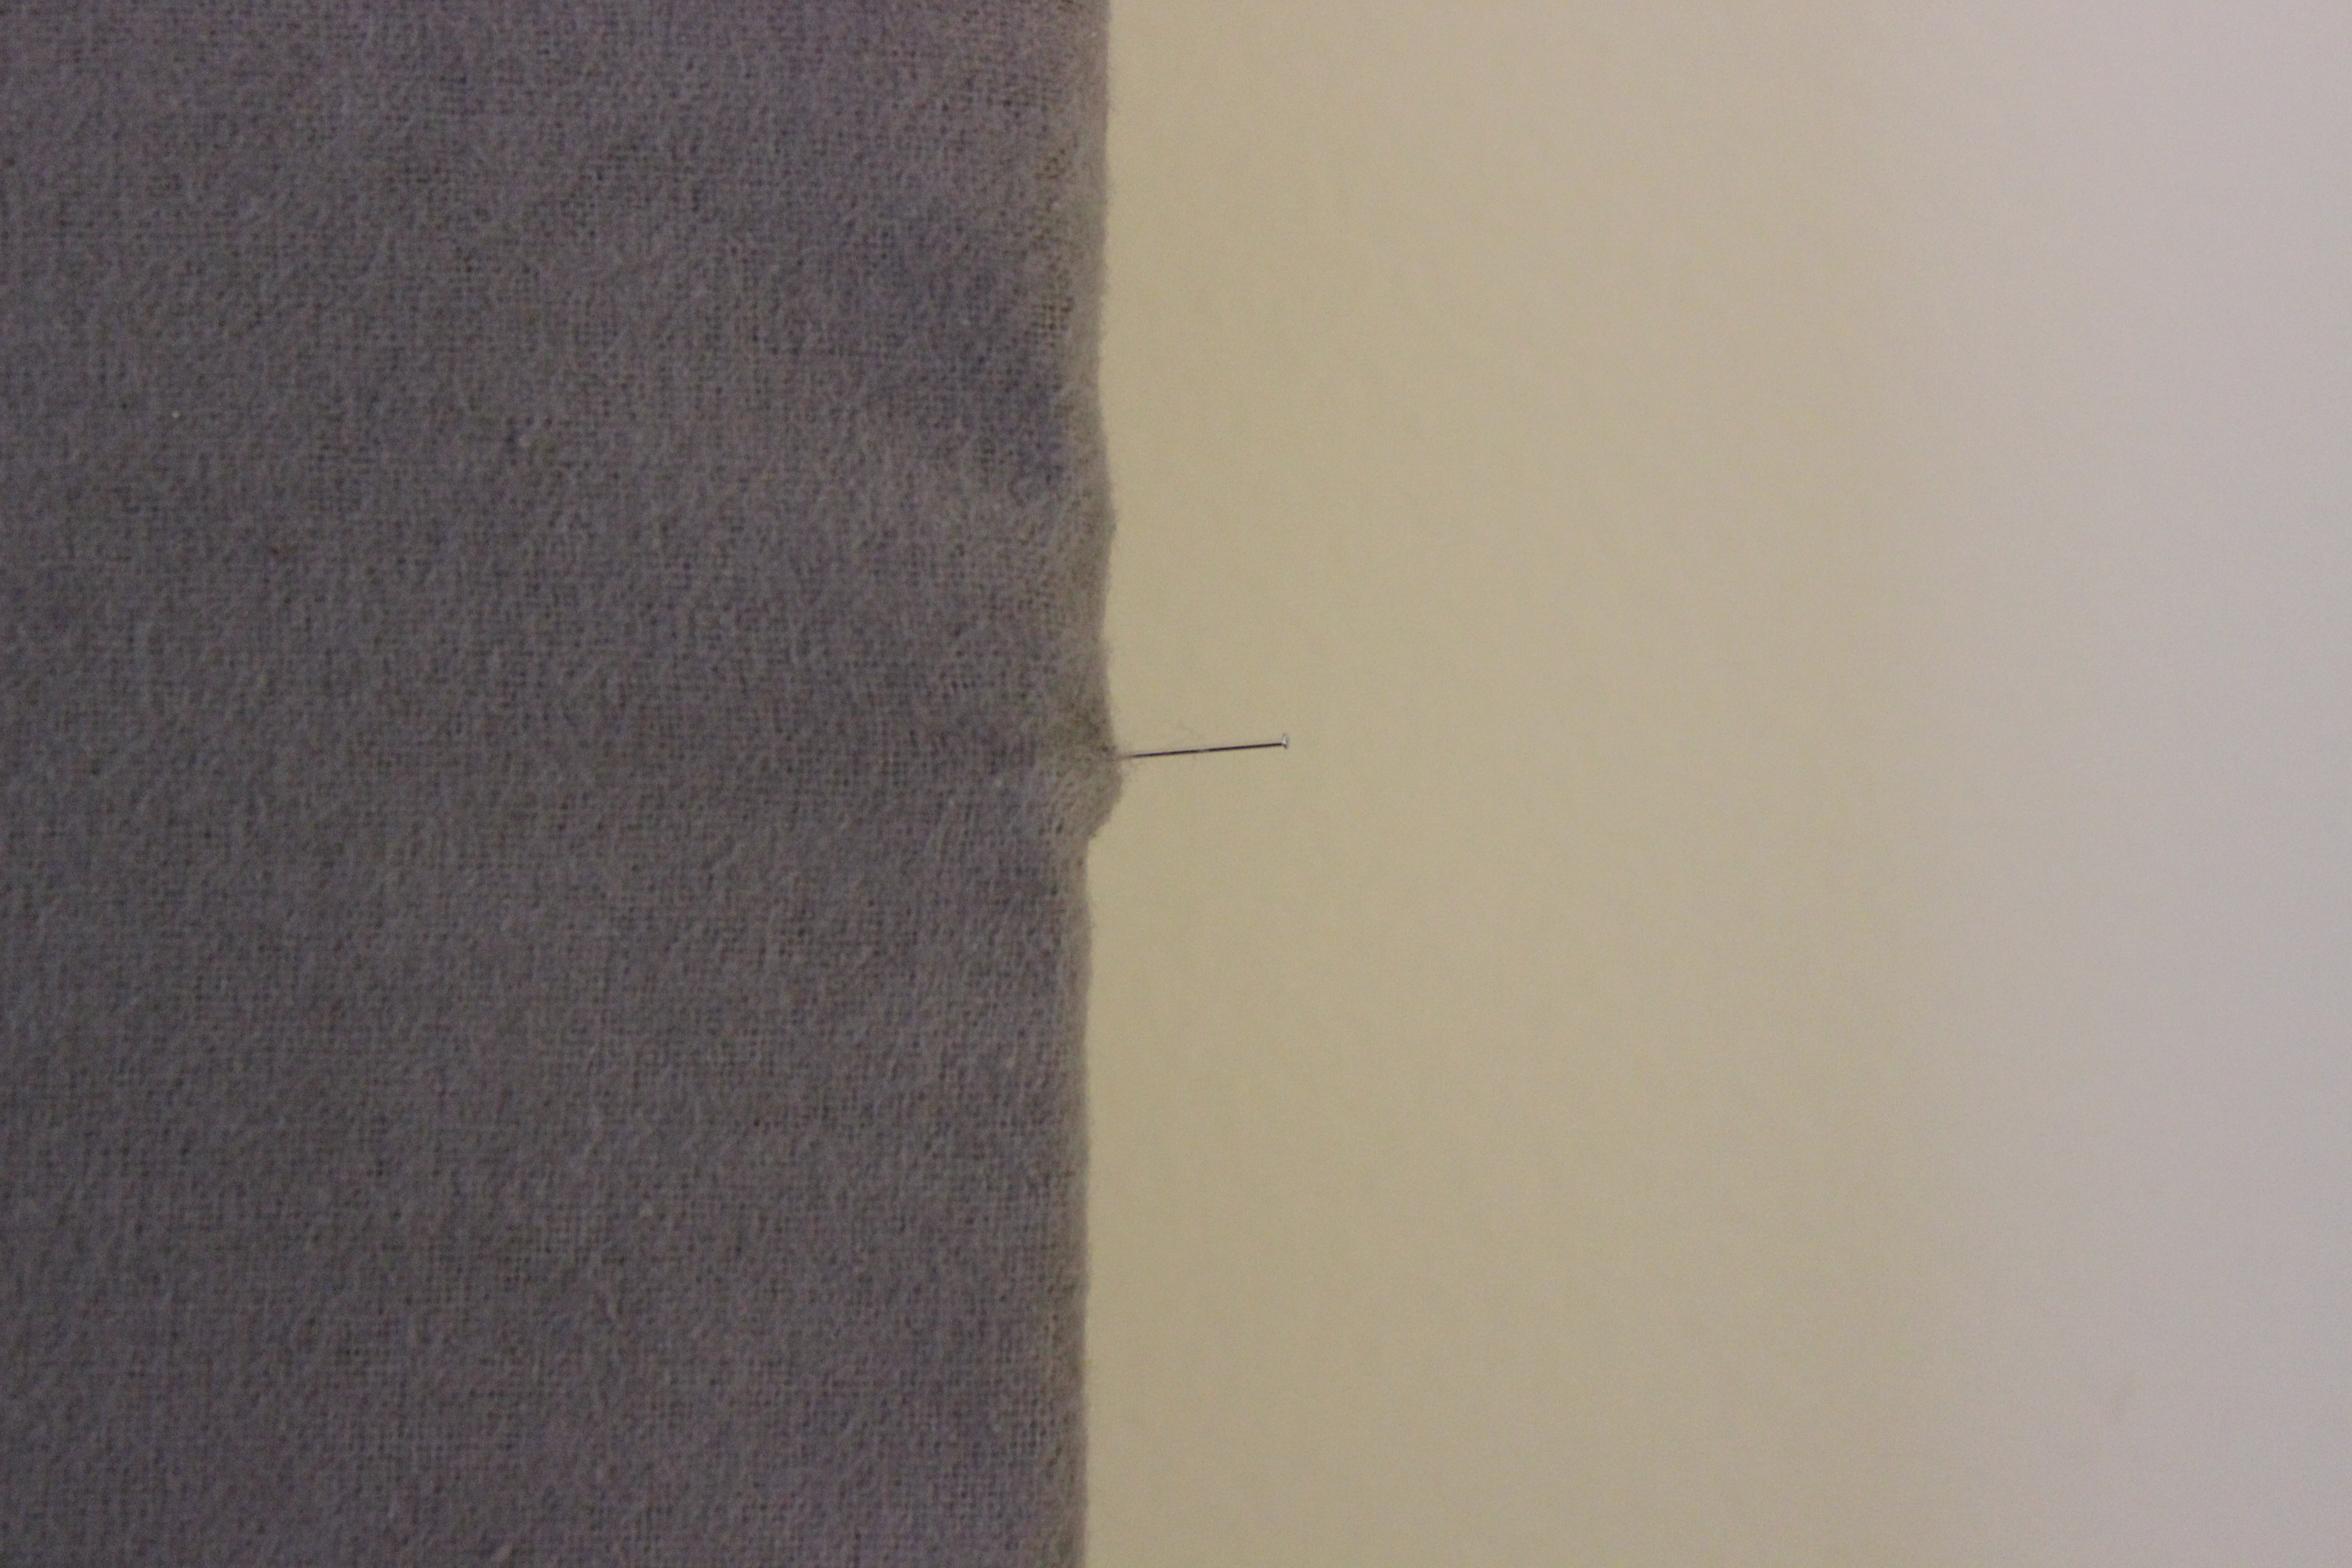
I skipped the tape and used silk pins for this one.
And, I made three separate design walls which I hung with pants hangers. You don’t have to use yellow flannel, but this is what I had in my stash.
SUPPLIES:
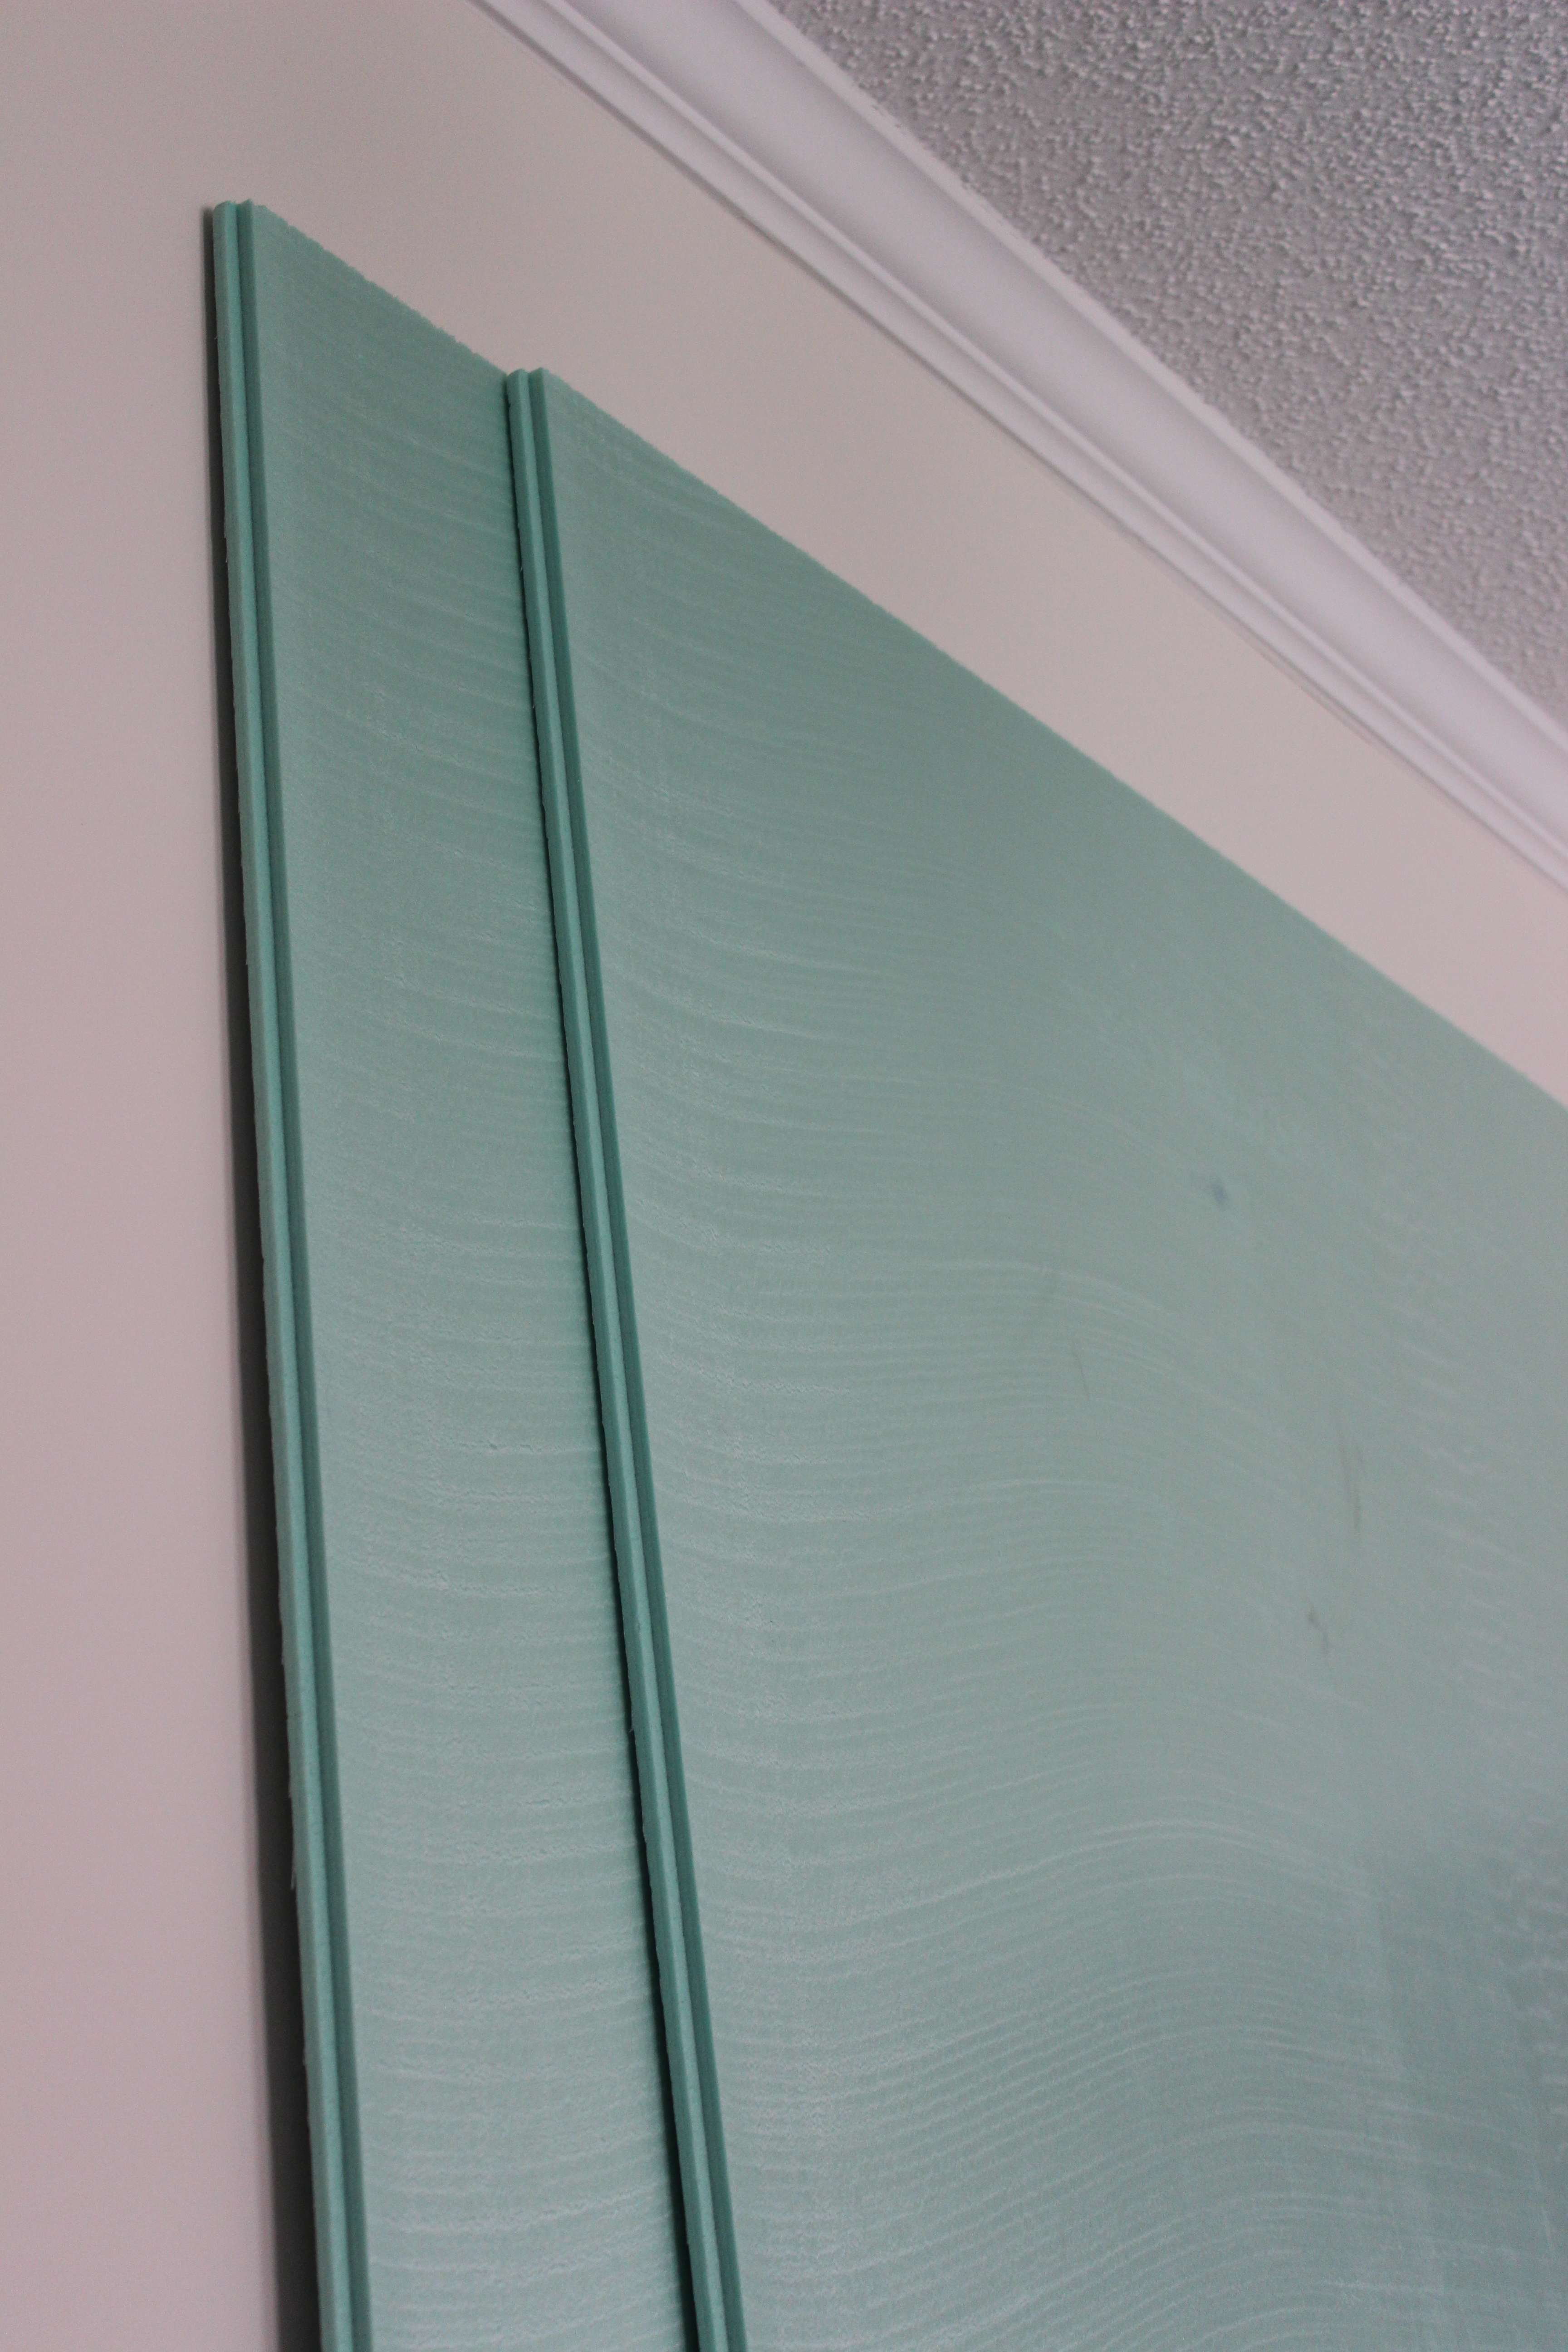
- One (1) insulation board, 1/2 inch thick, 4 feet by 8 feet
- Flannel
- Three Flat Wood Pants Hanger
HOW TO:
- Measure the insulation board into thirds. Mine was 96″ so 32″ each.
- Draw a line along each 32″ line.

- Score the insulation board with a knife:
- Cut with a knife or a old rotary cutter.

- Cut the flannel.
I cut mine about 2 1/4″ larger than the insulation.
52″ by 36.5″ (it doesn’t have be this exact size)

- Wrap the flannel around the insulation board:

- Use silk pins to hold in place. Here’s where you don’t have to use duct tape which I used in my large design wall.
- Miter all the corners and pin at an angle so that the pin doesn’t go through the front.

- Attach cup hooks to the hall.
I used chalk to mark the level line.

- Attach Pants Hanger to the insulation board and hang it:

I only hung two of the insulation boards and put the other one in the closet.
This was the perfect solution for me,
Wanda