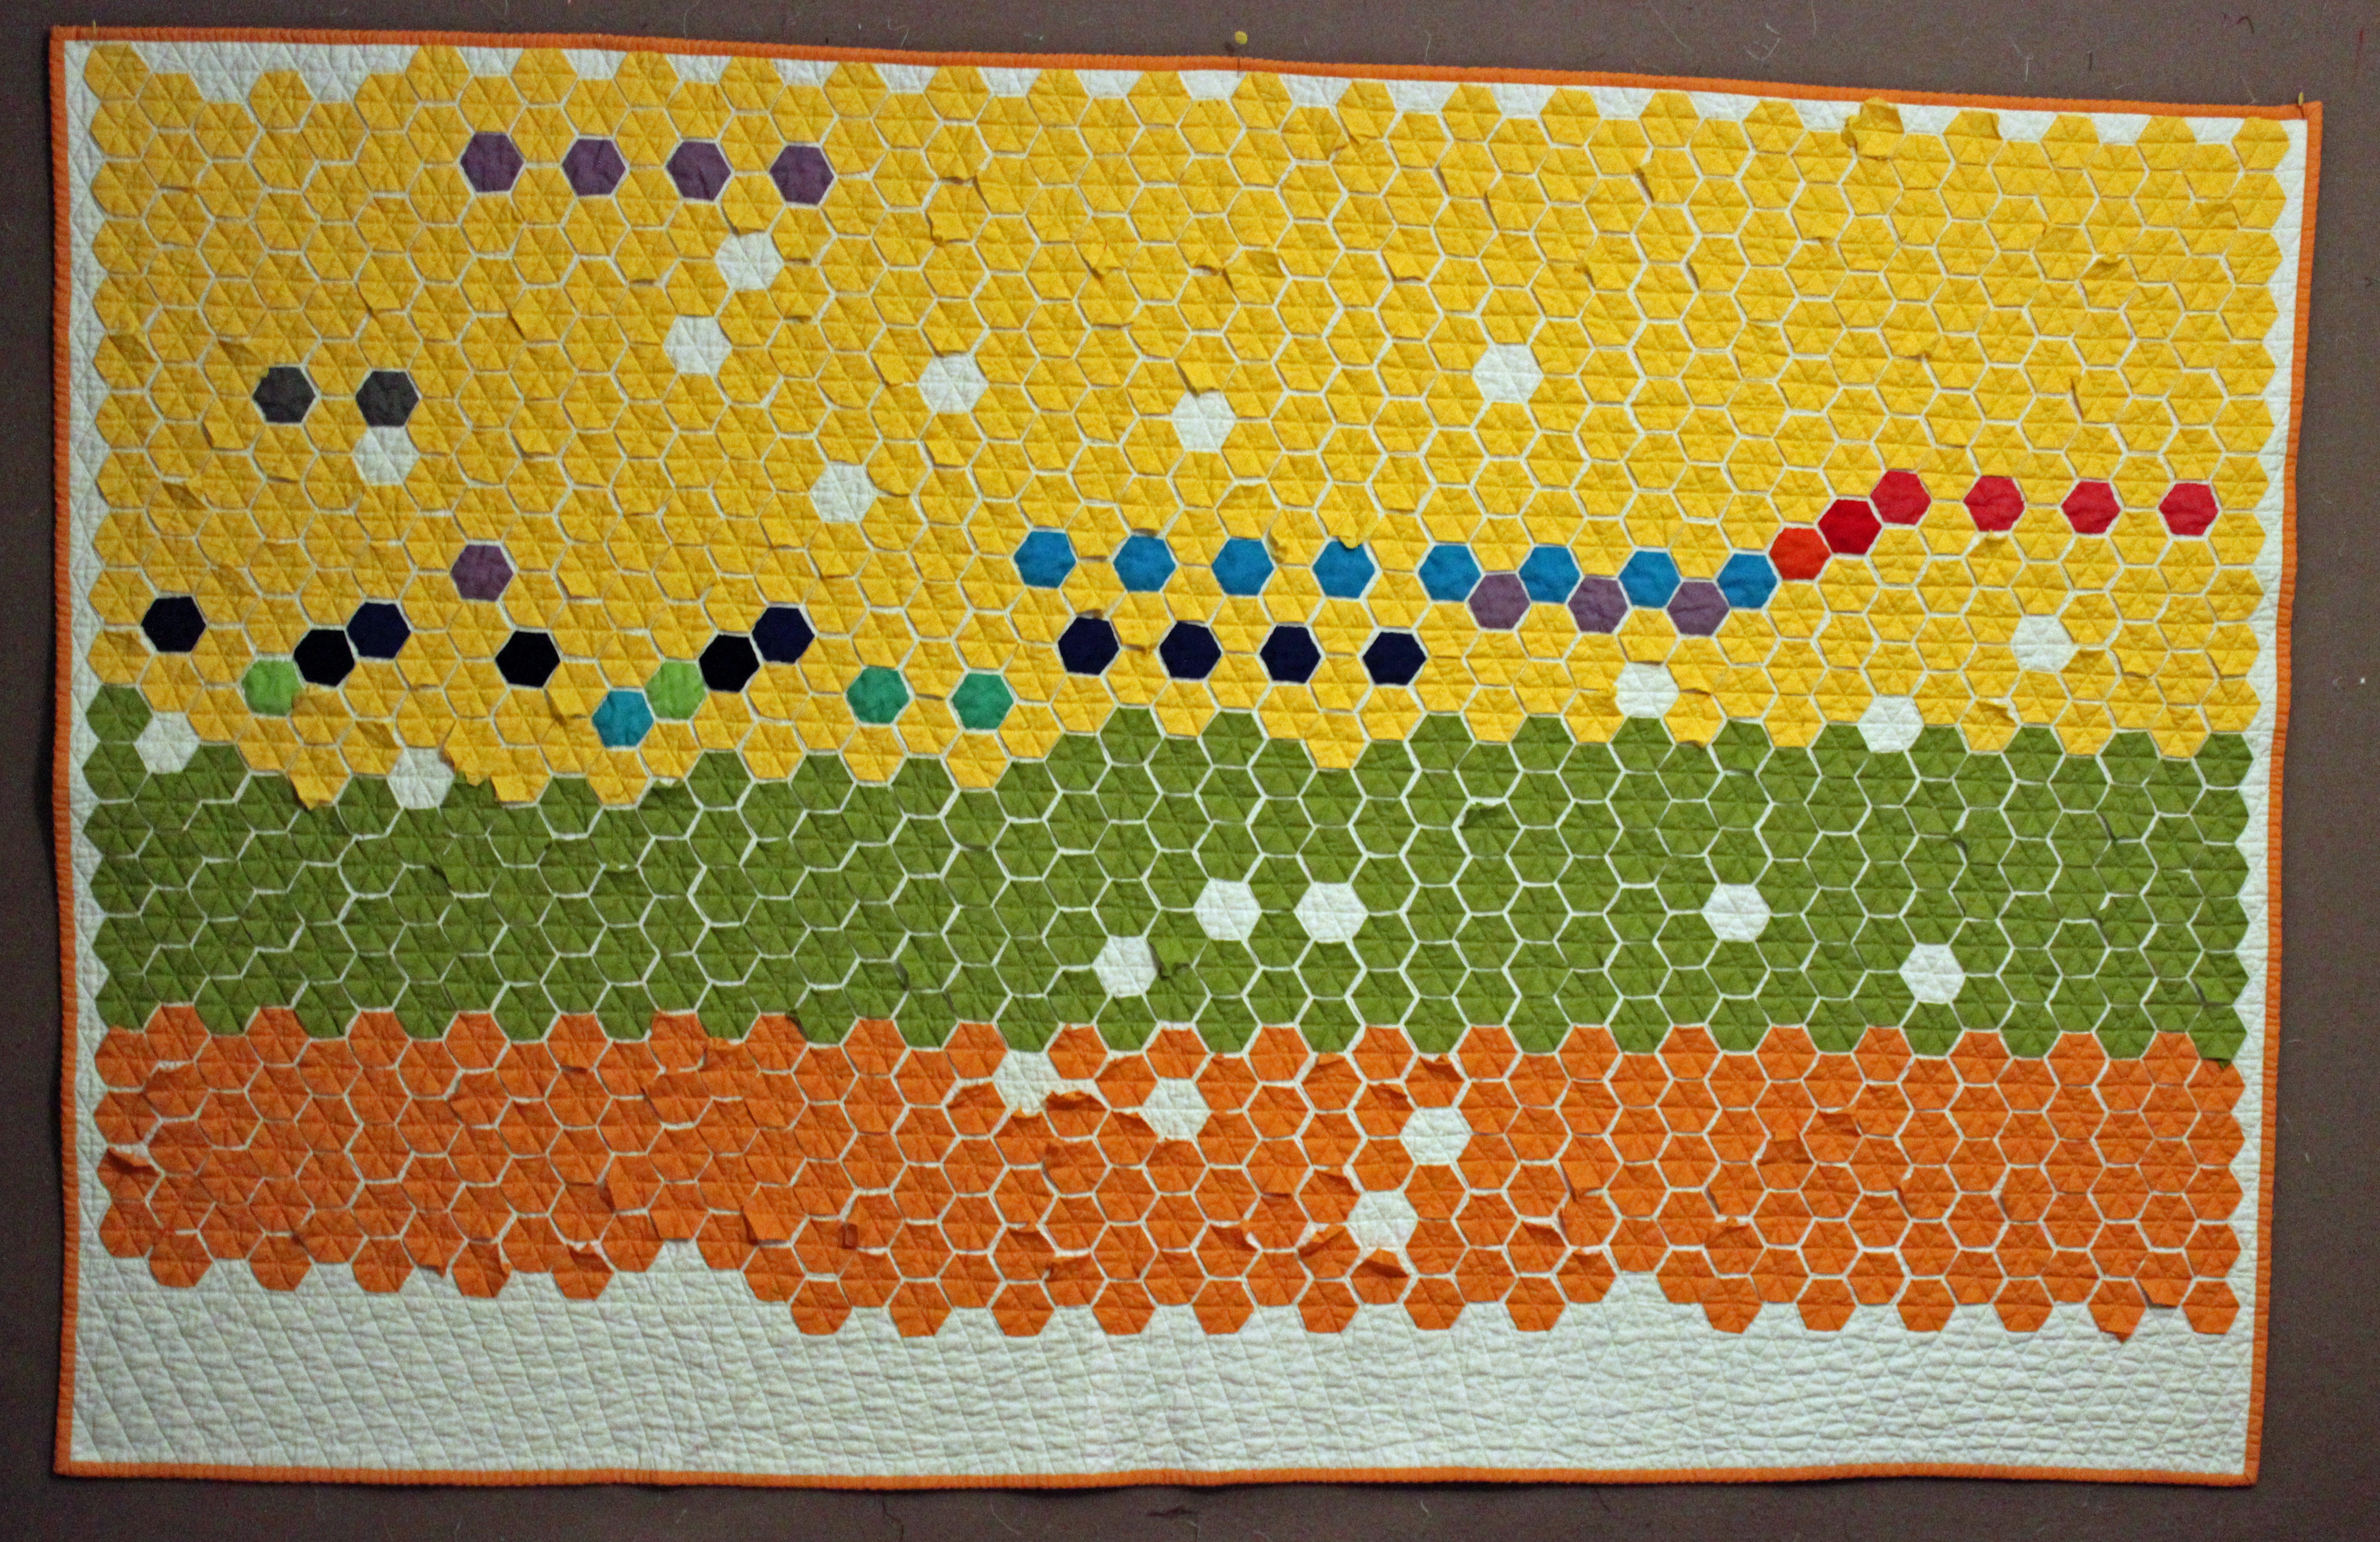
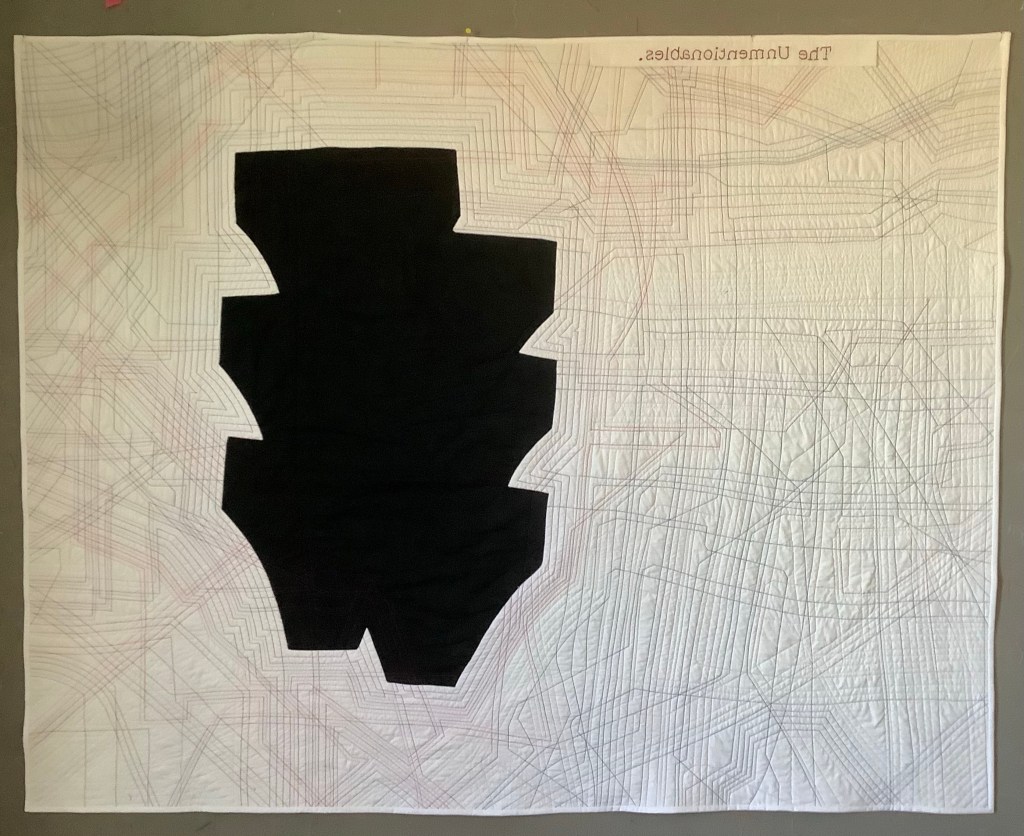
This is the second in a series of quilts, The Unmentionables. My mother always called our underwear “unmentionables.” Do you see the unmentionables?
In March 2022 while scrolling through my Instagram feed, I saw a post and thought, “that’s a great minimal quilt.” I clicked on it and soon realized it was an ad for Pact underwear, called High-Rise Hipsters. I shared this funny story with my guild mates on our Instagram chat. They said, “You need to make that into a quilt.”
The conversation then explored the idea of actual underwear used in a quilt or a bra made out of a quilt- maybe a bralette.
I said, “I’d love a quilt bralette.”
A guild mate said, “quiltkinis lol“
Another suggested, “Psychic outlaw makes quilted corsets.”
Another said, “You are my weirdest friends. And I say that with awe and admiration.”
Another friend said, “Seriously you must make this.” I agreed.
Another quilter suggested, “I can see a quilt series of womenswear under garment shapes.”
I responded, “Like bras garters pantyhose sports bras, and — depends.”
She said, “And those old sanitary napkin straps. What were they called?” That was before my time. She said, “Lucky you. They were awful.”
Eventually I wrote, “It’s something I’ve never given much thought to. This series could be life changing. Long live granny panties!!!!“
They insisted I had to make this quilt and make a series of quilts, exploring our relationship with unmentionables and other female issues such as periods and birth control.
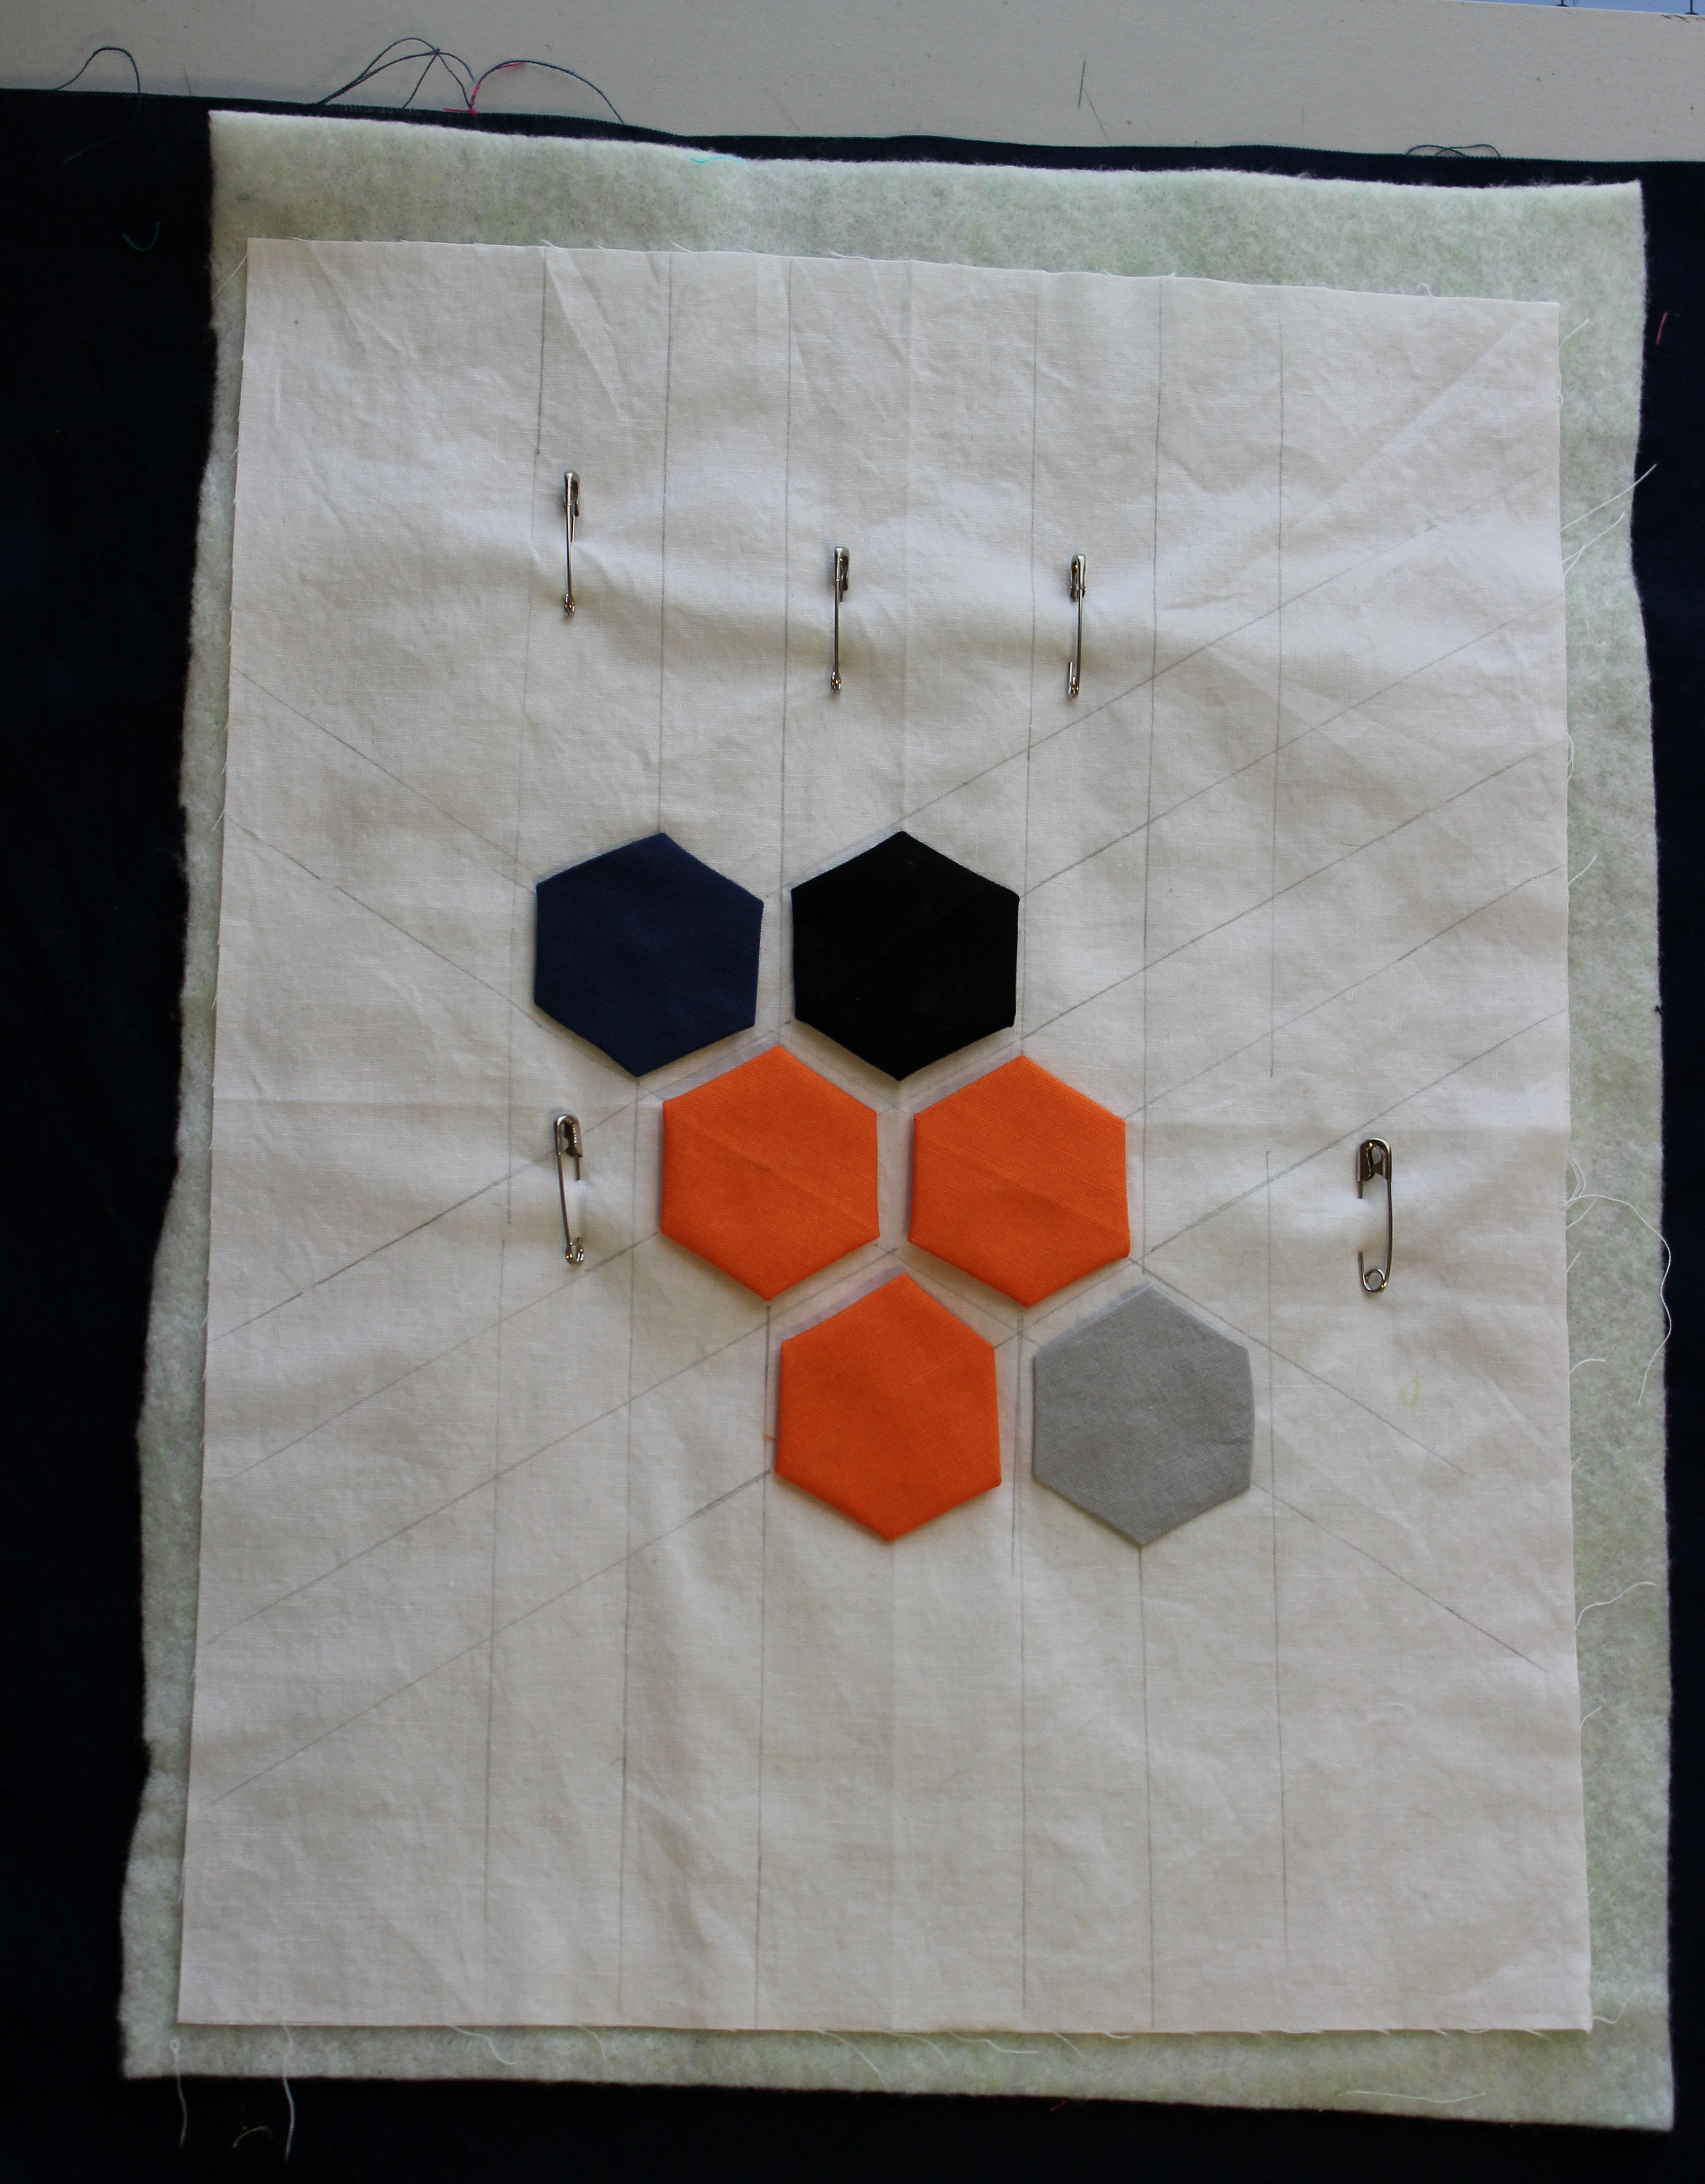
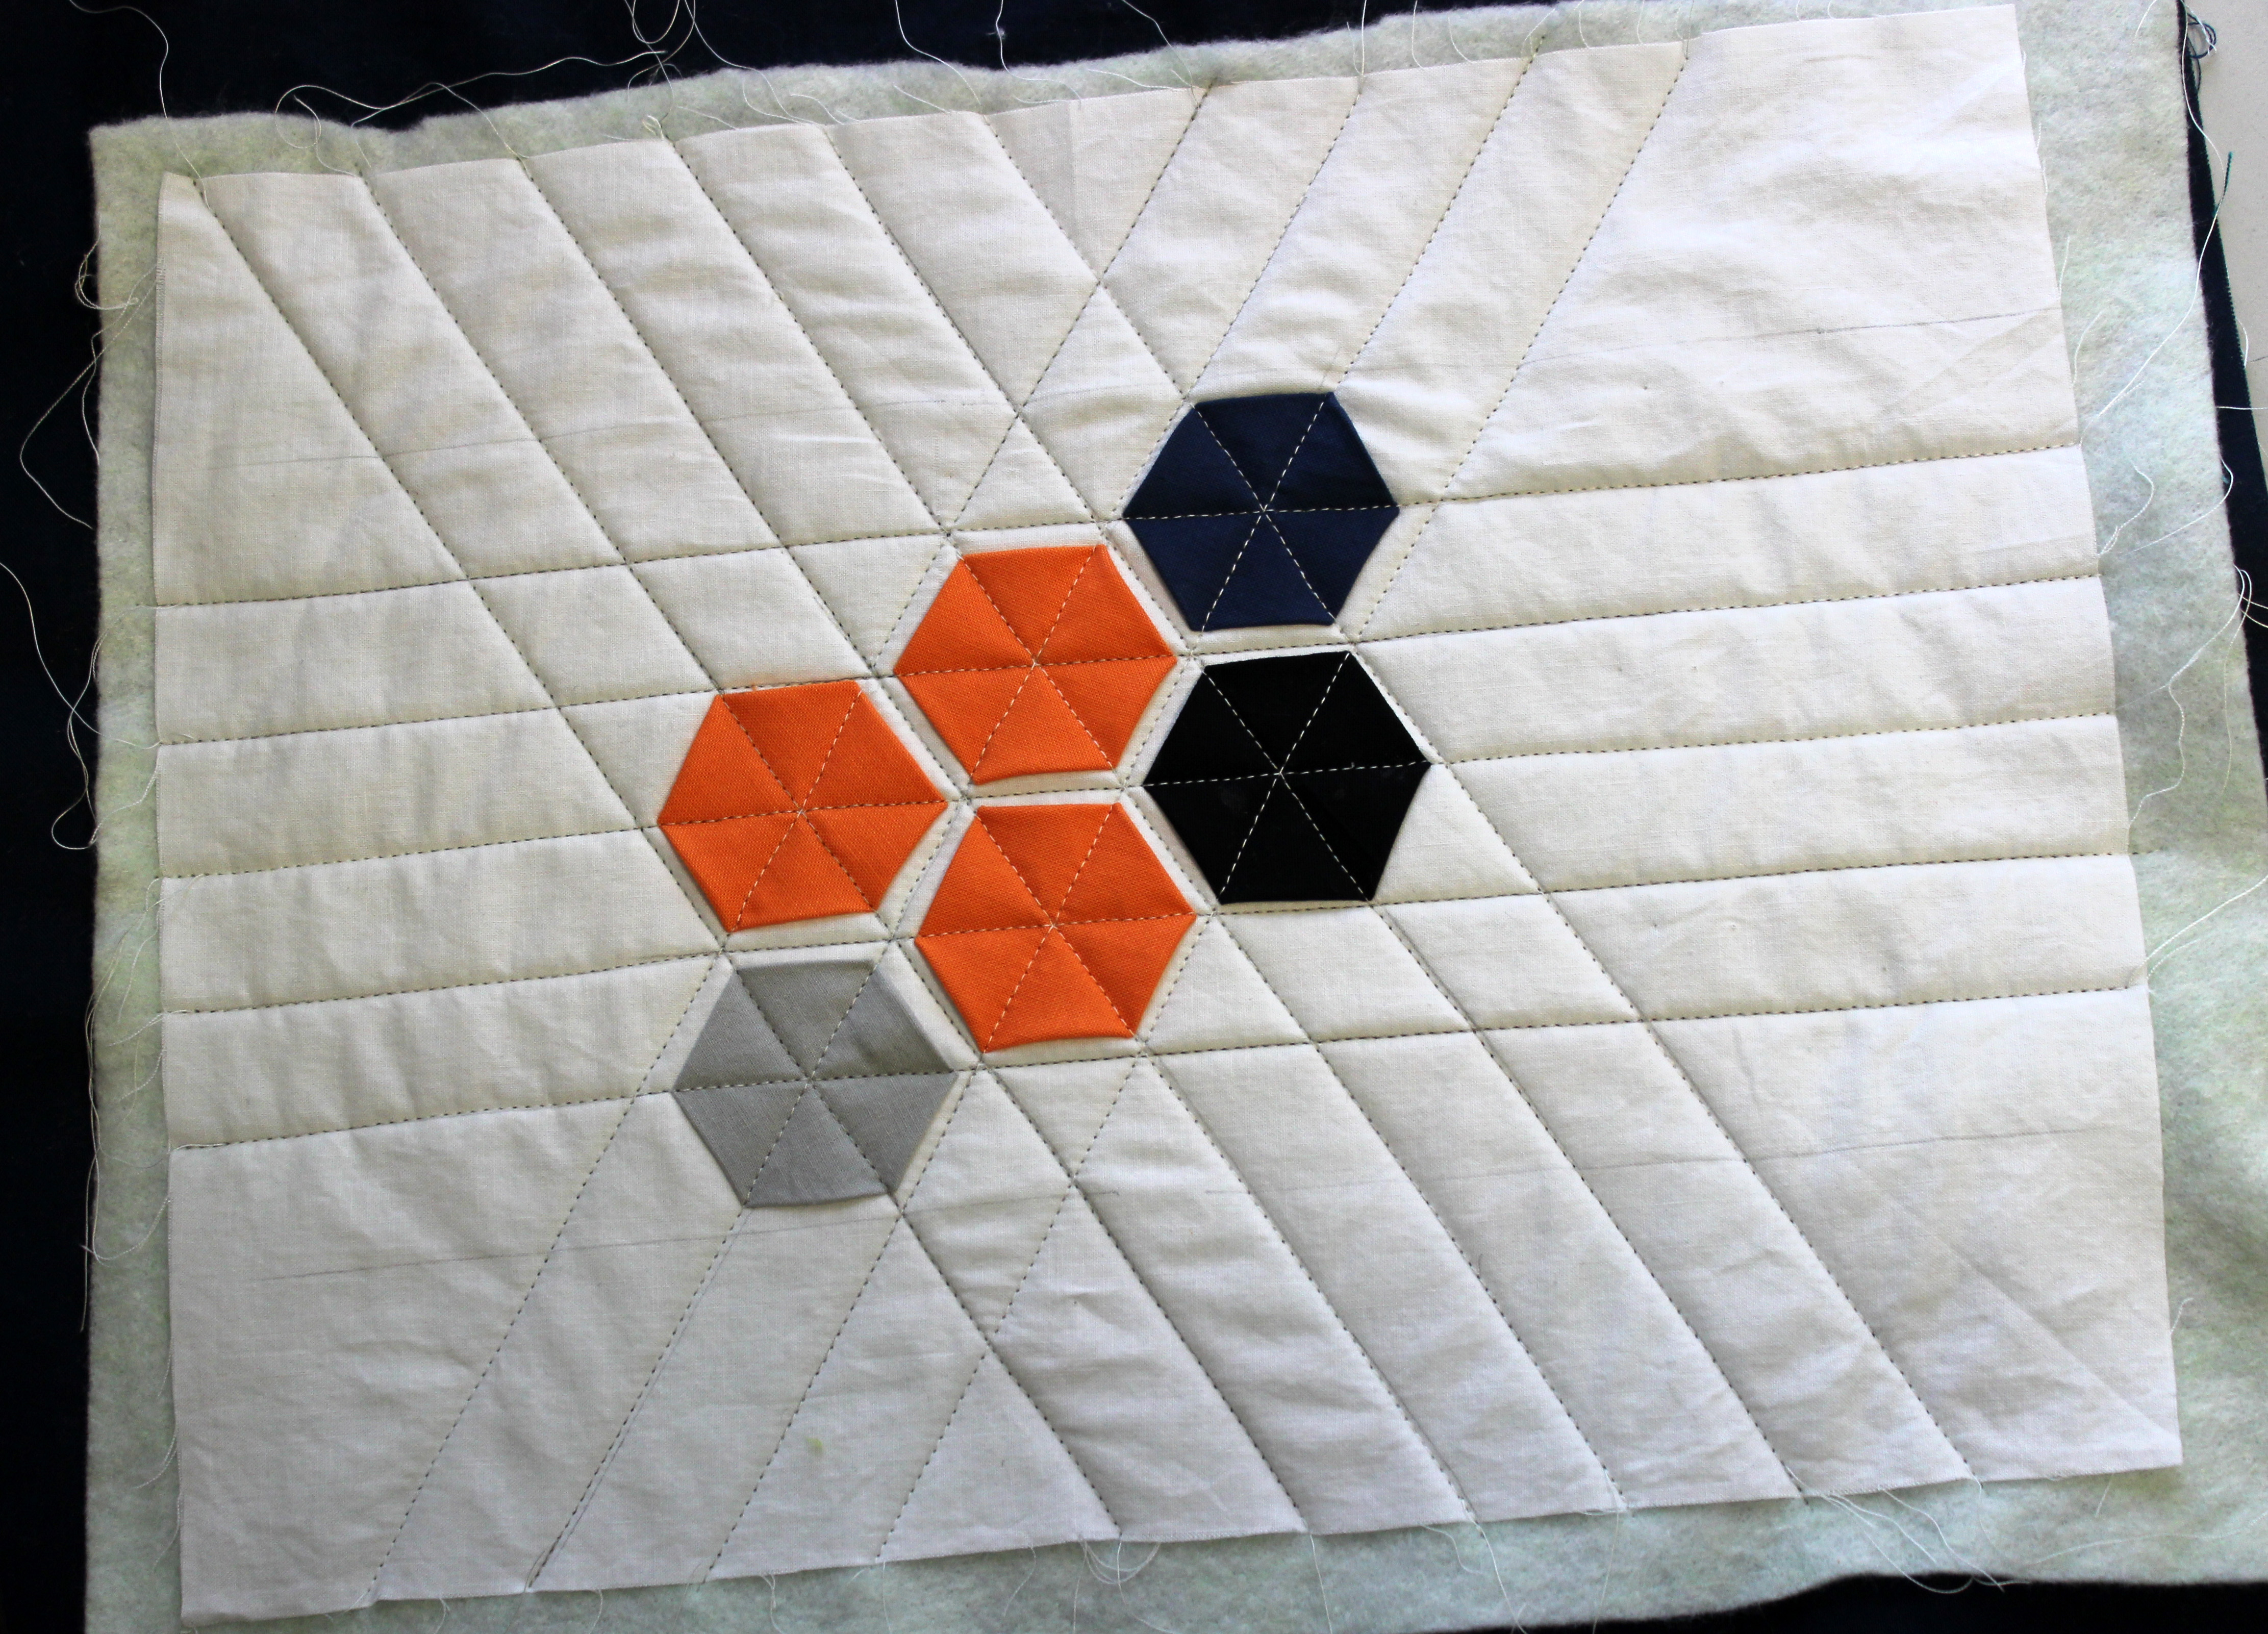
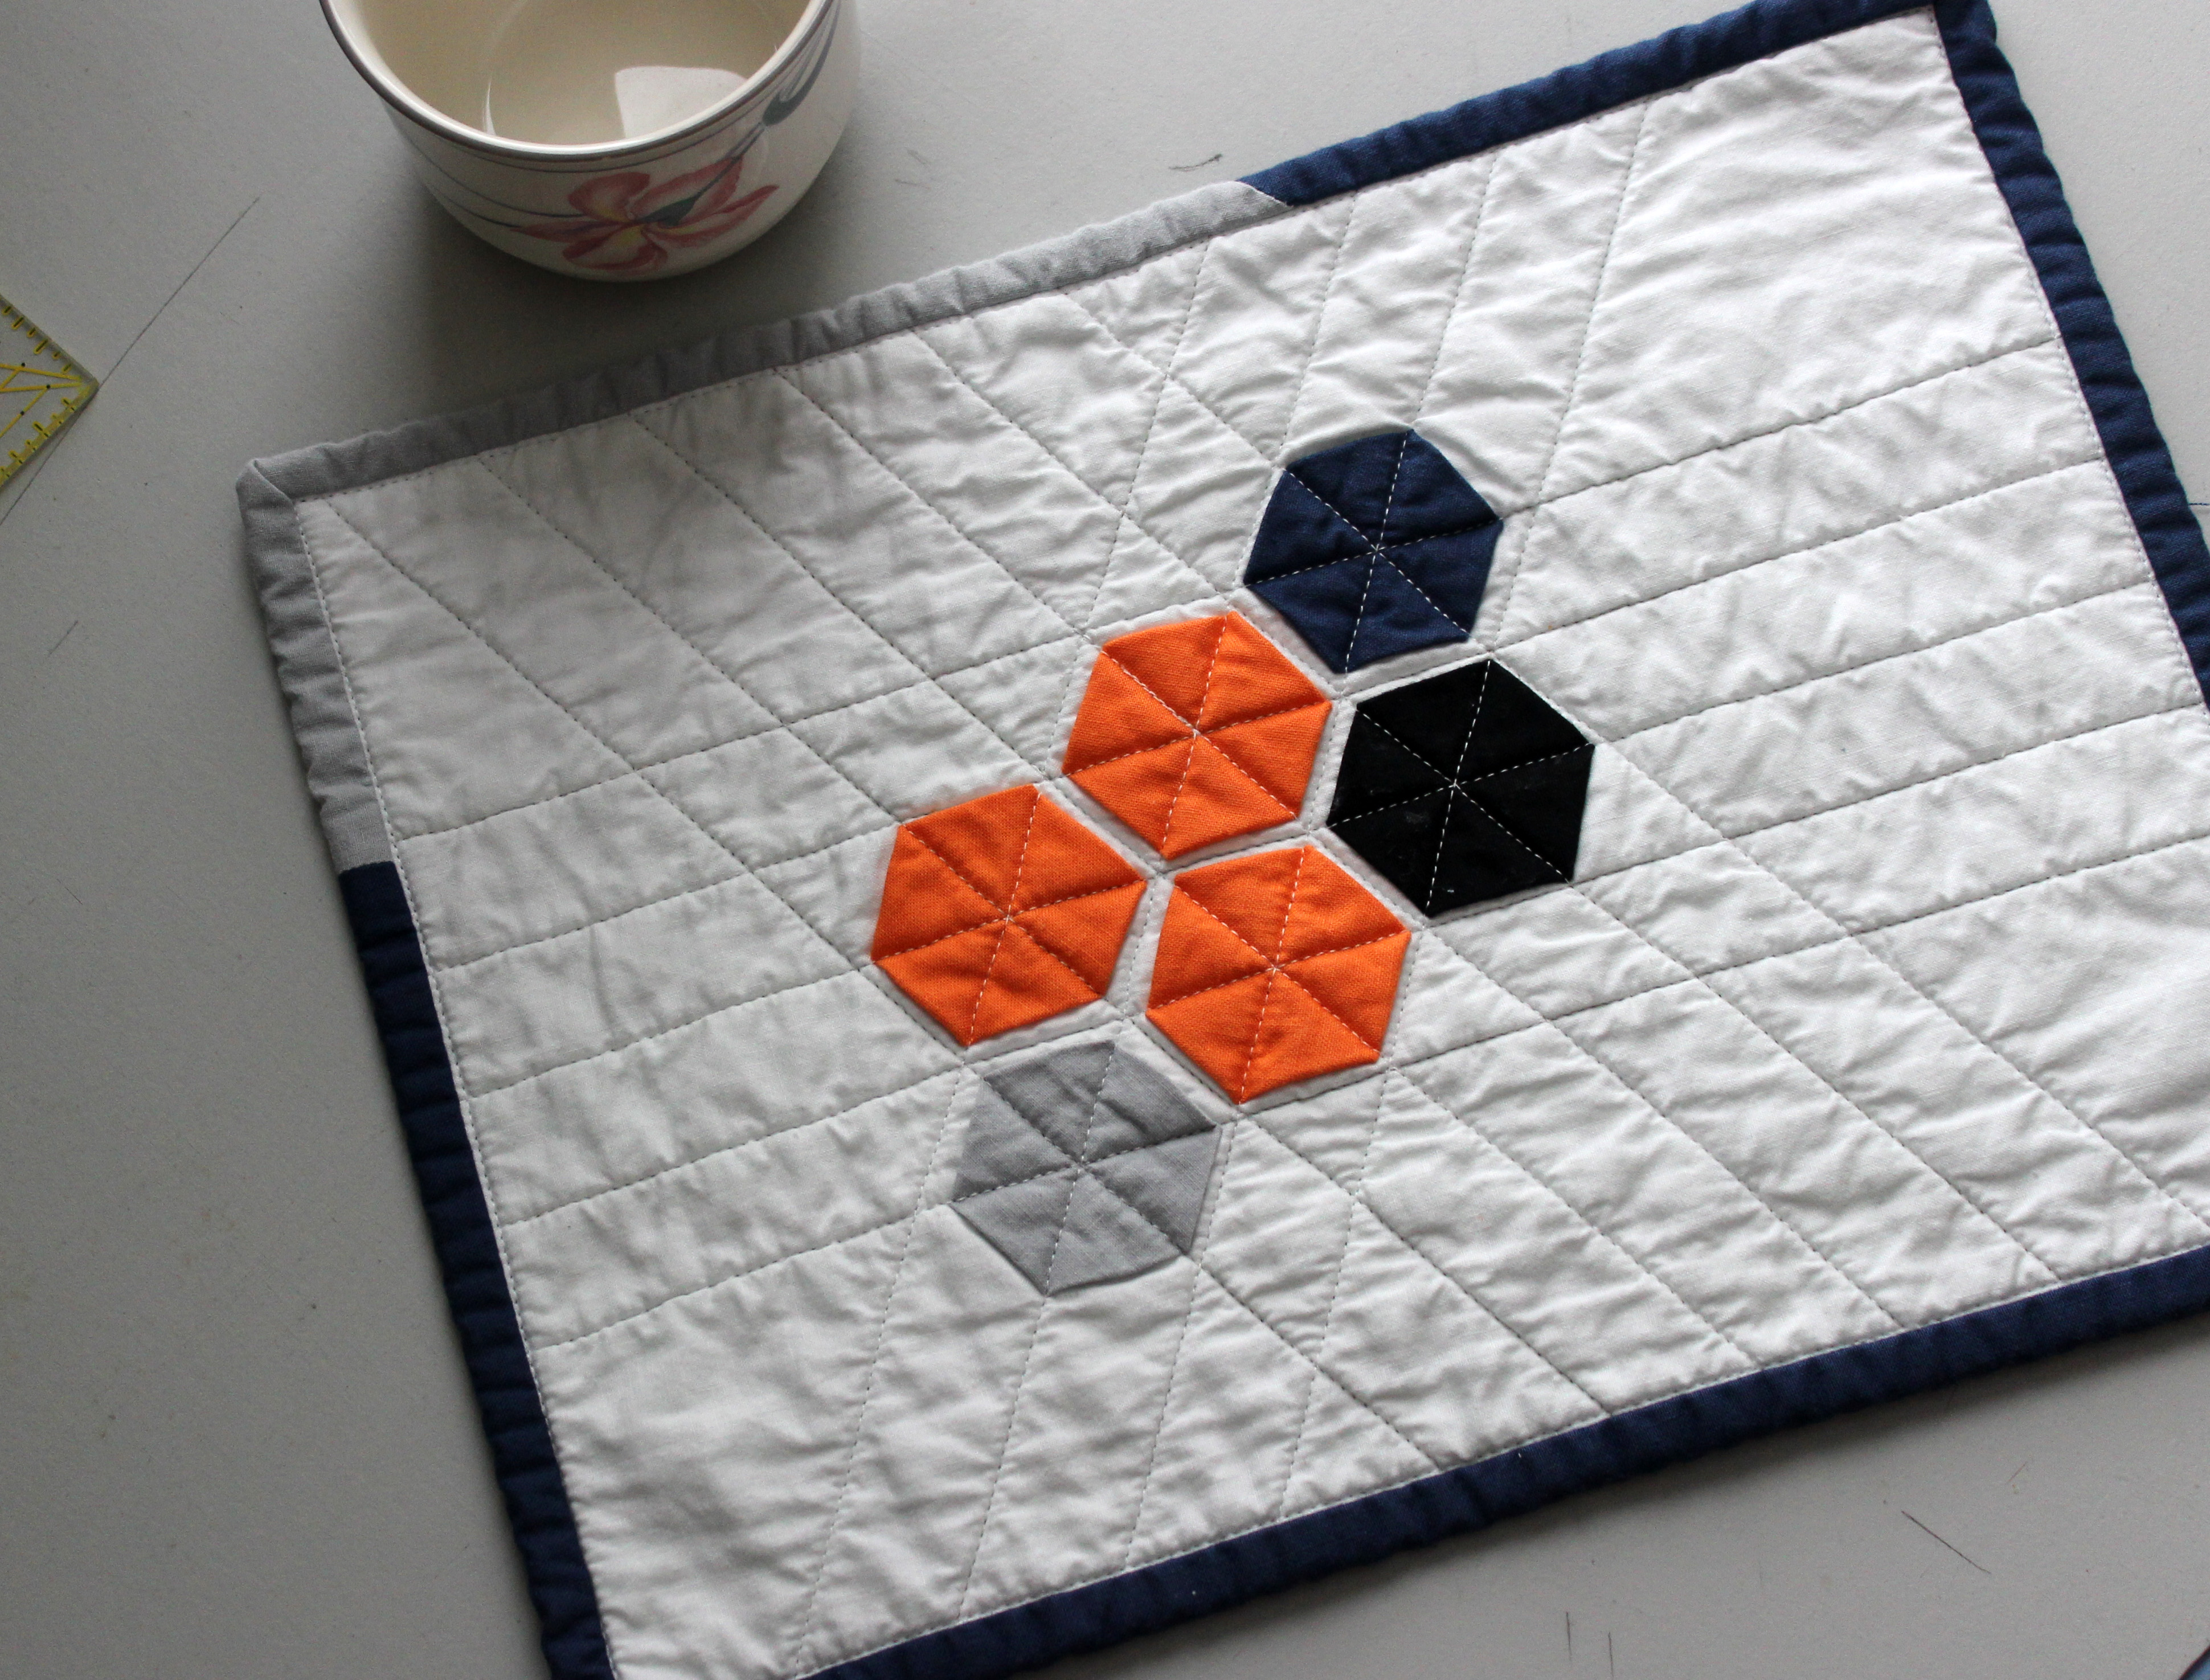
I began sketching in my Procreate app. I immediately made the Double D sketch.
I made the High-Rise Hipsters quilt first though. I exhibited it as part of our guild’s exhibit at Mid-Atlantic Quilt Festival in 2023.
So, I ask you to imagine what your unmentionables might look like.
If you want to see Double D, it will be on display at QuiltCon 2024 in Raleigh in the Negative Space category.