Once upon a time, there was a little girl whose mother read her the story of “The Three Bears.” And, she said, “that’s just like us: Mama Bear, Papa Bear and Baby Bear.” That little girl insisted her name was “Baby Bear” and her mother was “Mama Bear” and her father was “Papa Bear.”
A year went by and the little girl insisted her parents call her by her given name and not “Baby Bear,” but her mother and father continued to be “Mama Bear” and “Papa Bear.”
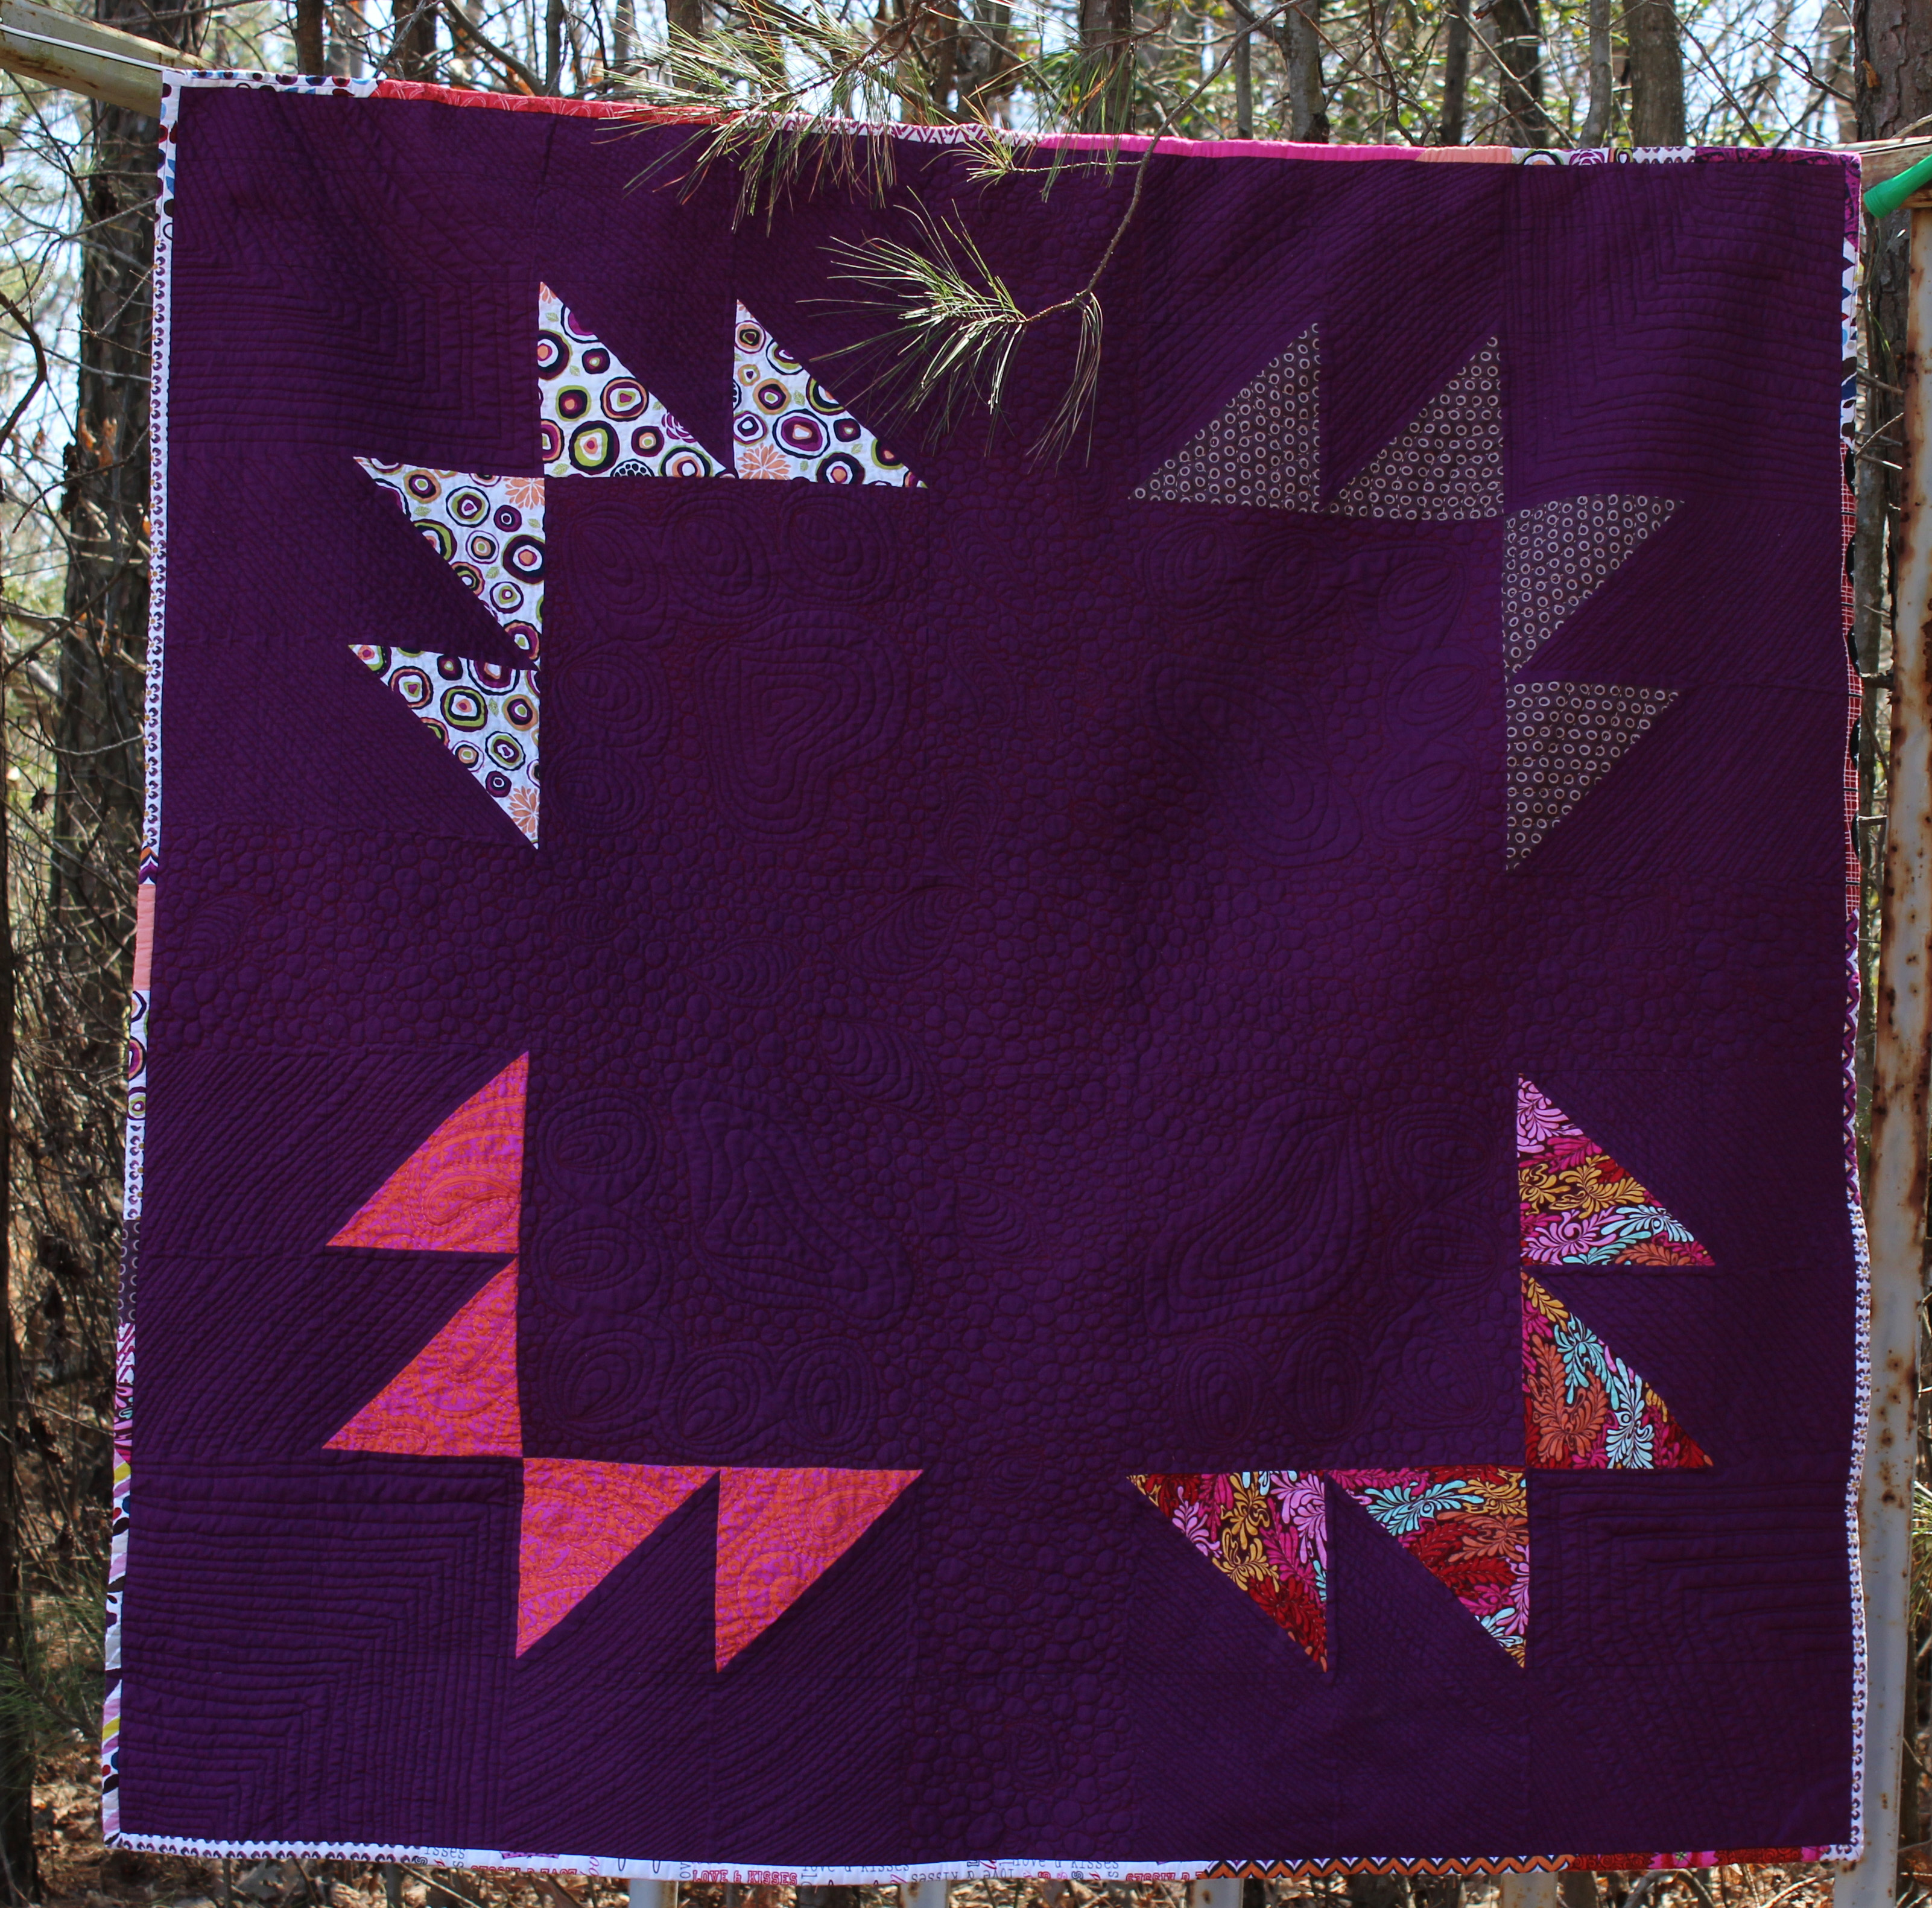
I struggled to find the right design for this quilt challenge. I had sketched a quilt called “The Three Bears” with three bear’s paw blocks, but settled on a quilt celebrating my love of my name, Mama Bear, and my love for quilting. You can read more about the design process here.
The quilt measures 54 inches by 54 inches. I’m entering it in the 2015 Pantone Quilt Challenge, Marsala, hosted by On the Windy Side and Play Crafts.
Mama Bear
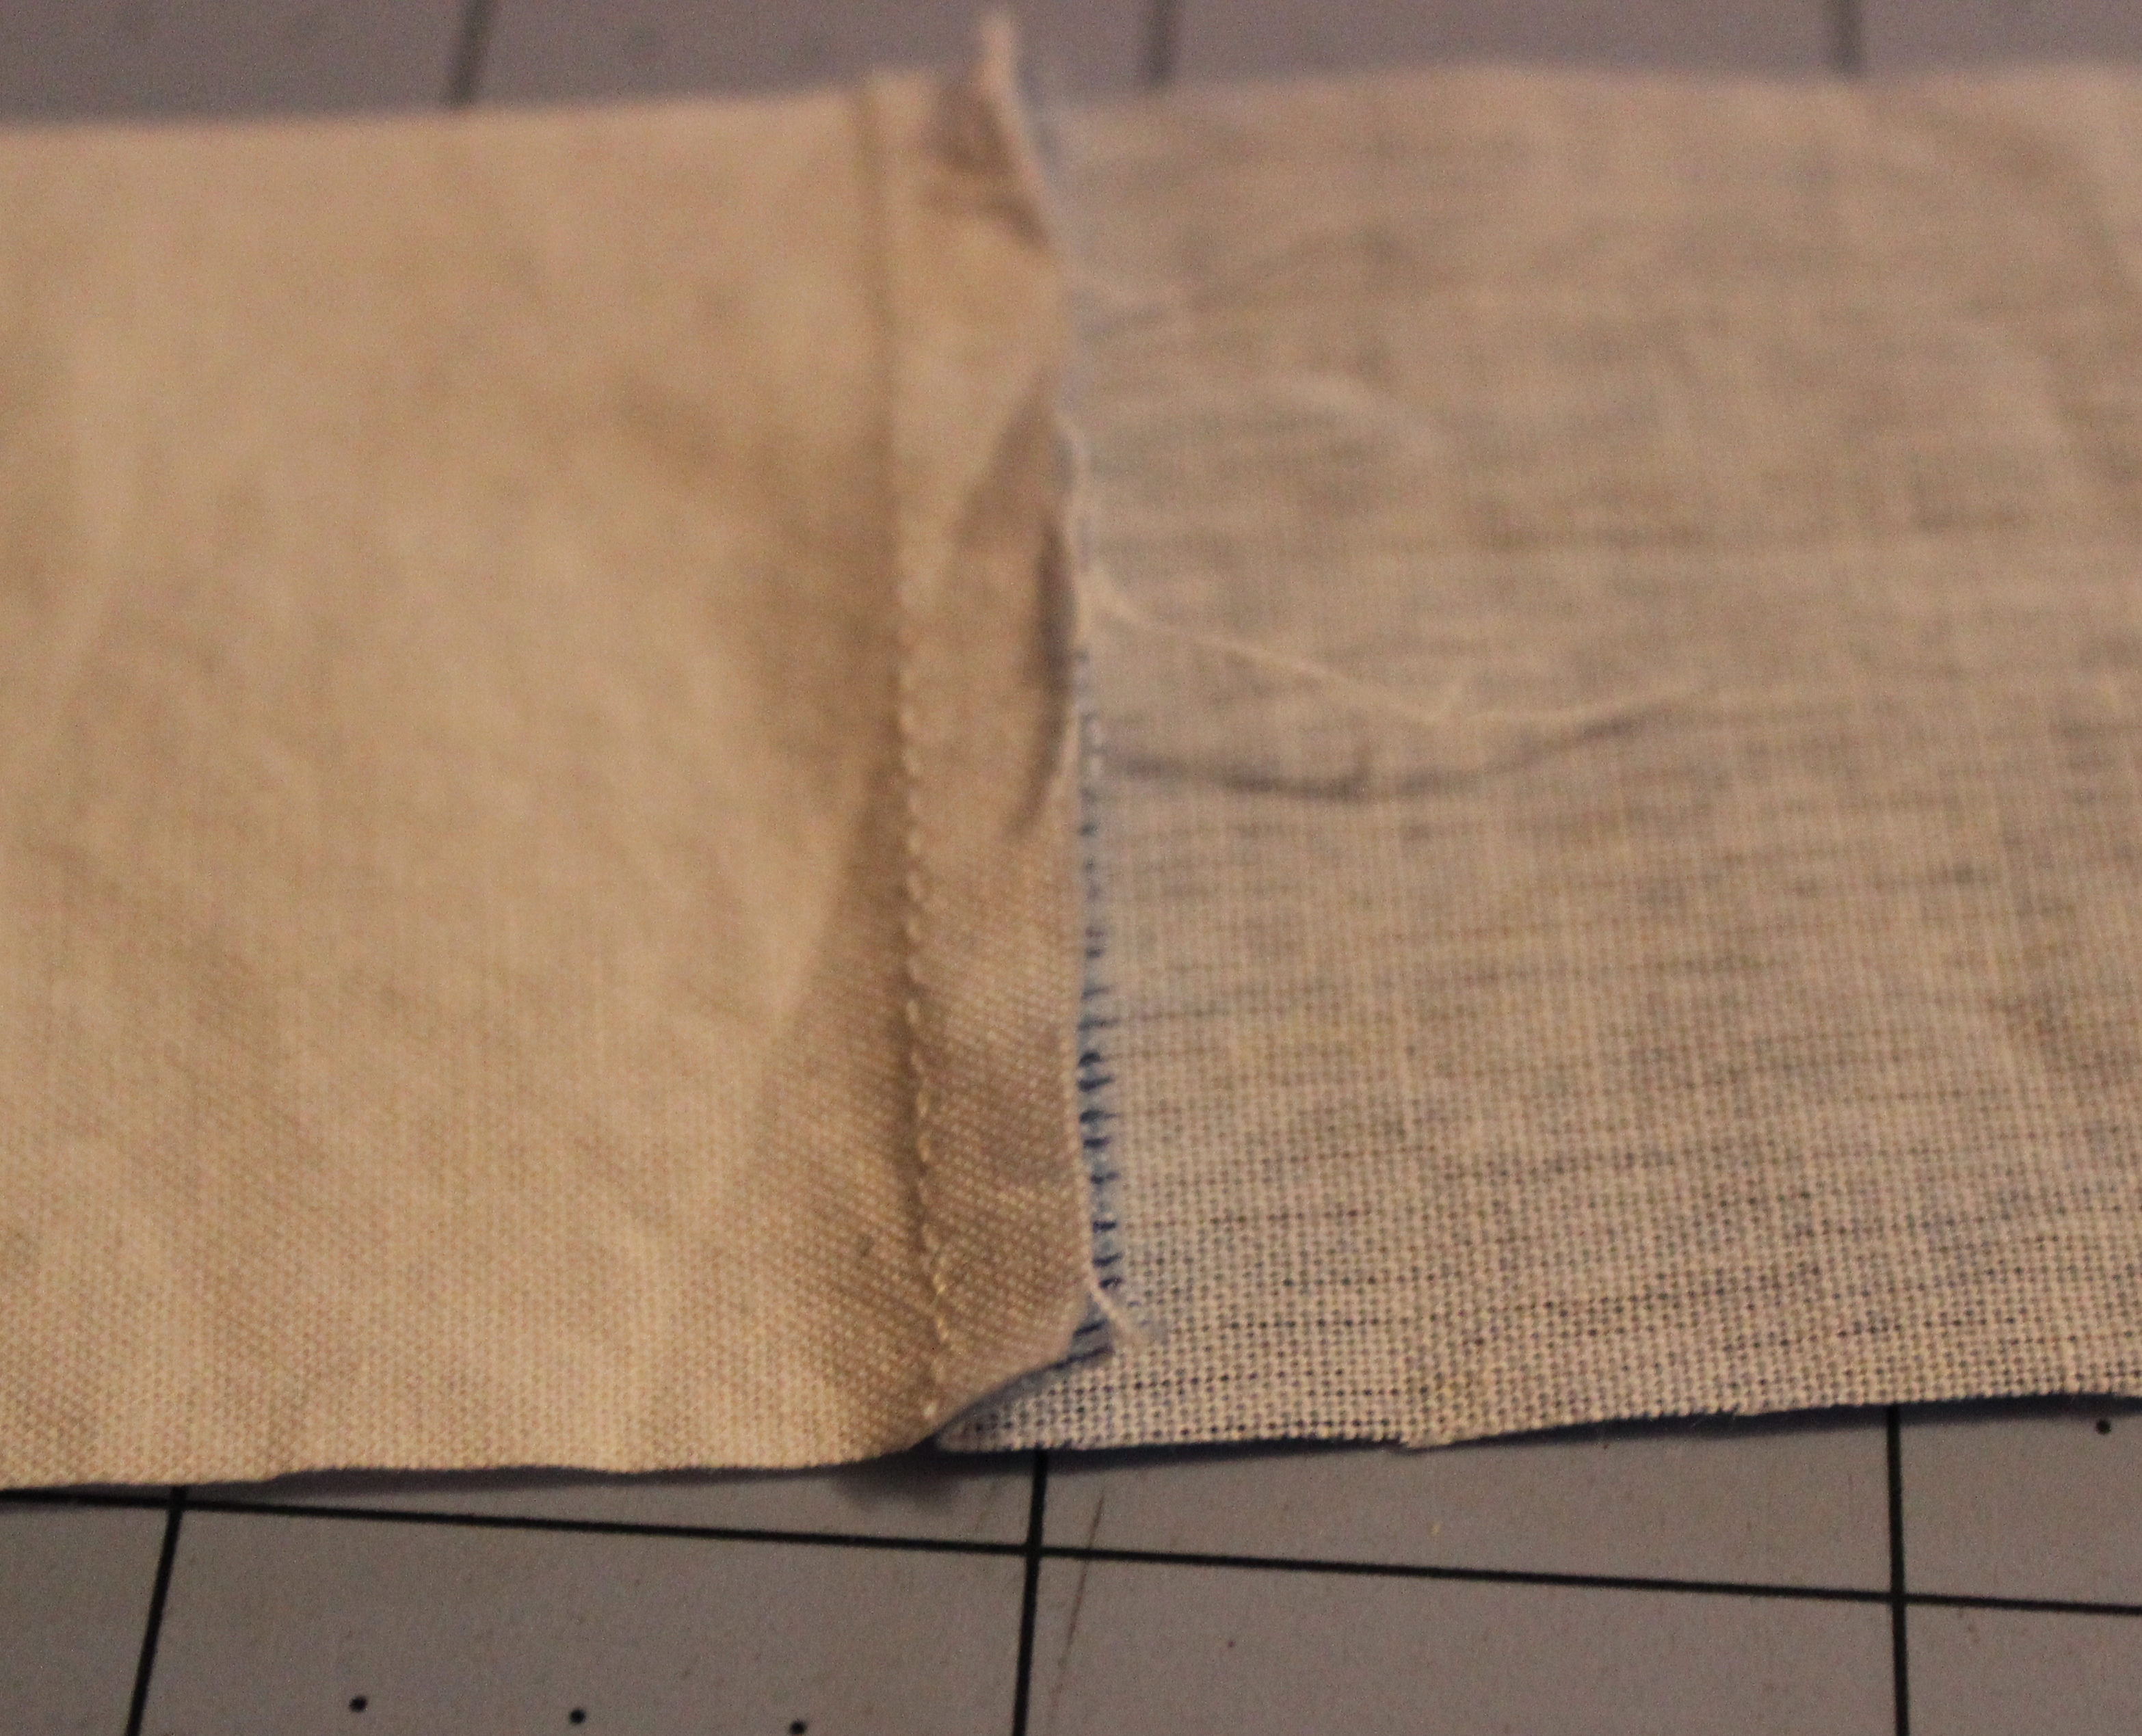
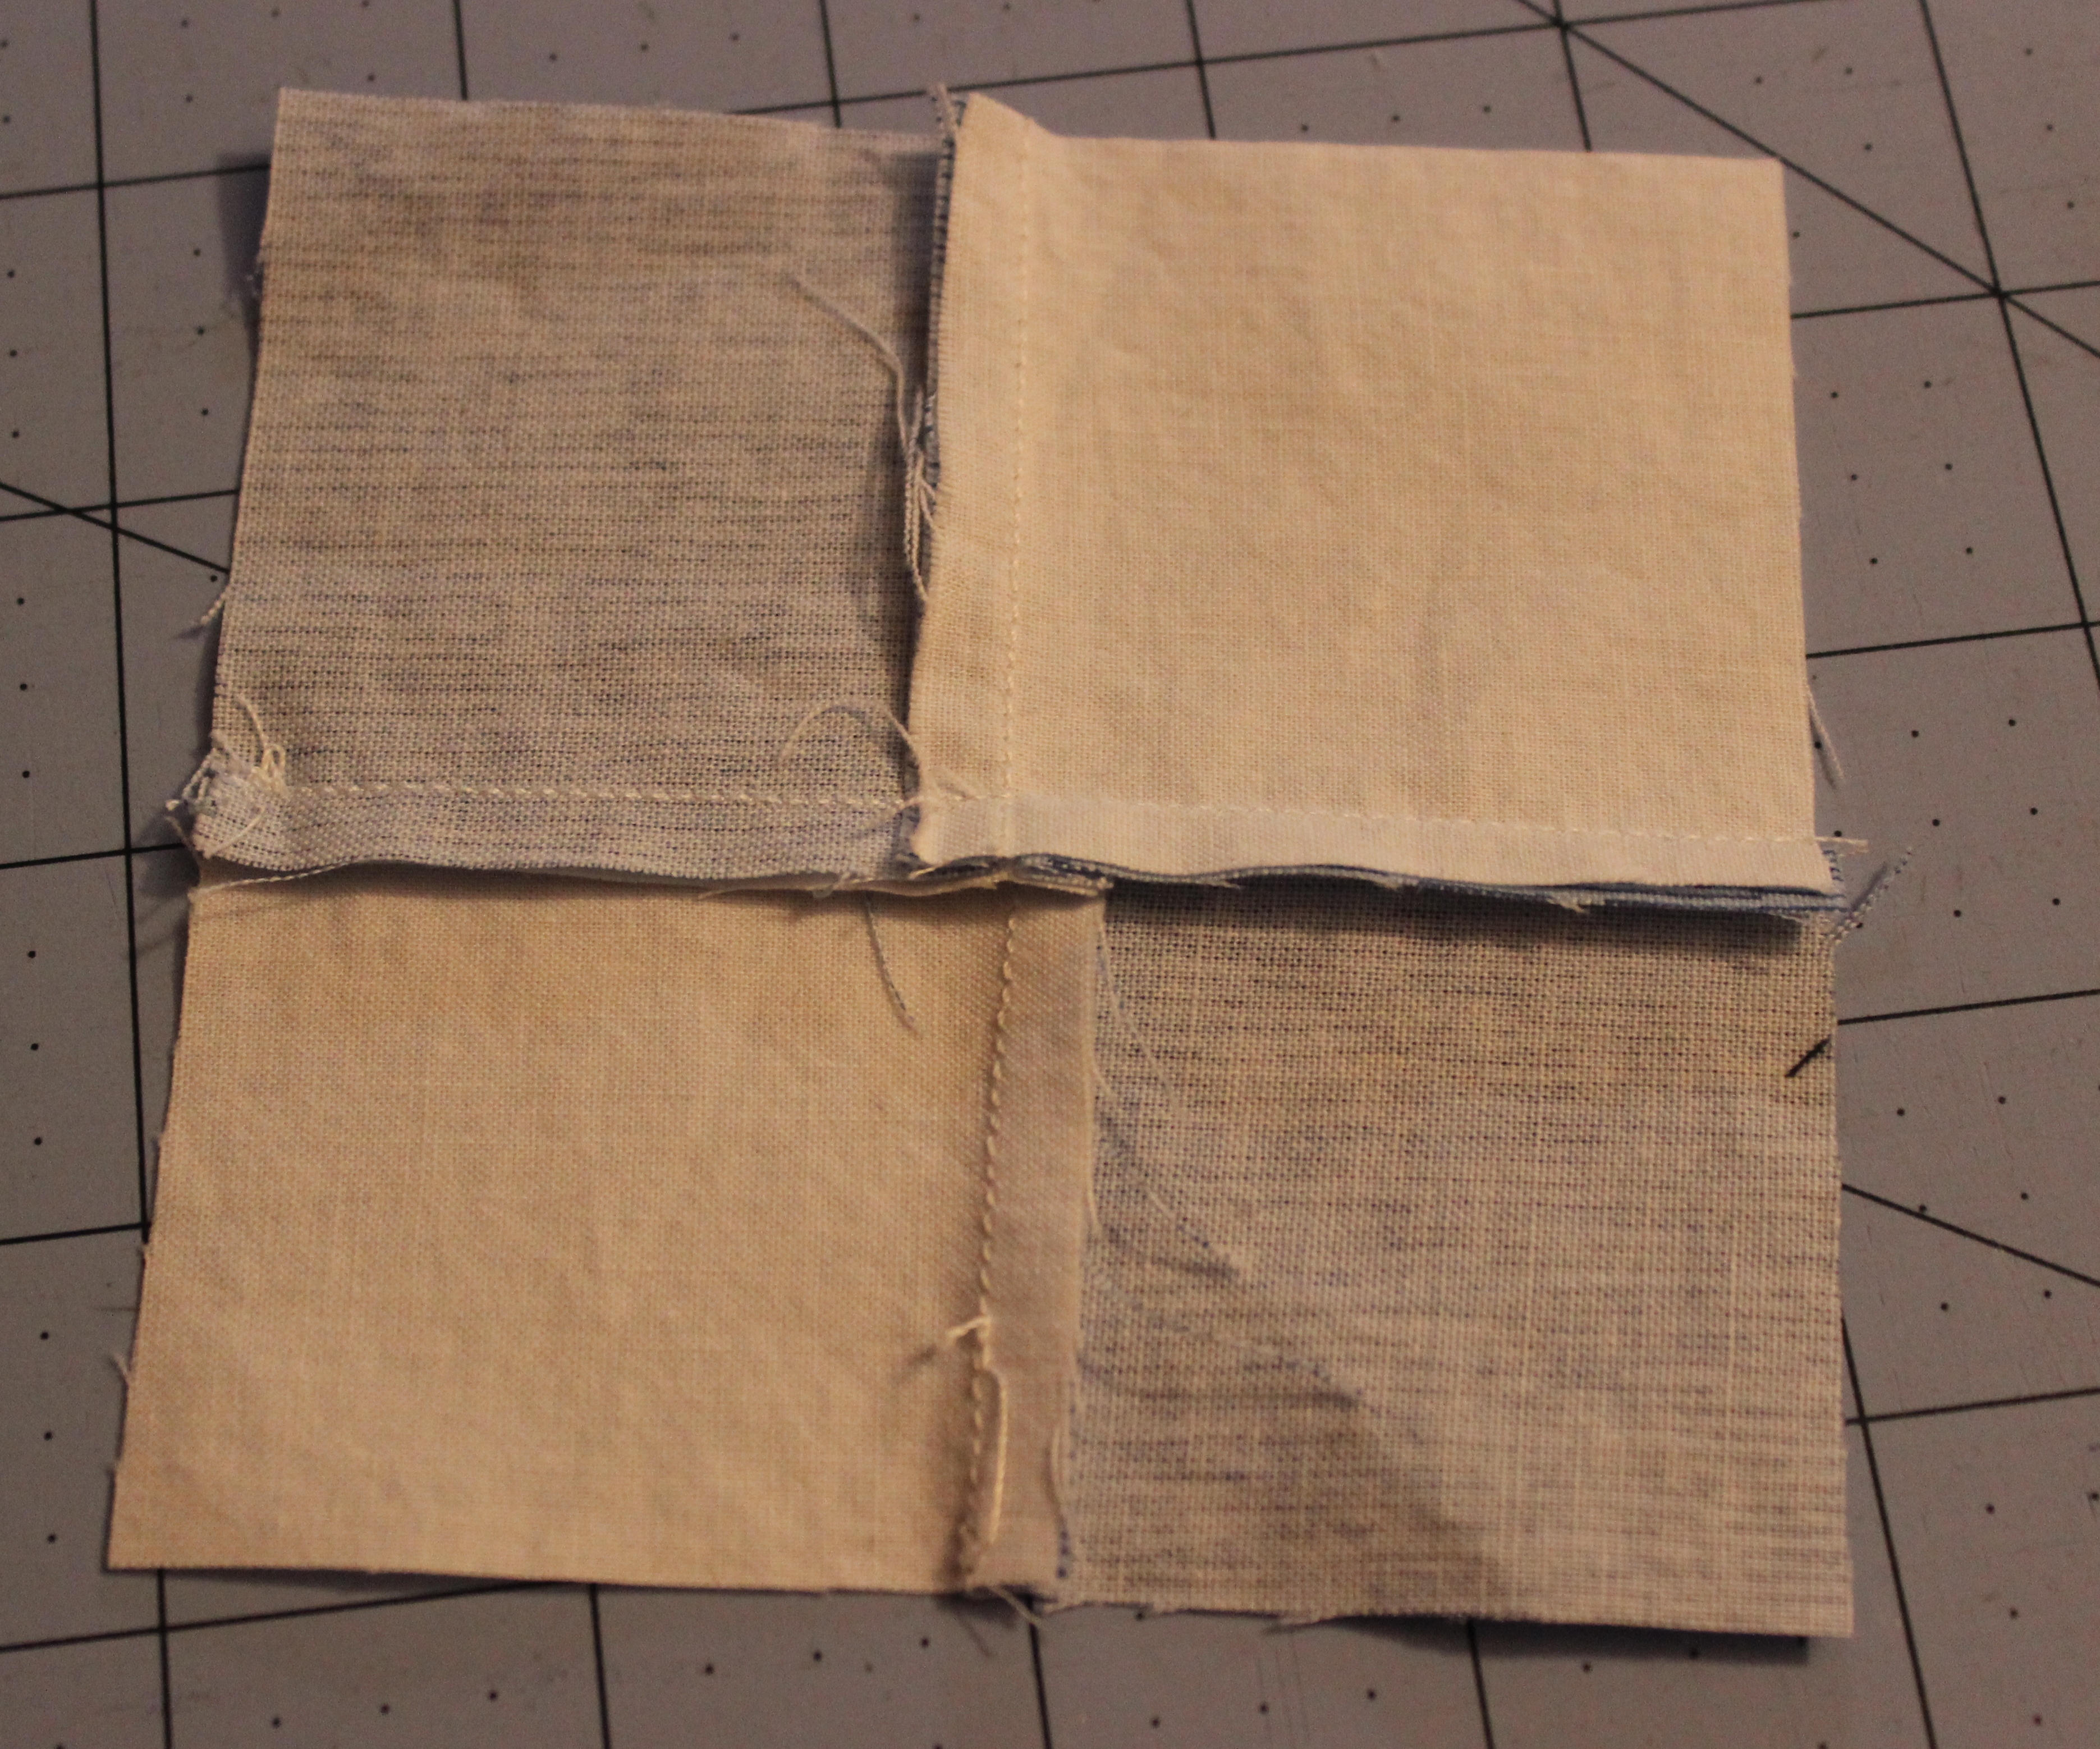
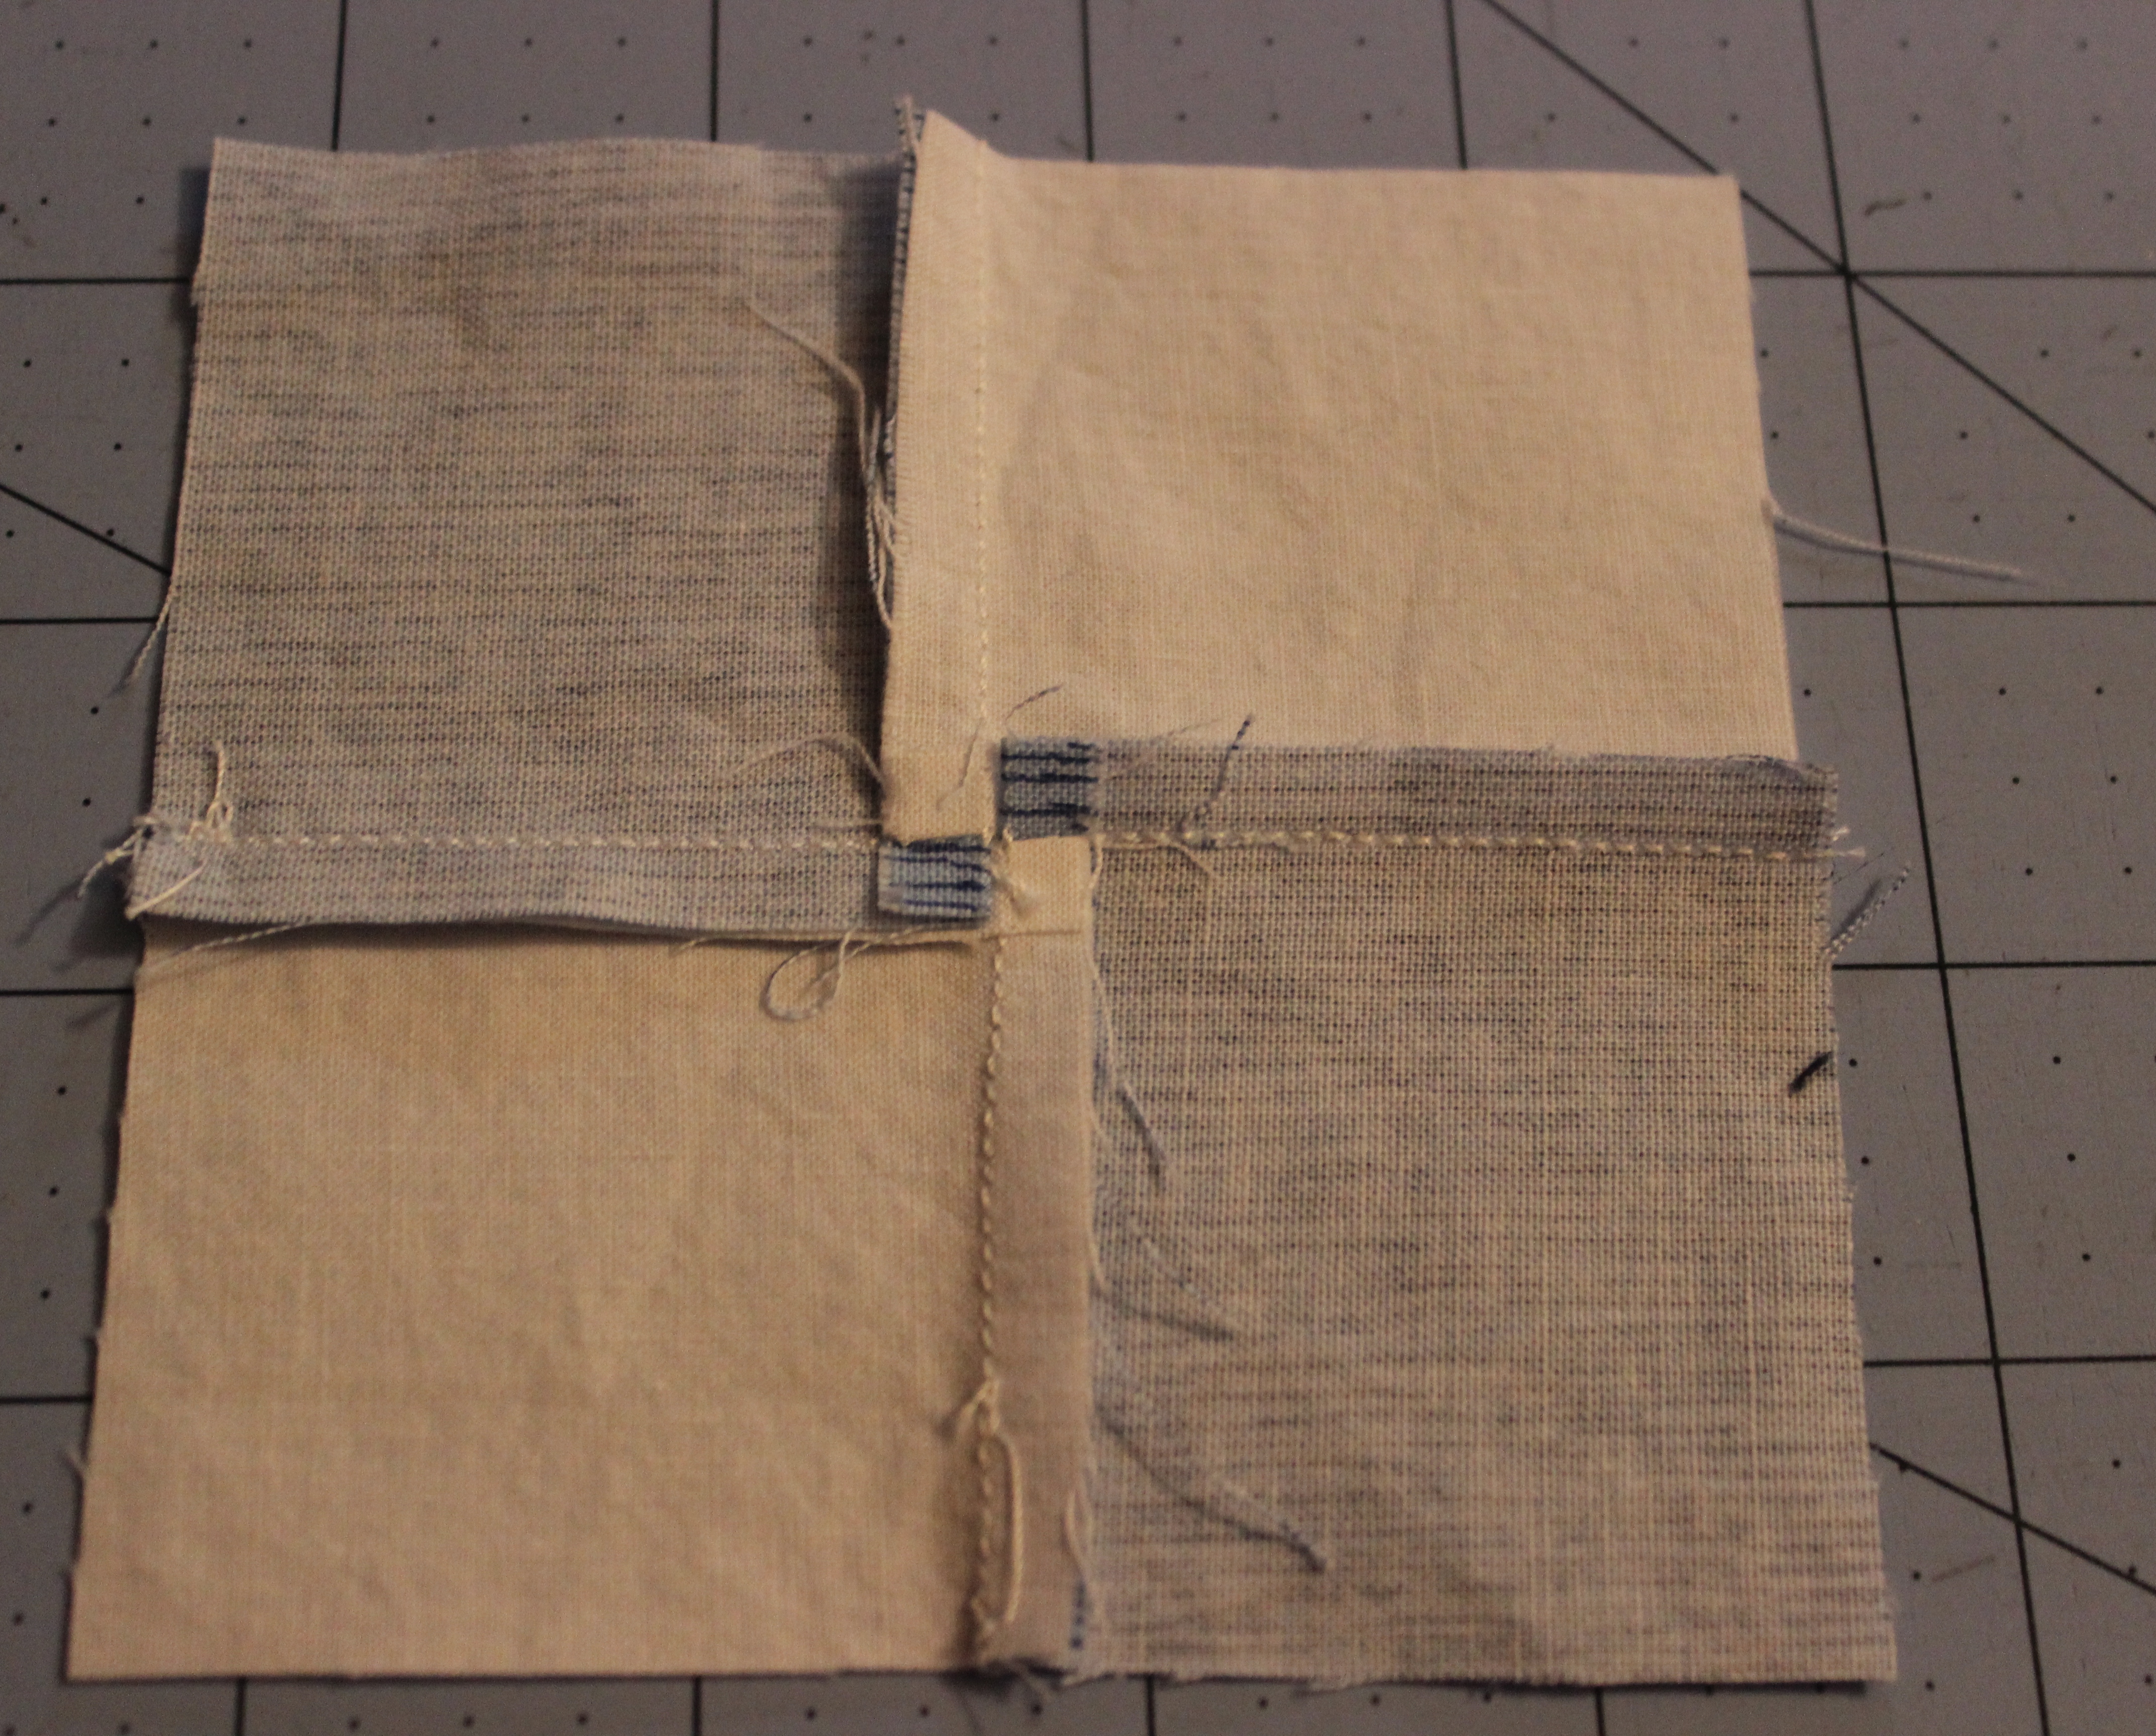
The Bear’s Paw block is typically made with a square as the paw of the bear and the half-square triangles as the “claws”. I machine quilted “paw” prints, instead of pieced squares adjacent to half-square triangles. I chose prints in paisley, feathers and geometric circles for the “claws”.
The Marsala color was the perfect choice for this quilt.

Close up of the free motion quilting. The bear paw footprints are surrounded by pebbles and pea pods.

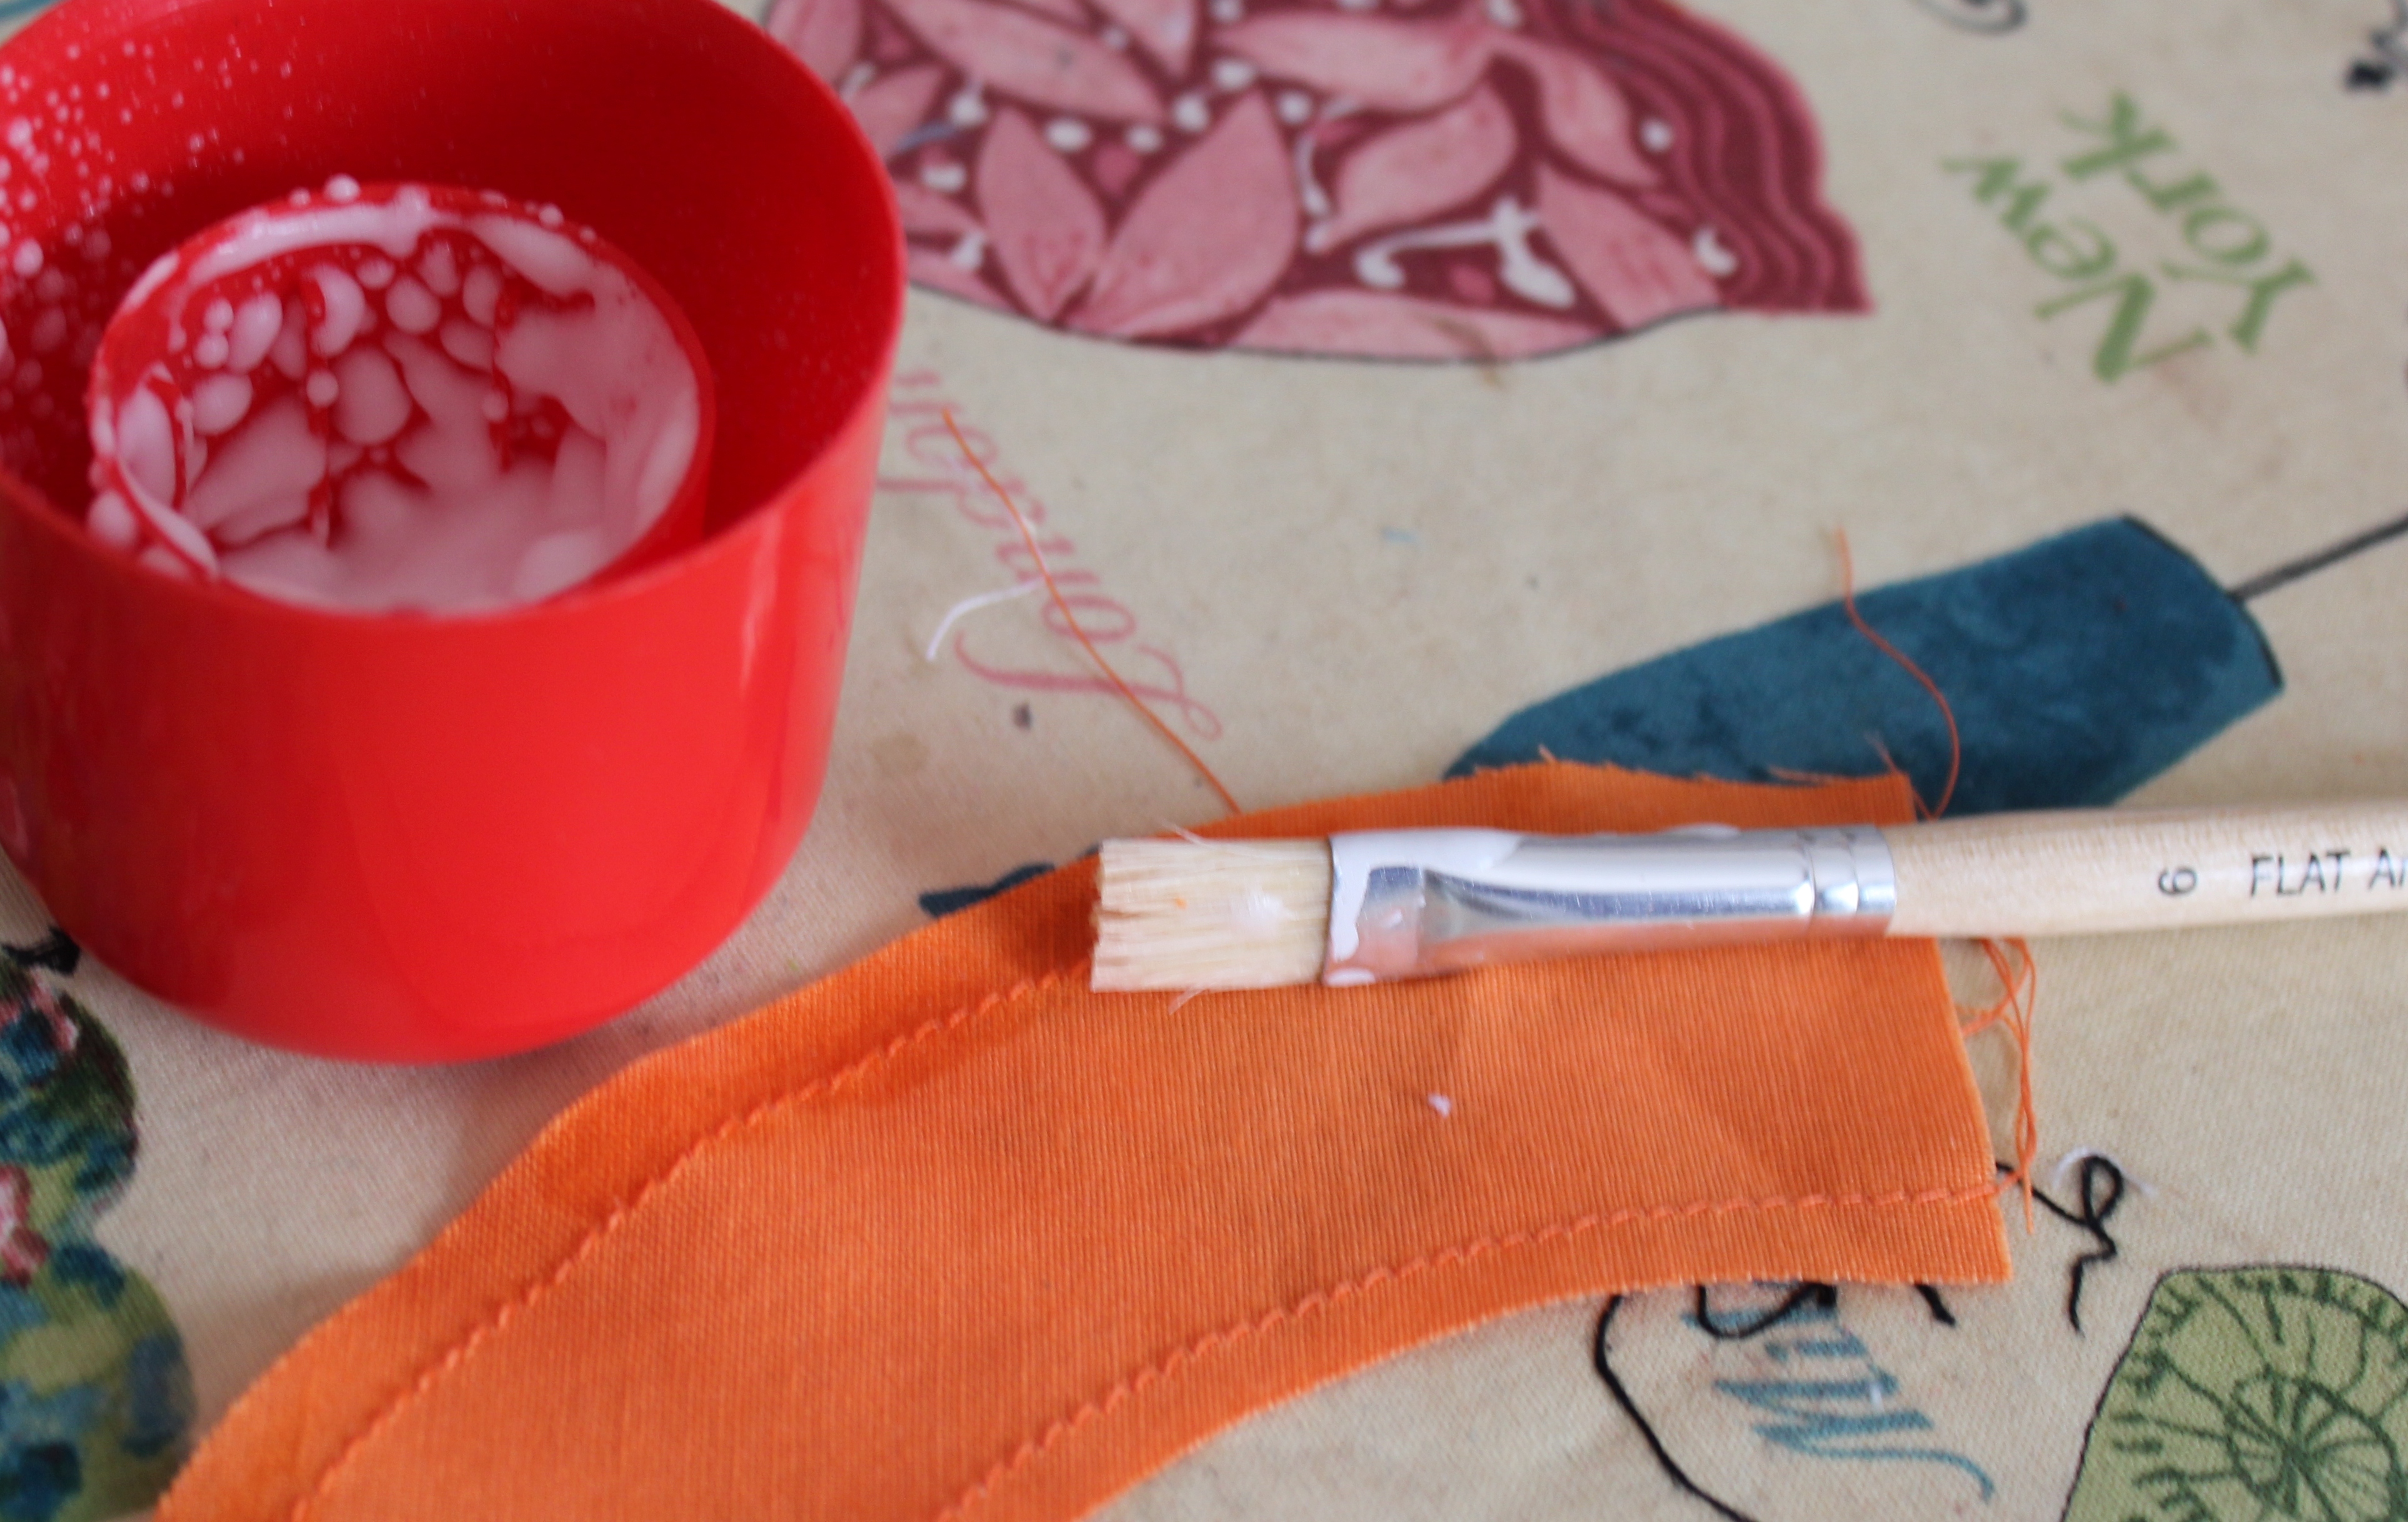
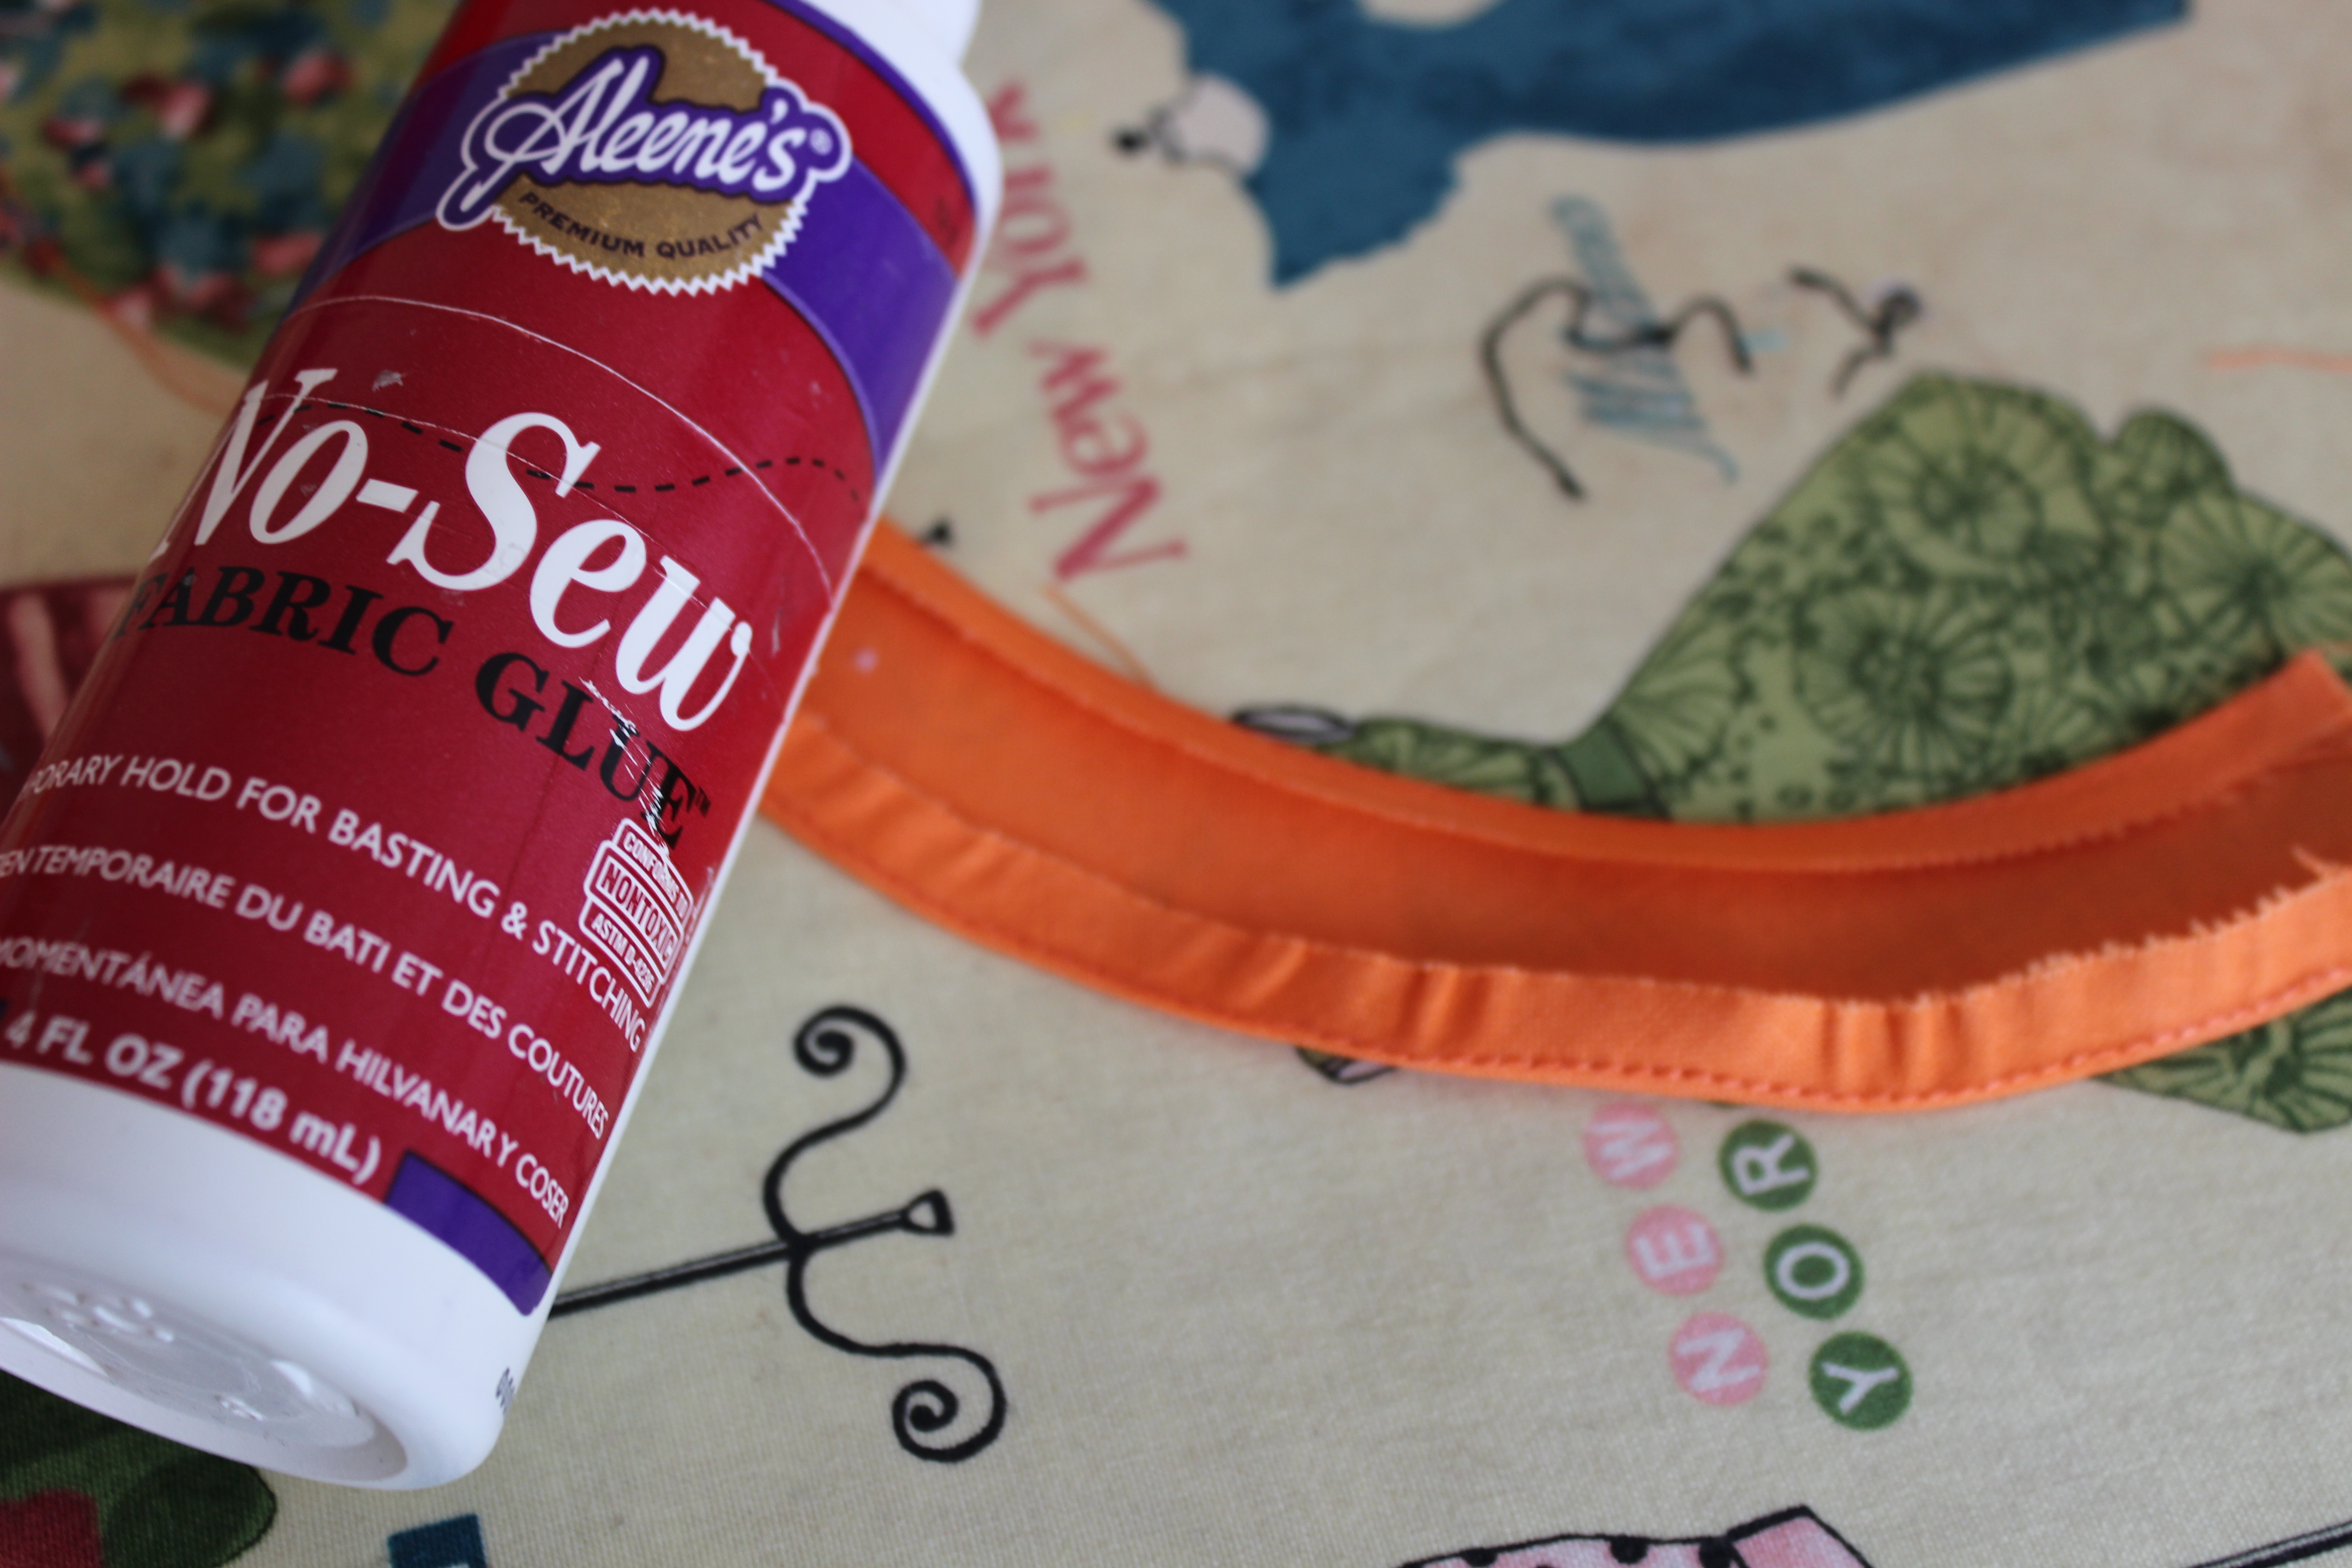
I made a one-half inch binding, instead of one-quarter inch. I used scraps of Marsala inspired fabric. Love and Kisses on the binding is just — serendipity
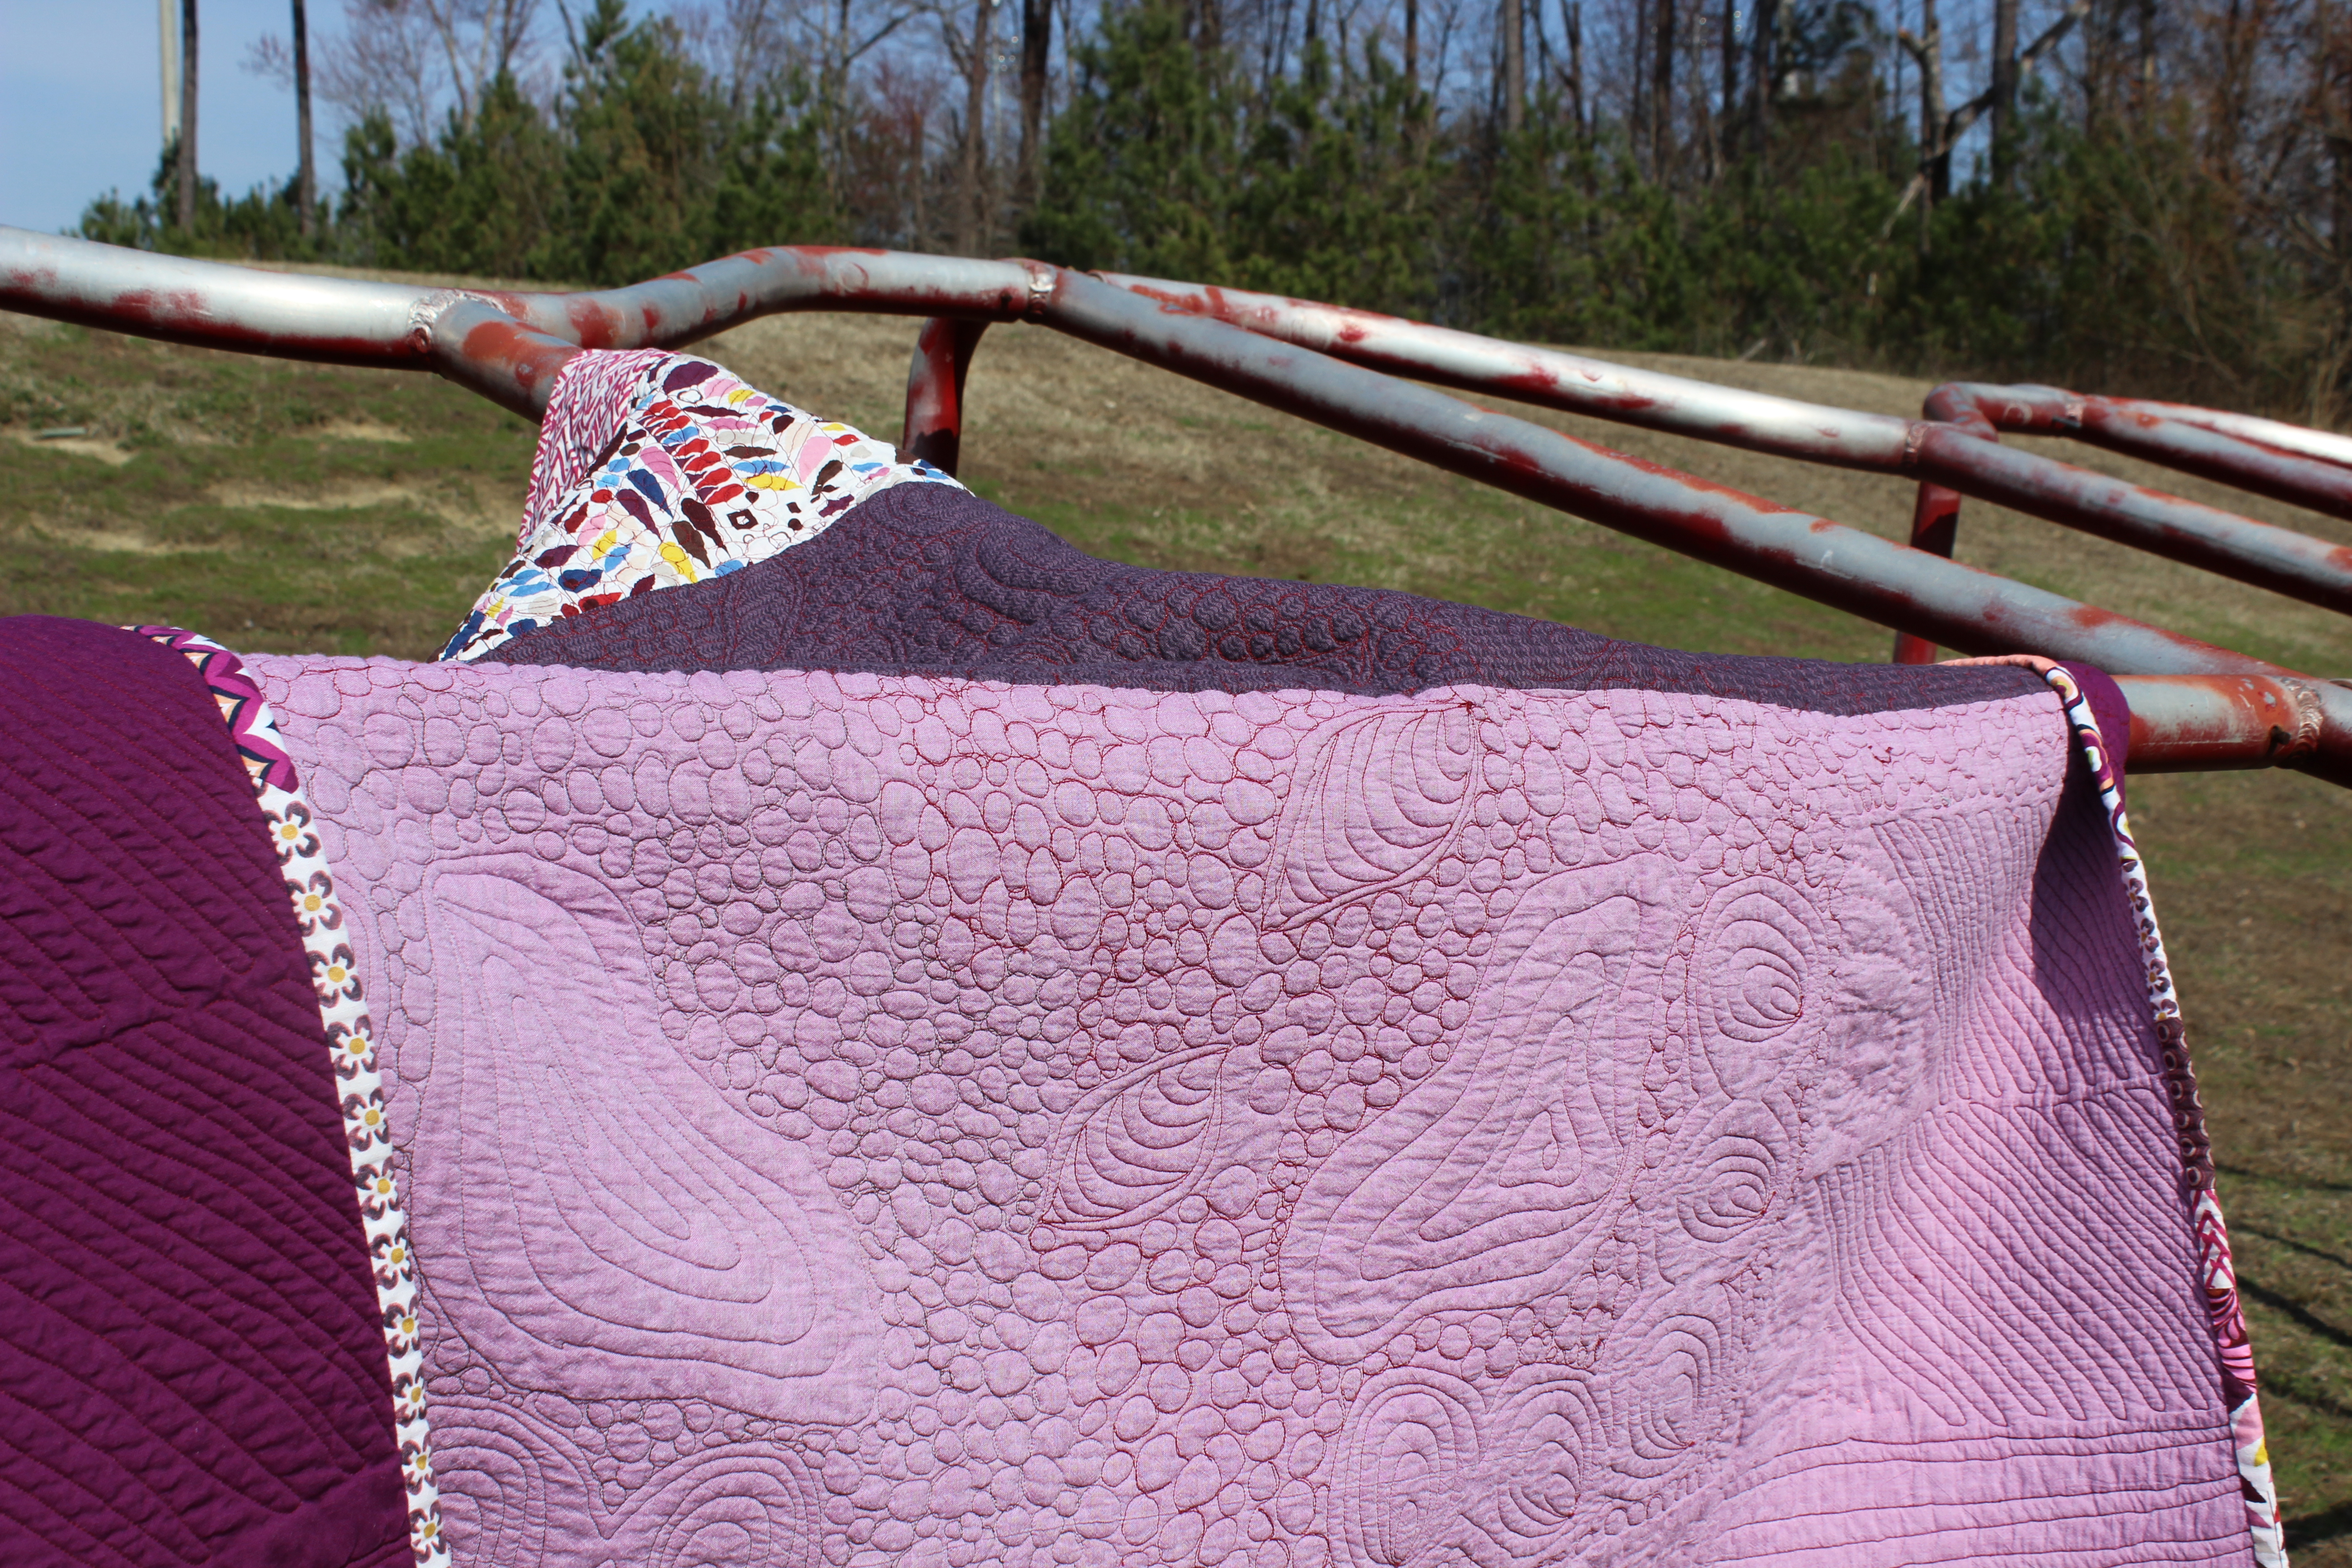
On the back of the quilt I used a variety of Marsala-inspired fabrics as well. The quilting really shows up on the back.
Marsala is a great color to wear as well. Check out this site for tips on wearing marsala.
Loving Marsala,
Mama Bear