One tip: perfect needle-turn applique

I am very good at raw edge applique, but needle-turn applique intimidated me, and every attempt looked sloppy. Until now. Carolyn Friedlander suggested in her book, Savor Each Stitch, that you baste the piece to the background one-quarter inch from the applique edge as a guide for turning under the fabric. This changed everything. I deviated from her instructions and instead I stitched one-quarter inch from the edge of the piece, separate from the background:

IMG_6378

I applied starch on the edges and ironed:

IMG_6381IMG_6382

I used temporary glue to attach to the background fabric:

no sew glue

At this point I had the choice to stitch down by machine or by hand. I choose by hand, using a Size 11 gold needle by John James and 50 weight thread from Mettler in a matching thread. I’m experimenting with curves as part of the Savor Each Stitch Book Bee and studying Contrast. The pink and orange seemed like a good place to start.

needle turned applique

If you aren’t into this method, there are ways to get the same effect with no fabric turning. Jenna Brand has a tutorial.

I’m linking this post to The Late Night Quilters’ Tips or Tutorials Tuesday.

One tip at a time,

Wanda

Book Bee: Savor Each Stitch

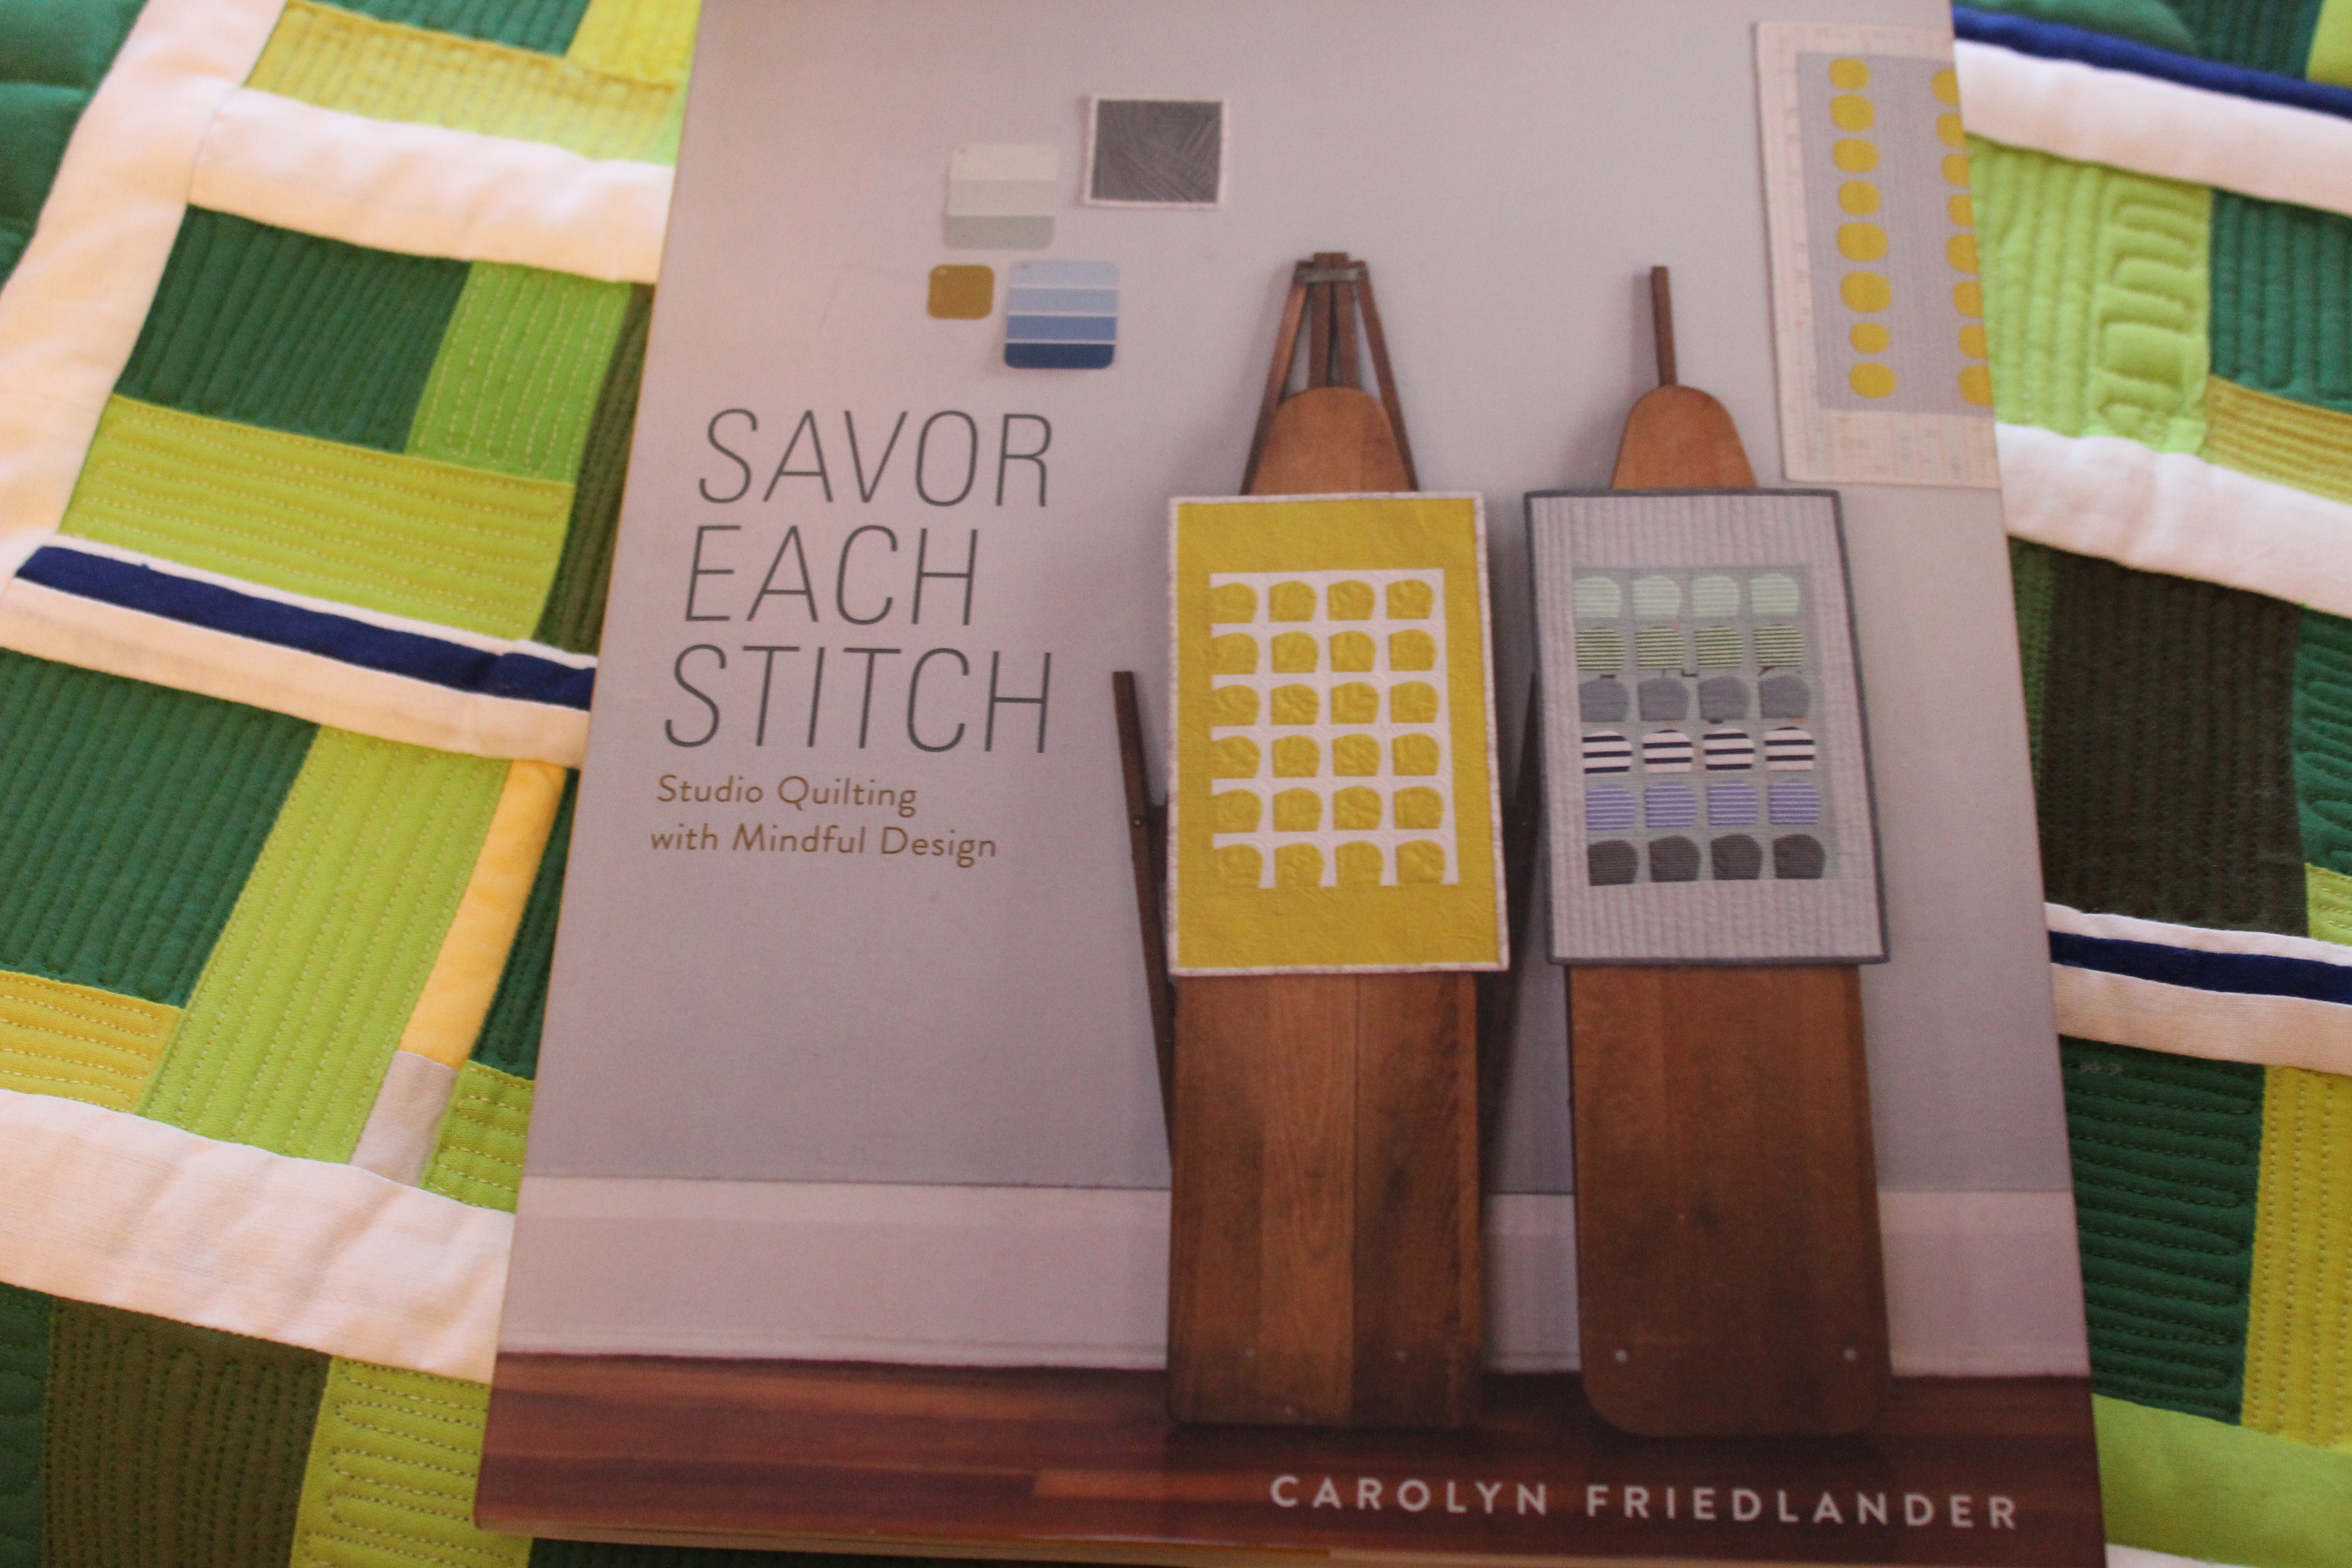
I’m participating in a Book Bee with a few members of the Houston Modern Quilt Guilt. We’re using Carolyn Friedlander’s book, Savor Each Stitch. I learned of this group from the blog, ModQuiltMom. They meet in Houston, Texas the first Saturday every other month, and they were gracious to allow me to follow along using a Google community page. Our goal: to share pictures, links and thoughts about our book bee.

Savor Each Stitch

The first chapter was Lines:

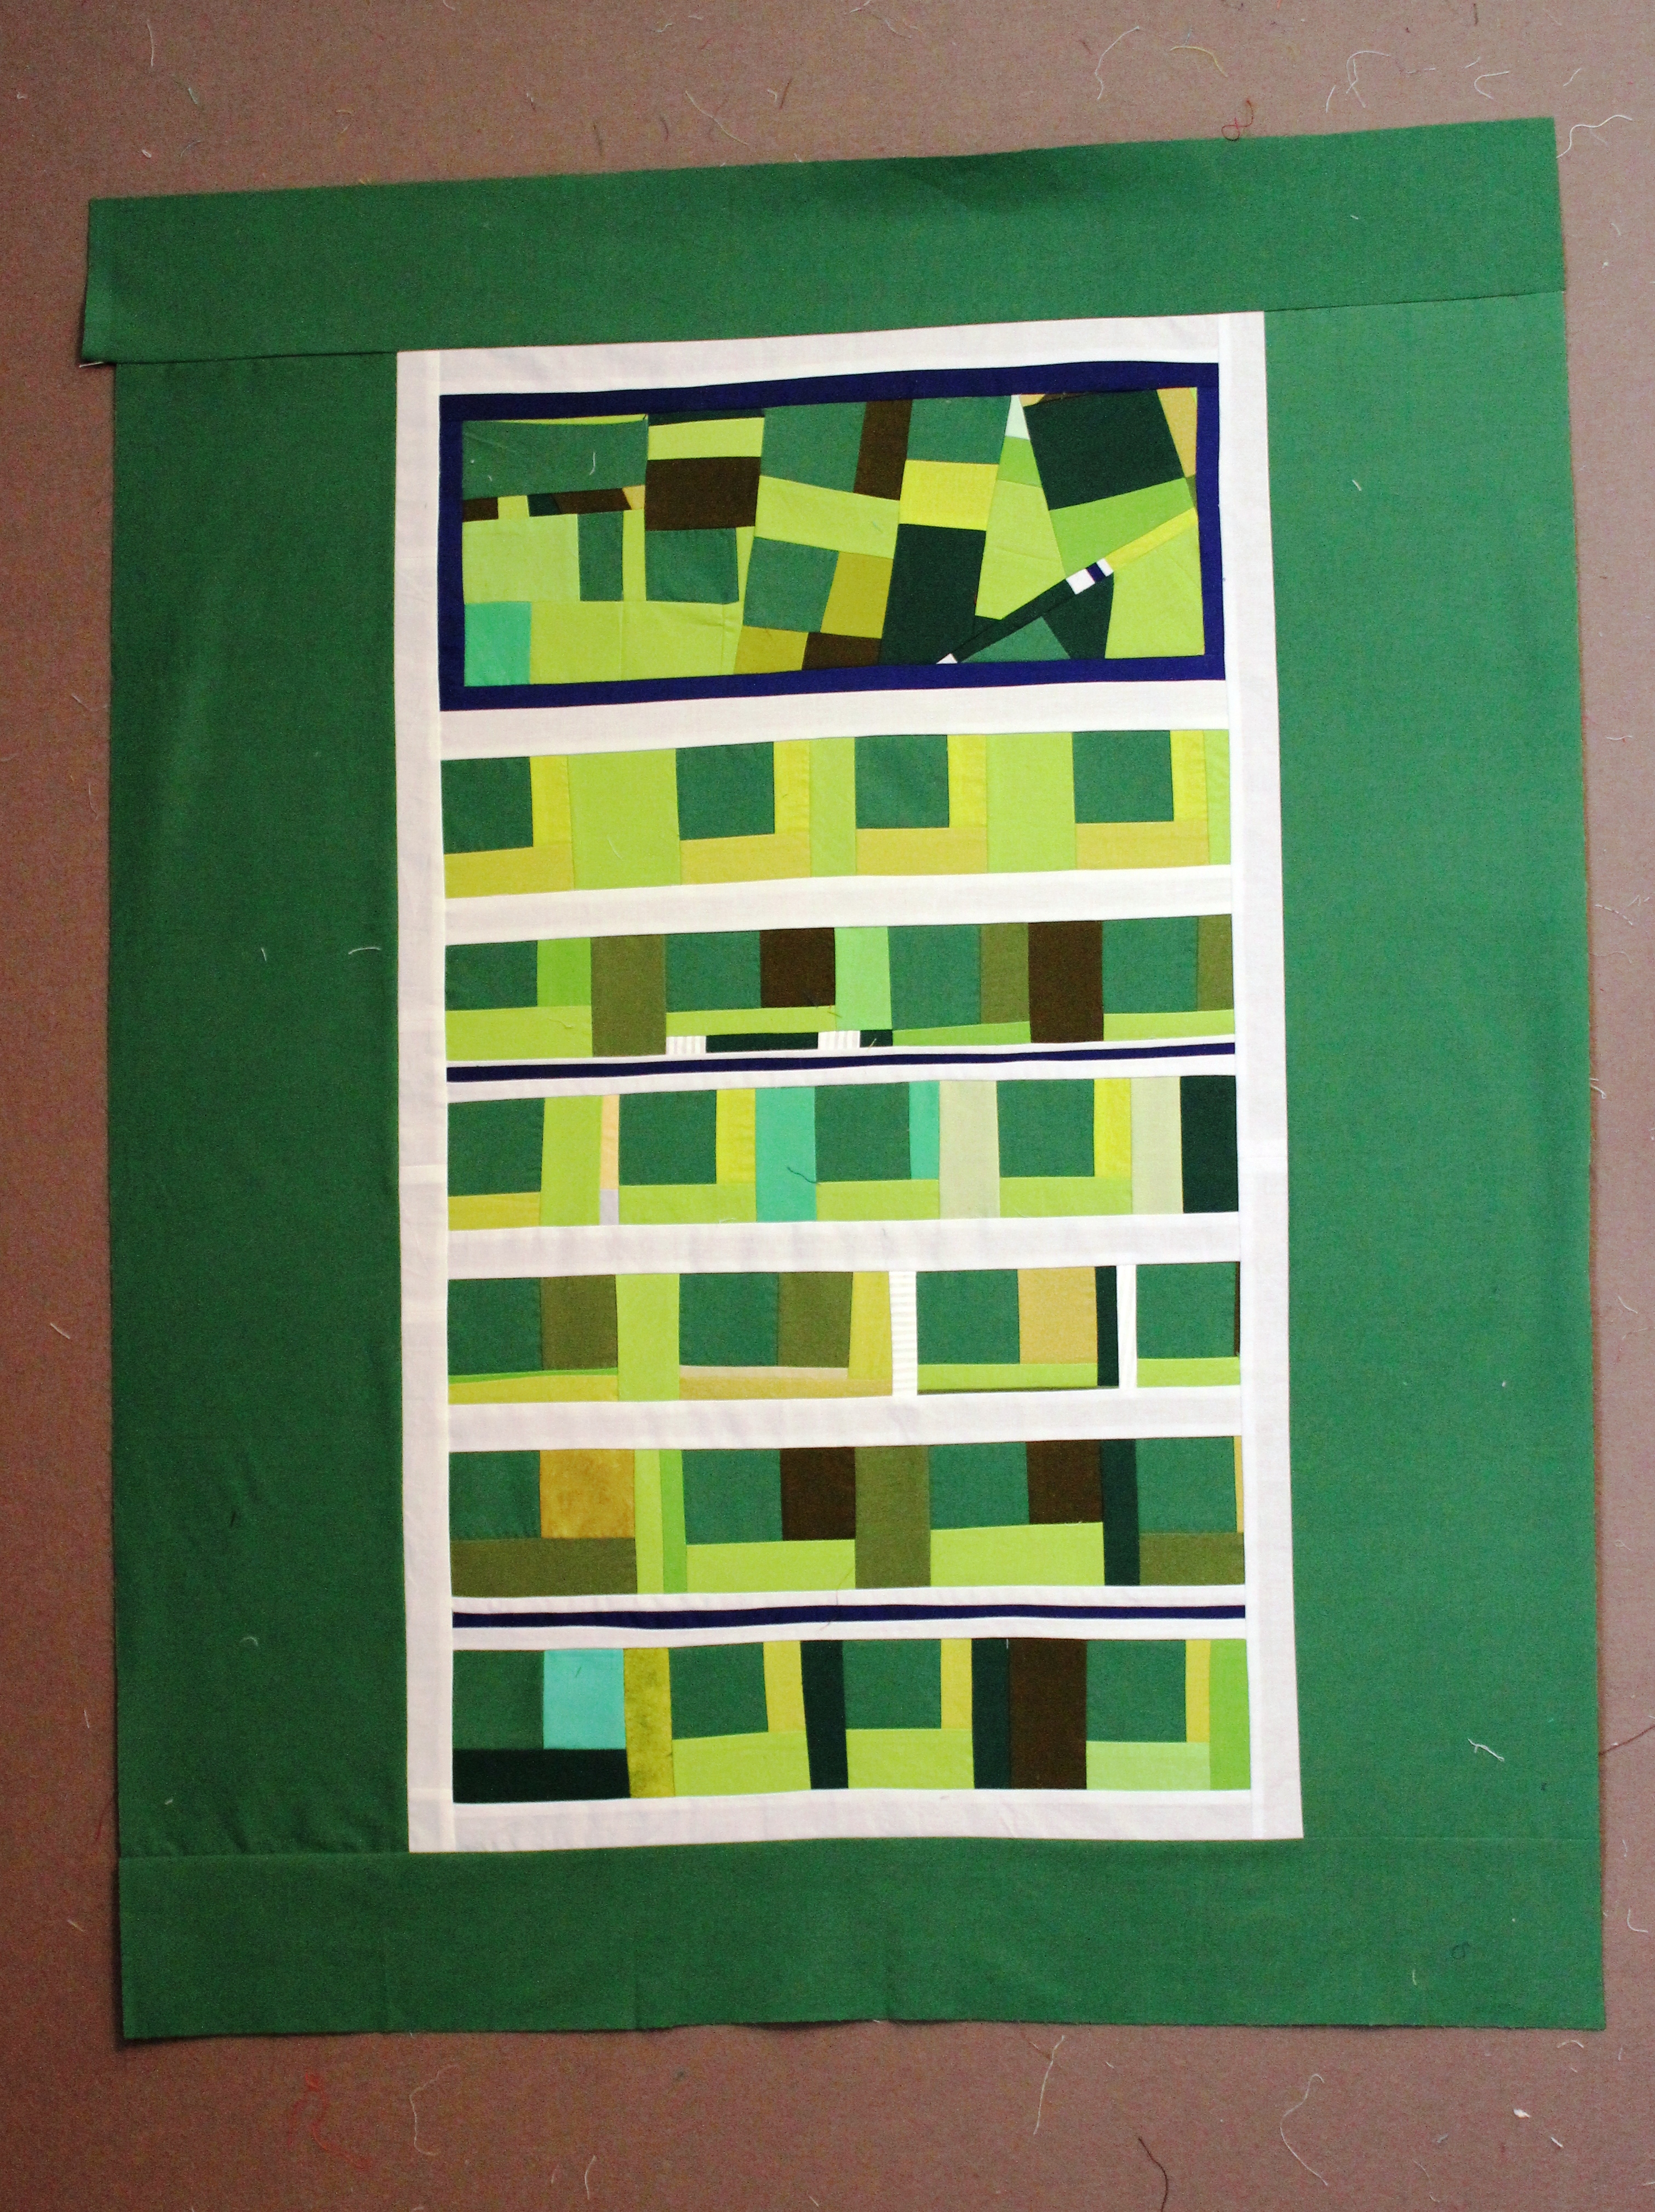
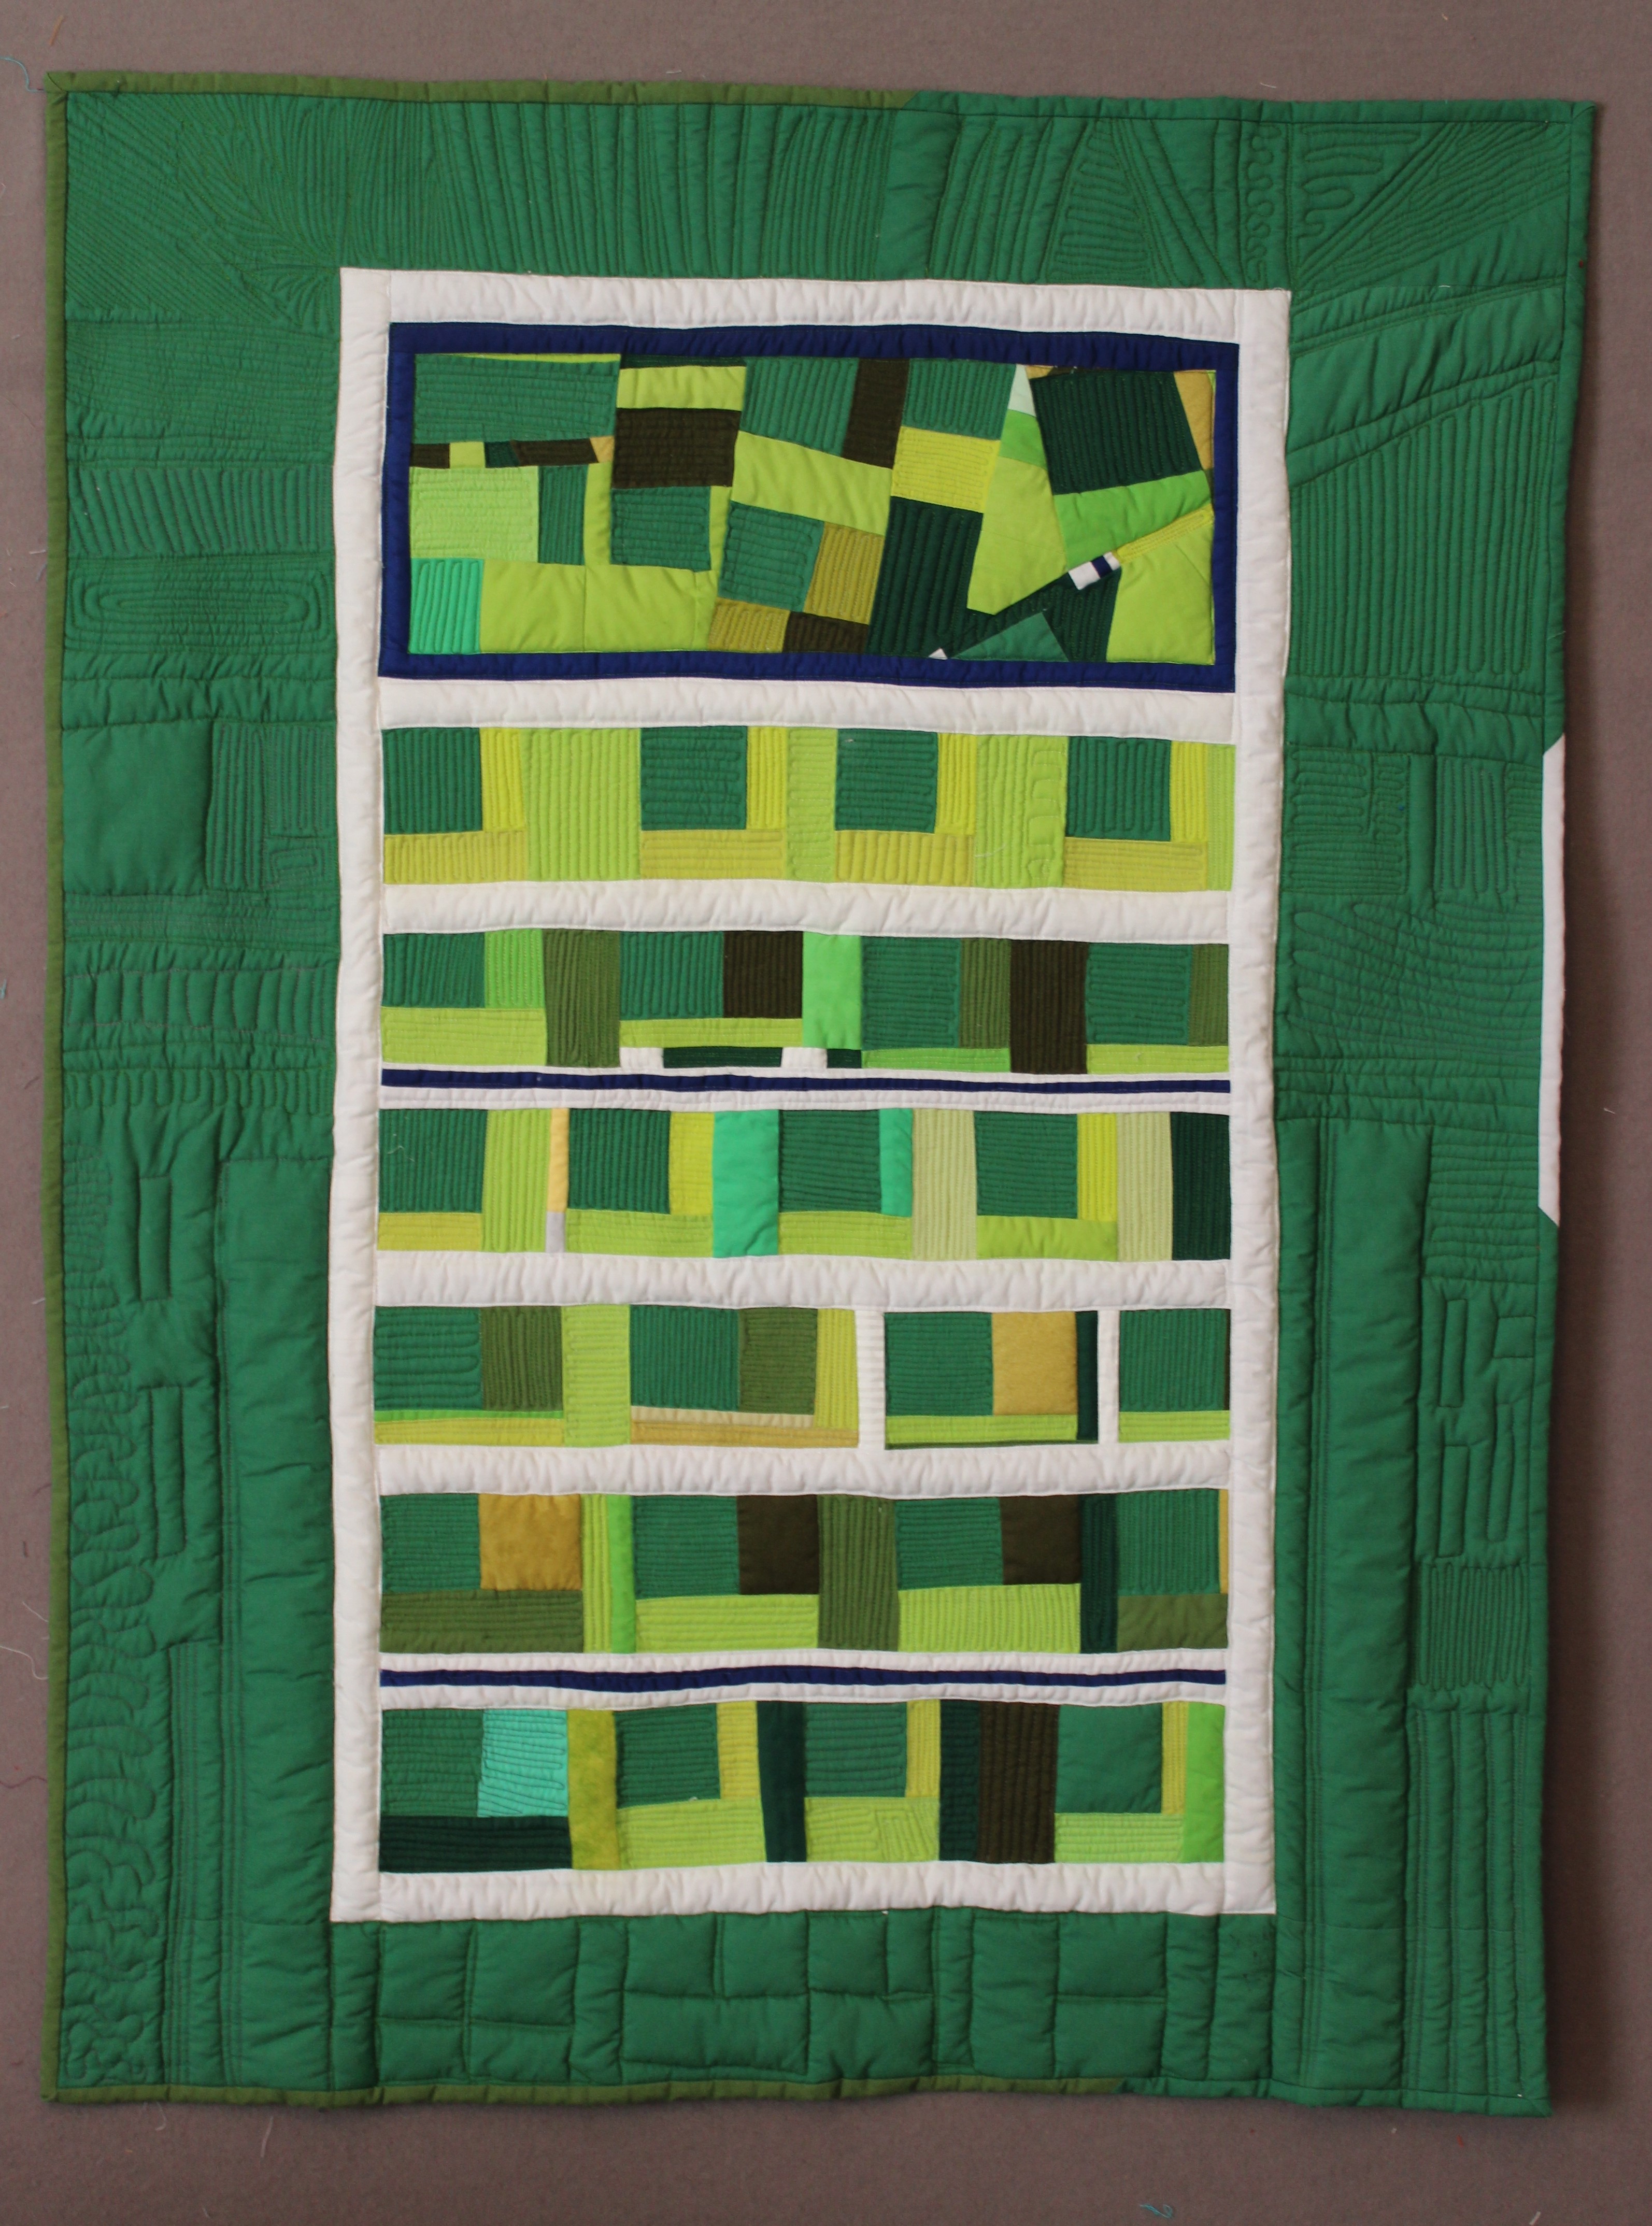
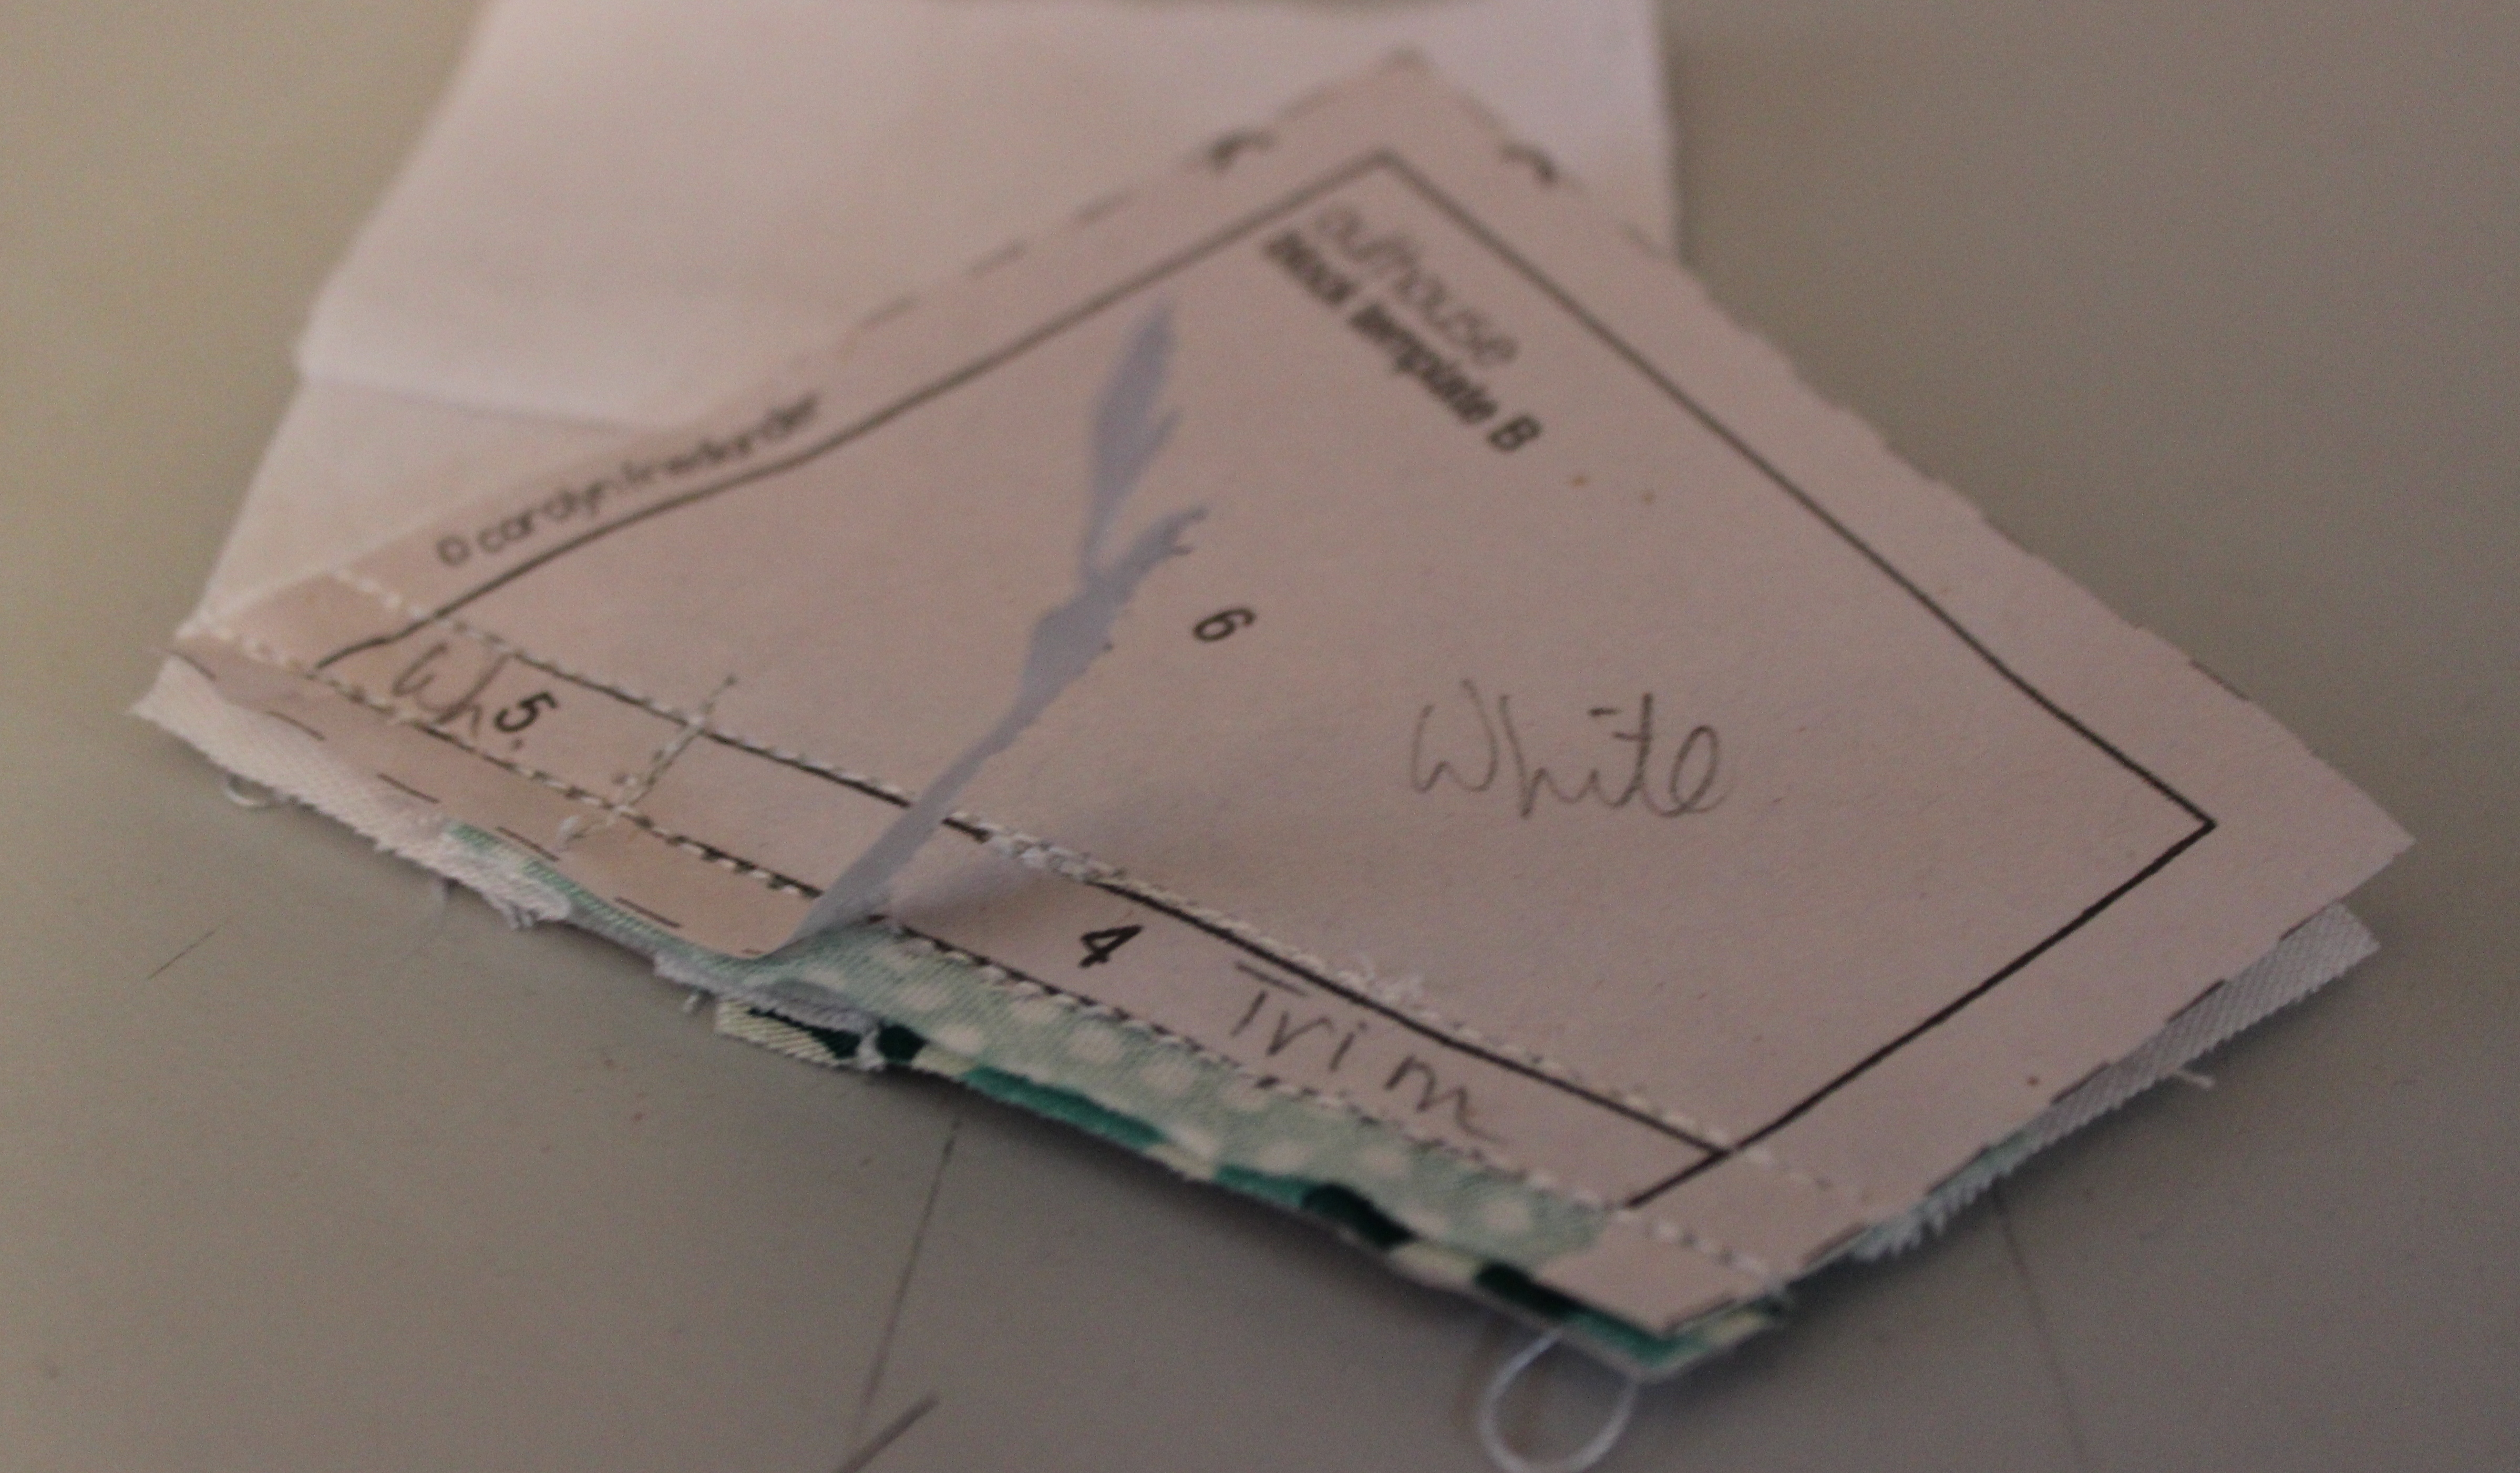
I took a literal approach to this design challenge. Sometimes I help my husband (football coach) paint the lines on the football field.  The initial setup for painting the field is like laying off the foundation for a new home. It involves stakes, string and measuring tape. From that experience, I sketched my idea for a small quilt, called “Date Night.”

One evening while we were painting the field, one of the players and his mother drove by the school and his mother suggested her son volunteer to help us. After speaking with my husband, he came back to his mother and said, “No. He doesn’t need help. It’s ‘Date Night.'” The player’s mother enjoyed telling us this story. That’s just downright funny and the perfect name for this quilt.

IMG_6206

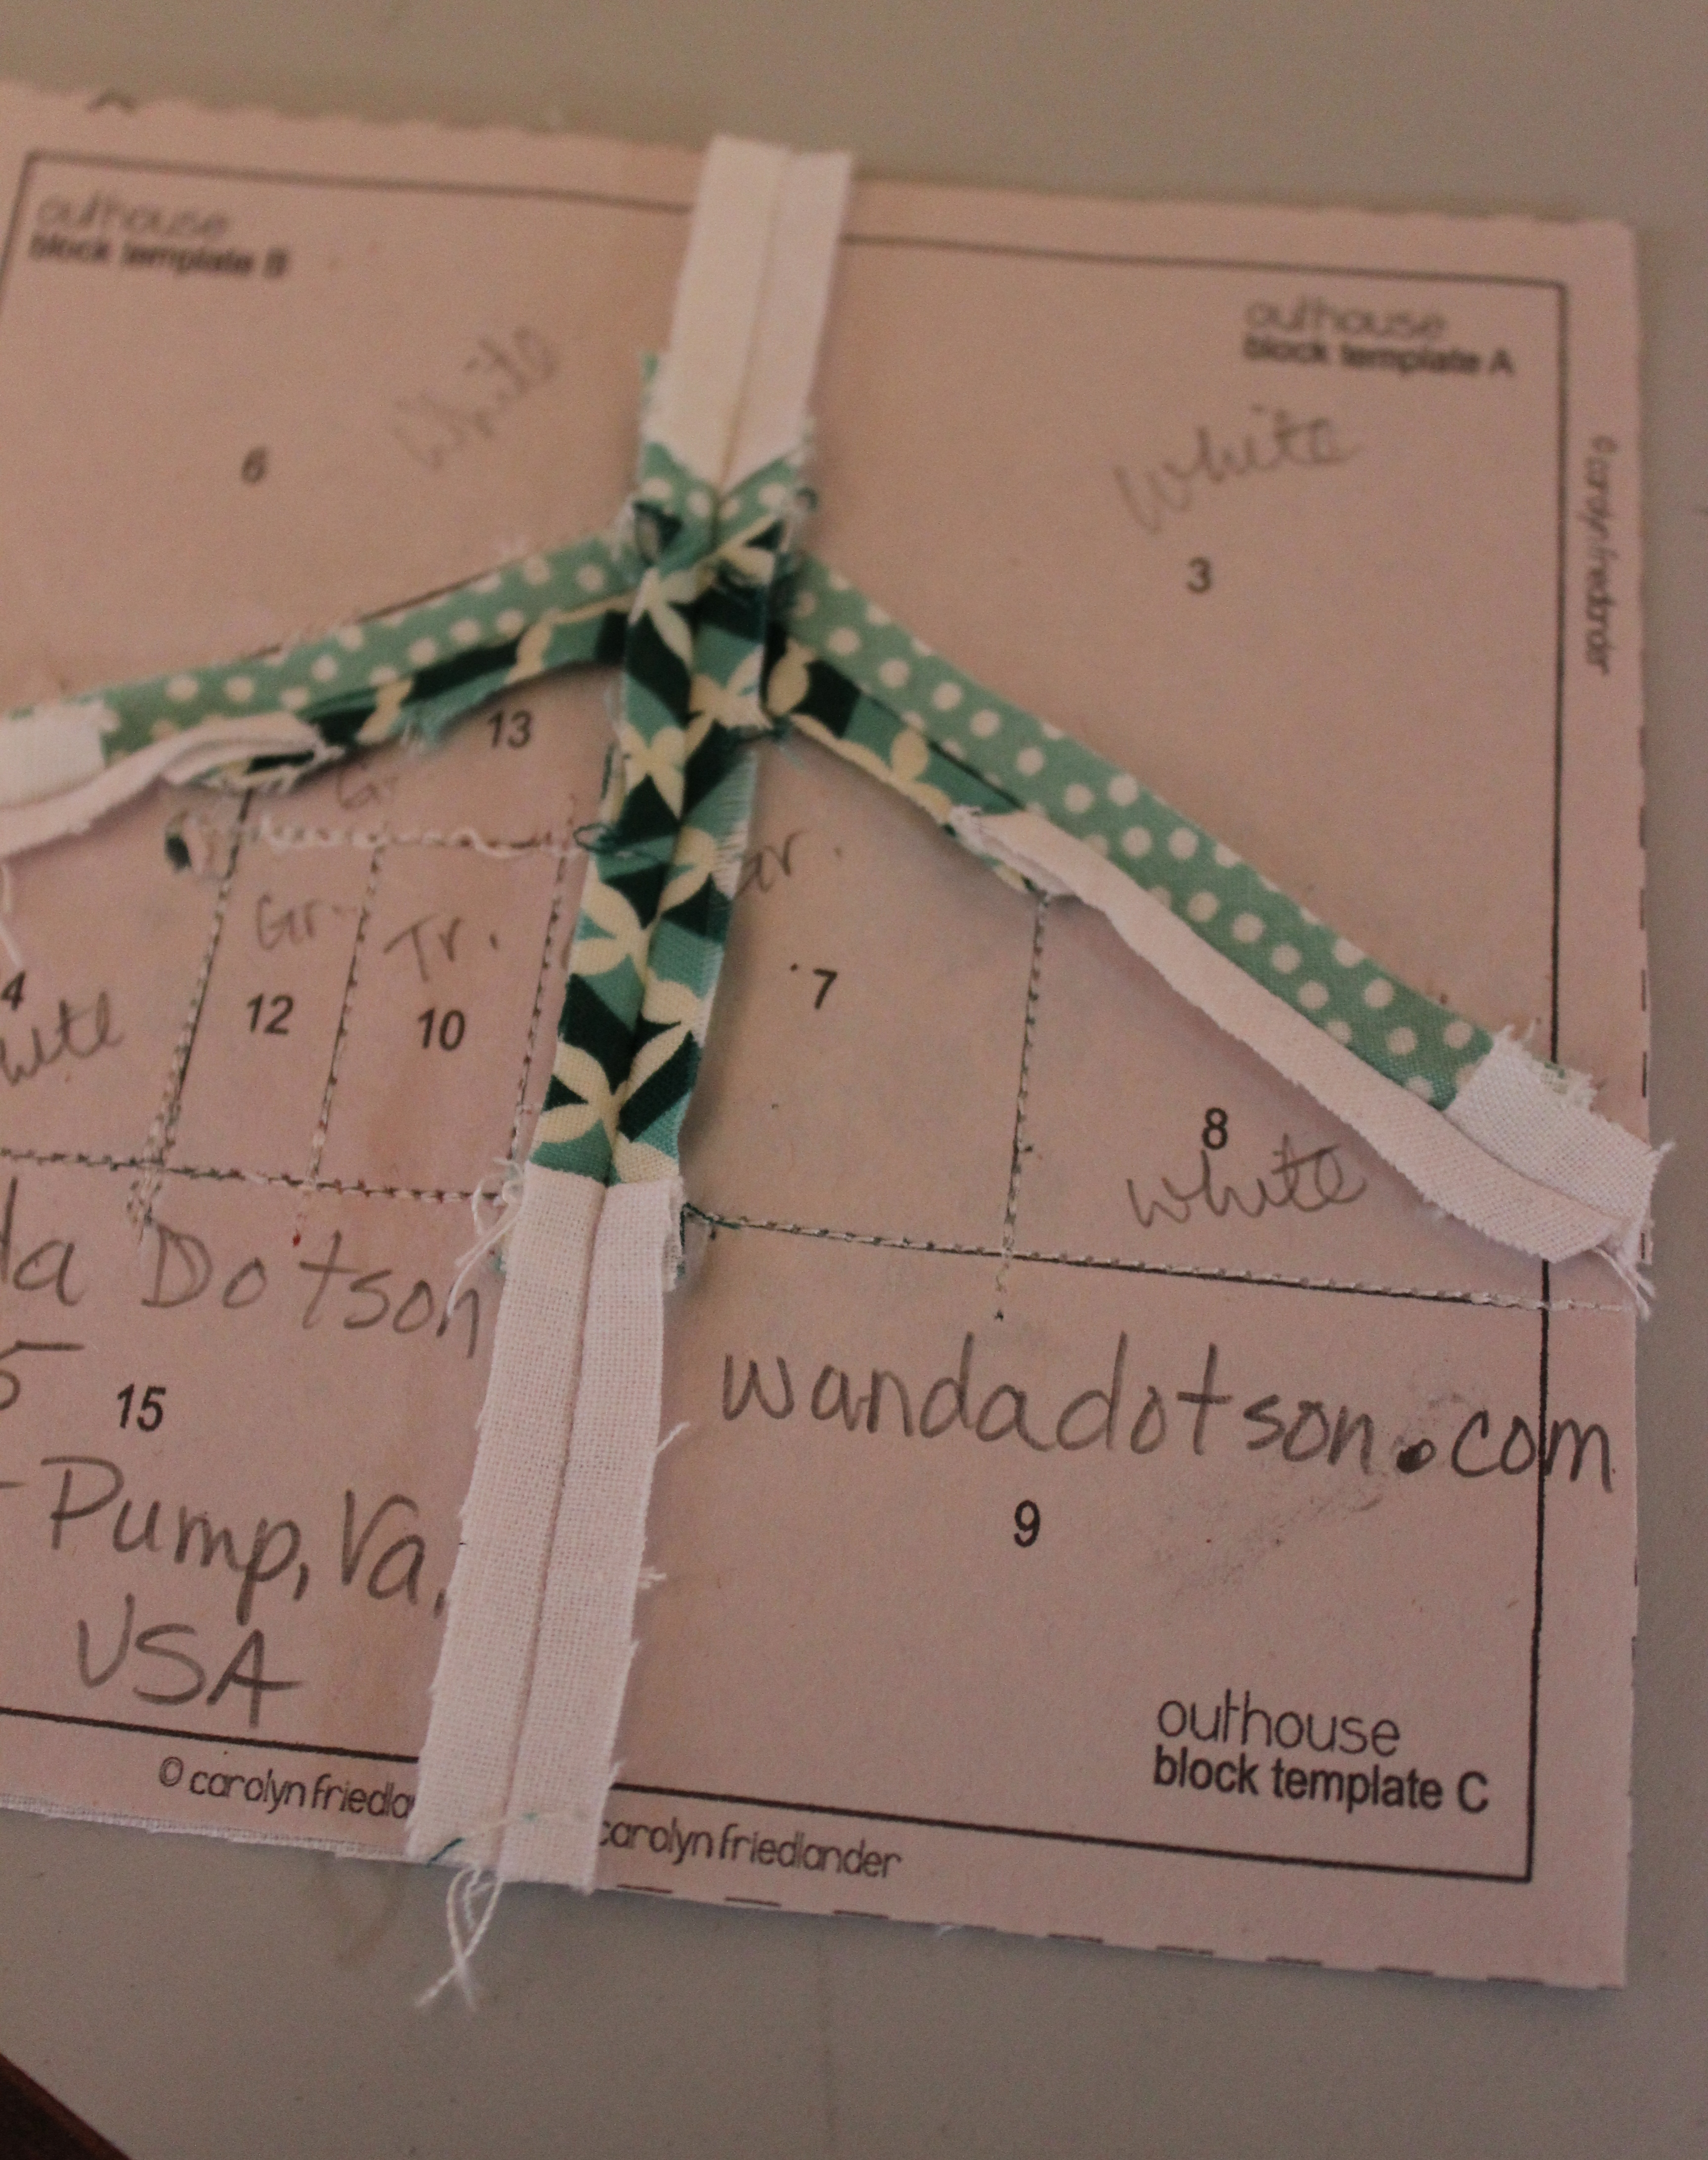
From there, I started sewing from my “green” scrap bin, except I had about a half yard of kelly green.

My husband suggested the “end zone” needed blue accents. I like how the “end zone” is very liberated and the rest of the field is linear.

IMG_6216

Carolyn Friedlander uses dense free motion quilting in many of her quilts. I wanted to try that:

Date Night closeup1

I used high loft batting to give the grass some texture. I’m debating if I should quilt the white lines and if I should quilt in the name of the quilt on the front rather than on a label on the back. I’m going to let it stew for awhile and when I come back to this quilt I should know how I feel about doing that.

I’m enjoying this Book Bee and seeing what the other quilters are doing. The next chapter is Contrast. Initially I wanted to make a small quilt for each chapter in the book, but I’ve learned making Date Night that all the elements of thoughtful design were used in making this quilt. My desire to make multiple quilts was unrealistic. I always have lots of ideas and not enough time to turn those ideas into actual quilts.

CF writes in her book about sketching ideas over and over until you find the essence of your idea. I feel I rush through that process and taking the time to get out the “stakes, string and measuring tape” should improve my design process. At the same time I like just fiddling with fabric and seeing what happens when there is no plan. It’s a tough balance.

Update: Here is the finished quilt:

Date Night

Paper Piecing Tips, and “What is an Outhouse?”

After completing my Aerial quilt, which was all paper-piecing, I said, “never again.” But, then I got involved with the Shirt Swap hosted by MayChappell blog, and I made some paper-pieced shirts. The next round of the Shirt Swap includes the Outhouse pattern by Carolyn Friedlander (shown above).

I’ve learned a few things:

USE THIN PAPER.

I purchased Carol Doak’s Foundation Paper, 100 sheets for $9.95. This paper is better than heavy copy paper:

paper piecing

LABEL ALL THE PARTS.

name it

JUST A LITTLE GLUE.

For those long tiny pieces I use a glue stick to attach the paper to the fabric.

gluestick

A pin works well, too.

use a pin

USE AN INDEX CARD.

I use an index card to crease the stitch line. It’s a guide for my Add-A-Quarter ruler (below on the right). I slide the ruler lip up to the card and cut the one-quarter inch. Look at that perfect one-quarter inch.

indexcard

REMOVE PAPER FROM THE SEAMS.

For this block there are four parts which are attached ultimately with three seams. I tear away the paper from the seams so that there is less bulk when I sew the last two sections together.

remove seam paper

The finished block looks great from the back:

press open

I love this little house with the bright red door.

outhouse block

According to wikipedia and my own experience, an “outhouse” is an outdoor toilet.   Here is what Carolyn Friedlander said about the pattern on her blog:

Outhouse is new to my paper piecing line, and honestly, it’s just a fun pattern. I had the idea of simple but quirky little houses that you could further personalize and flavor with fun fabric choices. At my new place, I actually have a funky little outhouse that the previous owners built themselves. There’s a great view of it from my office, and so I’m sure that looking at it everyday has played into the speed with which I’ve been able to add this source of inspiration into my pattern line.

I have no clue if Carolyn’s previous owners built an outdoor toilet or just a “quirky little house.” Oh well, these houses remind me of the cellar from my childhood home. It was nestled into the mountain and stored garden potatoes, jars of blackberry jelly, green beans and vegetable soup, and lots of other goodies — maybe a spider or two.

“Mountain Cellar” is my new name for this quilt block.  It just smells better.