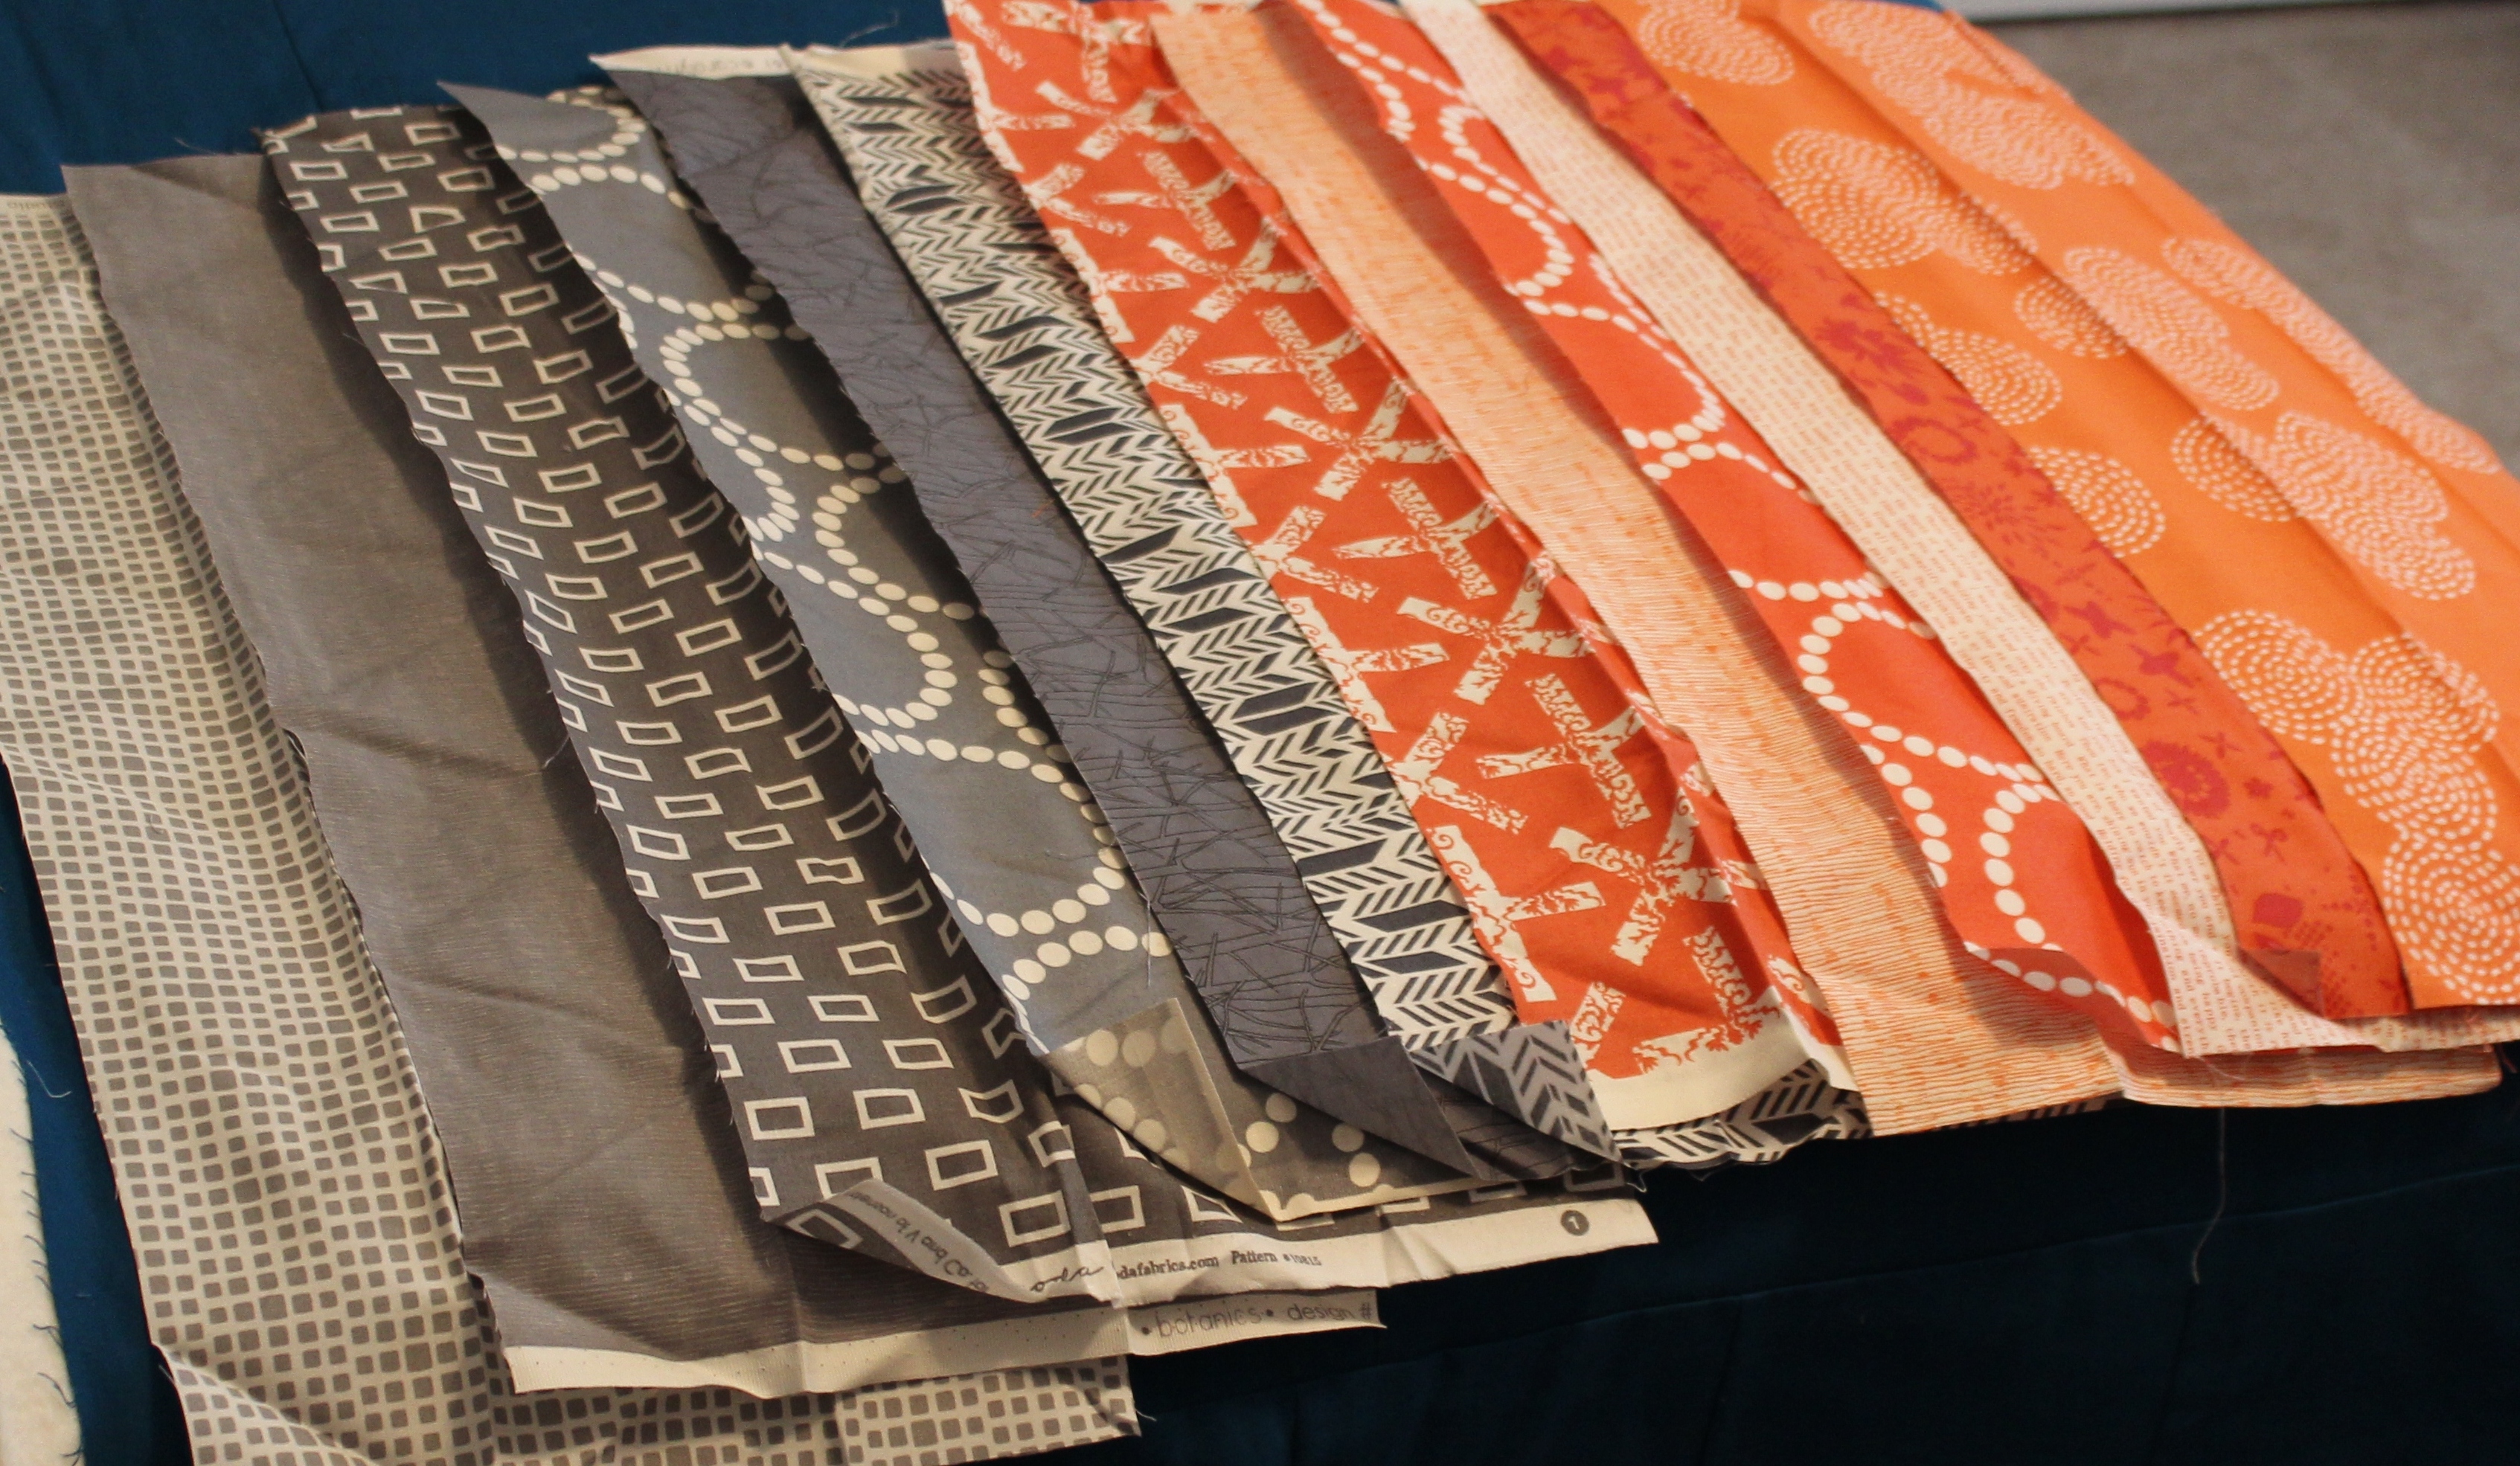
I finished my Aerial quilt top, pattern by Carolyn Friedlander.

I endeavor to quilt this on my machine, rather than hand quilting it. I purchased the book, Machine Quilting in Sections. Don’t Finish Another Quilt Until You Read This Book, to learn how to reduce the bulk of the quilt.

I’m trying “Low-Fat Quilting” first.
I didn’t have a large floor to assemble the quilt sandwich. I took over the local high school’s weight room on a Sunday afternoon. (thanks to my sweet husband who is the head football coach)
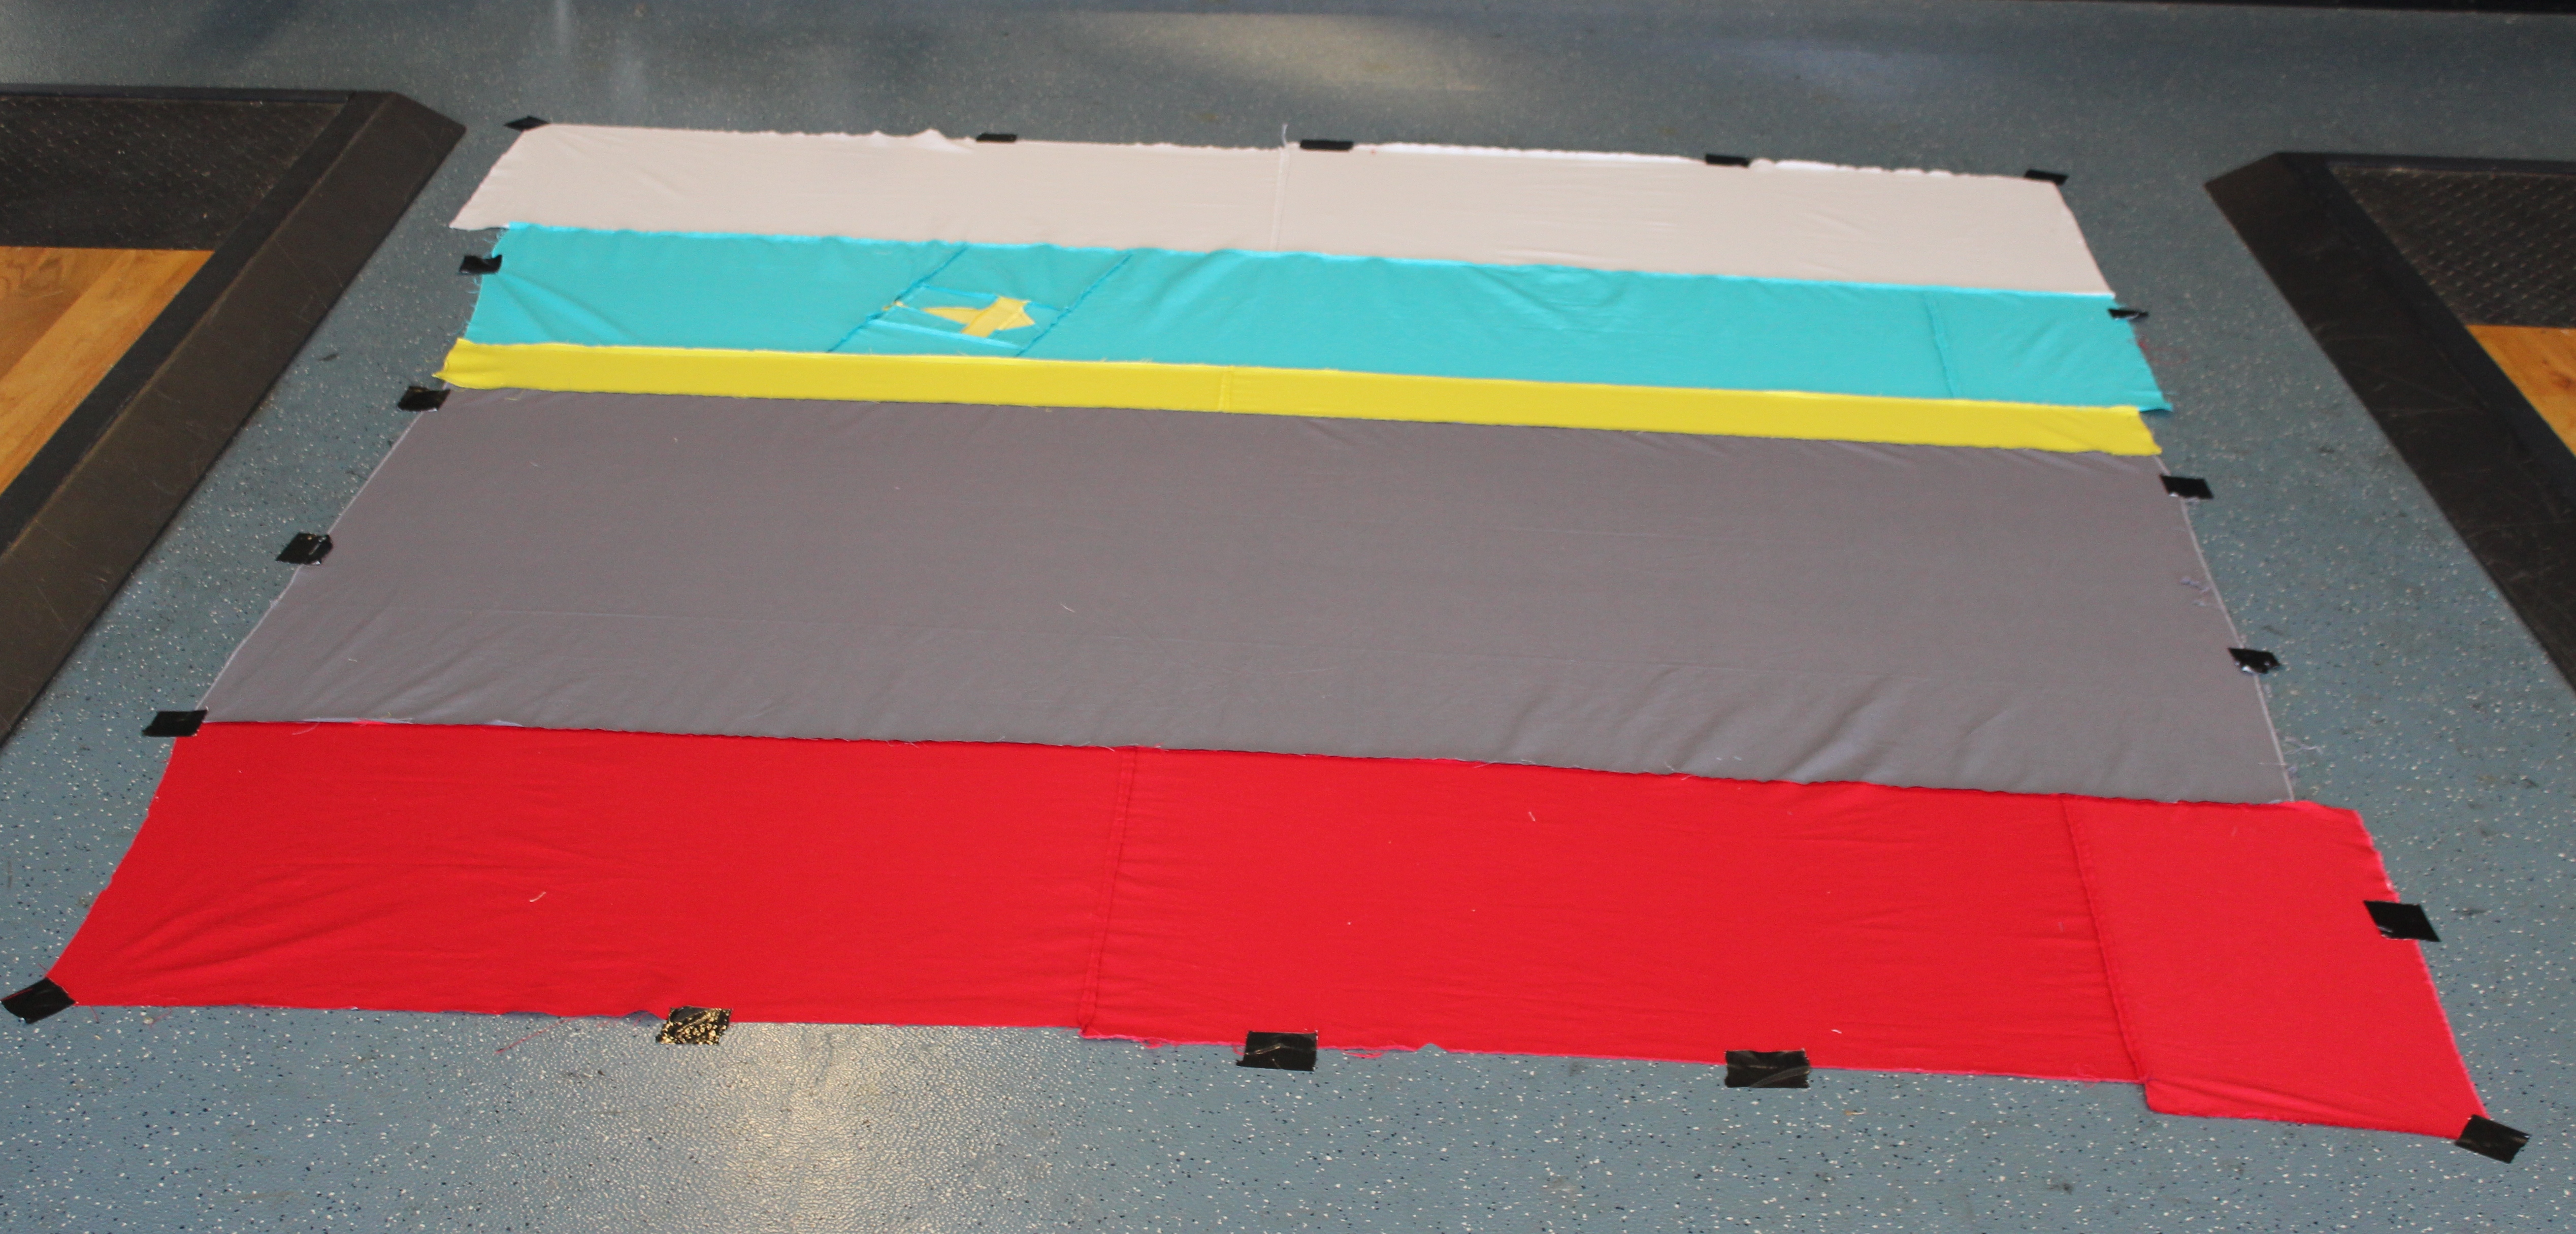
The back of the quilt, attached to the floor with duct tape.
Then the batting.

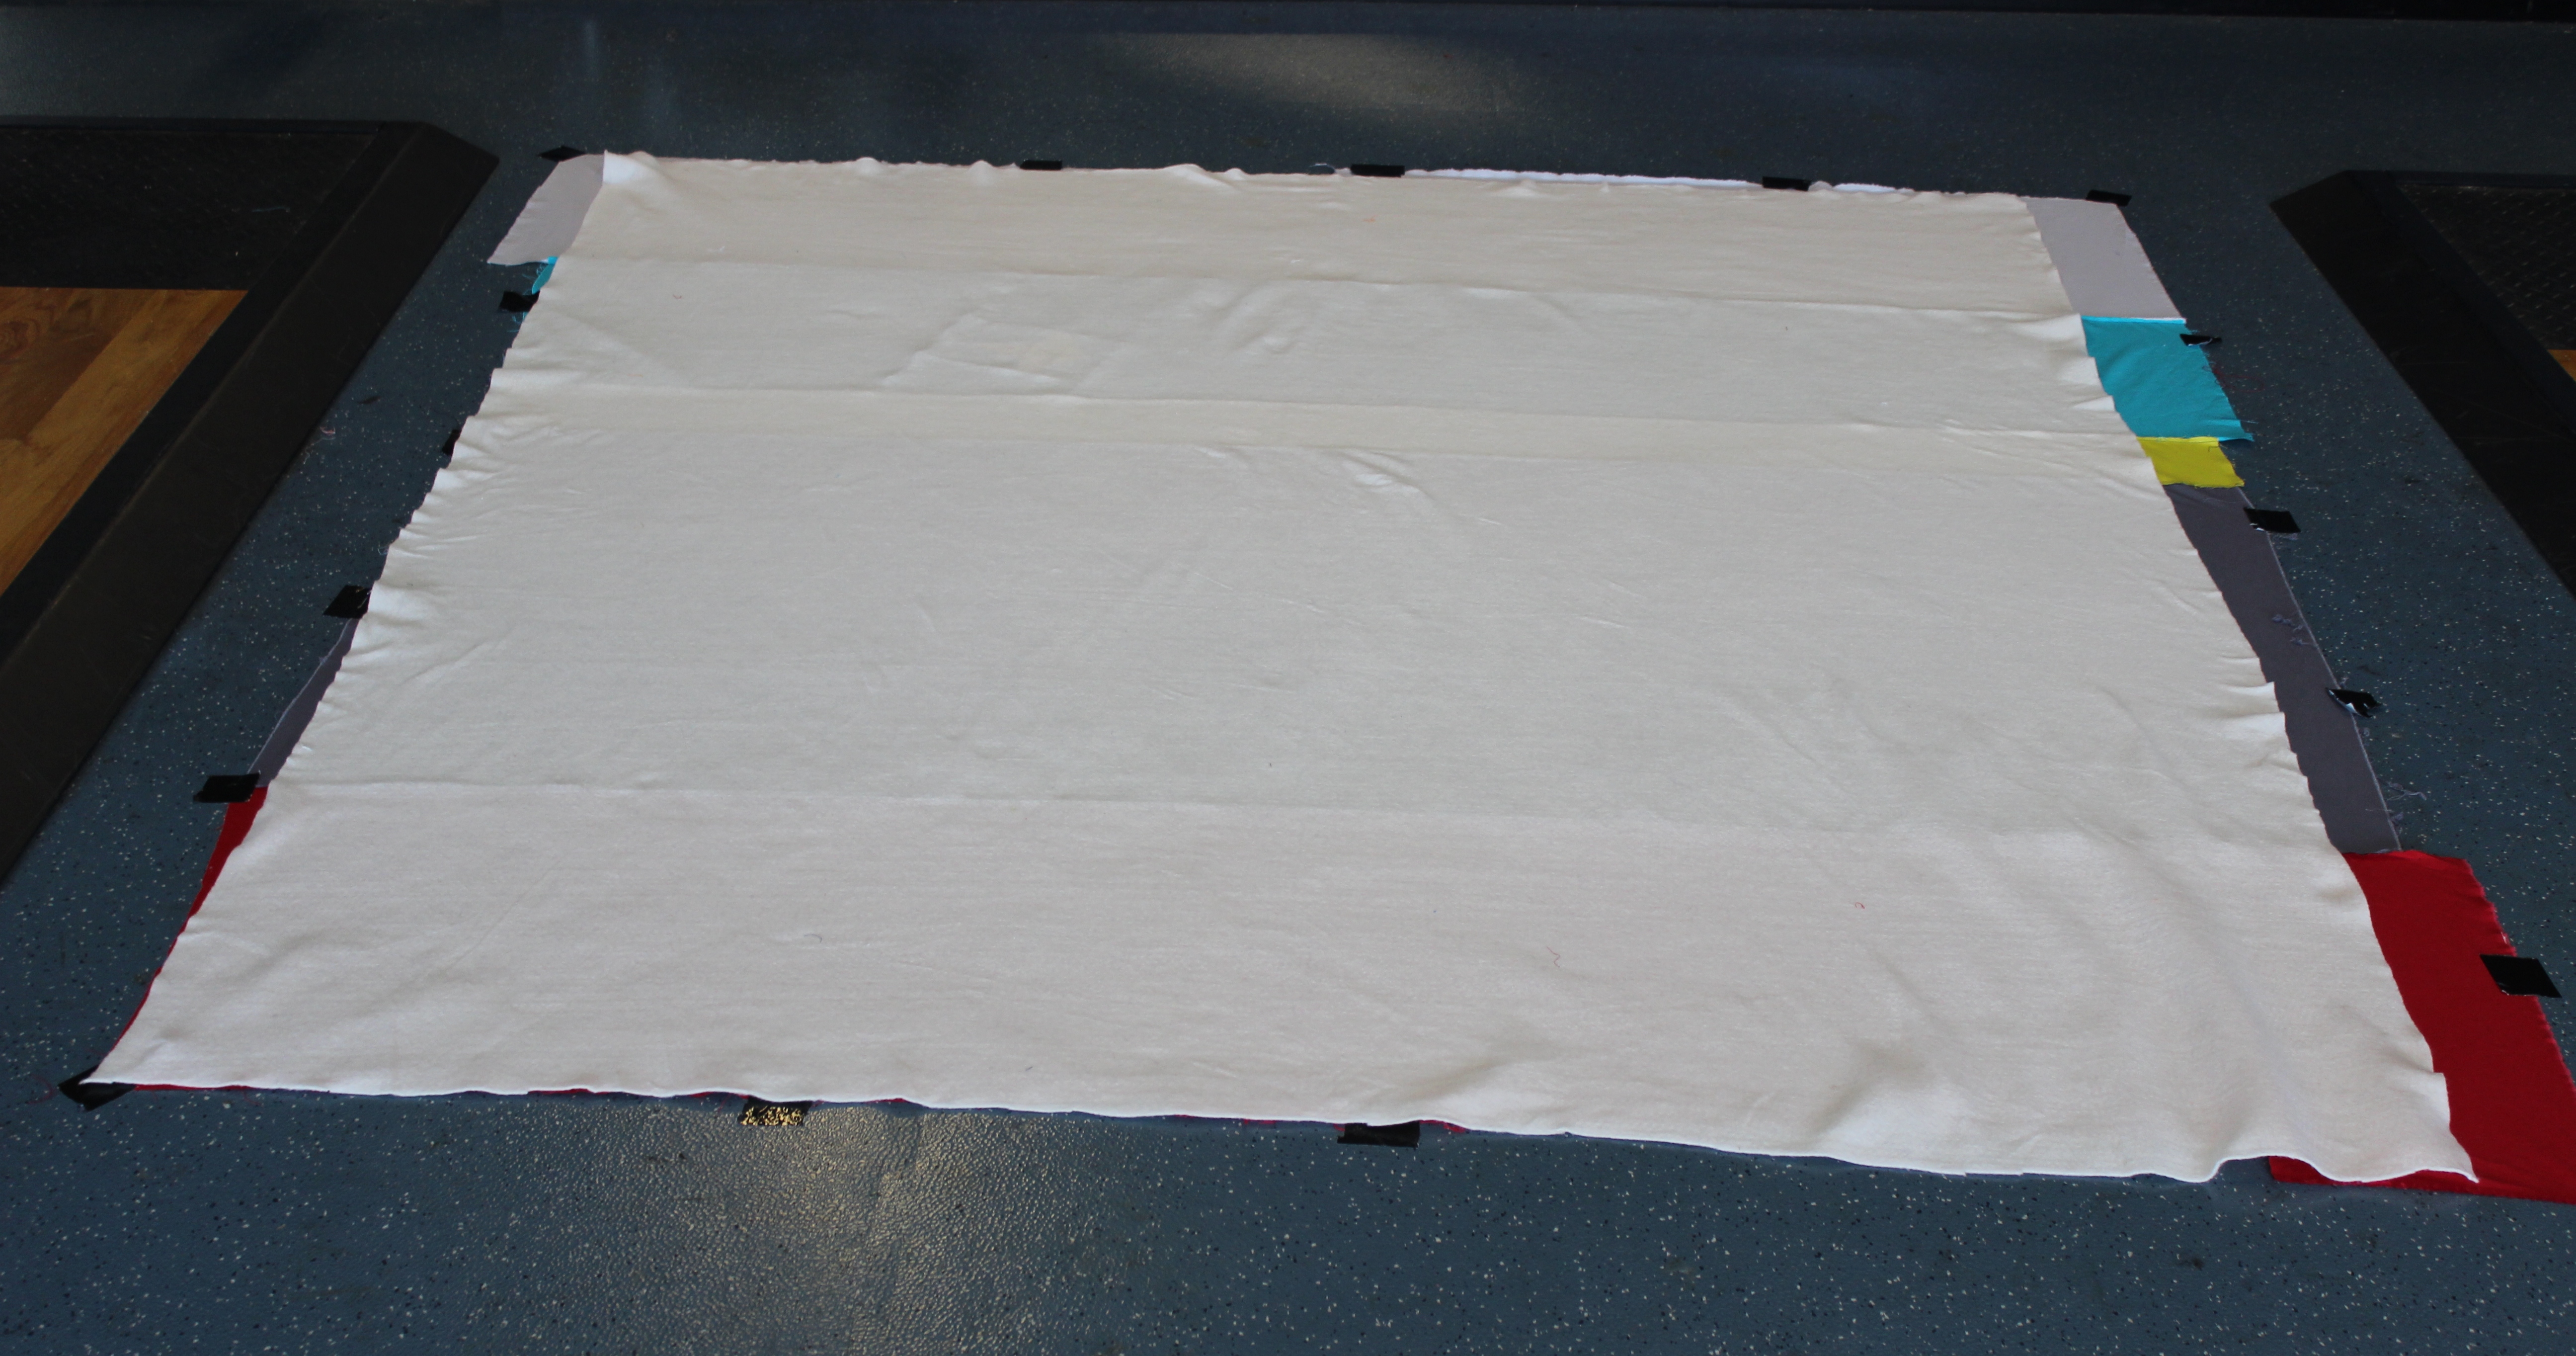
The top.

I pinned just the middle third of the quilt.

I pulled the top and back away from the batting and cut the batting in a wavy line with scissors — about 2 inches from the safety pins.

I marked the right top and left top so I can put it back the right way.
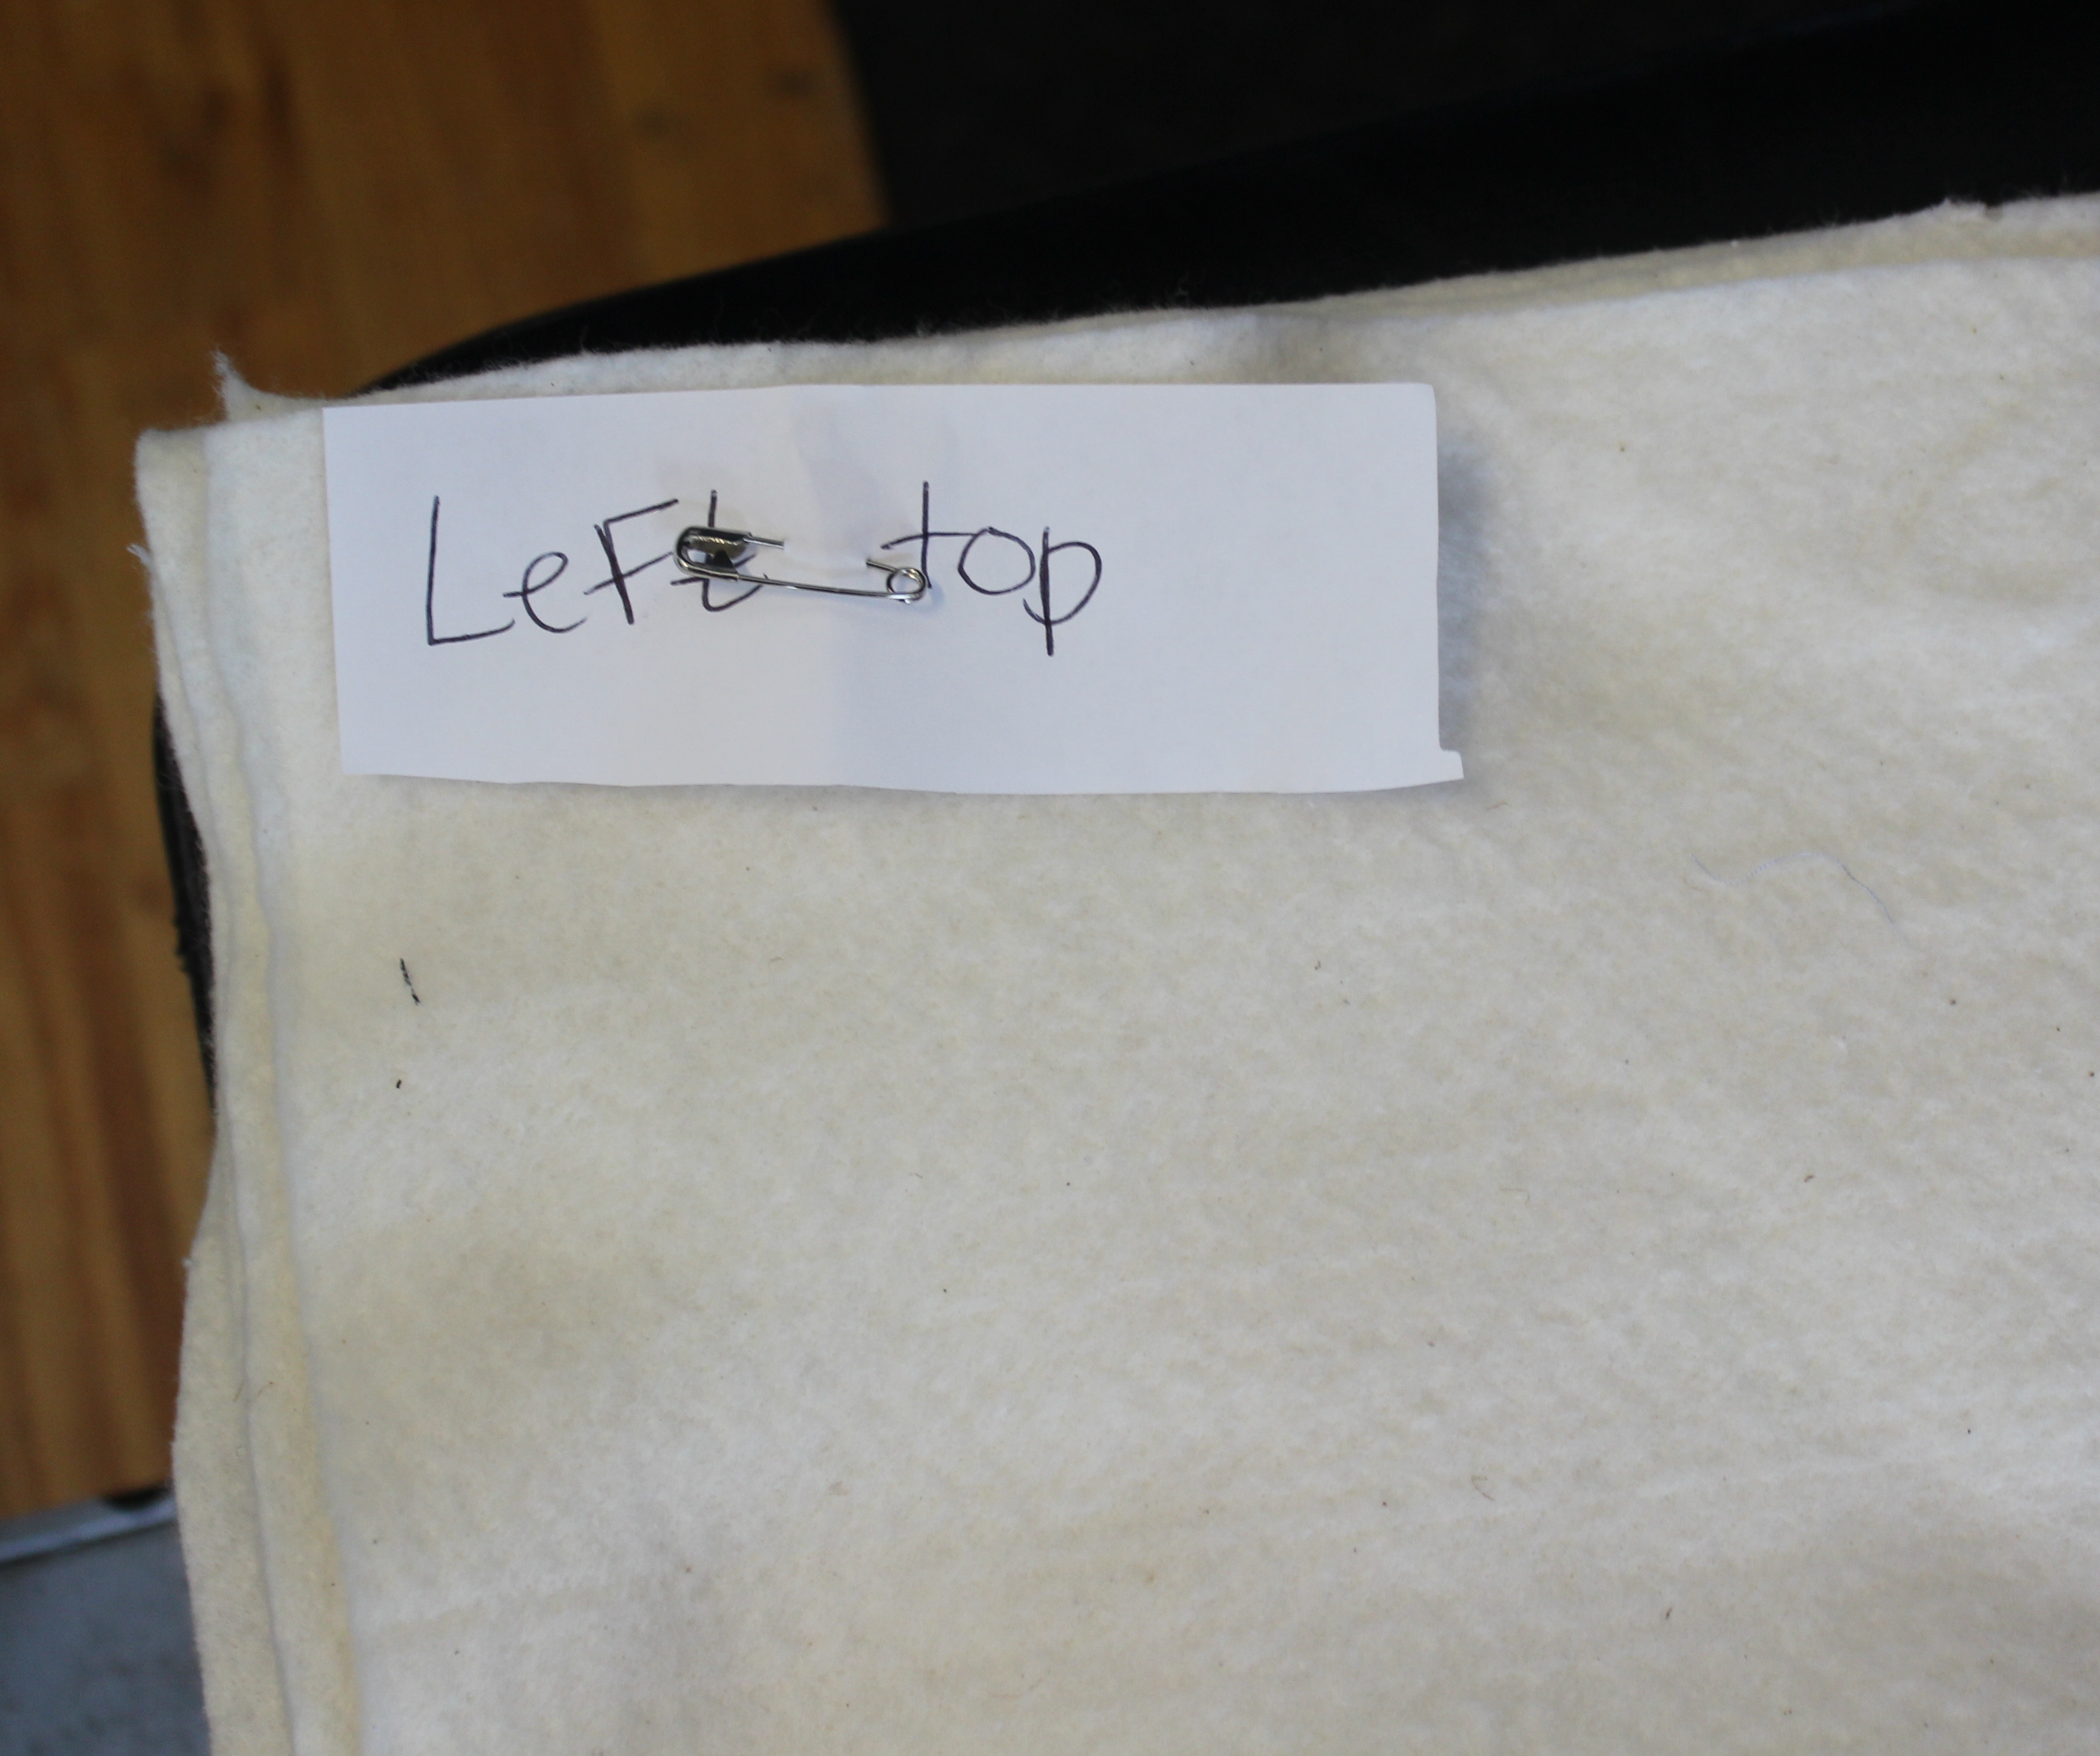

I rolled it up. It’s ready for quilting.