Mini Charm Challenge

The challenge from Quilting Adventures quilt shop was to take a pack of mini charms and make something. The mini charm pack included only batiks:

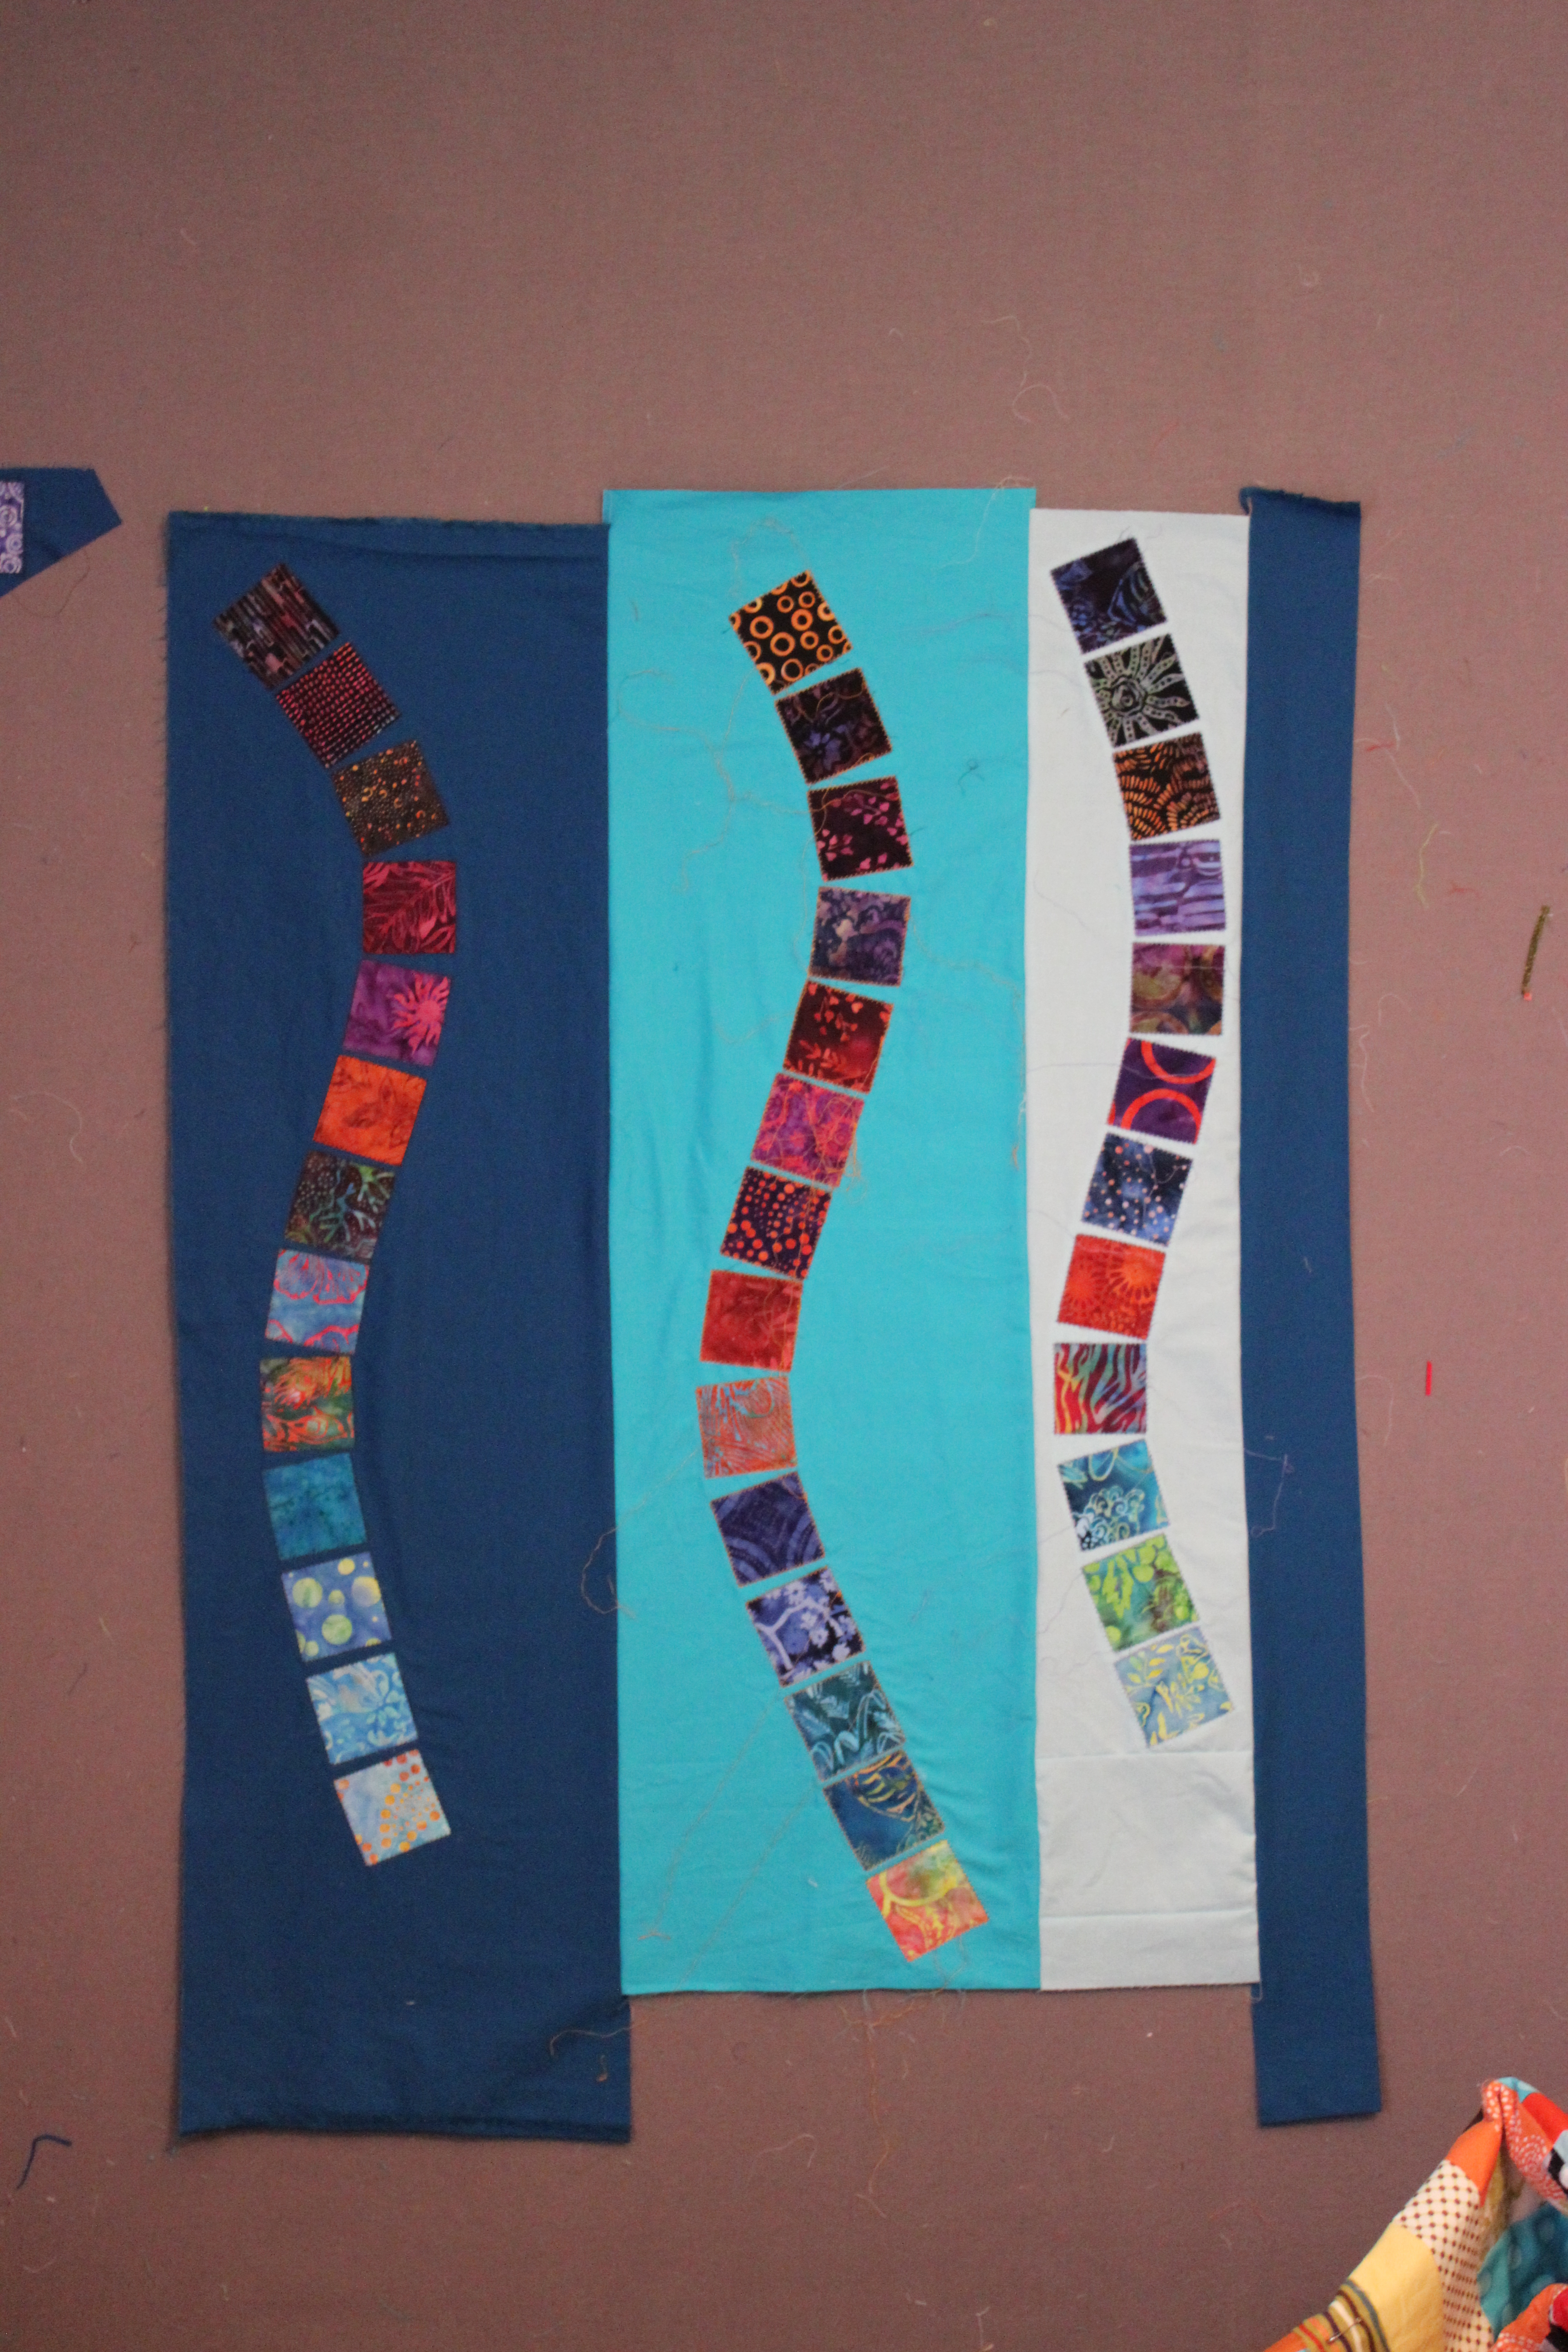
I laid out the mini charms, and they had a water/ocean feel. One looked like a fish. I then attached them to some blue fabric in a wavy manner, using my machine’s feather stitch to applique them to three different strips of fabric:

Wavy batiks

After staring at it for awhile, I realized I would never hang this on my wall or use it as a quilt. Plan B emerged. I’d make a small pocketbook. I used instructions from May Chappell blog. I liked the finished pocketbook, and I took it to the Atlantic Ocean, Chincoteague Island, Virginia this past weekend:

Mini Charm bag

(The fish inspiration is located on the left side in the middle.) I like how the mini charms add interest with the piping across the front of the bag:

mini charm bag closeup

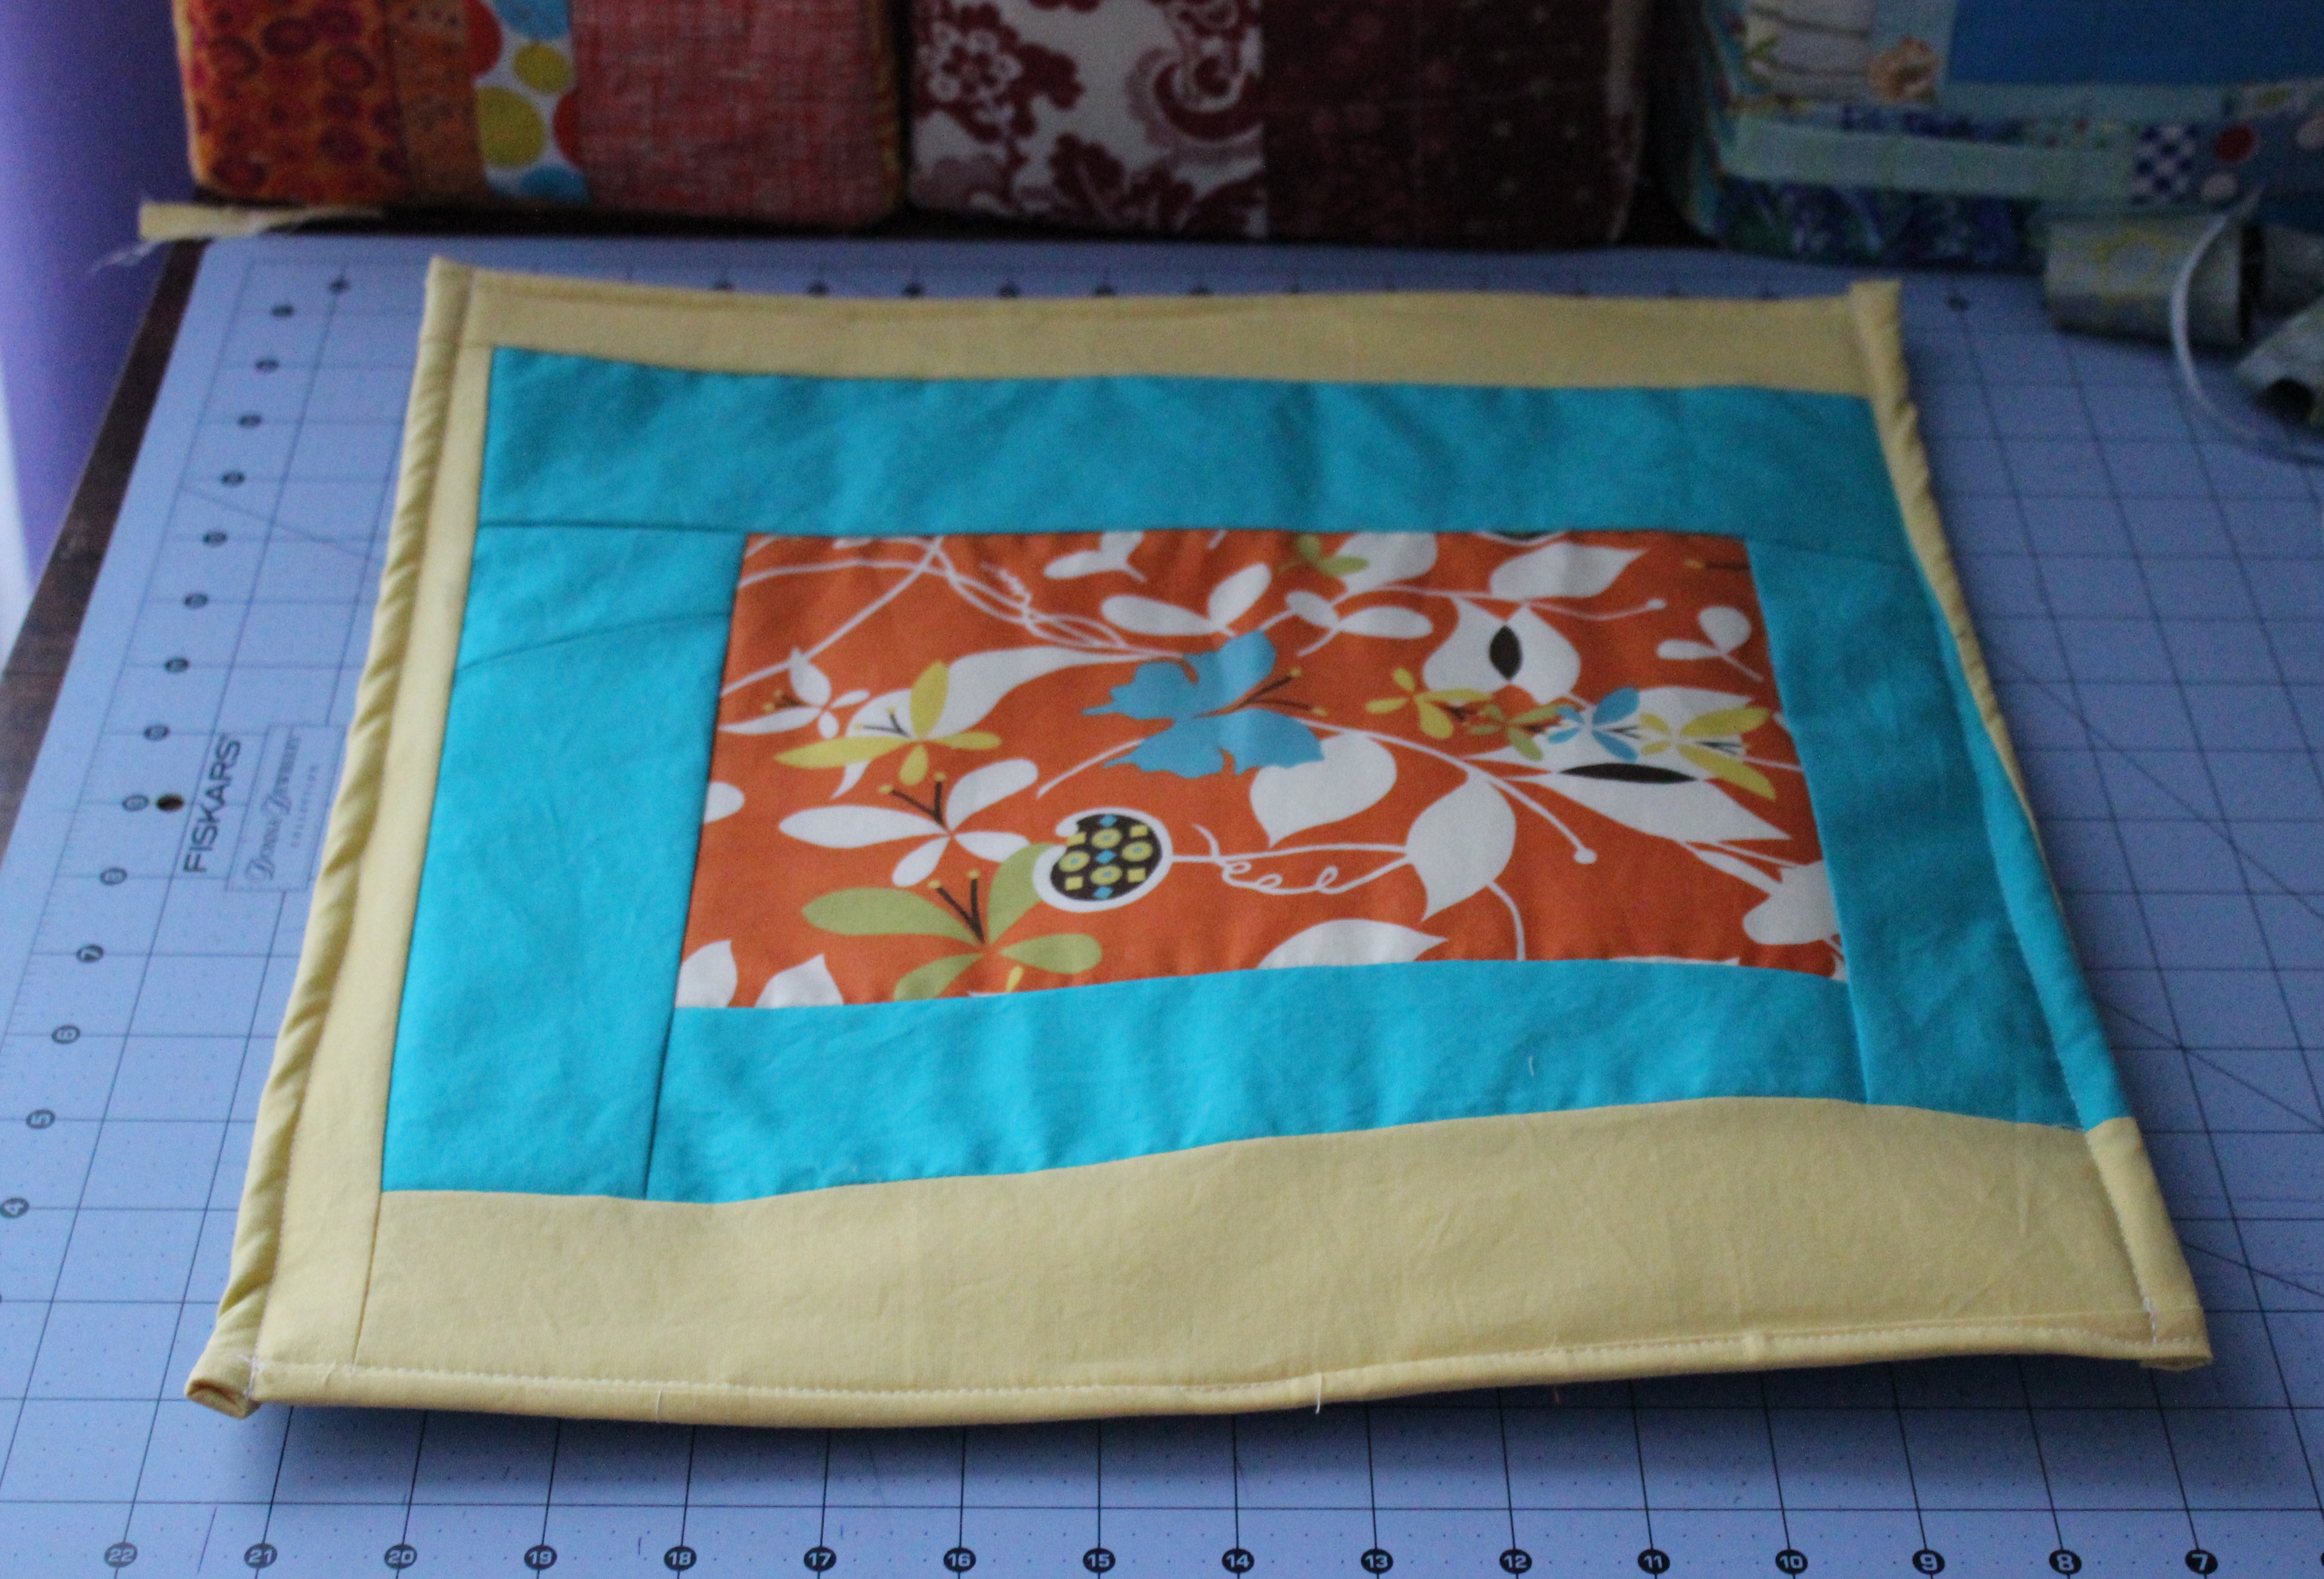
I added a small pocket inside the bag. The instructions did not include a strap, but I wanted one. I used the rest of the piping for that. I used embroidery thread to make the zipper pull/tassel.

mini charm bag inside       mini charm bag other side

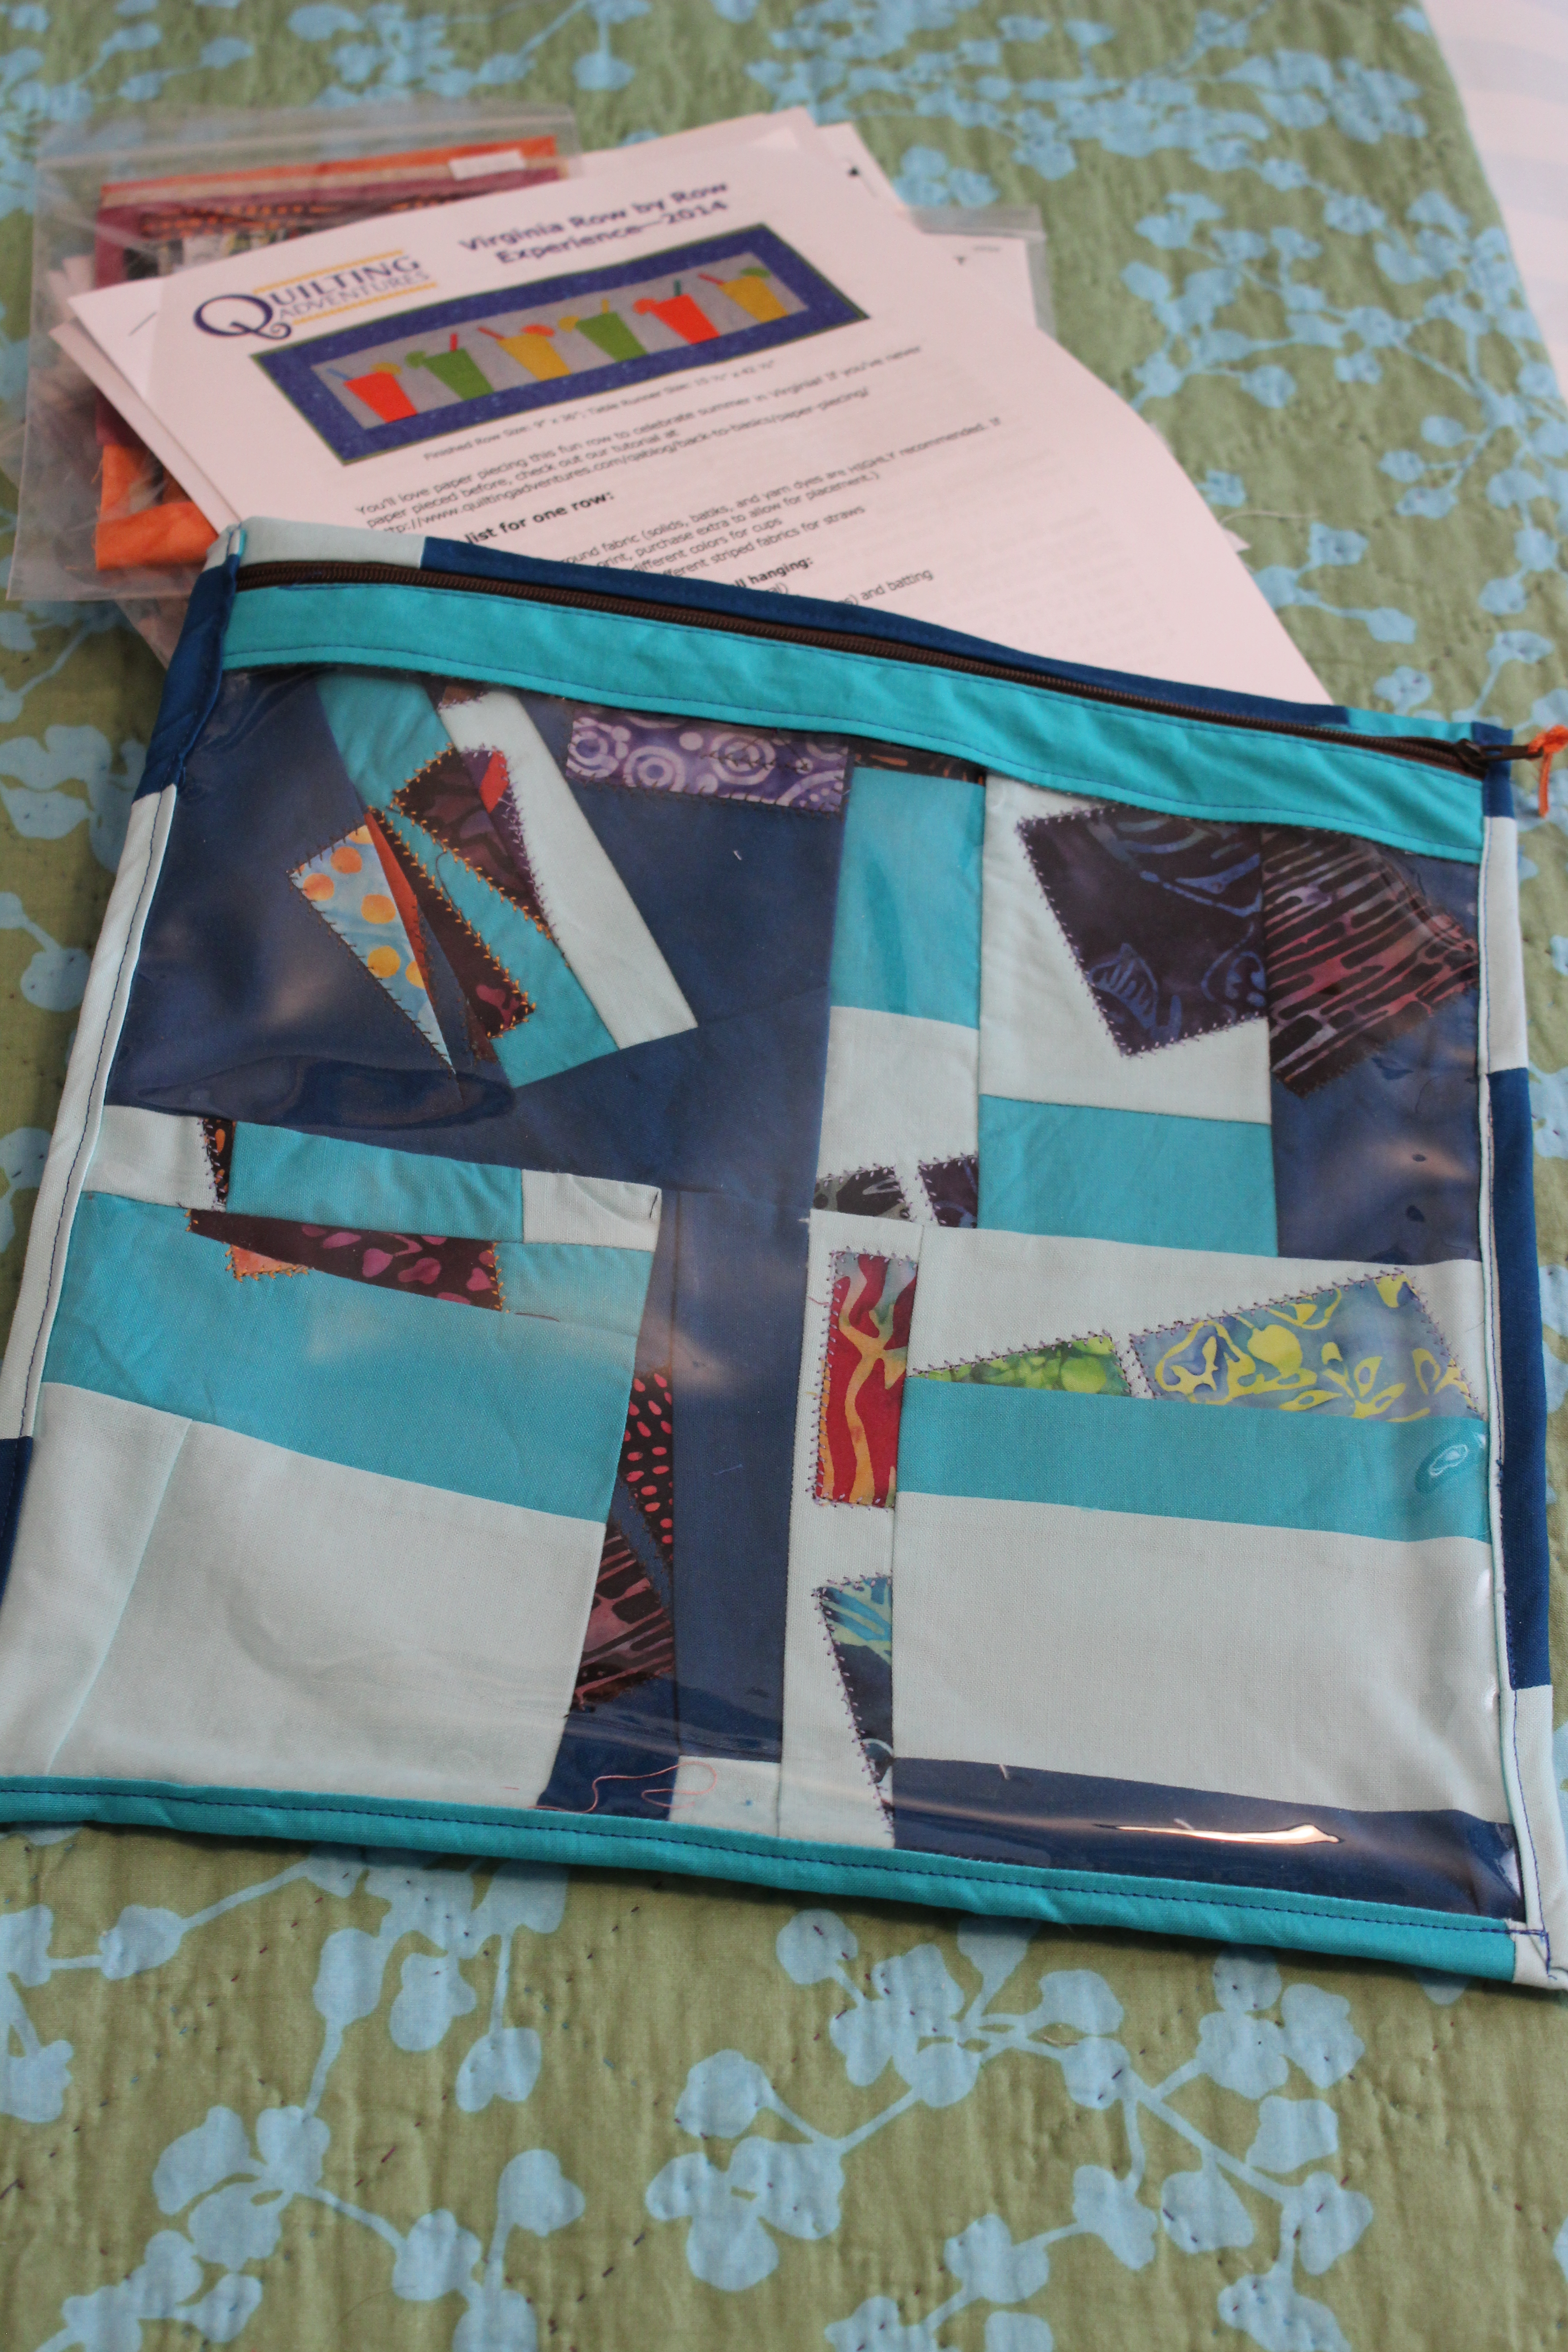
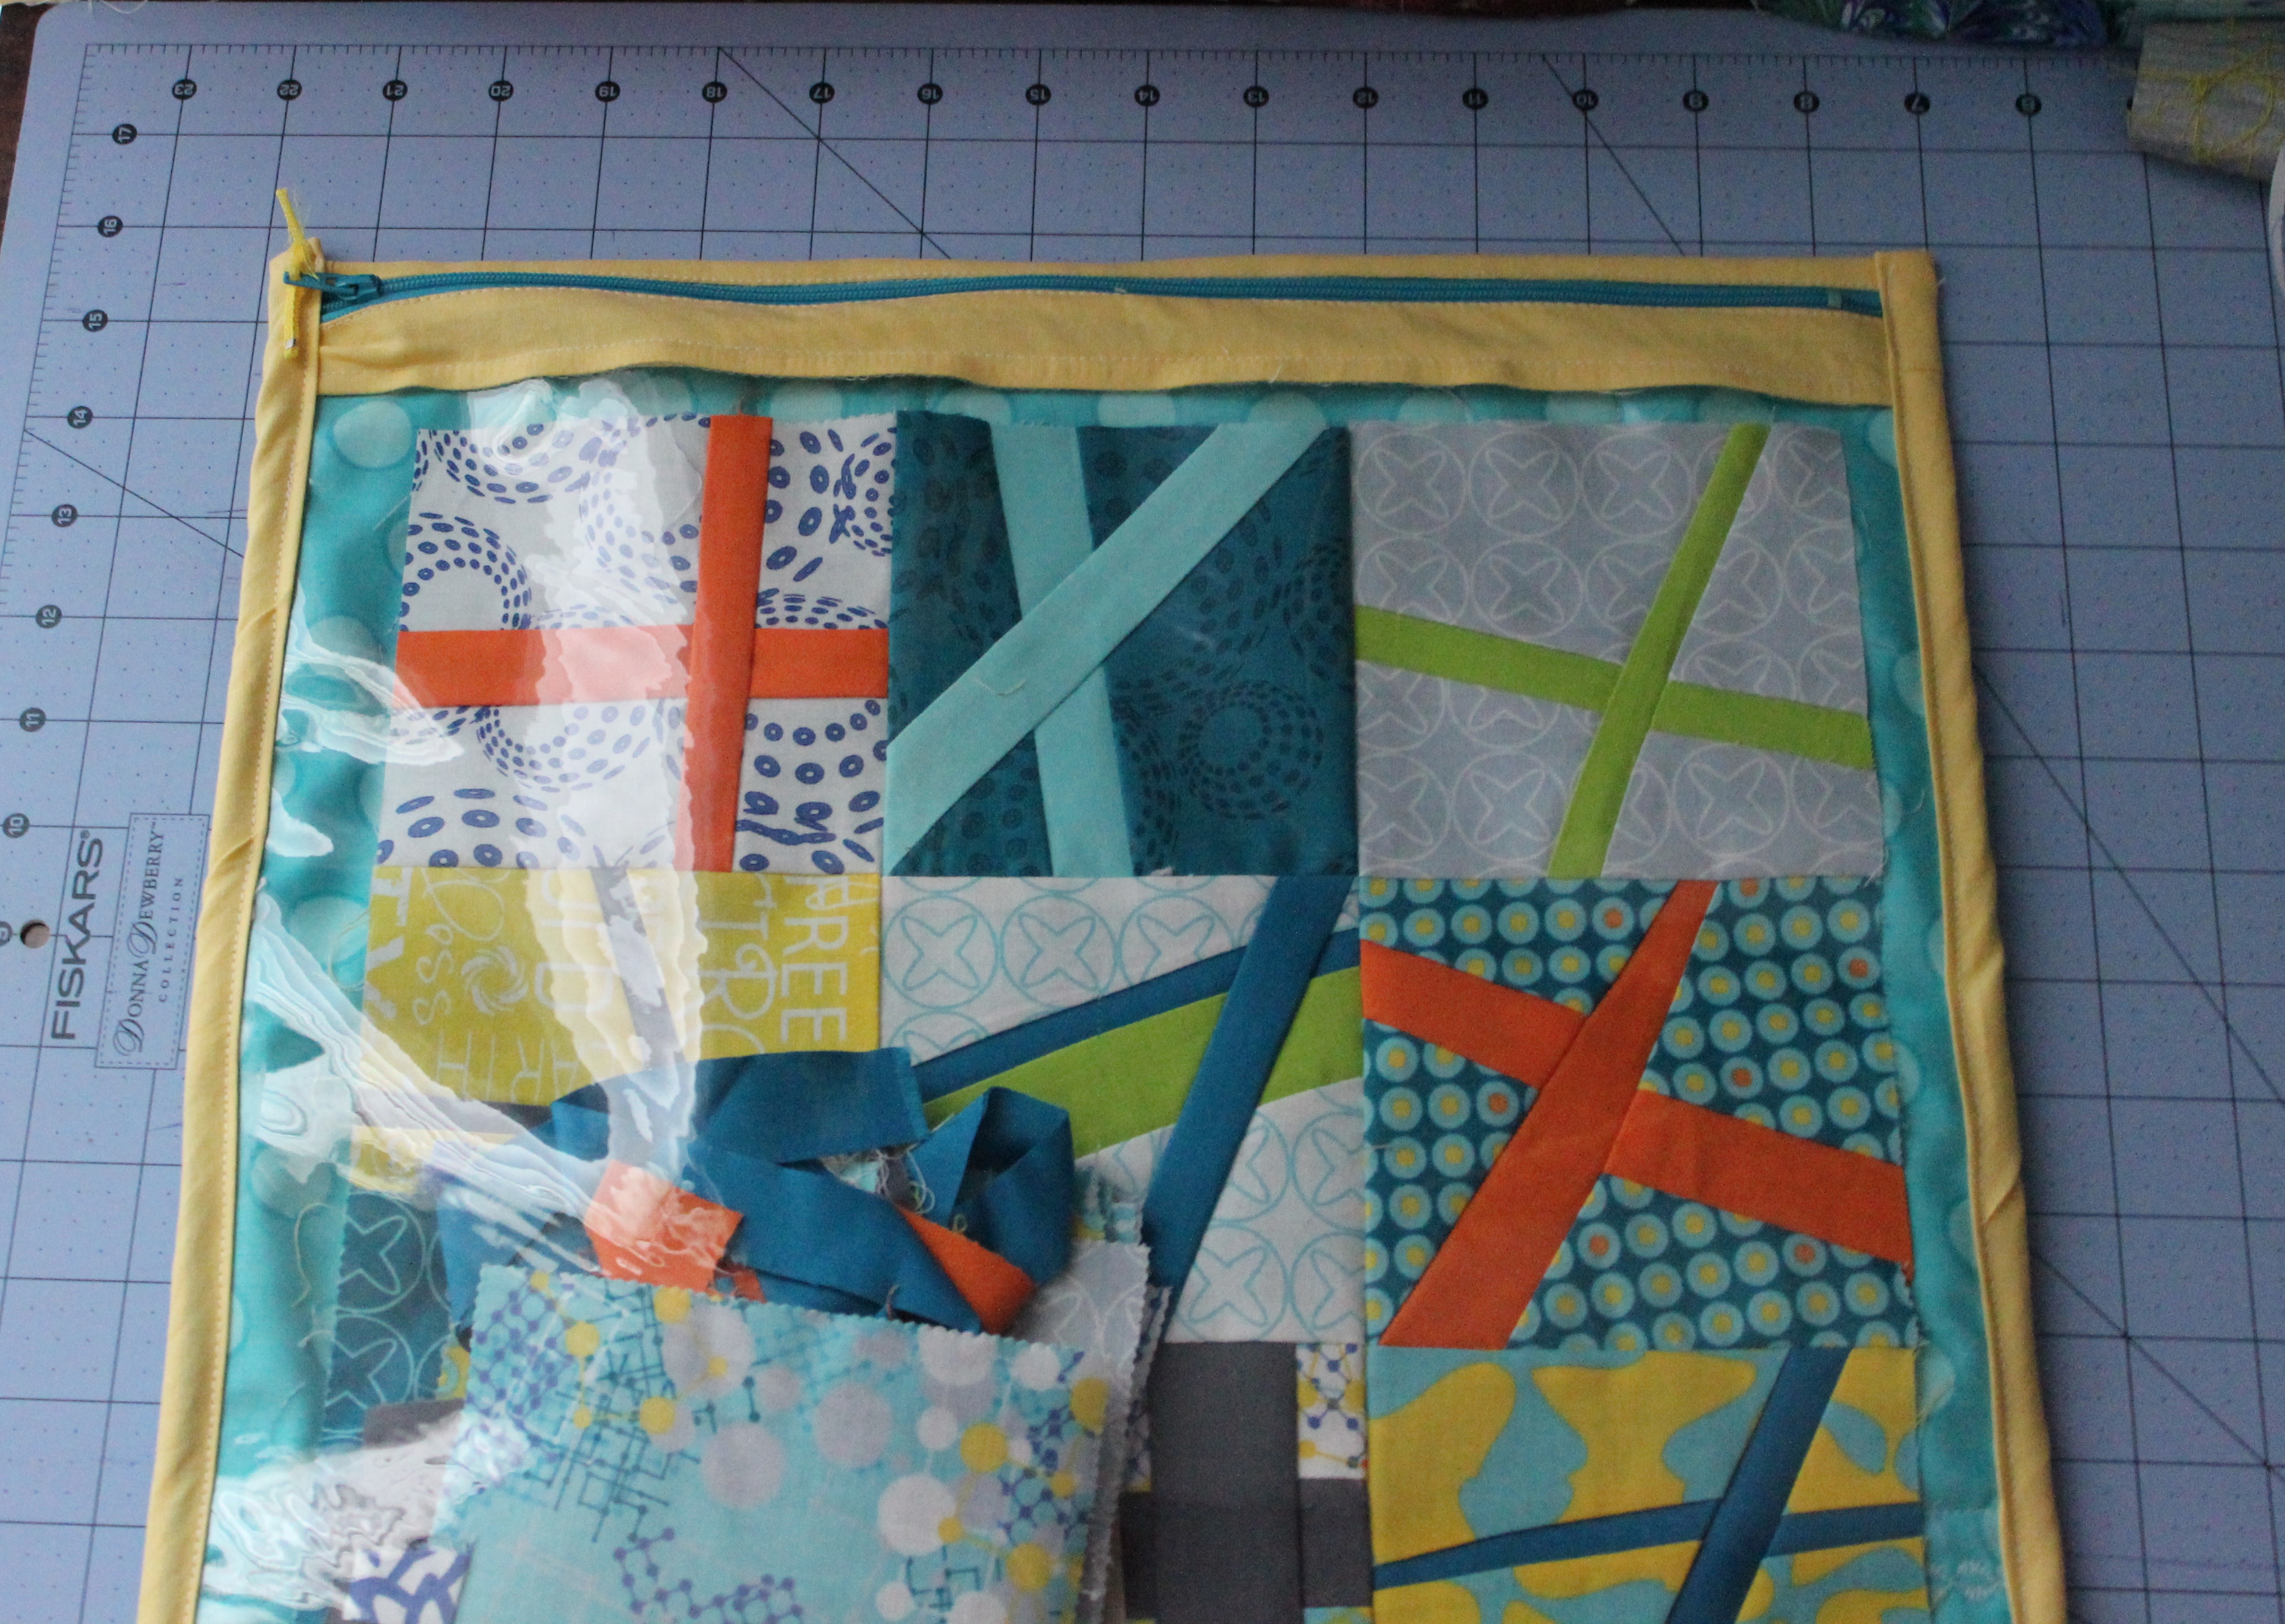
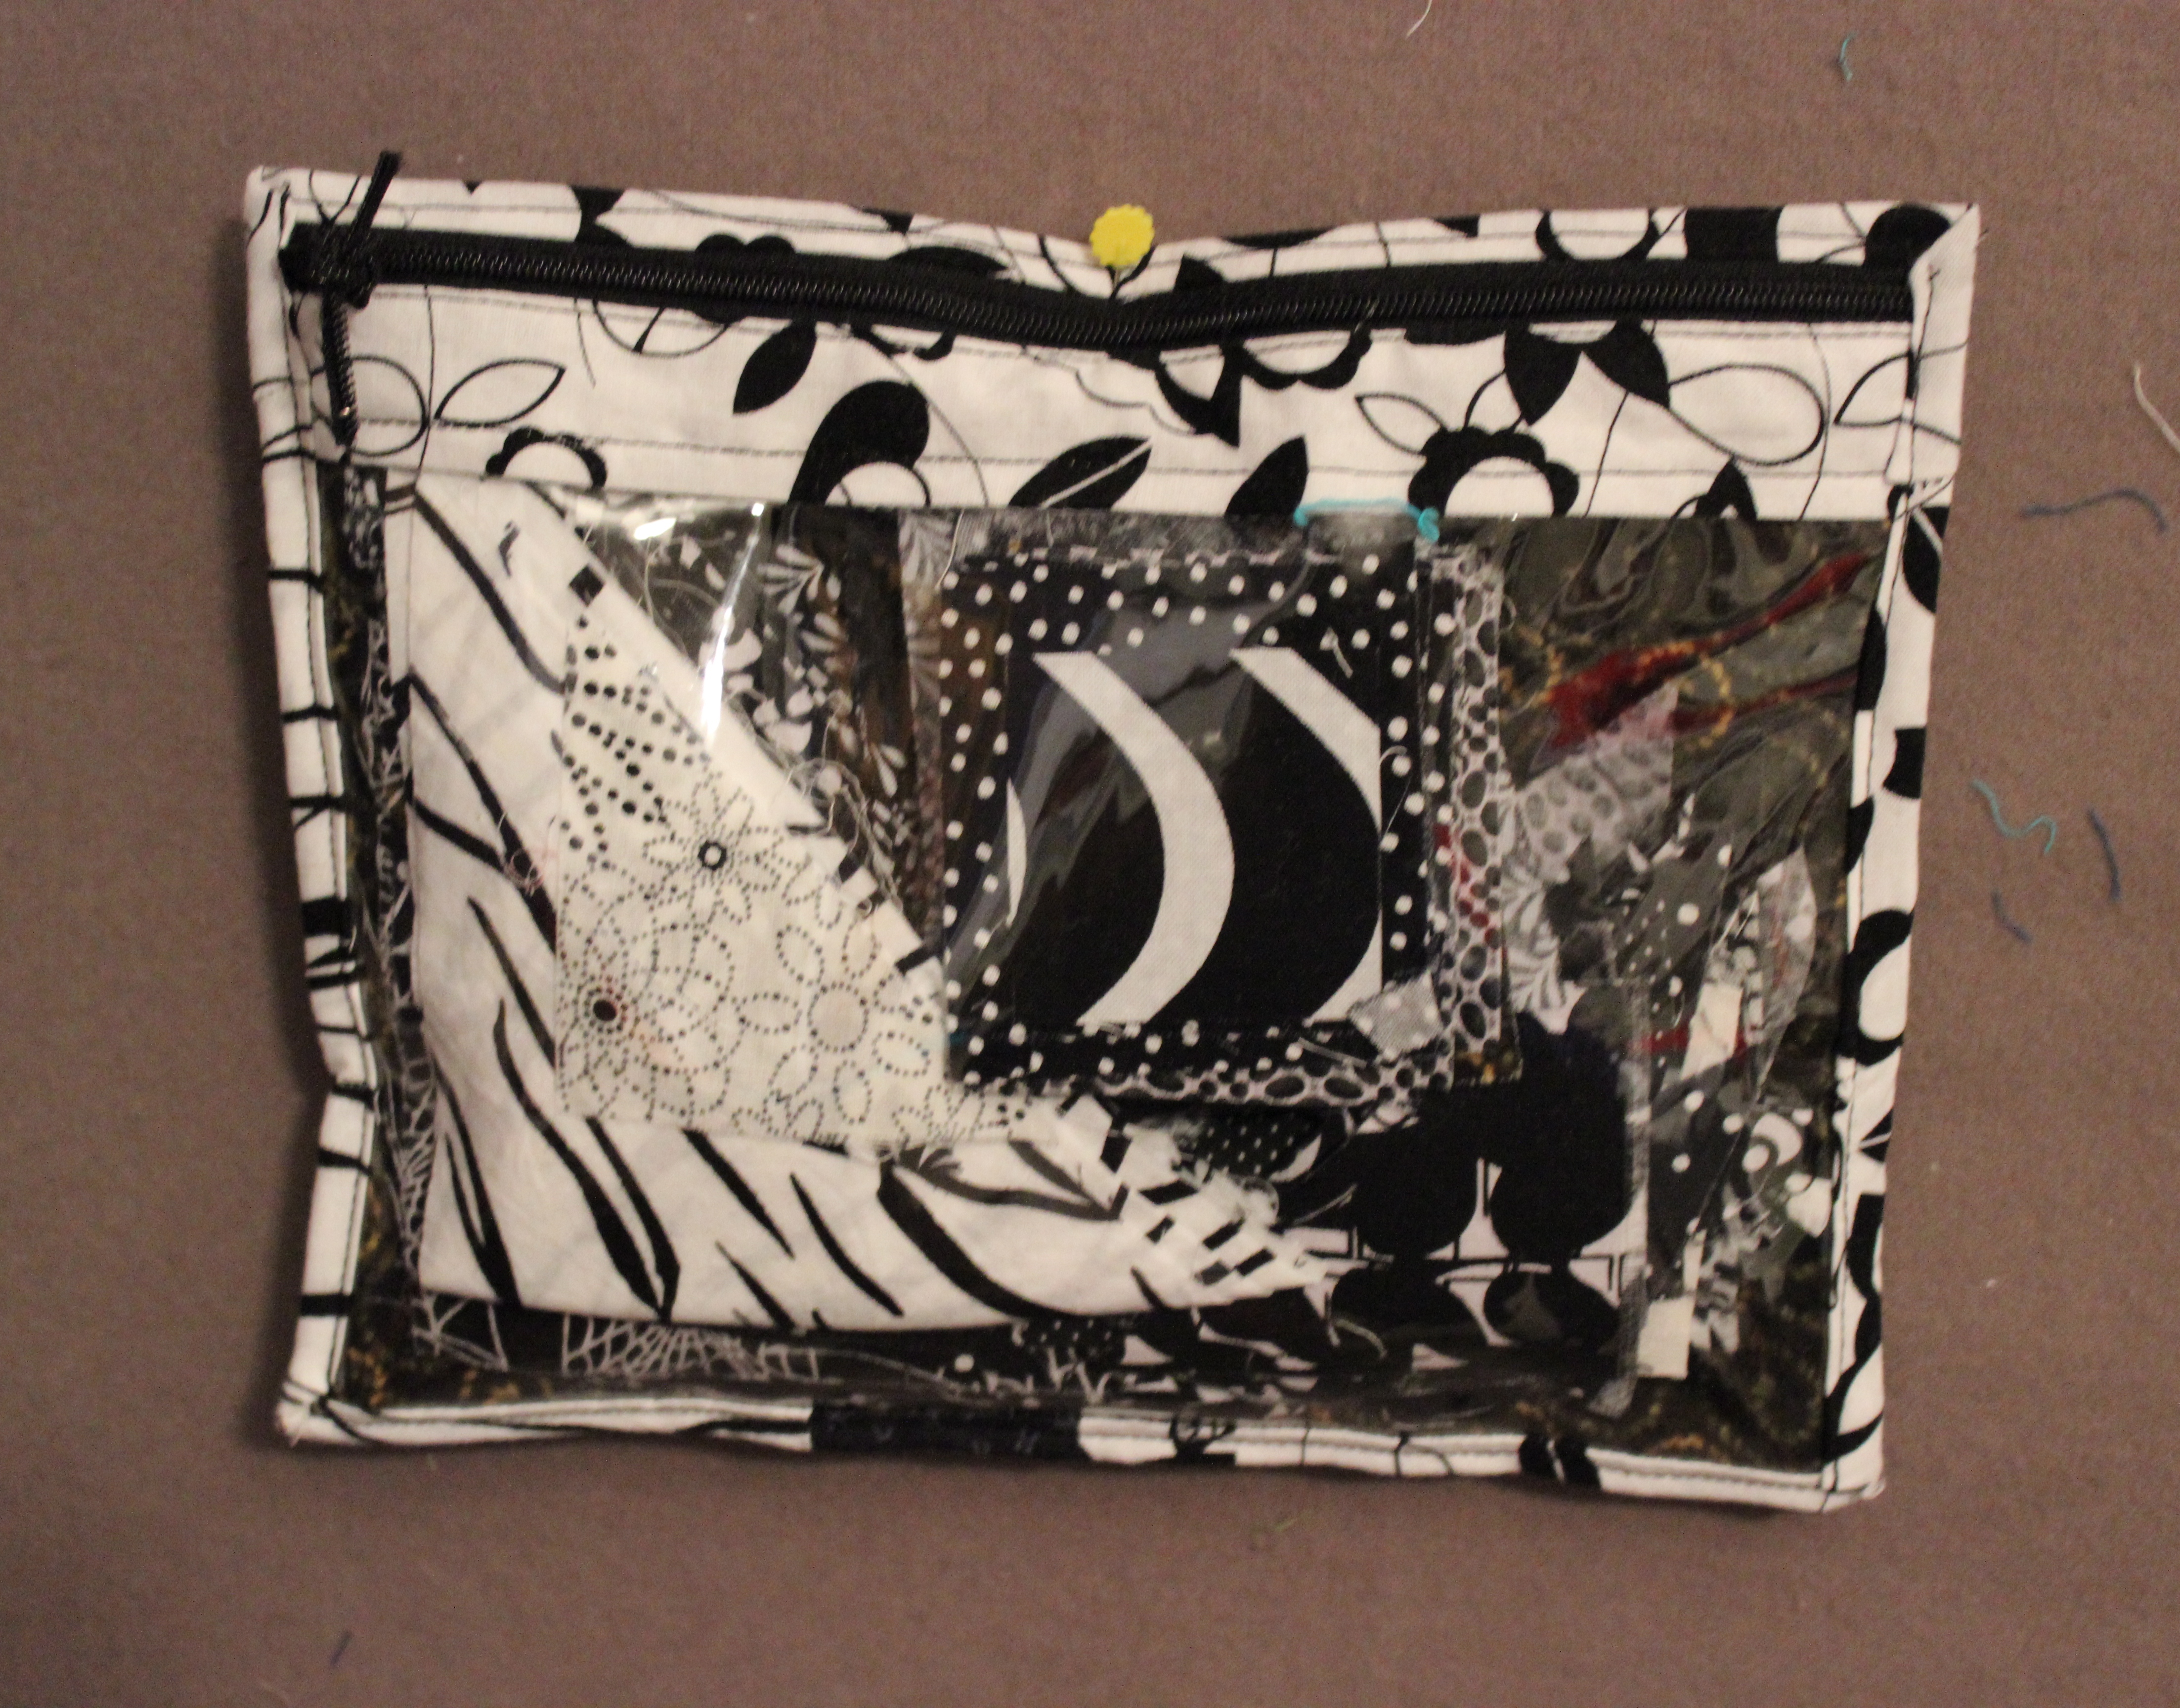
There were a few snippets of mini charms left and I created a Project Pouch to store my Row by Row Experiences patterns. I’m planning some projects from my recent shop hop excursions. By the way, one of the shops, Quilts by the Sea, was located on Chincoteague Island, and this gave us a good excuse to visit there for a weekend getaway. More later on my Row by Row Experiences.

project pouch

Two Machine Quilting Projects

I have two Machine Quilting Projects in various stages of completion.

AERIAL QUILT:

I previously posted about my first attempt at low-fat quilting, and I’m about one-third of the way completed on the Aerial quilt:

I'm trying to make circles but I'm struggling once the circles start to get bigger.

I’m trying to make circles but I’m struggling once the circles start to get bigger.

A ROBOT FOR HOPE:

In the middle of working on the Aerial quilt, I agreed to make a “boy” quilt for the charity, Margaret’s Hope Chest, a quilt-a-long hosted by Crazy Mom Quilts. The pattern was a rail fence:

I used all scraps. Each strip is 2.5" by 6.5".

I used all scraps. Each strip is 2.5″ by 6.5″.

I had some “robot” pieces left over from another “boy” quilt I made.

robot print

I was inspired to create a “robot” for the back and to use a “circuit board” for the quilting:

rail fence circuit board

I used orange thread in the bobbin.

I used orange thread in the bobbin.

I really like how this looks.

I really like how this looks.

I’m about one-quarter through the quilt with the “circuit boards.” It needs to be completed and delivered by August 1. Calling technical support?


UPDATE:

It’s a wrap. I finished the quilt and shipped it. The final product was one of my favorites:

IMG_3220

IMG_3237

IMG_3250


Bagettes and Project Pouches.

Using Bridget’s Bagettes’ pattern by Atkinson Designs, purchased at Quilting Adventures, I made this bagette to carry supplies to my Liberated Quilting Group, which I attend at a different quilt shop, Blue Crab Quilt Co.

IMG_2888

The back fabric wraps around to make the front binding.

The back fabric wraps around to make the front binding.

I couldn’t stop there. I bought a yard of vinyl ($5.50 a yard) and some more zippers. I made a Project Pouch to store my improv blocks and “parts” for the Liberated Quilting Group:

I'm using a charm pack called Sphere. There is one completed block in the pouch.

I’m using a charm pack called Sphere. There is one completed block in the pouch.

The back was made with scraps.

The back was made with scraps.

I had an idea for more storage — pouches in every color for my small scraps:

IMG_3002 IMG_3003 IMG_3004 IMG_3005 IMG_3007 IMG_3008 IMG_3009 IMG_3010
I attached them to my design wall with pins:

IMG_2991

I like how they look on the wall –instant art.

WHAT I LEARNED MAKING THESE:

1. Don’t forget to pull the zipper into the middle before you cut off the ends. I did this twice.
2. You don’t need a walking foot but the seams might be a little wonky if you don’t.
3. I didn’t have fusible woven interfacing and used two layers of batting instead. This worked fine.