Welcome to the next stop on the 2015 New Quilt Bloggers Blog Hop
![sewcial-swarm-outline_zpsiykzozev[1]](https://wandadotson.com/wp-content/uploads/2015/06/sewcial-swarm-outline_zpsiykzozev1.png?w=620)
It’s so exciting to be a part of this new quilting family and to get to know you. But first, you get to know me.
THE TEN-SECOND TOUR OF MY LIFE:
On a snowy day in 1965, me . . . two siblings, Alice and Bruce, … Emory & Henry College… newspaper reporter … married my high school sweetheart, Dave, … baby Nora … moving trucks … football football football . . . quilter … law school … lawyer … empty nest . . . blogger … modern quilt guild . . . new quilt bloggers blog hop … designing logos and blog buttons, oh my!.

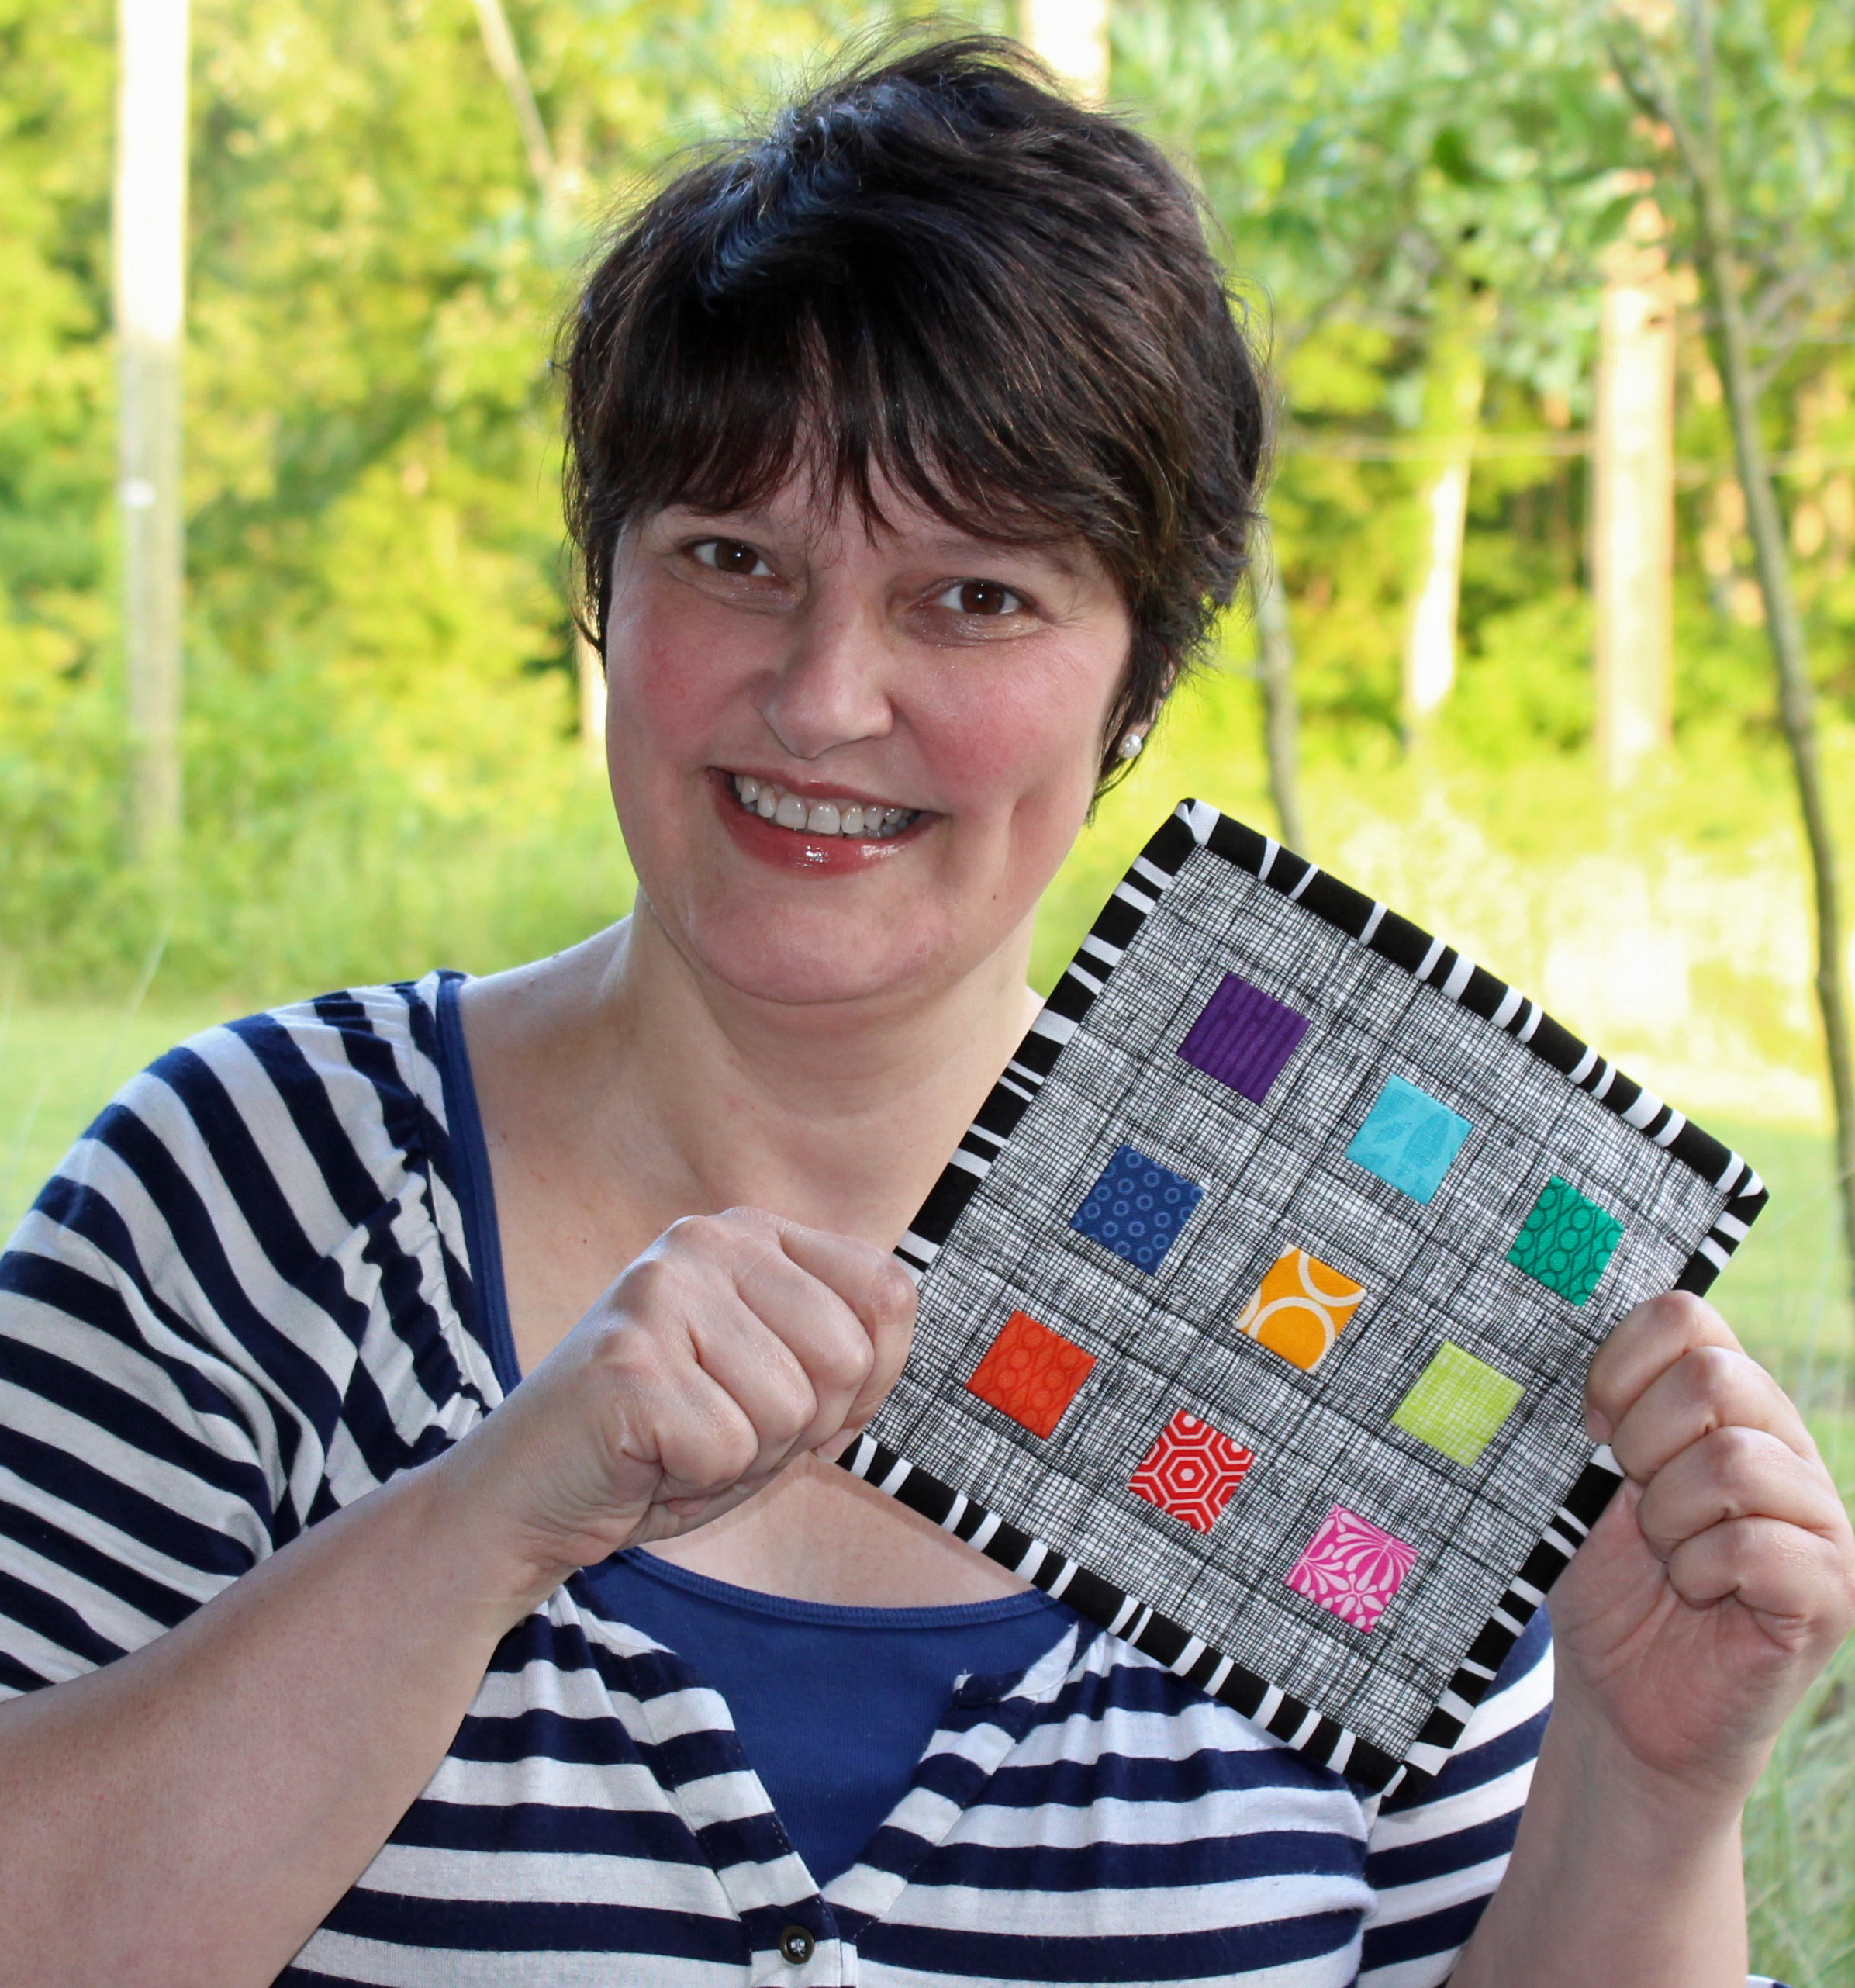
I just received a mug rug from Nina With Freckles as part of a mug rug swap involving individual members of the Modern Quilt Guild.

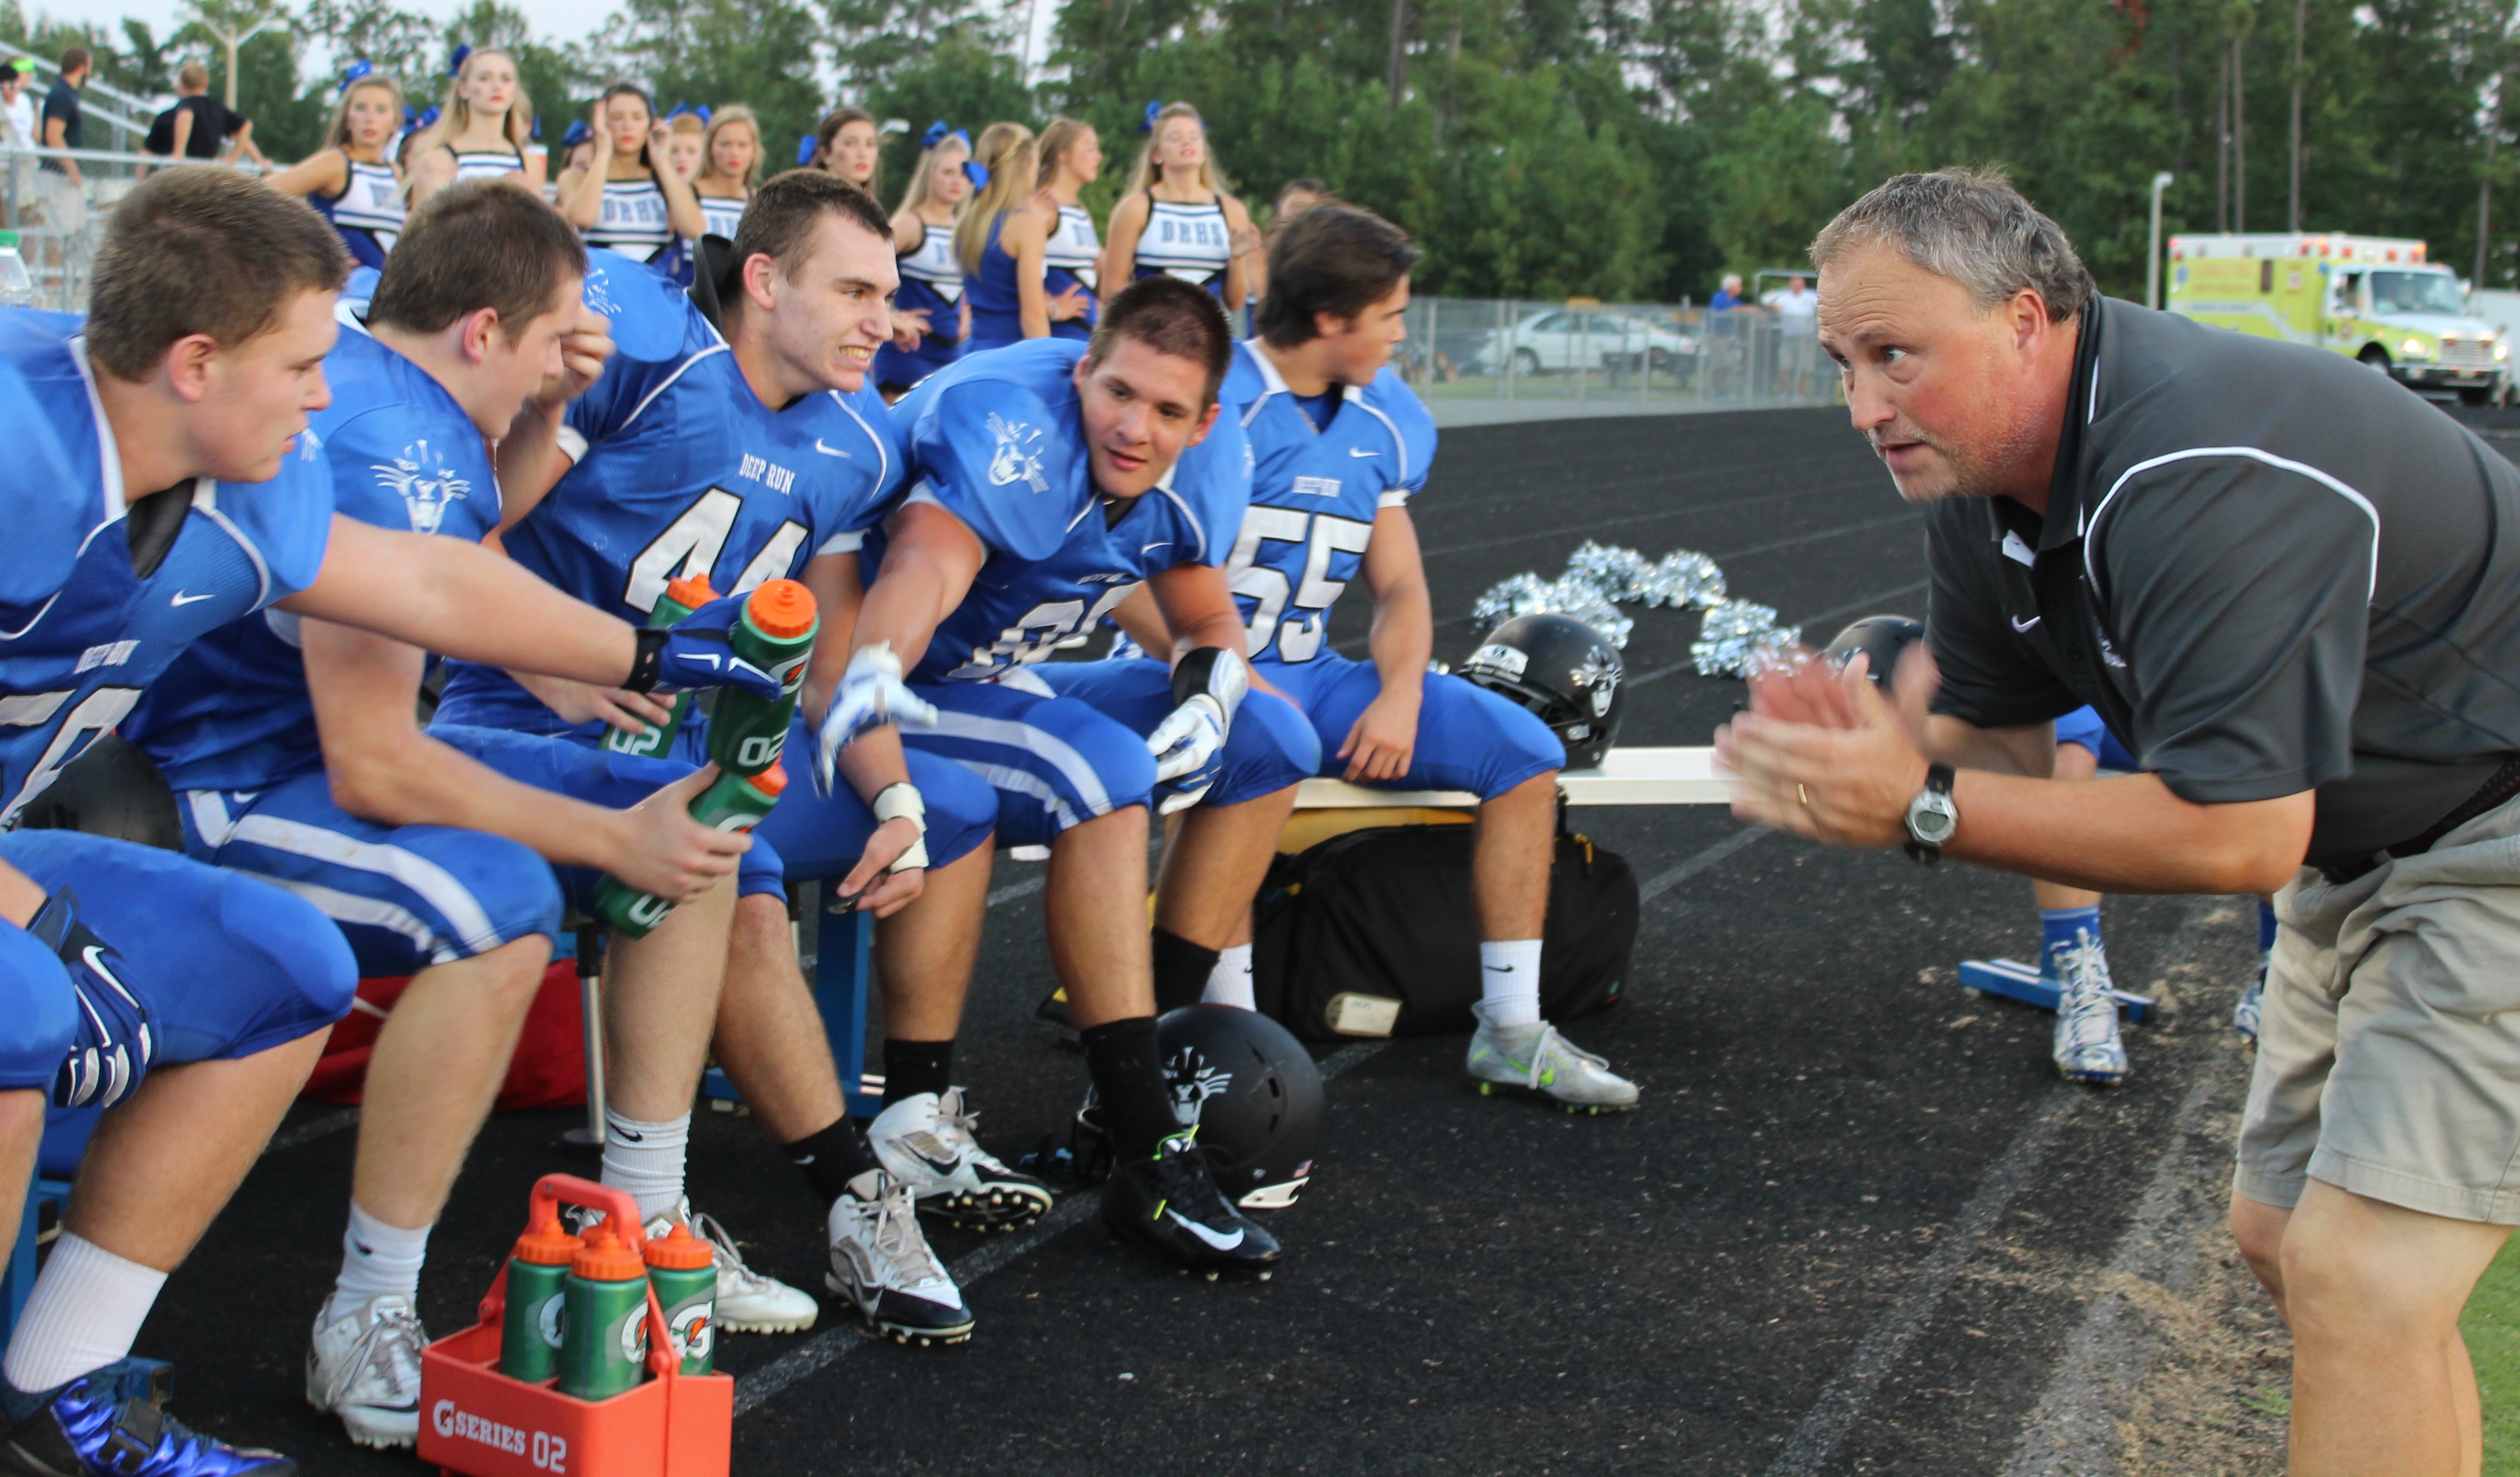
My husband is the head football coach at Deep Run High School.
THE LONG JOURNEY:
When I write about myself, it’s about what I do and less about who I am. Sounds odd since this is “Wanda’s Life Sampler.” I tend to focus on the details of the process, i.e. the craft, and I shy away from revealing anything intimate. There are no secrets on the web. But, if I want to share and interact with this community I must open up. It’s all Rated G, though, but you might find 50 shades of gray (lame quilter’s joke).
NO DIRTY LAUNDRY:
I started this blog because I was looking for a creative outlet. (FYI: menopause is not for girls). I followed a series of worksheets in a self-help book. I made a “vision board” and wrote a “purpose statement”:
My purpose is to feel brave, to be tenacious and curious, to be sure of what I believe, to be persistent, to rest, to be free, to act on a whim, to improvise, to be creative and to design, and to practice what I enjoy.
I enjoyed making the vision board more than I liked pursuing the things on the vision board (except maybe traveling). 
This discovery led me to start a blog. I had no idea what I wanted my blog to be or to say. I knew I wanted to put text and photos on “paper.”
I also had no idea the online quilting community existed. My first post about quilting was on September 4, 2013 and revealed my first leap into modern quilting with a quilt from the book, “Sunday Morning Quilts.” I quickly found the online quilting community and here I am giving you sewing advice.
A SEWING TIP:
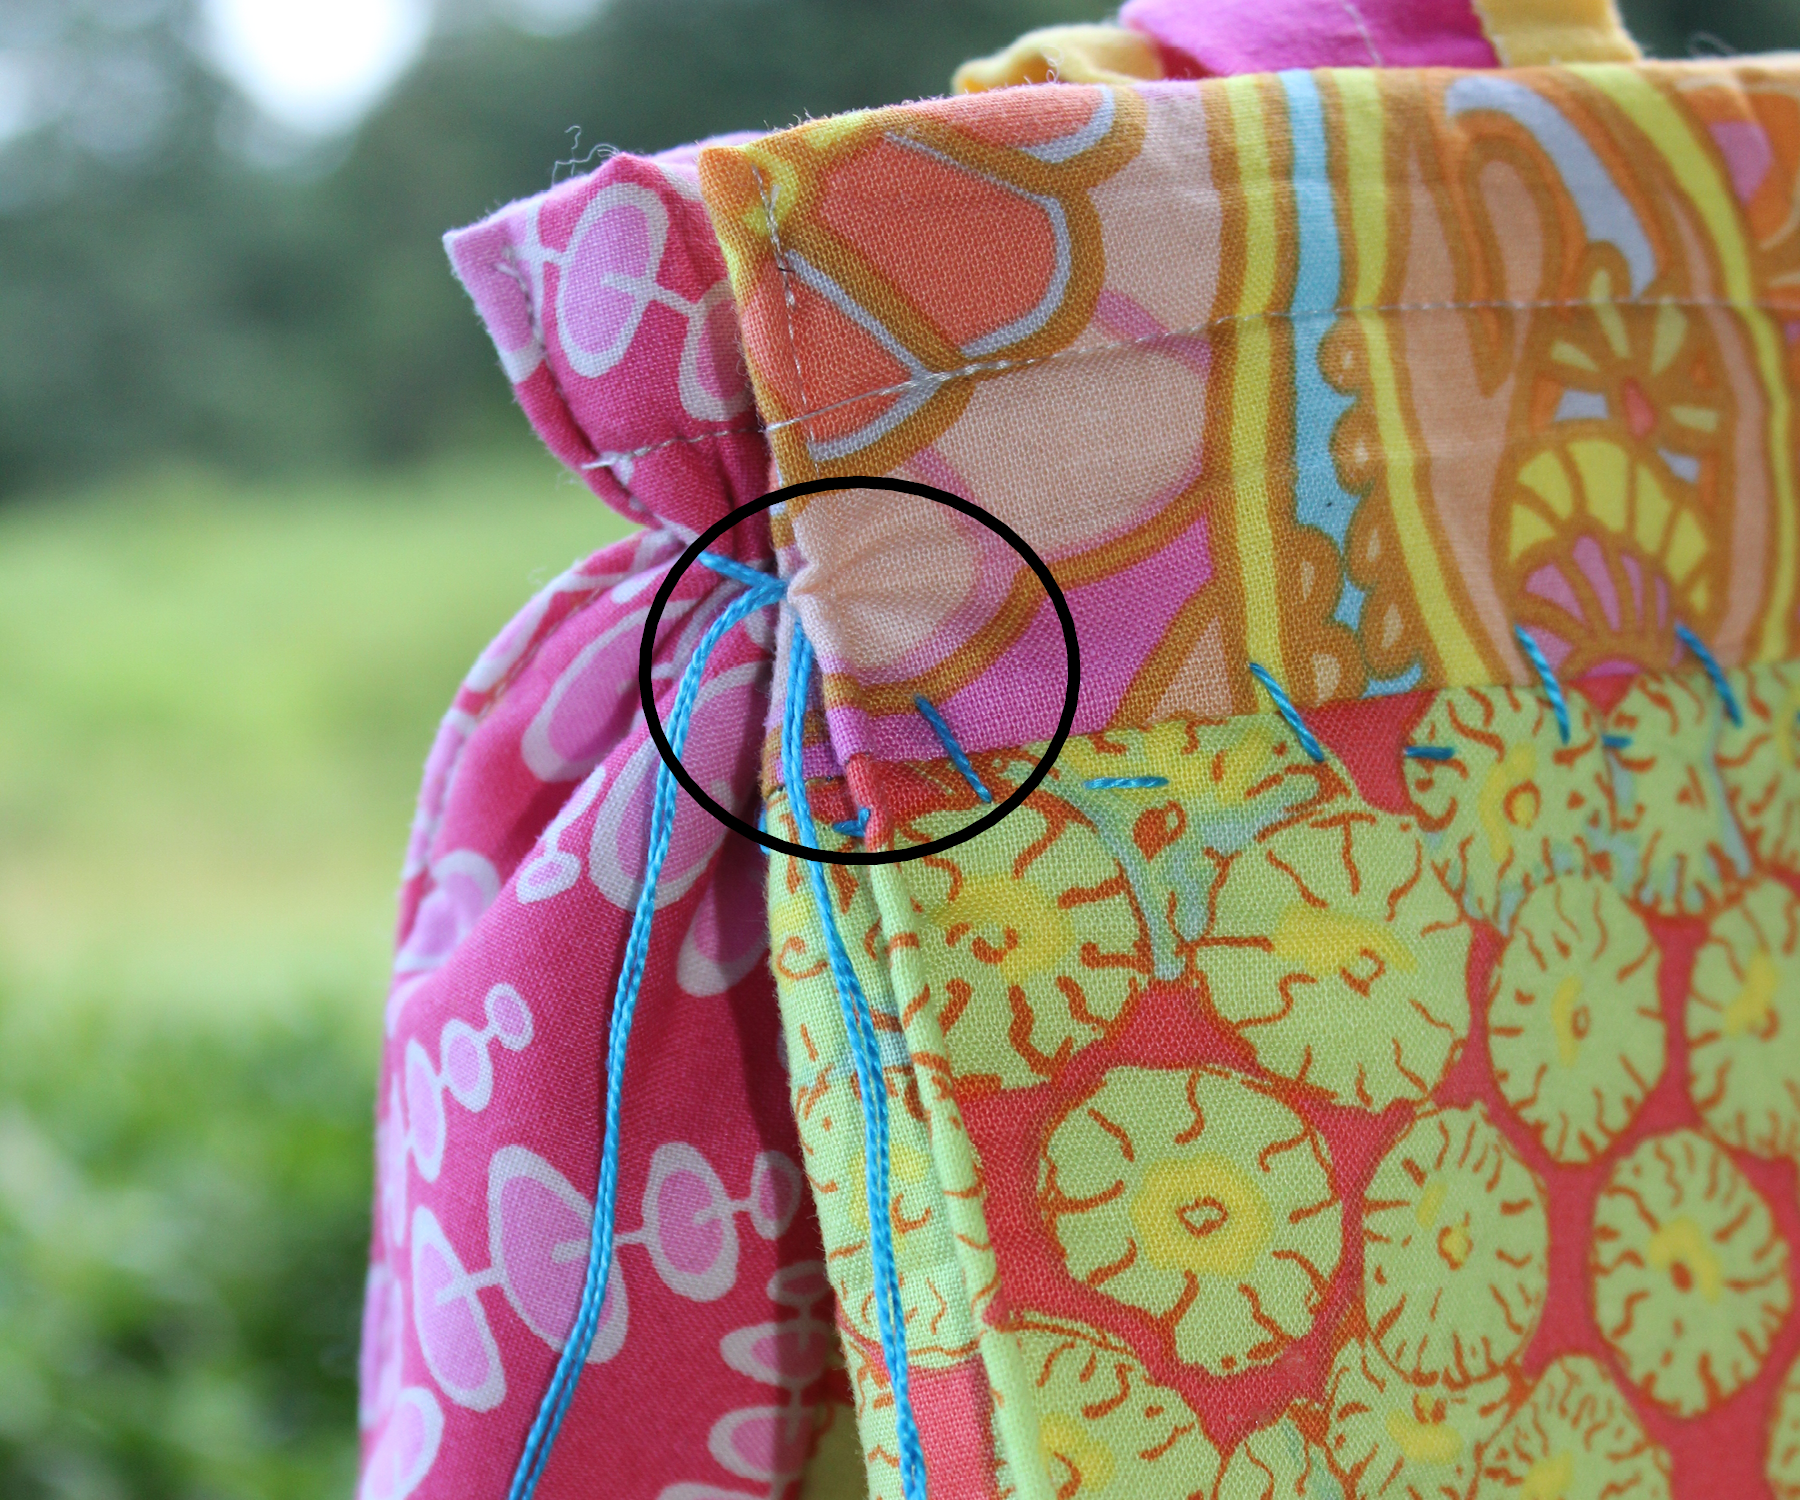
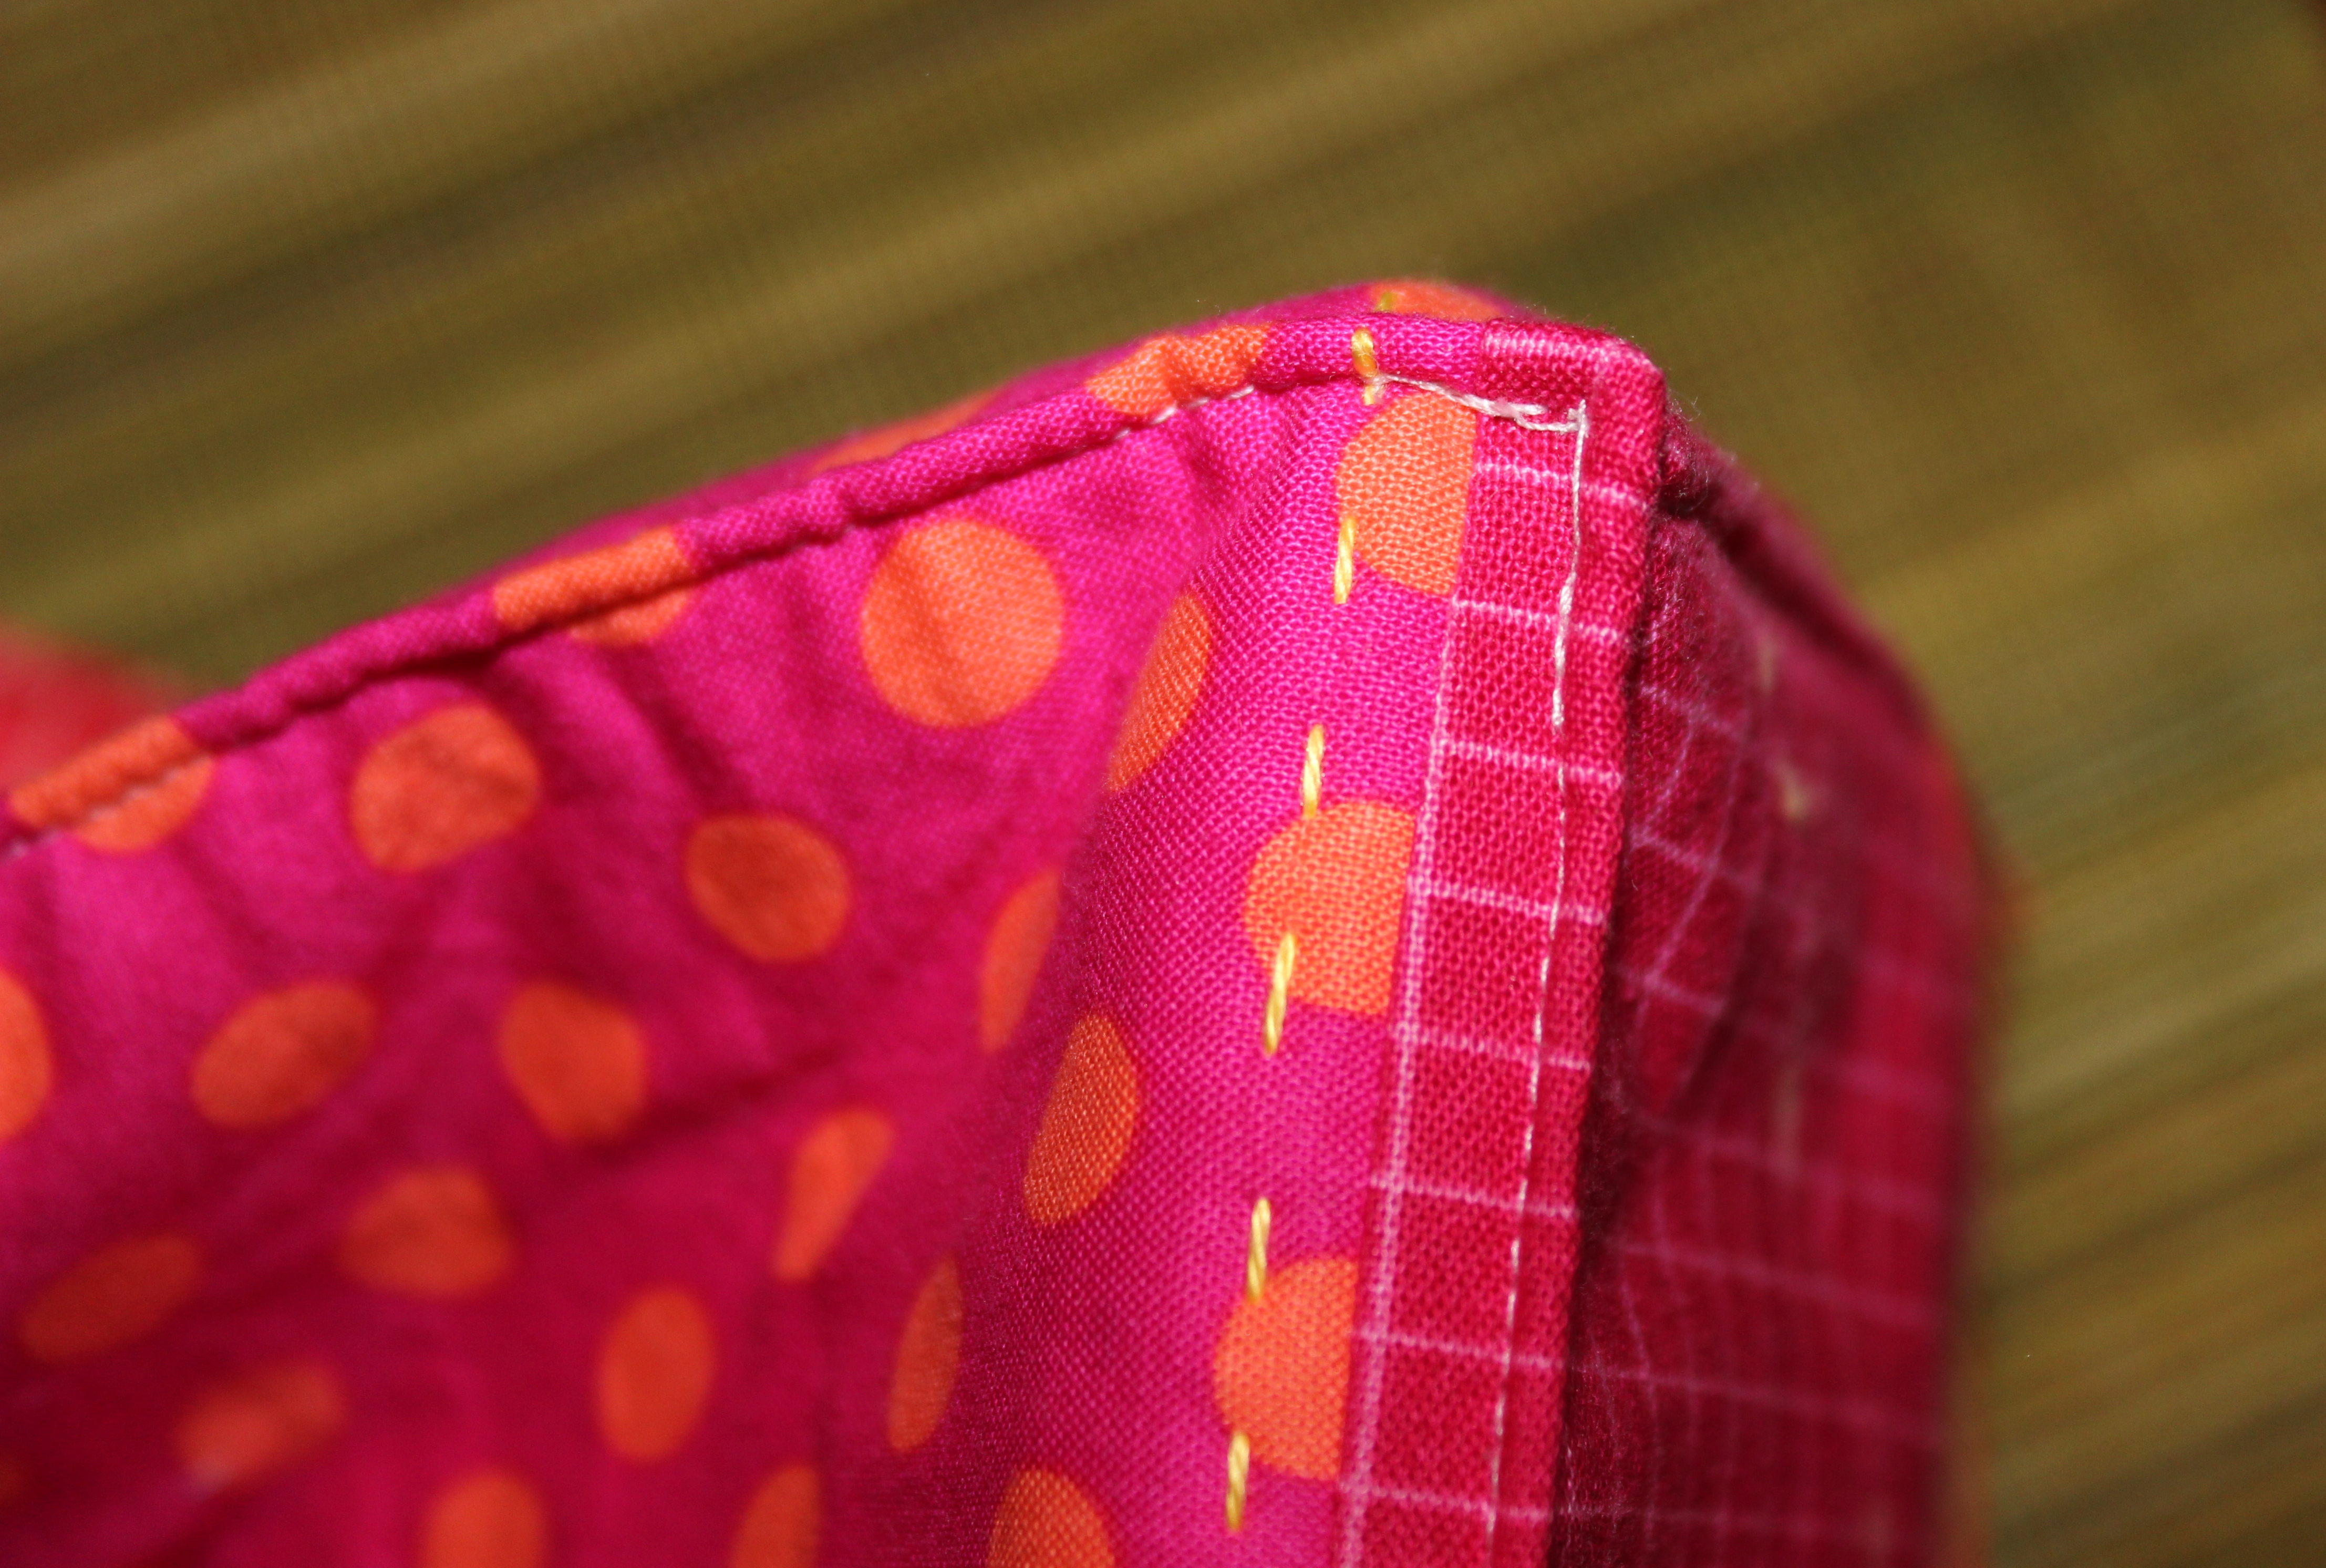
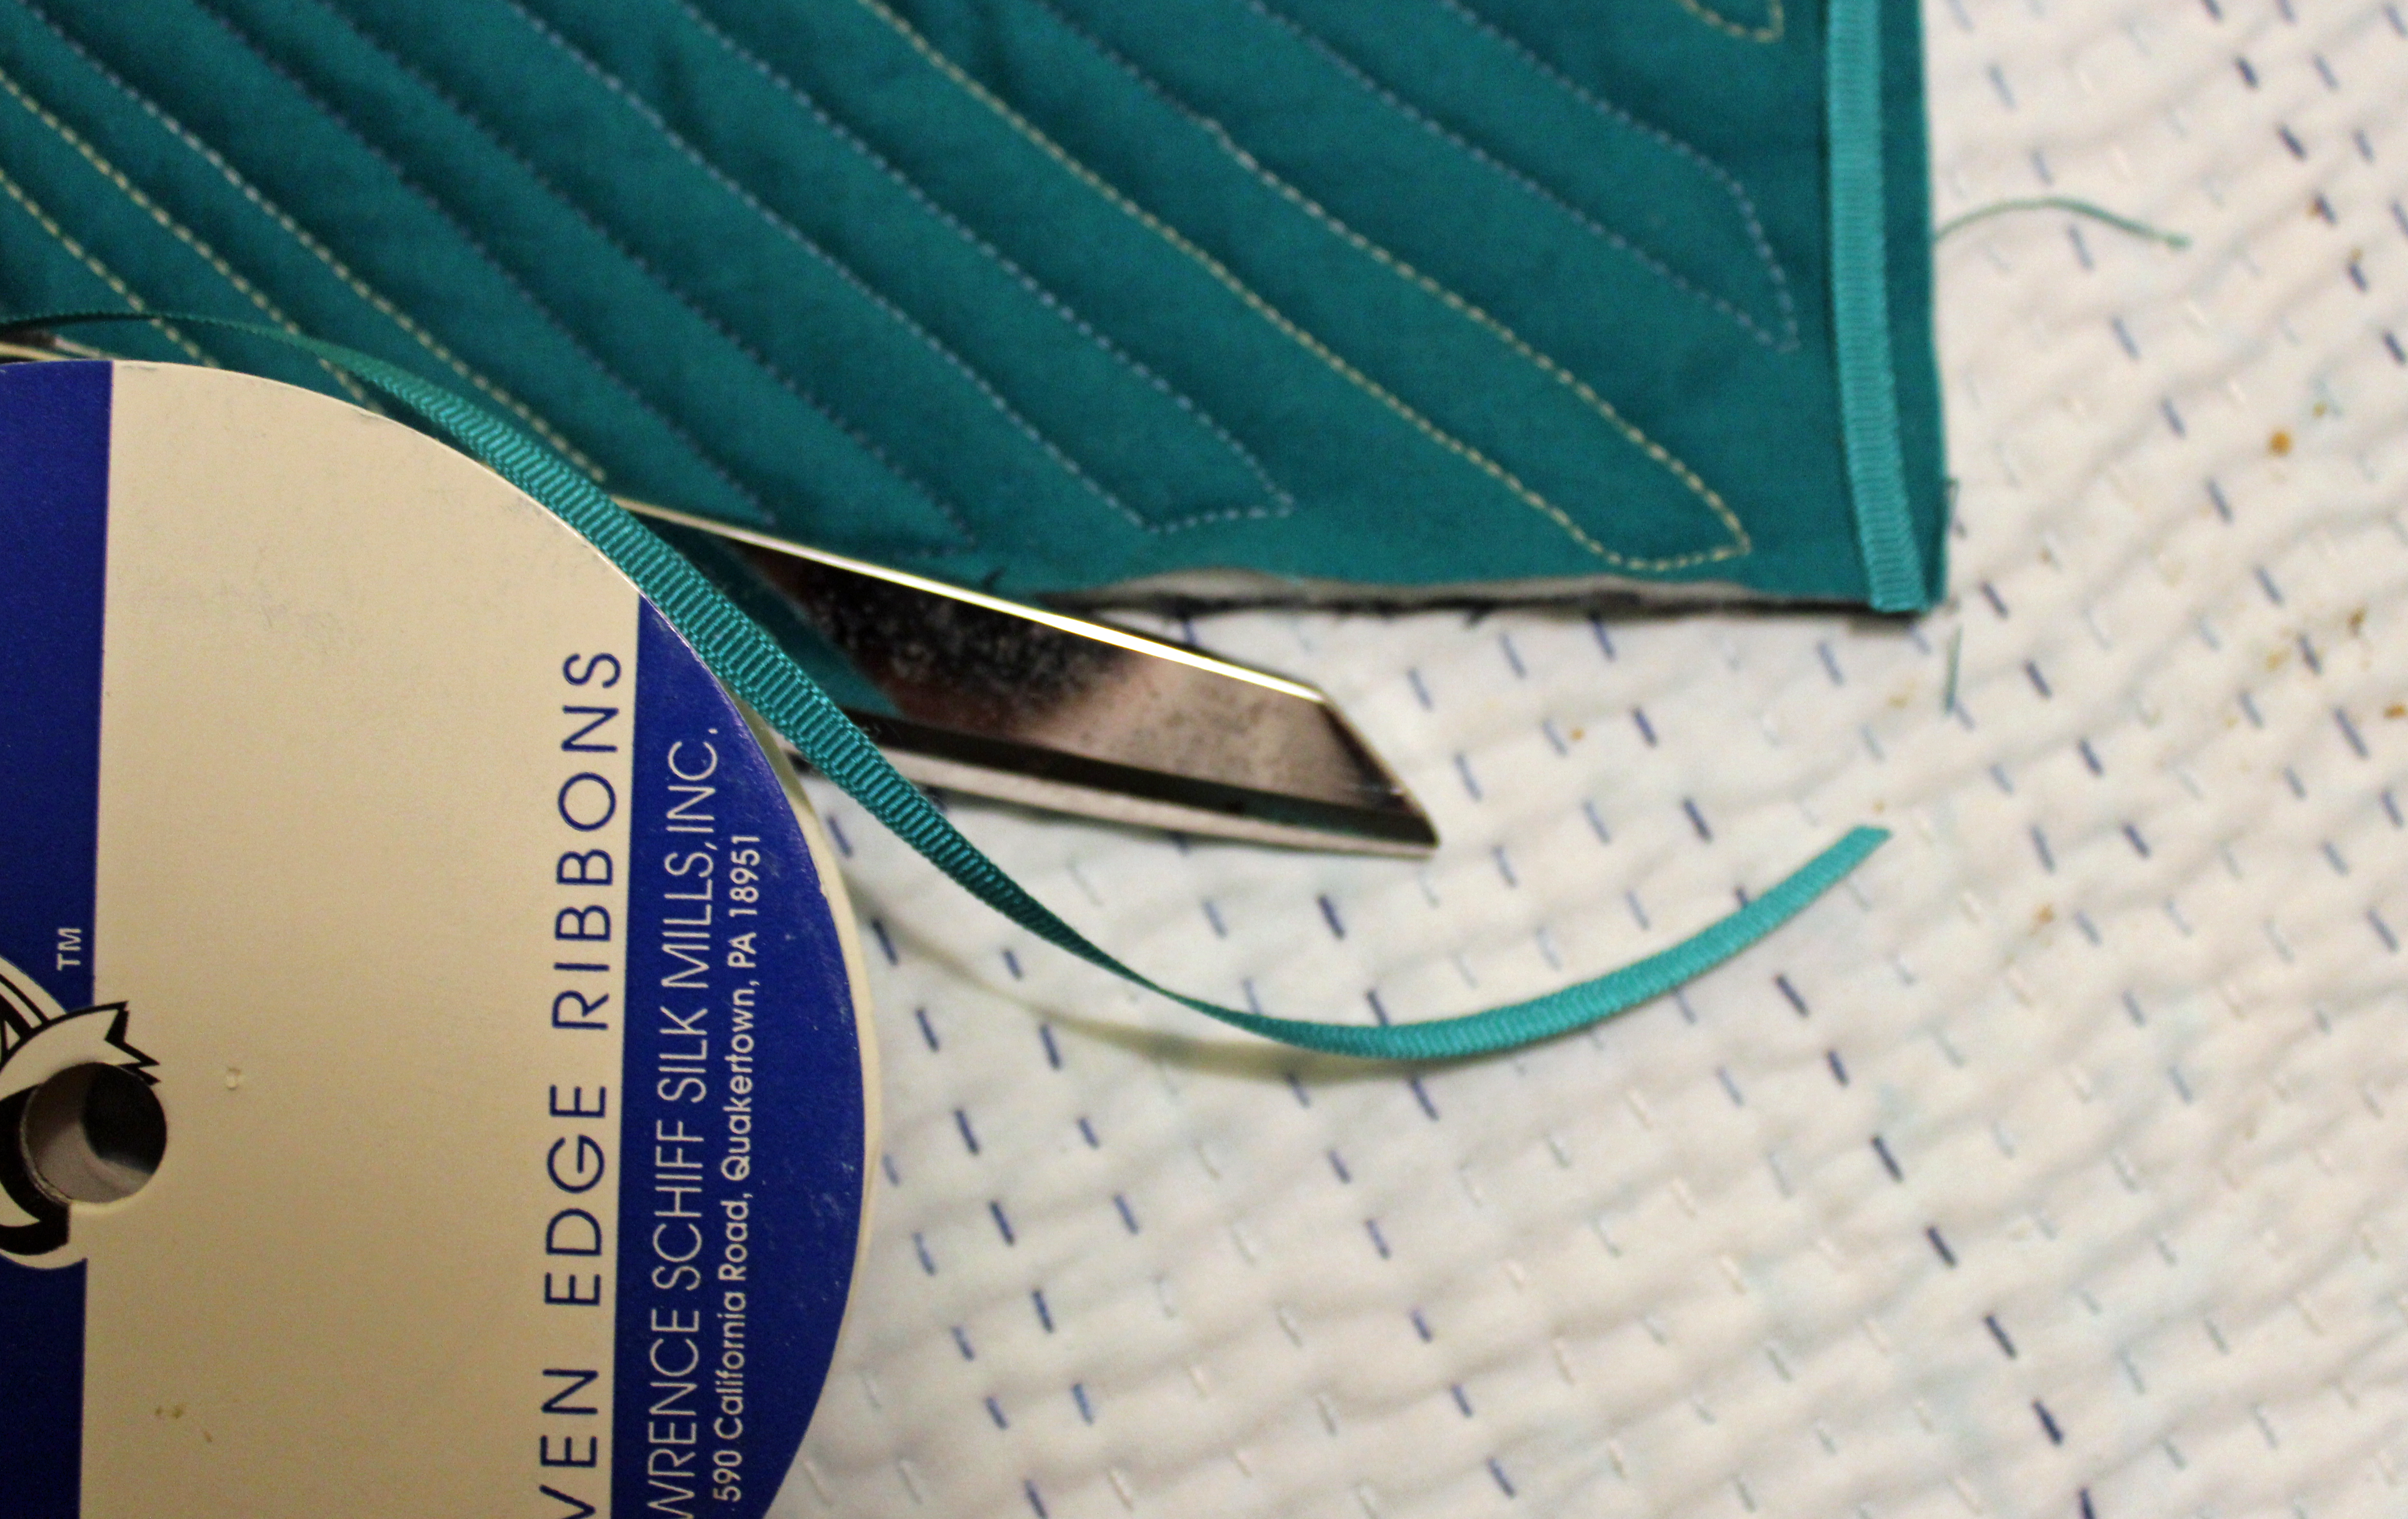
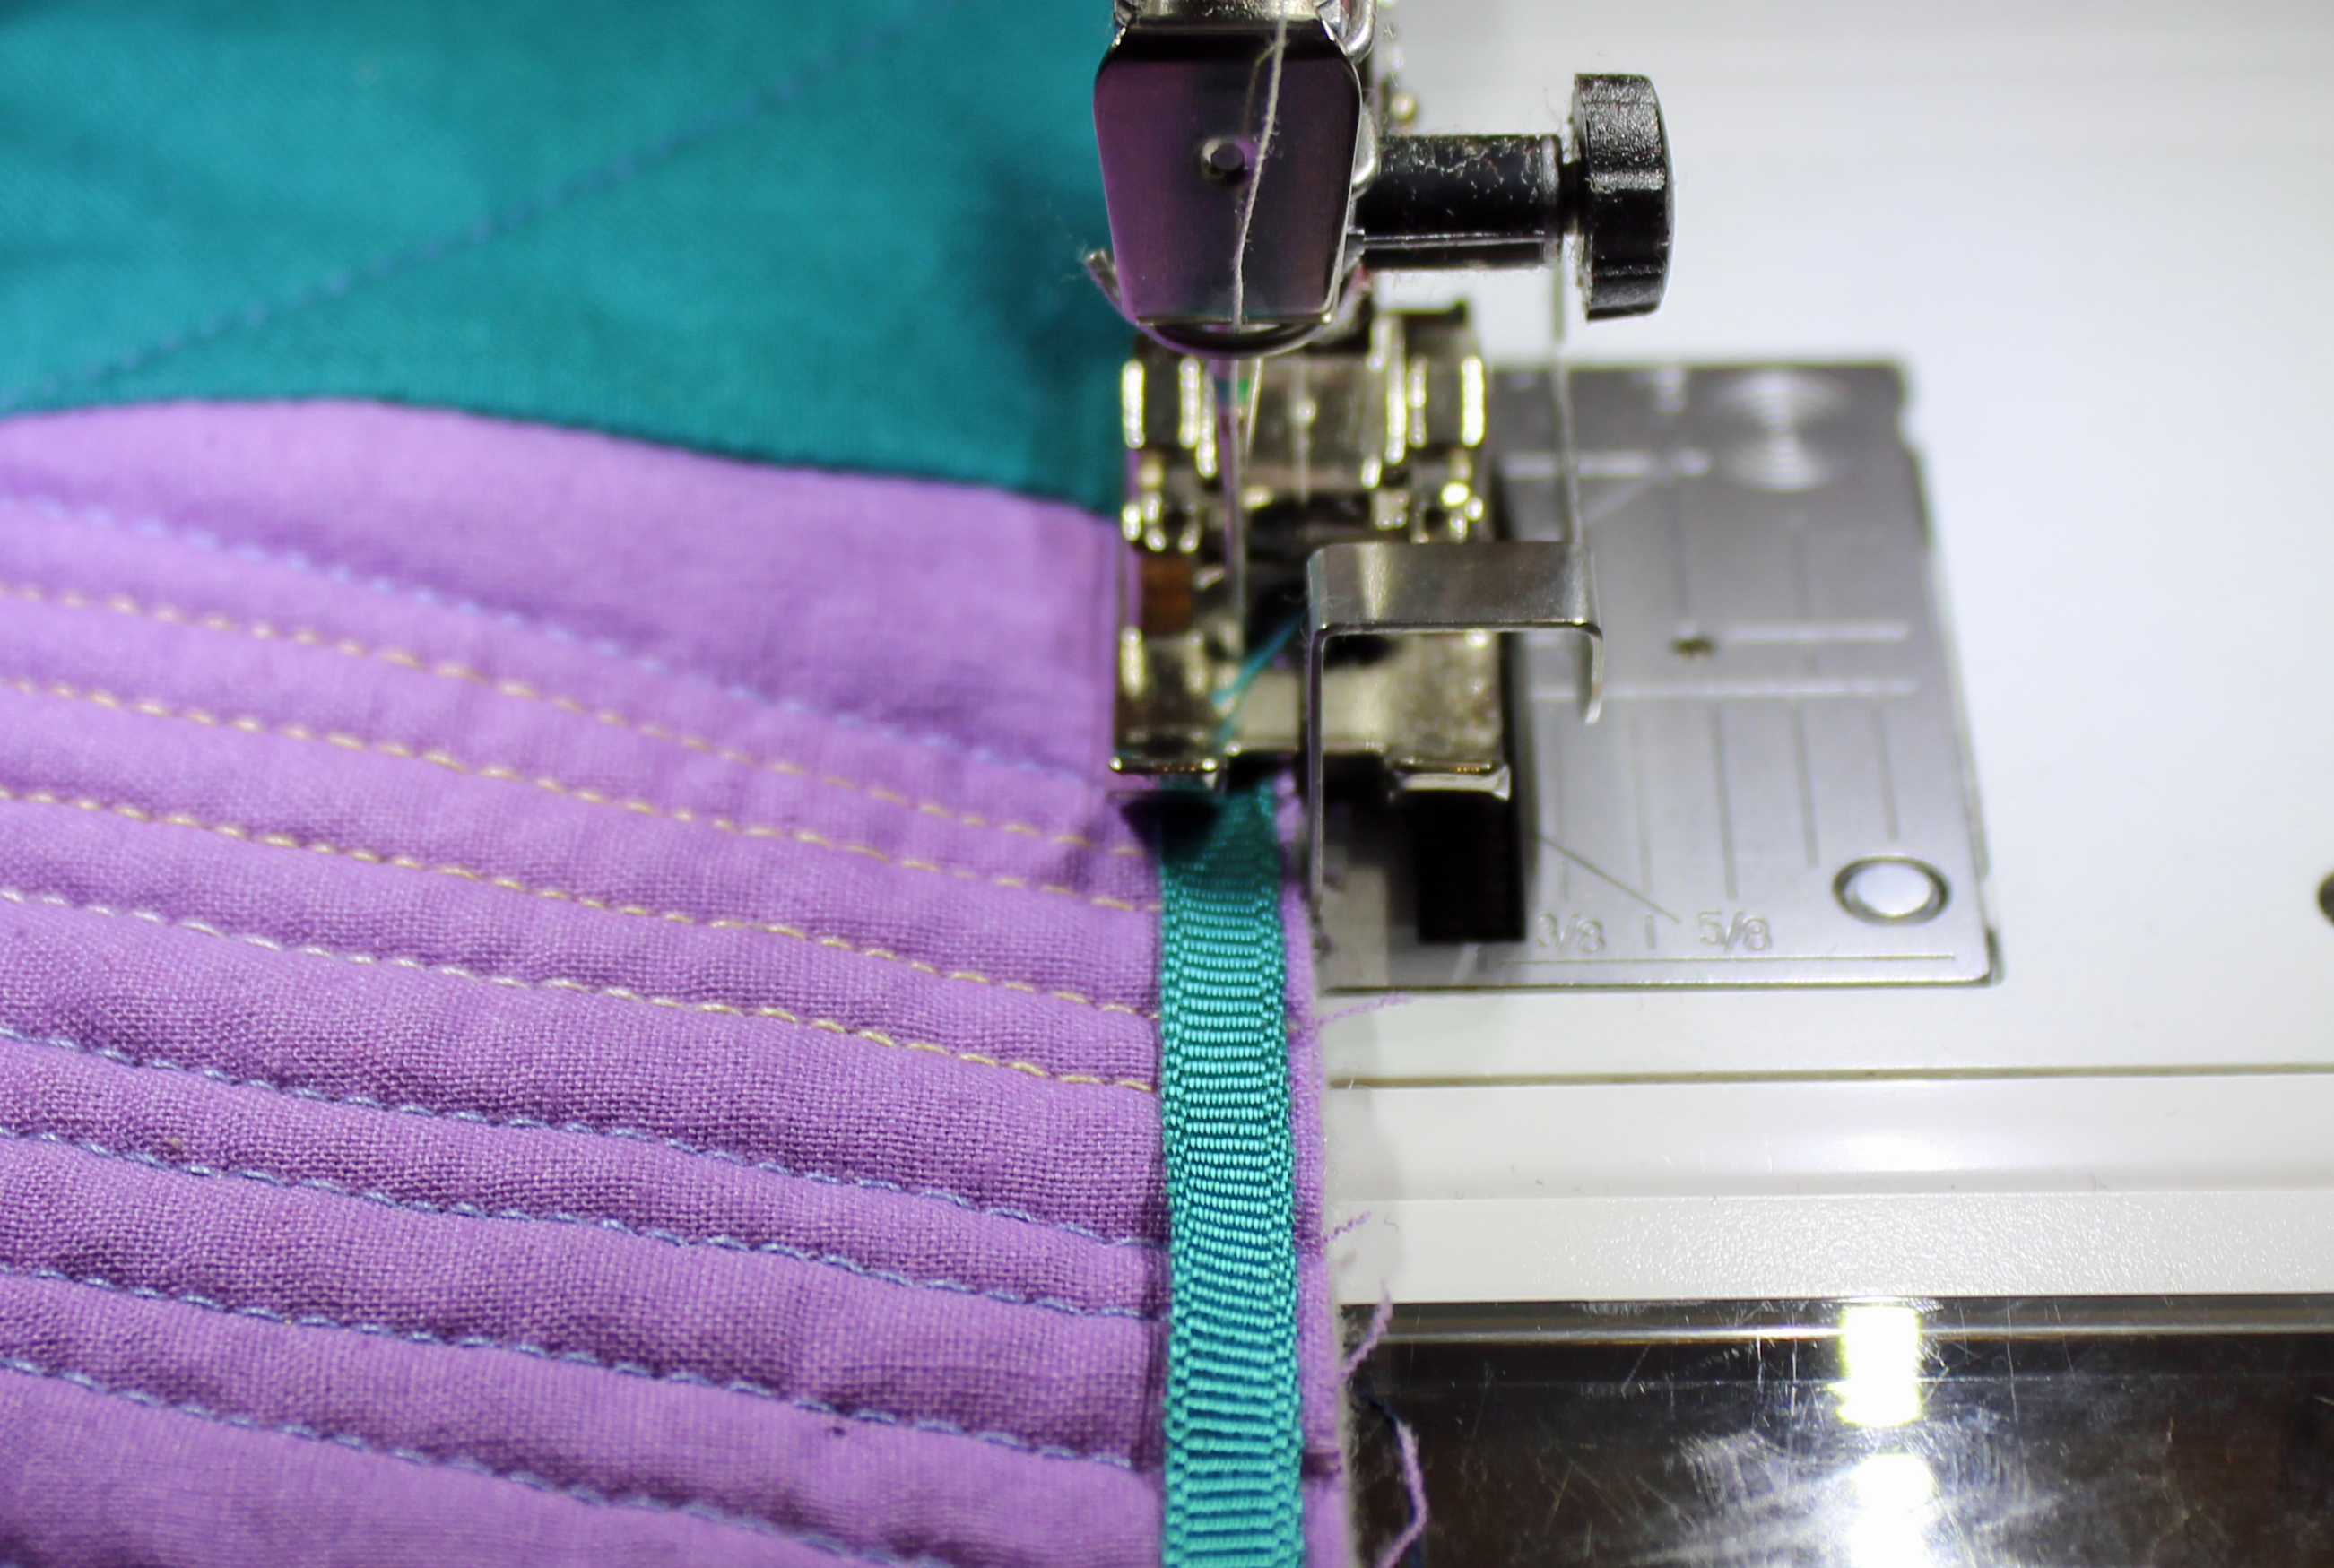
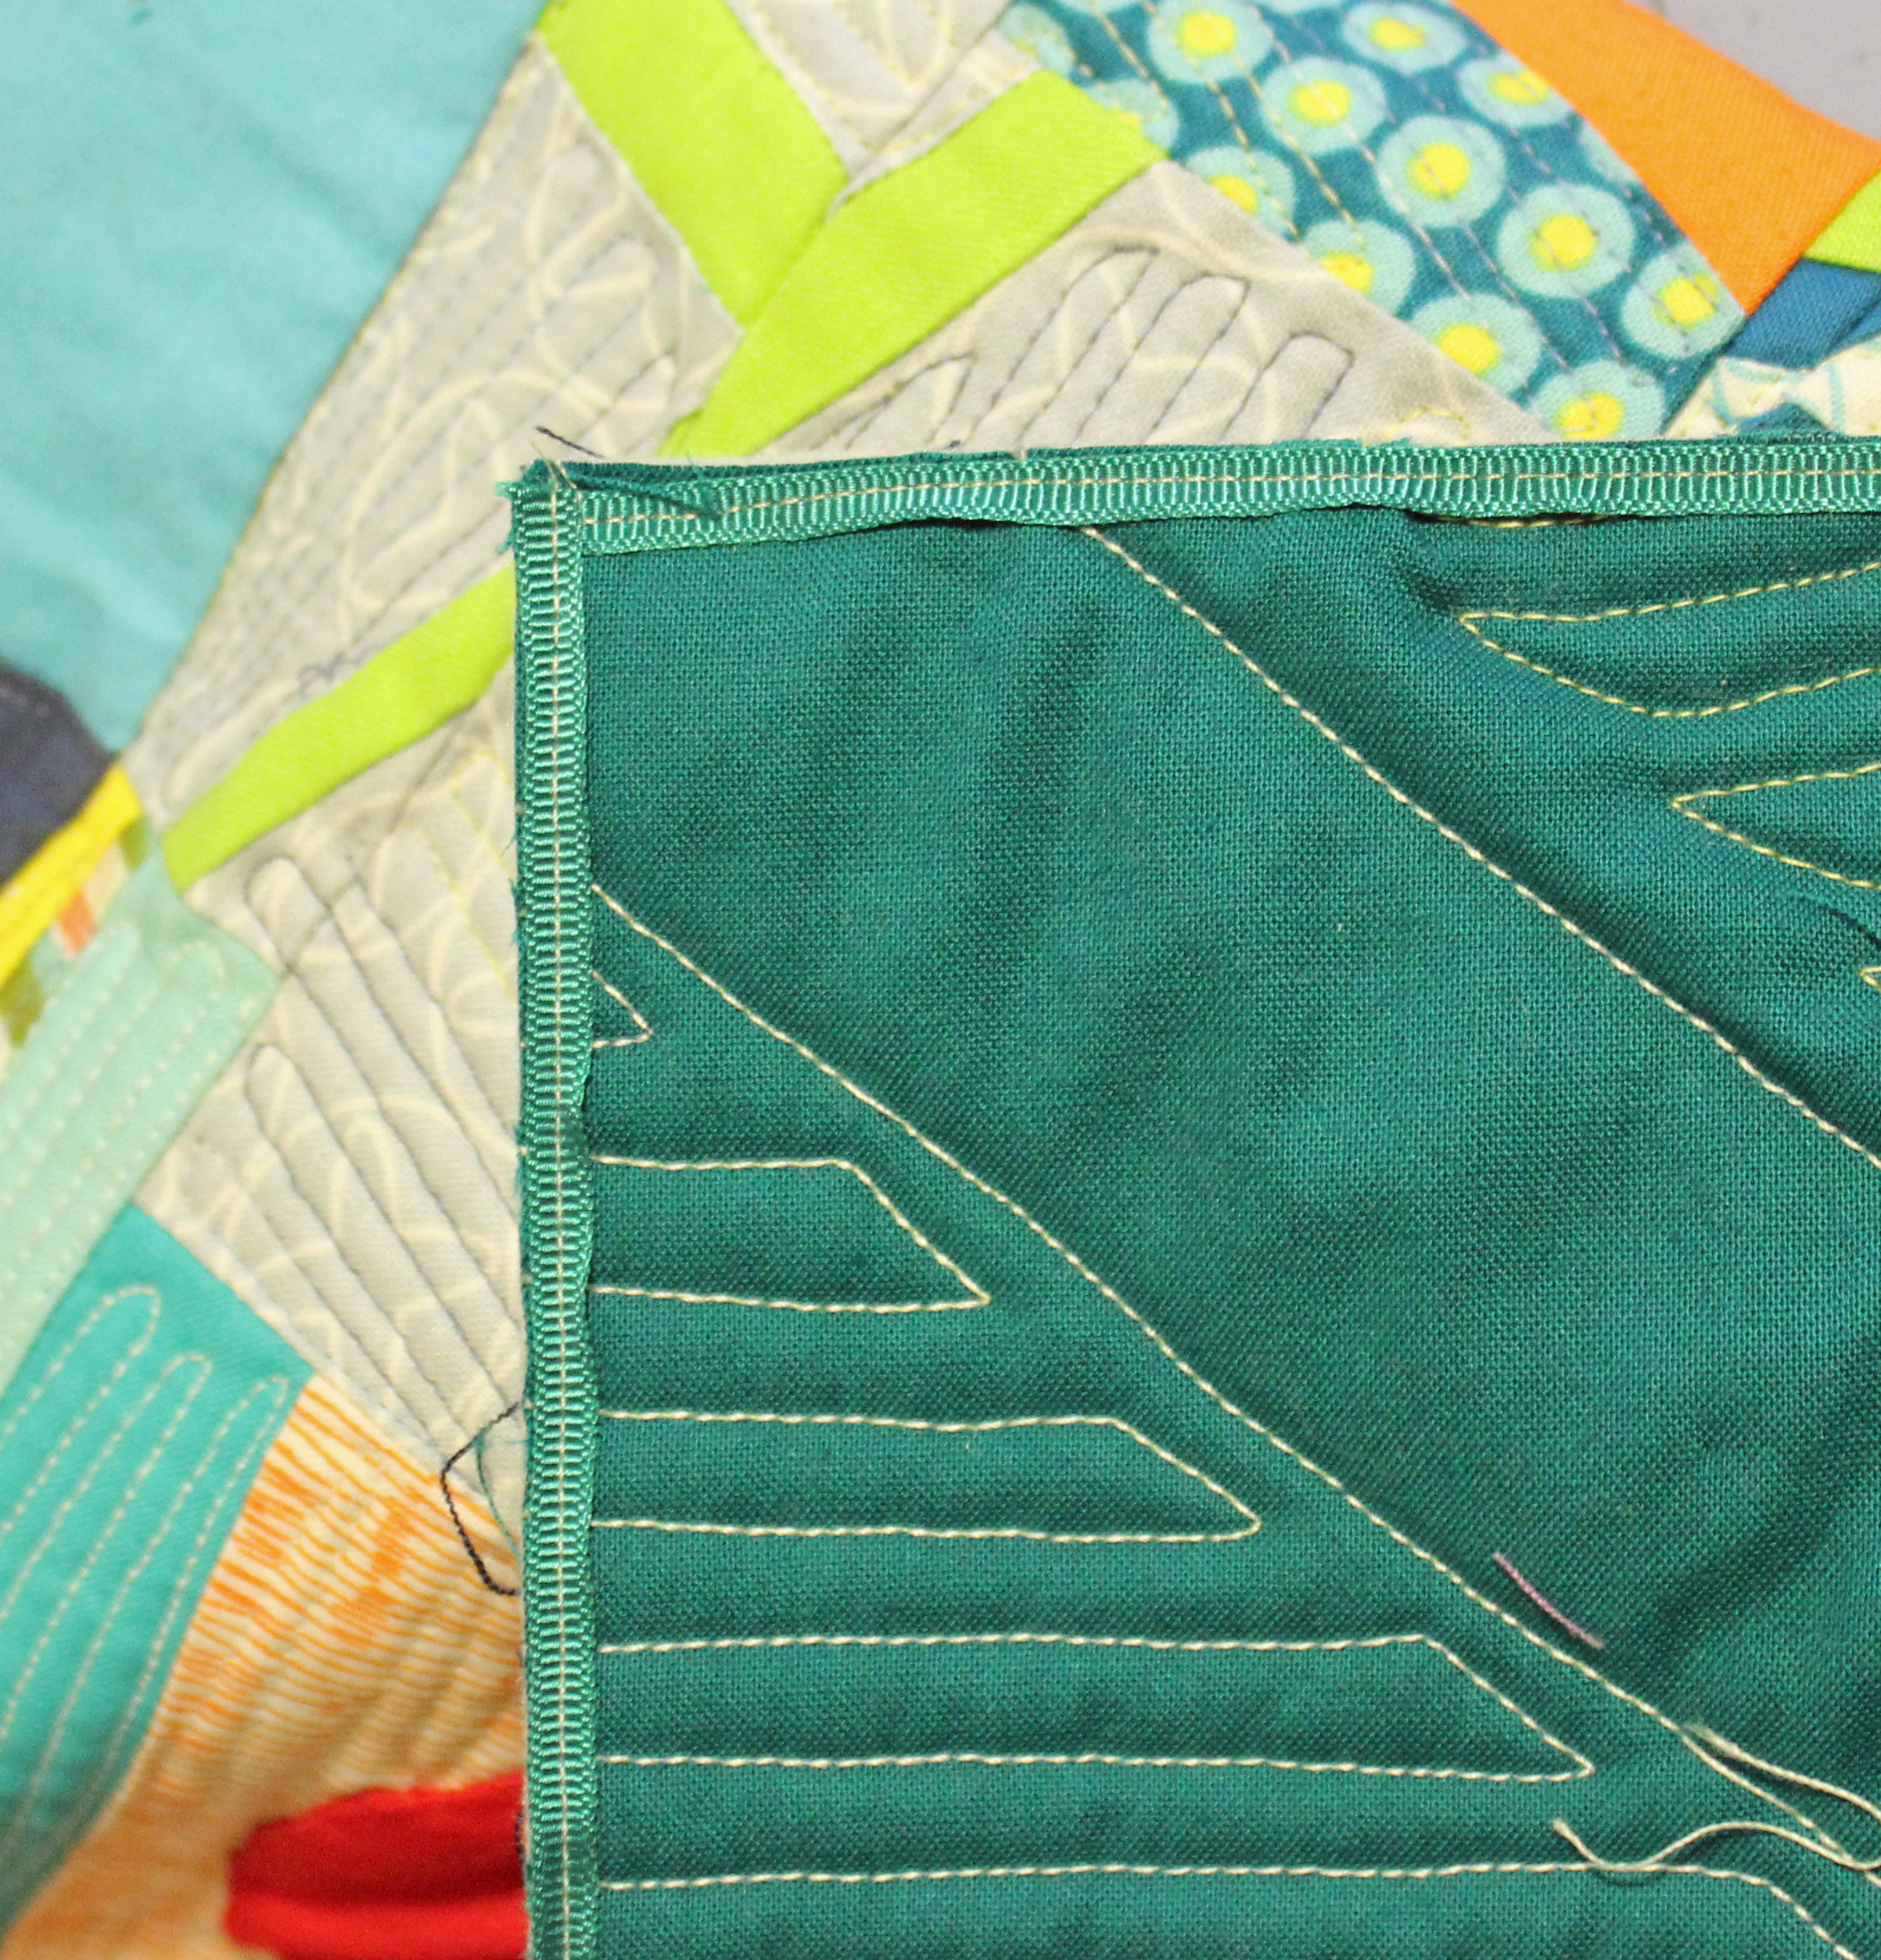
Have you ever made a tote bag and when it’s not full, it falls over? The solution:

USE YOUR TOP STITCH FOOT (Bernina No. 5) to stitch each side and around the bottom. It gives stability to the tote. Divide the length of the bottom side seam, then measure over half that length from the middle seam. Press down the side. Stitch, setting the needle over about 5 notches. It creates a small seam down the side. Repeat with all four edges and the bottom, if you want.
 A BLOGGING TIP:
Learning takes time. I use WordPress and there are so many options for themes and choices for fonts and menus. I was overwhelmed at first and I’ve been overwhelmed for the last two weeks trying to transform my blog for this blog hop. I admit a cried a few times, but it’s okay to ask for help — even from the Happiness Engineers at WordPress. NEED HELP? you bet I do. They will respond!
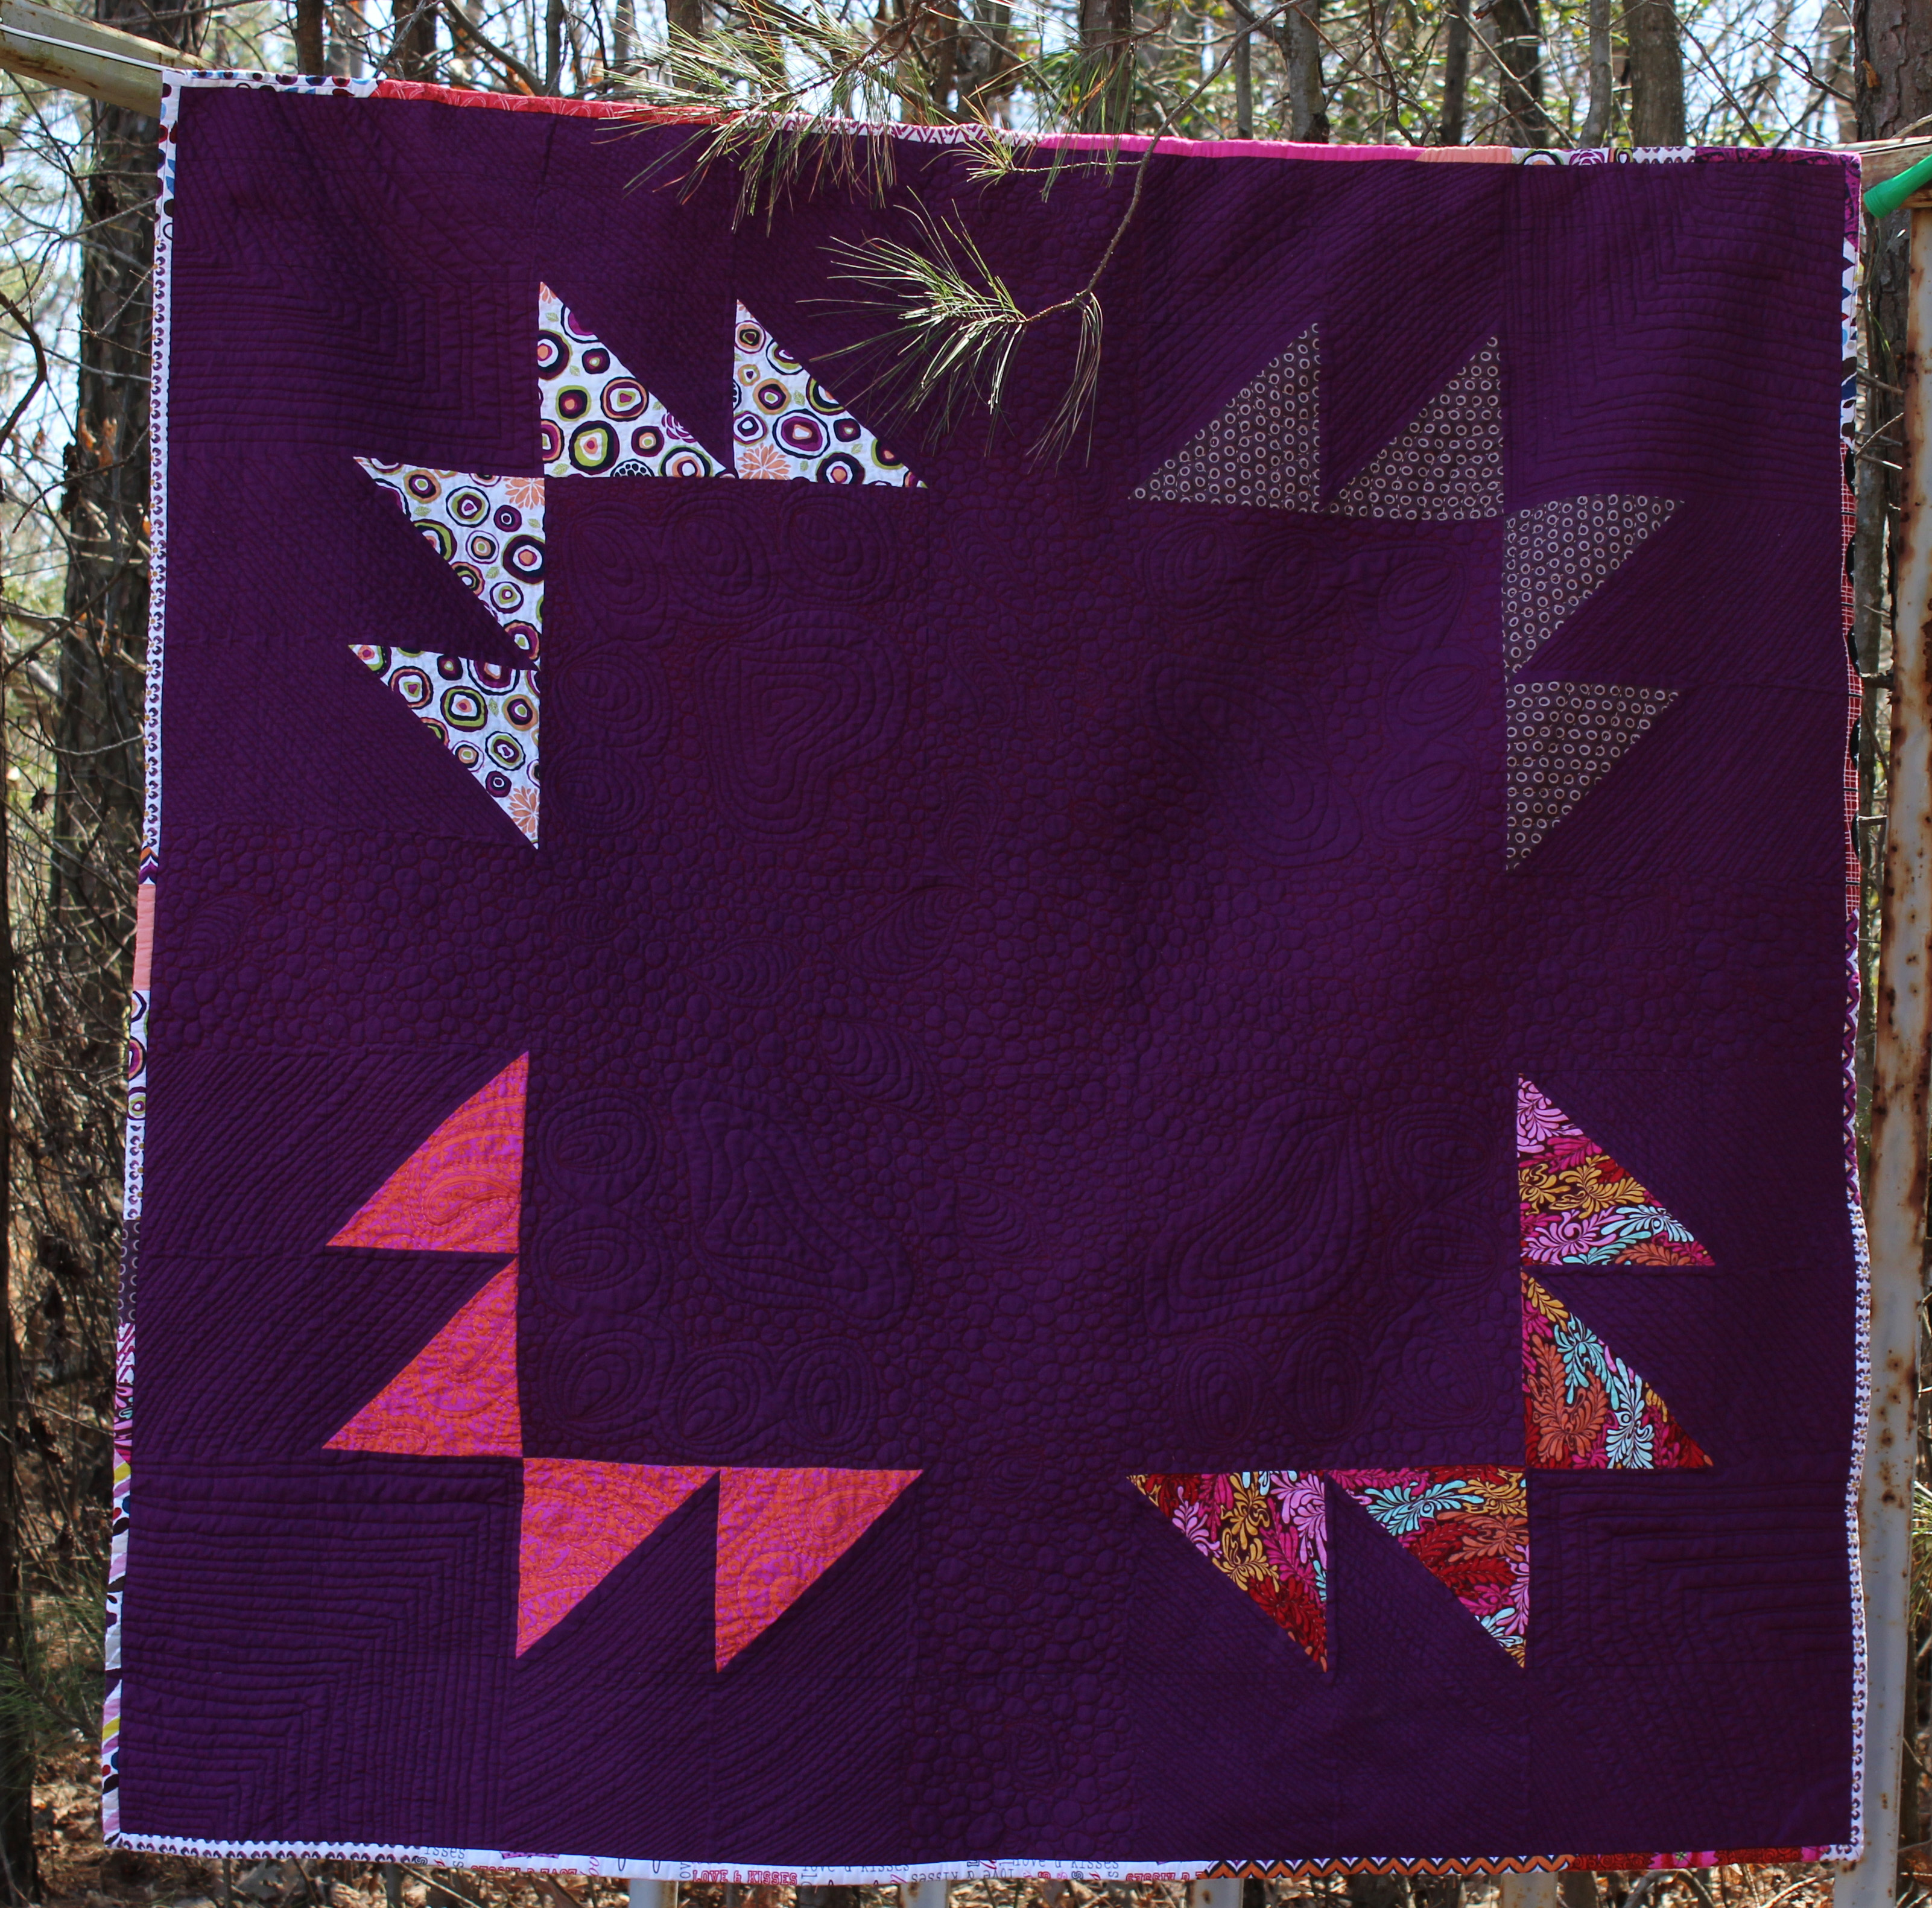
MY FAVORITE QUILT (designed by yours truly):

Mama Bear
THE SECURITY ANSWERS (better than the ones from the bank):
- My Dream Vacation: Fly around the world in a balloon
- My Favorite Book: My Happiness Calendar where I record something every day that makes me happy
- My Least Favorite Chore: Washing dishes
- My Favorite Dessert: Key Lime Pie
- My Favorite Restaurant: Deep Run Roadhouse (barbeque)
MY QUESTION FOR YOU:
What would you put on your Happiness Calendar today?
DON’T FORGET: CHECK OUT THIS WEEK’S OTHER NEW QUILT BLOGGERS:
Beeing Sewcial,
Wanda


![sewcial-swarm-outline_zpsiykzozev[1]](https://wandadotson.com/wp-content/uploads/2015/06/sewcial-swarm-outline_zpsiykzozev1.png)