As promised, I’m posting about how to make facing binding for your quilts. I used the “triangle corners” method. This method reduces the bulk in the corners but is more complicated than using mitered corners.
CUT TWO (2) 6 1/2 INCH SQUARES
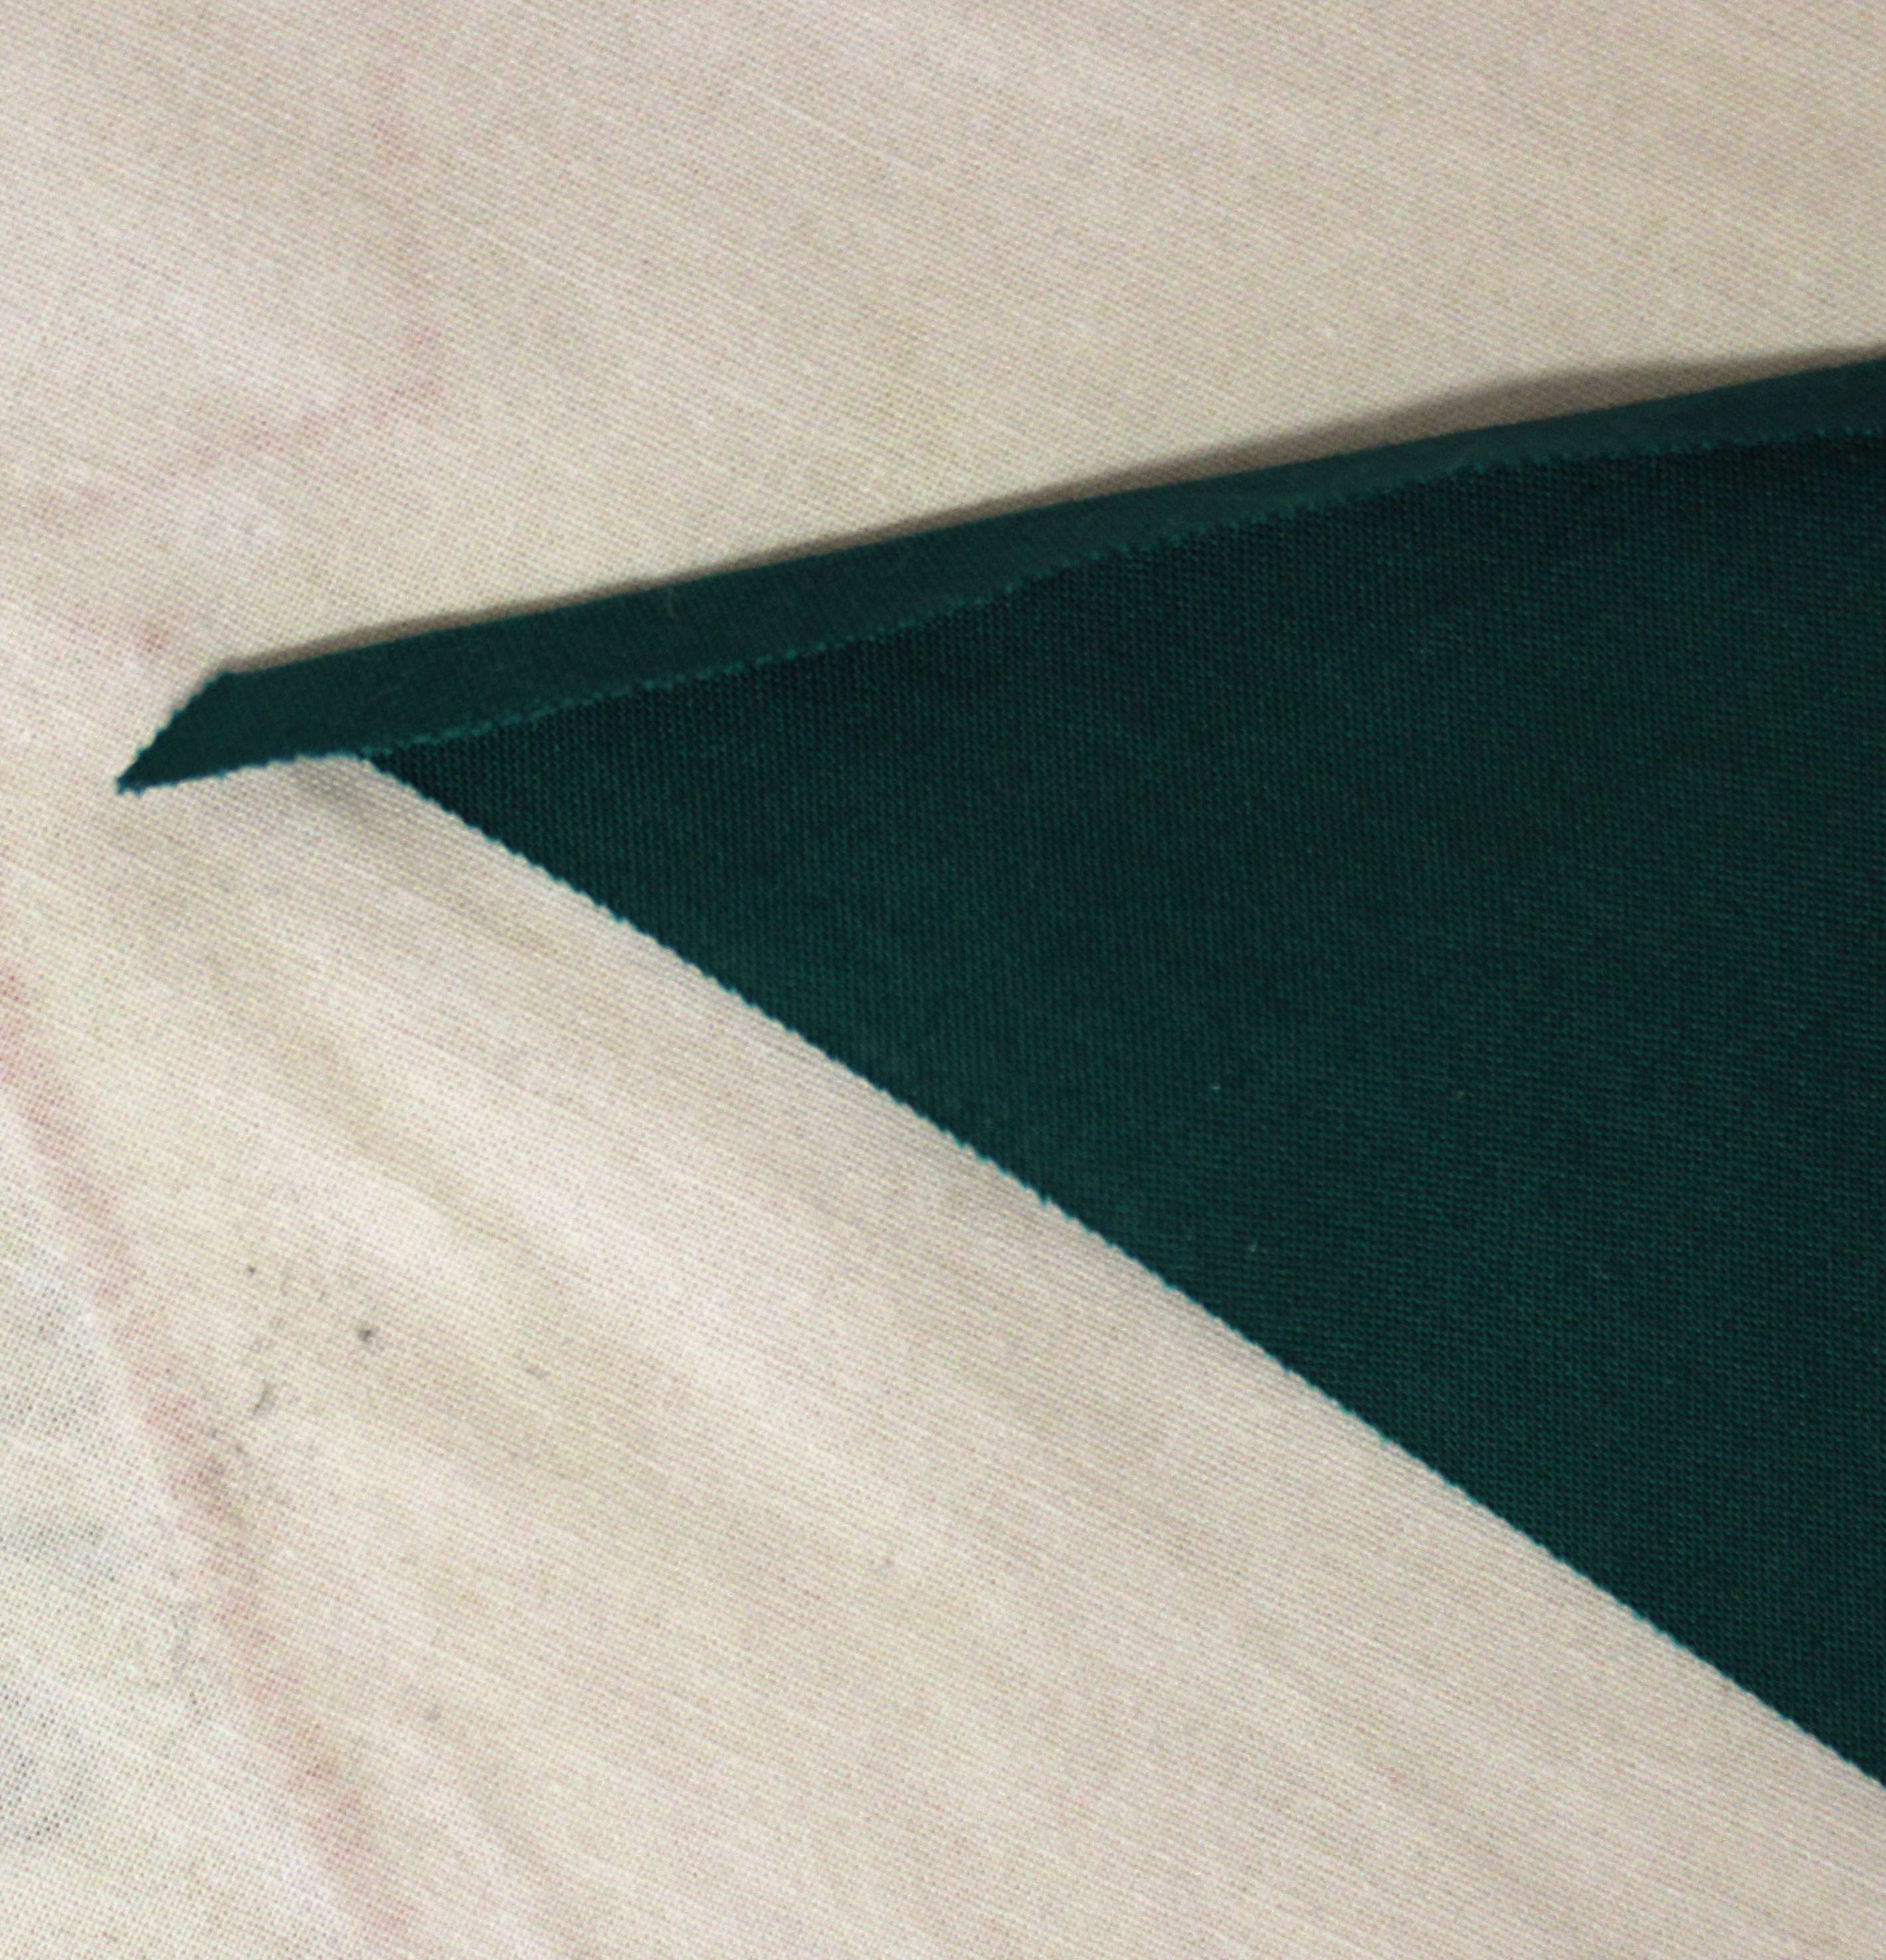
CUT SQUARES ONCE ON THE DIAGONAL 
PRESS UNDER 1/4 INCH ALONG LONG SIDE OF TRIANGLE
CUT 2-INCH STRIPS
You will need enough strips to fit around the edges of the quilt.
SEW THE STRIPS TOGETHER
 You will make diagonal seams as you would to make double-folded binding.
PRESS UNDER 1/4 INCH ALONG LONG SIDE OF STRIP  CUT STRIP INTO FOUR (4) STRIPS
You will have one for each side.
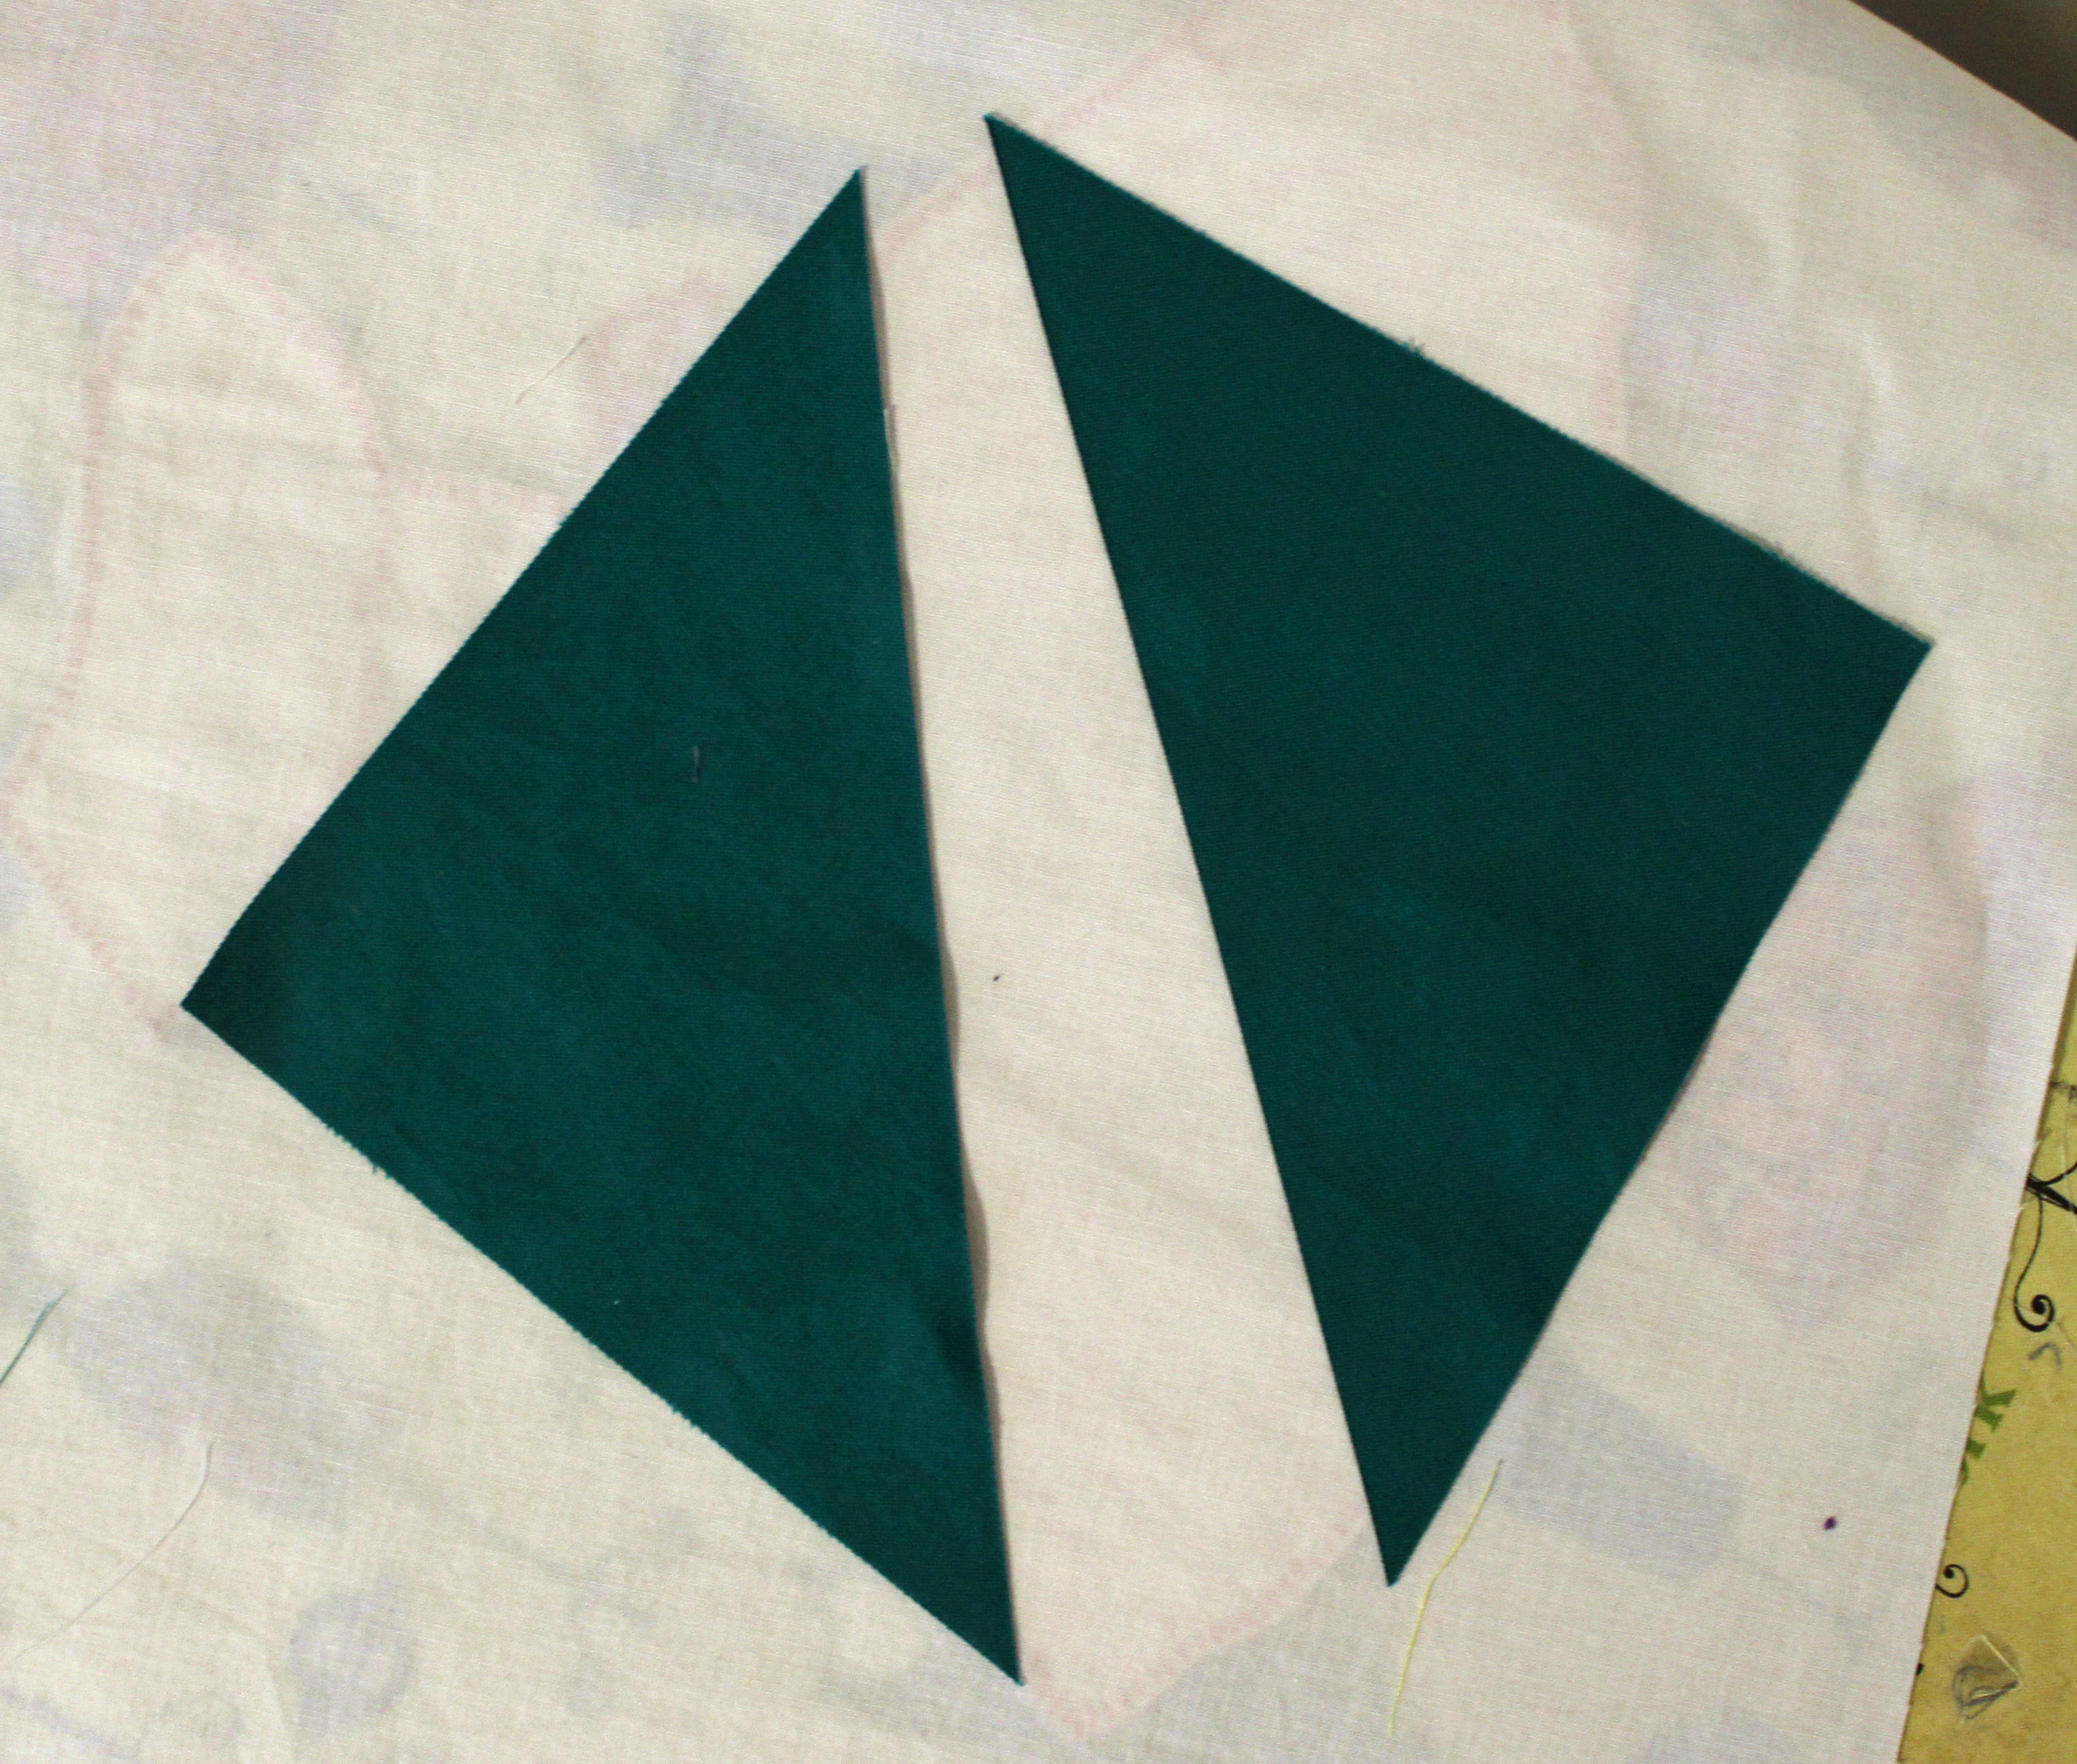
PLACE TRIANGLES ON EACH CORNER
You will pin in place.
PLACE A STRIP TO THE LEFT SIDE AND THEN THE RIGHT SIDE OF EACH TRIANGLE
The strips need to be at least 1/4 inch inside the edge of the triangle. You are going to sew the triangle to the two strips. Pin in place.
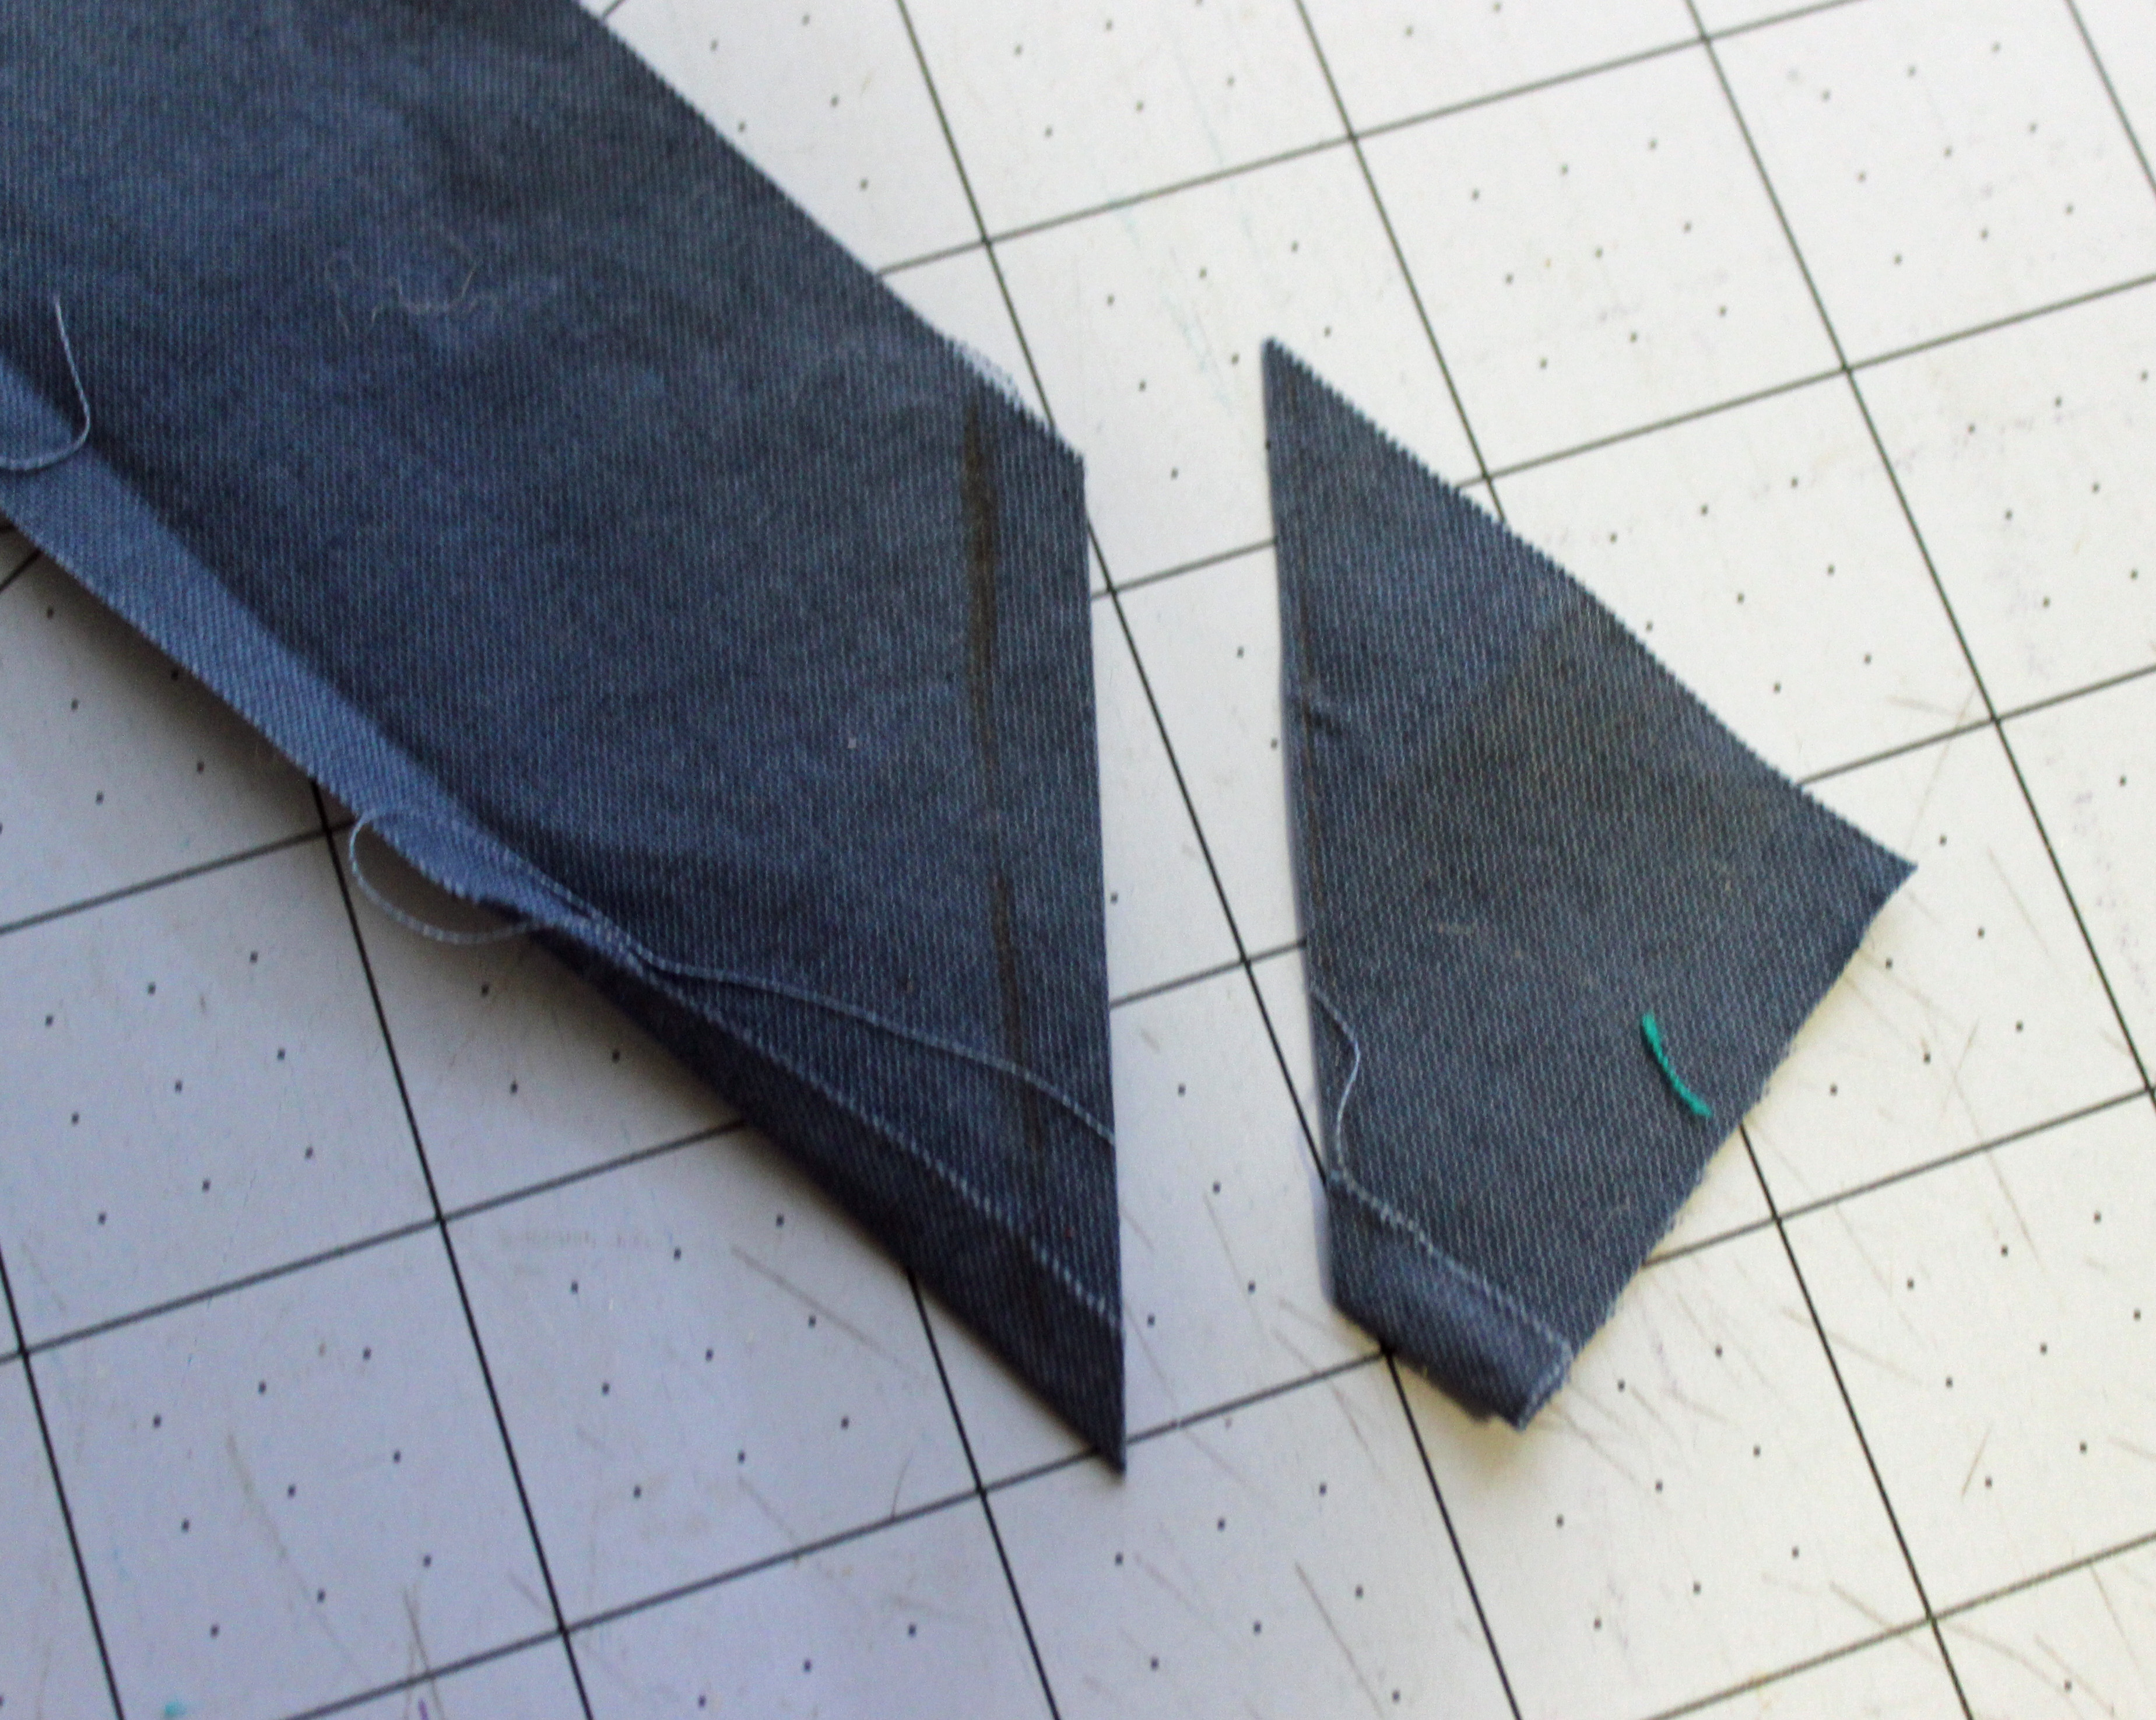
DRAW A LINE WHERE THE TRIANGLE OVERLAPS THE STRIP 
REMOVE EACH STRIP AND CUT 1/4 INCH TO THE RIGHT OF THE DRAWN LINE 
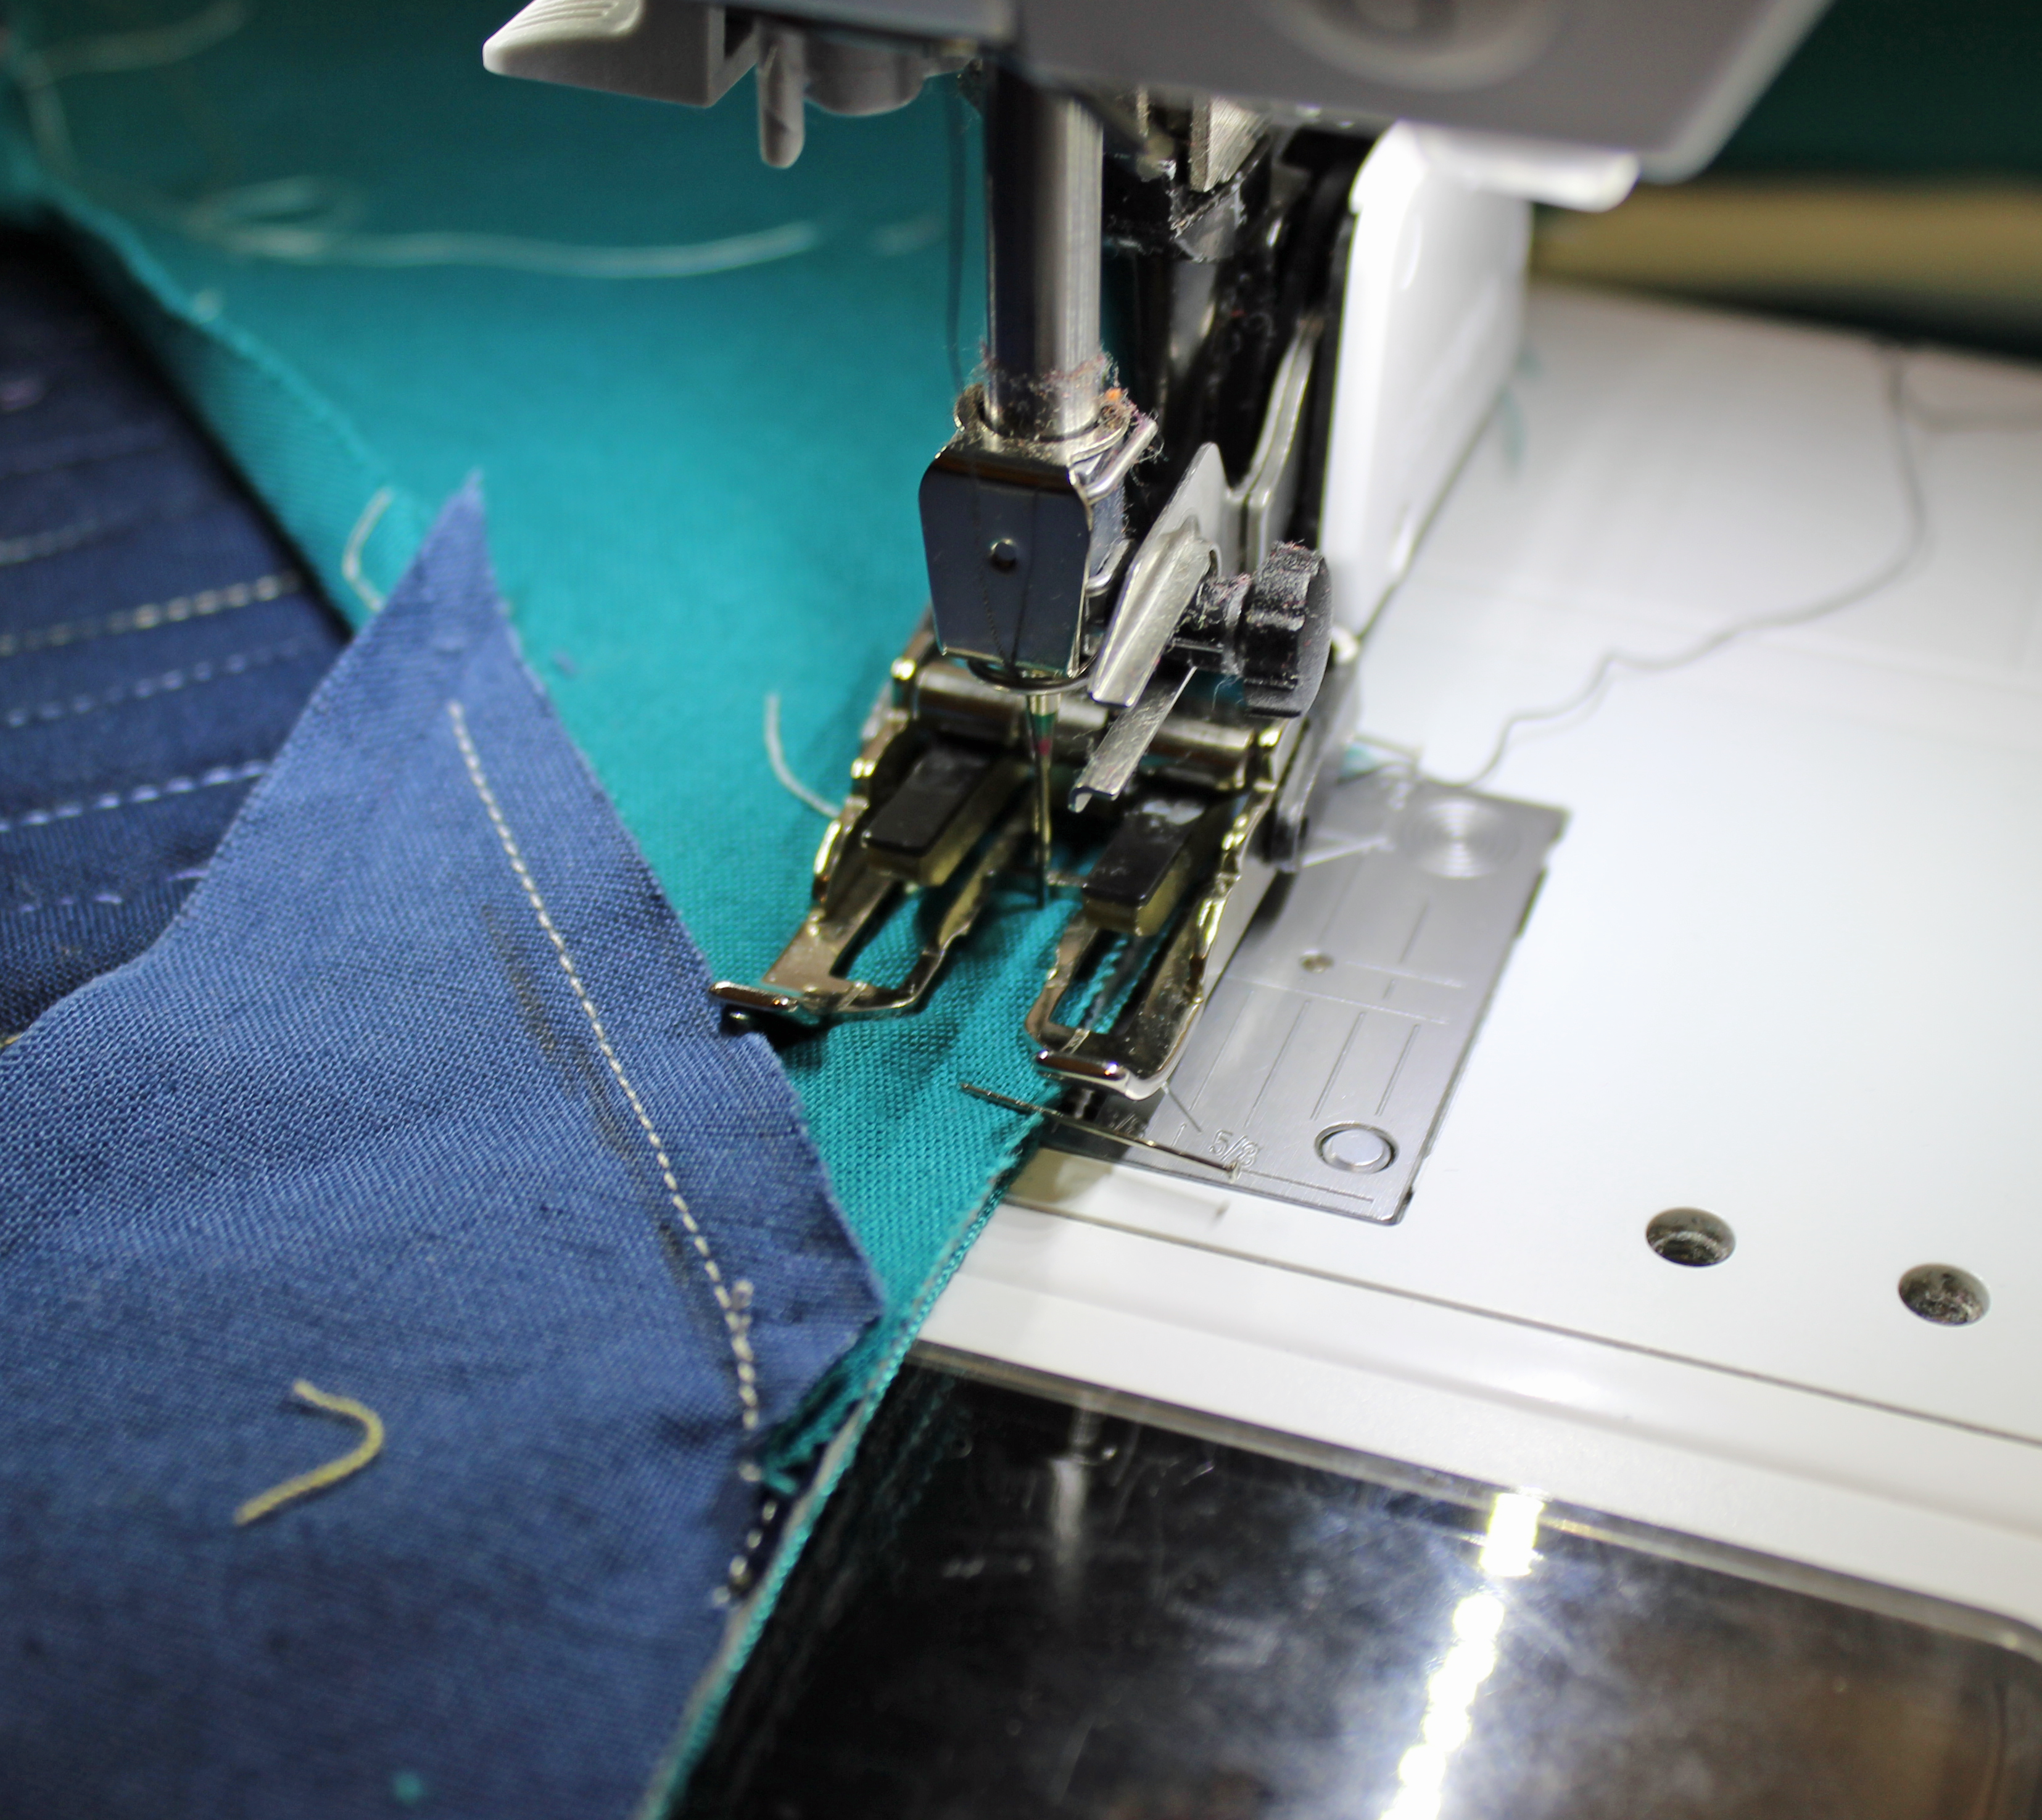
STITCH THE TRIANGLE TO EACH STRIP ALONG THE DIAGONAL 
REPEAT FOR EACH TRIANGLE
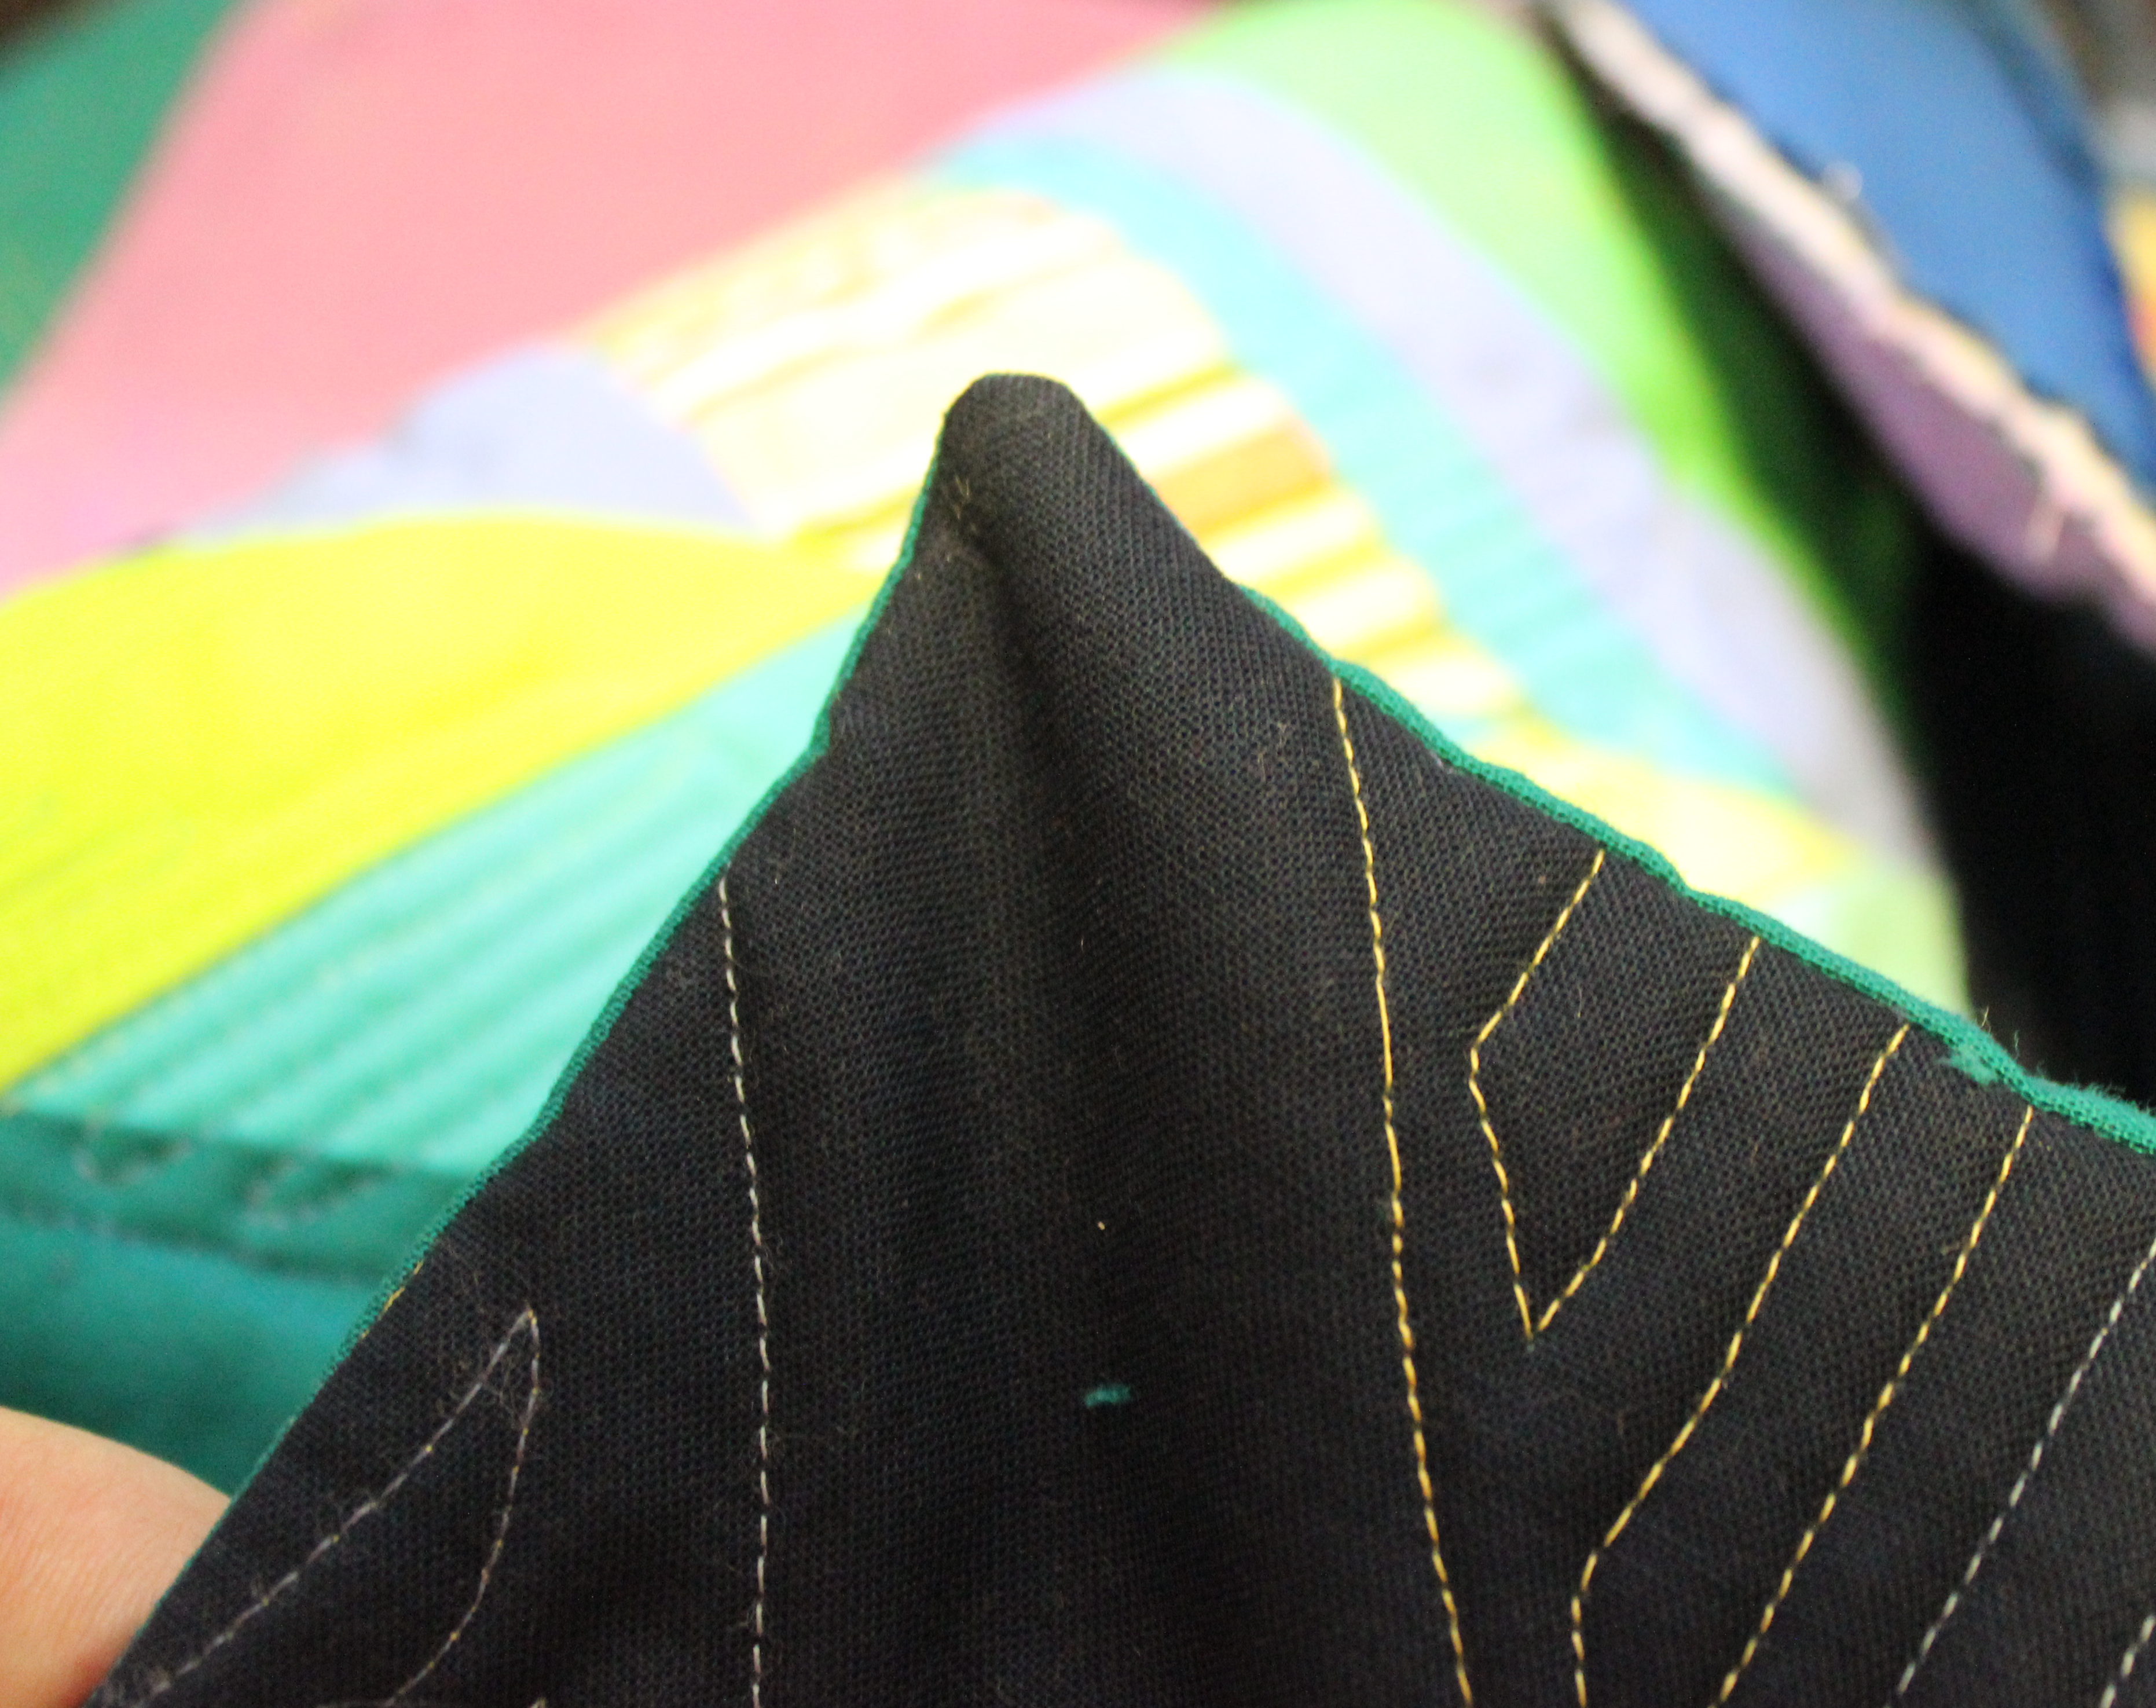
PIN FACING TO QUILT, RIGHT SIDES TOGETHER
STITCH AROUND THE EDGES — 1/4 INCH FROM THE EDGE 
TRIM THE EDGES TO REDUCE BULK 
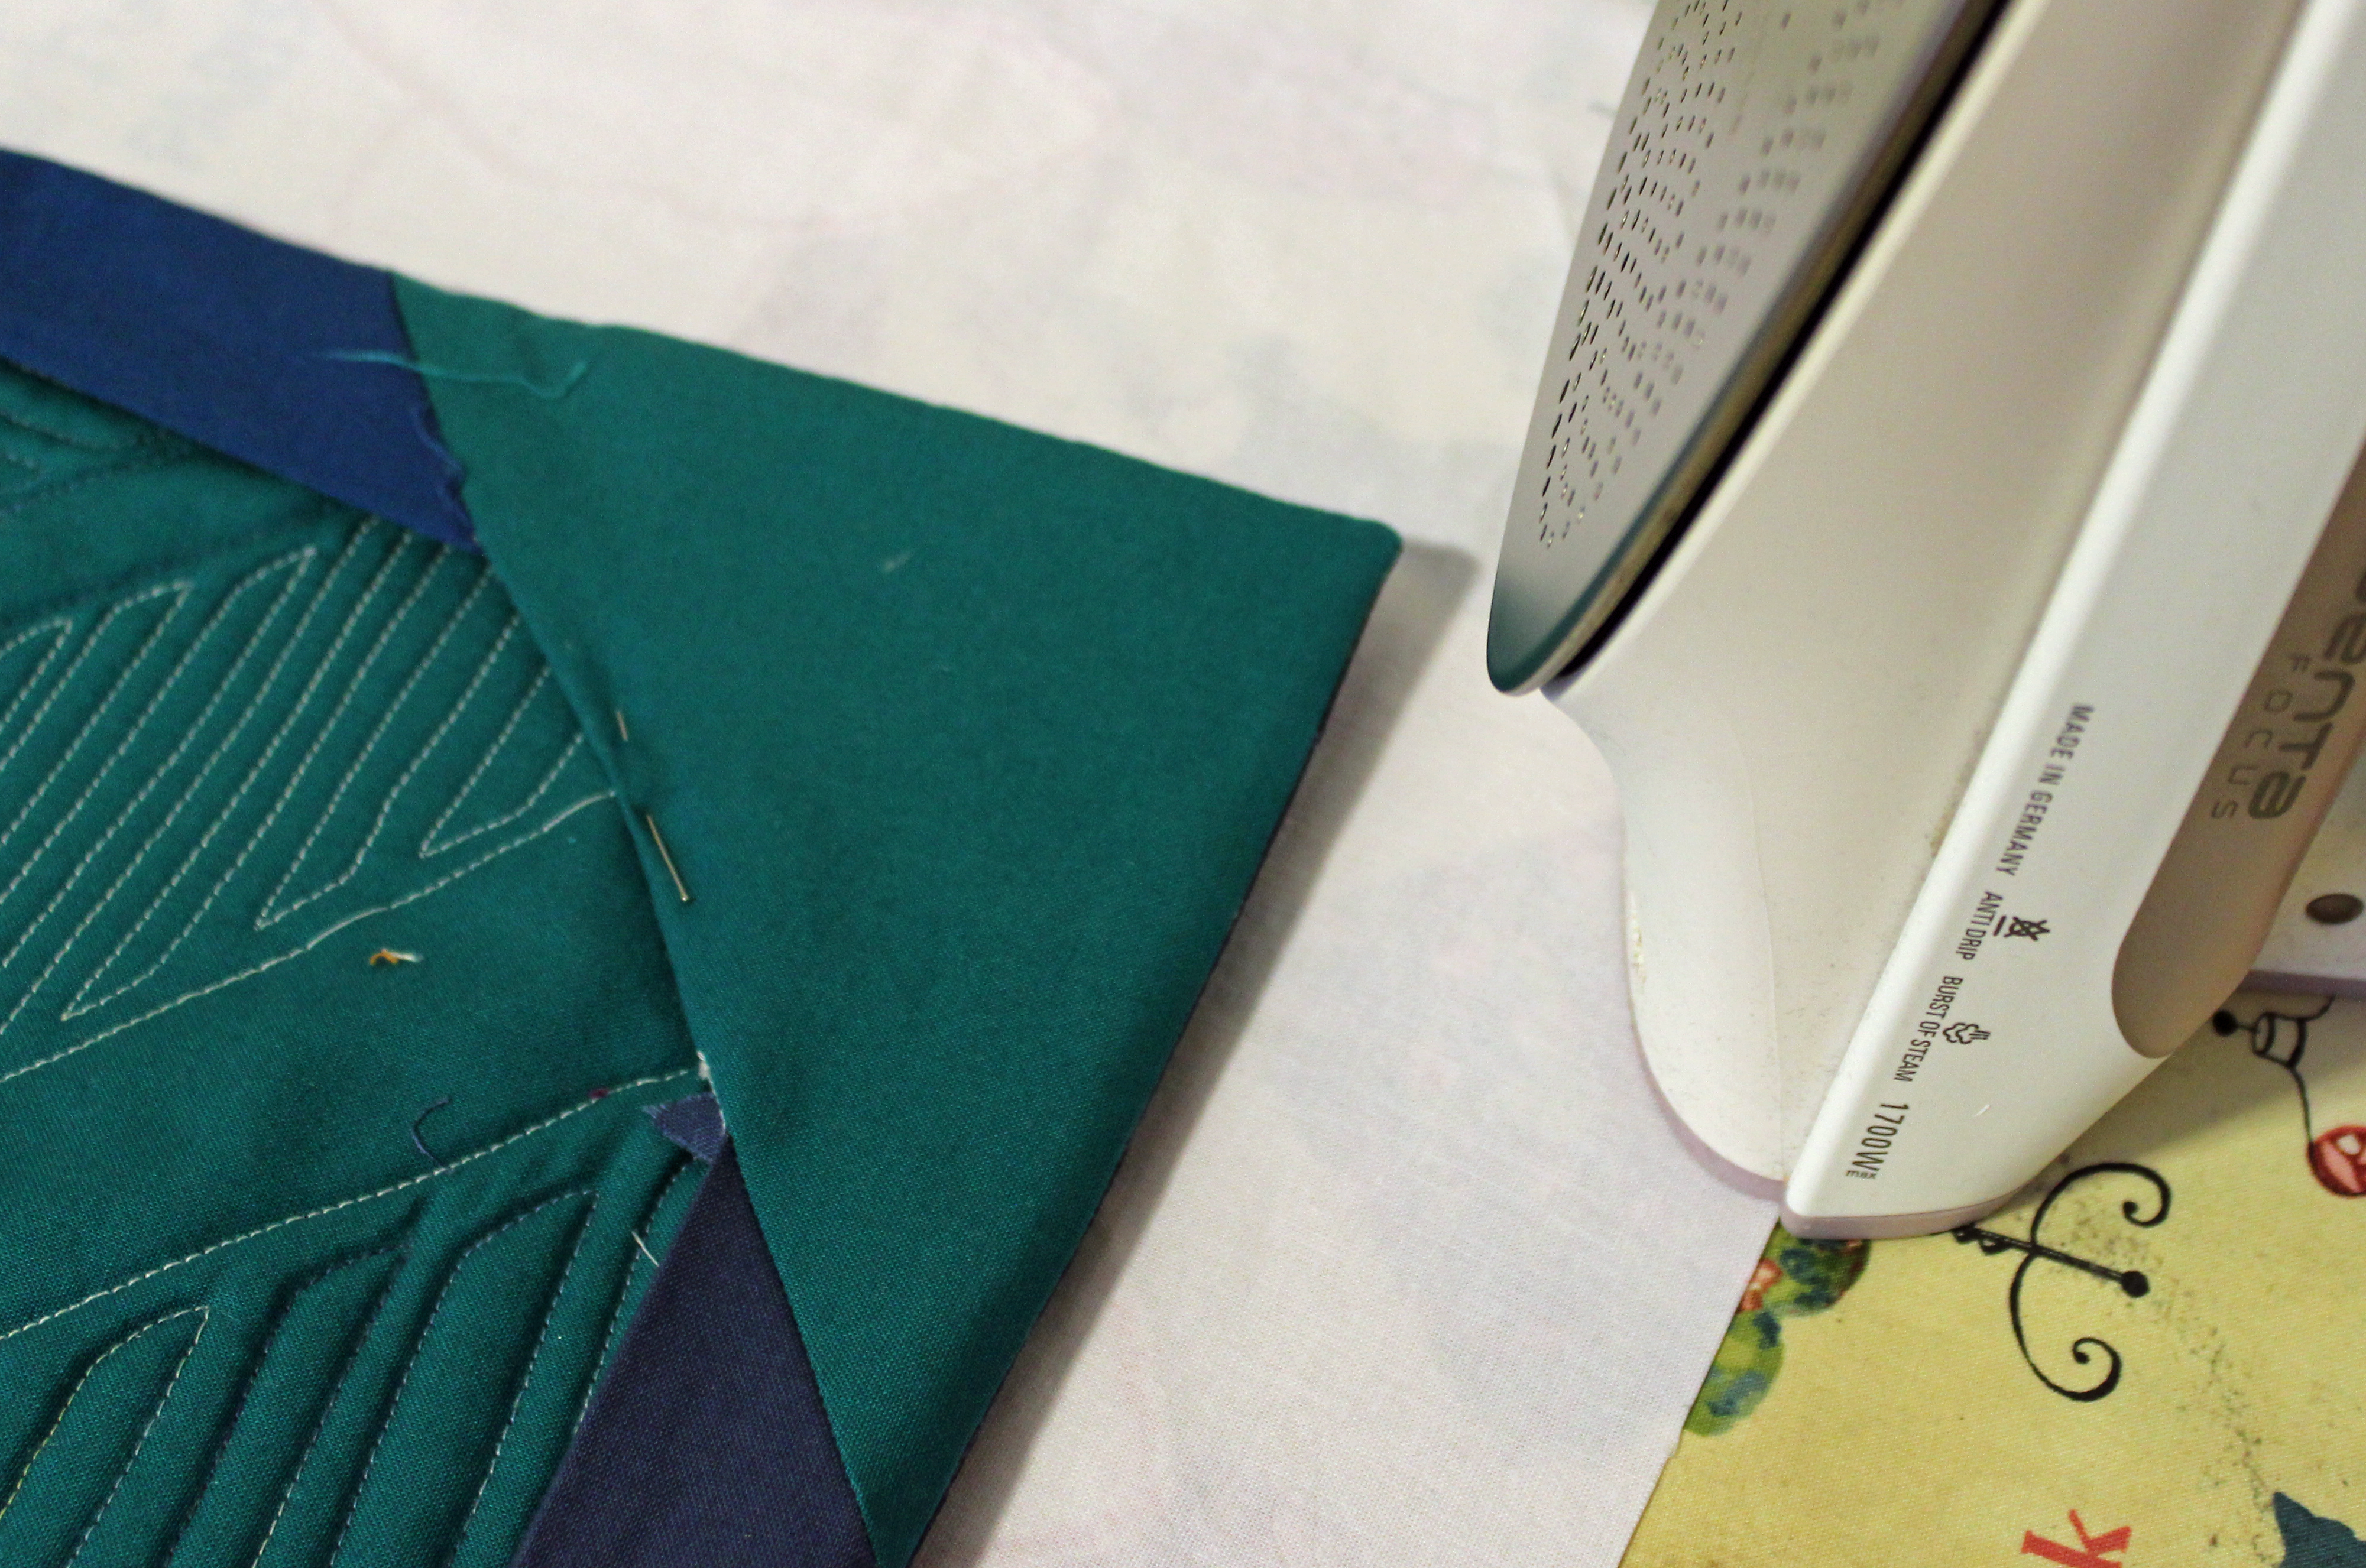
TURN RIGHT SIDE OUT AND PRESS
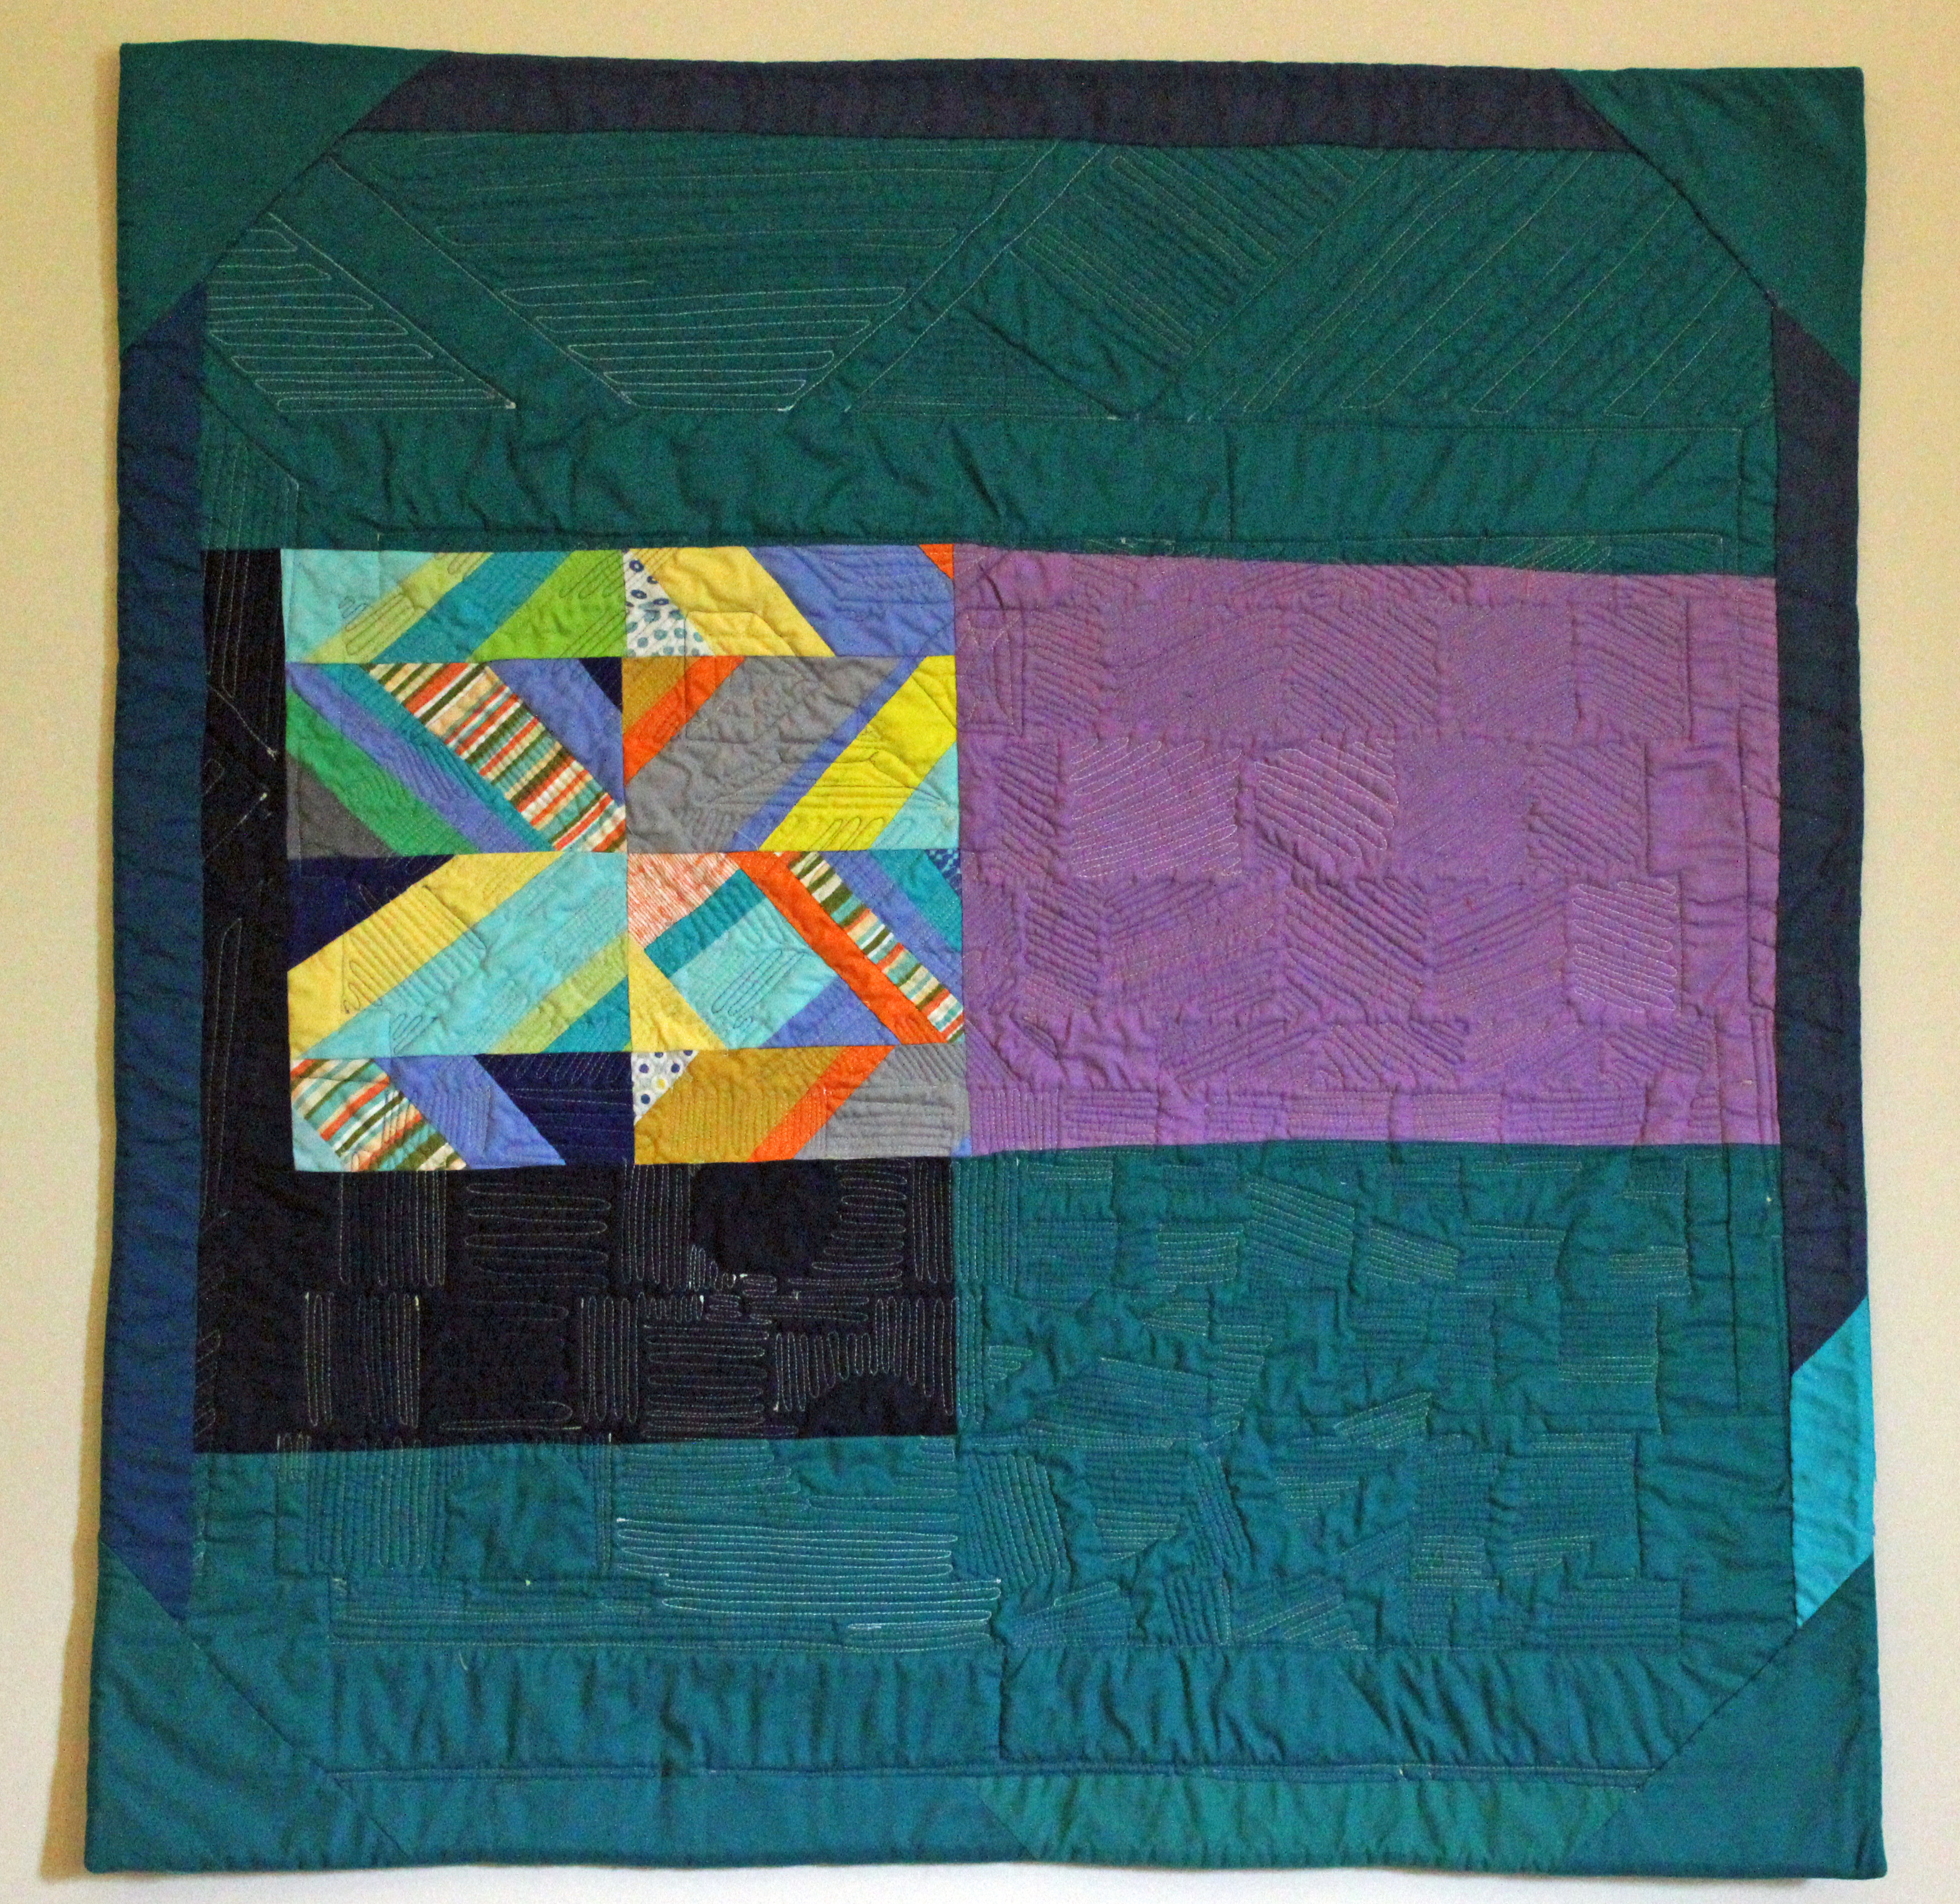
HAND STITCH THE FACING TO THE QUILT
The finished backside looks like this:  To hang, you will need to add a sleeve.
Facing is beautiful,
Wanda